> ## Documentation Index
> Fetch the complete documentation index at: https://help.fieldpulse.com/llms.txt
> Use this file to discover all available pages before exploring further.
# Connecting Email to Engage
> Link your email account to Engage with an app password so customer email threads show up alongside calls and texts.
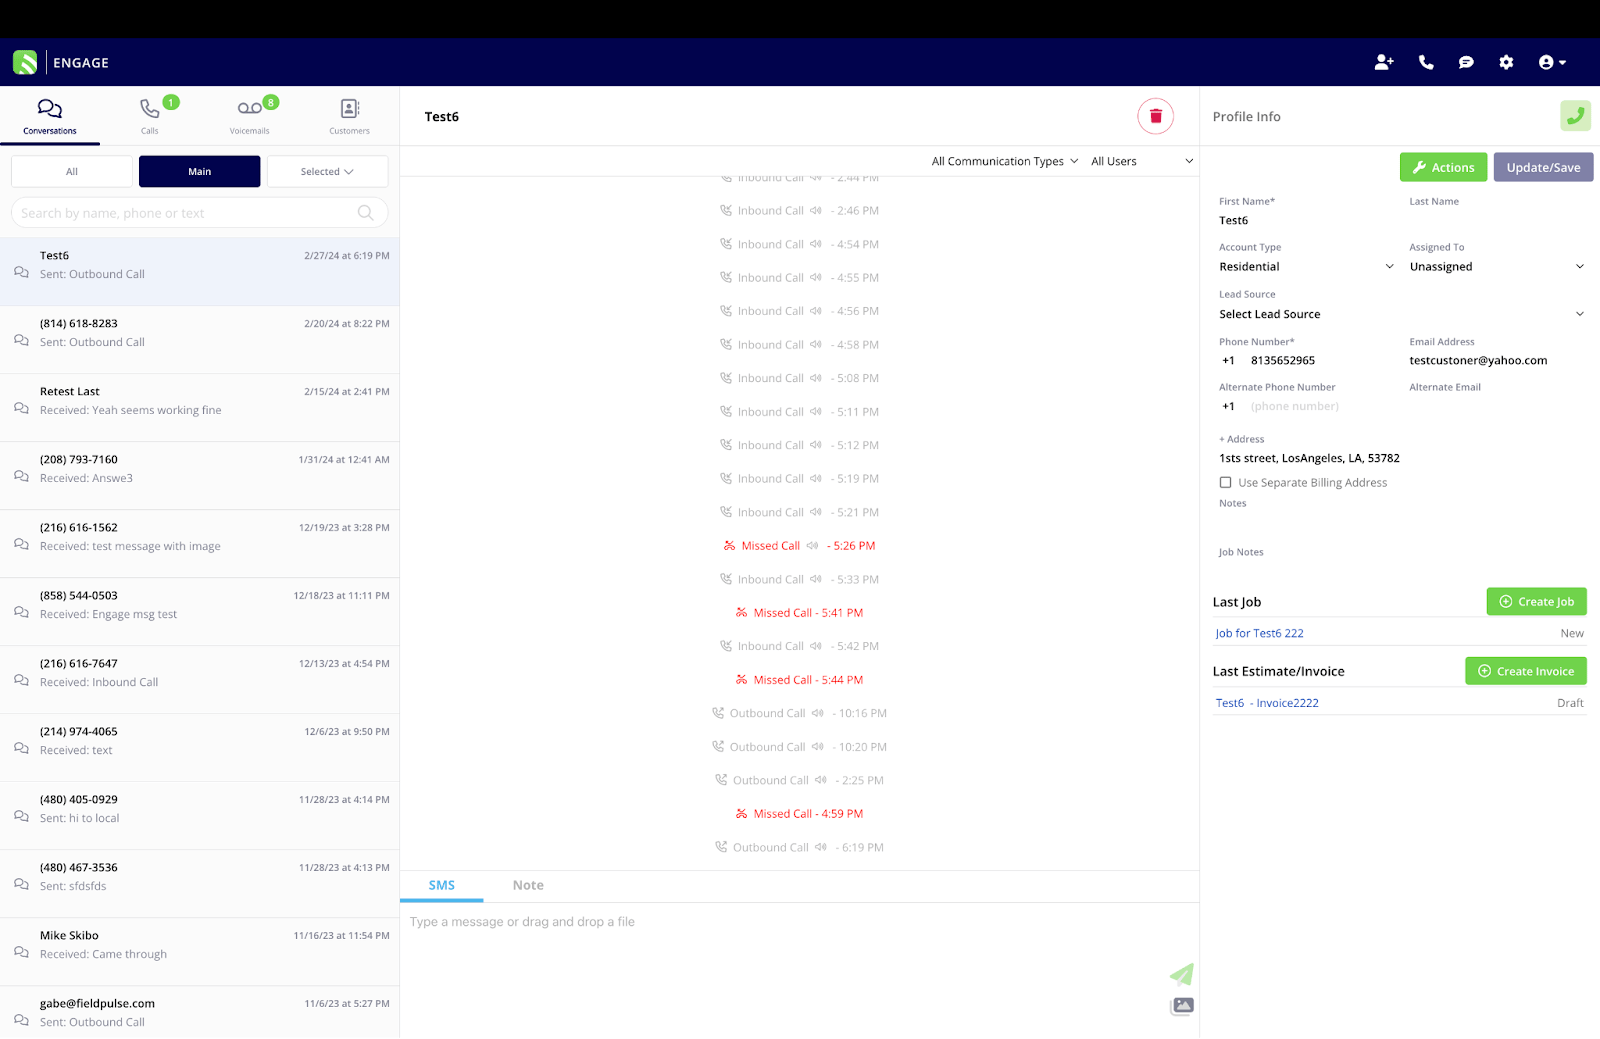
Begin by opening a conversation in Engage. Make sure the customer has an email address listed.
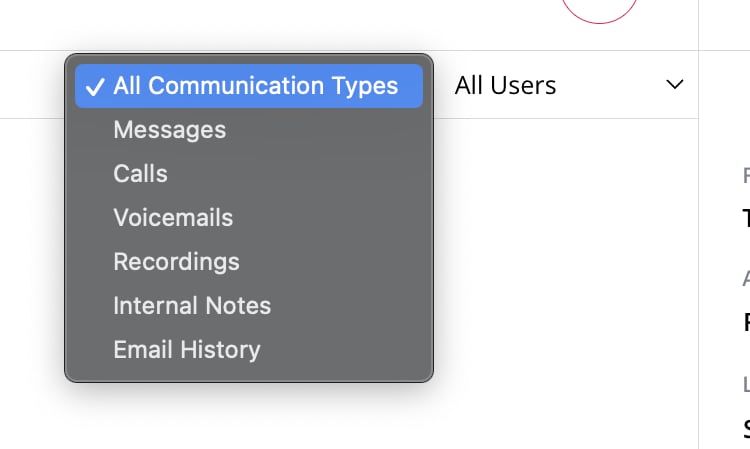
 Click on the *Communication Types* dropdown, and select *Email History*.
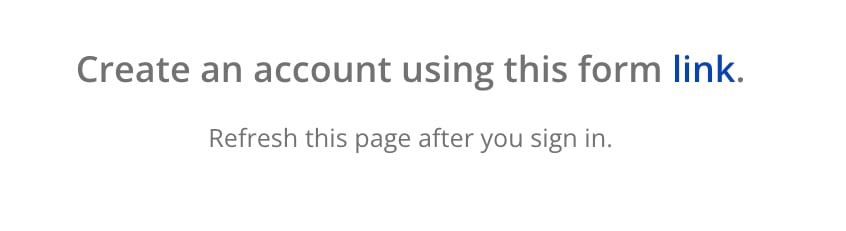
 Engage will now generate a link to connect your email address.
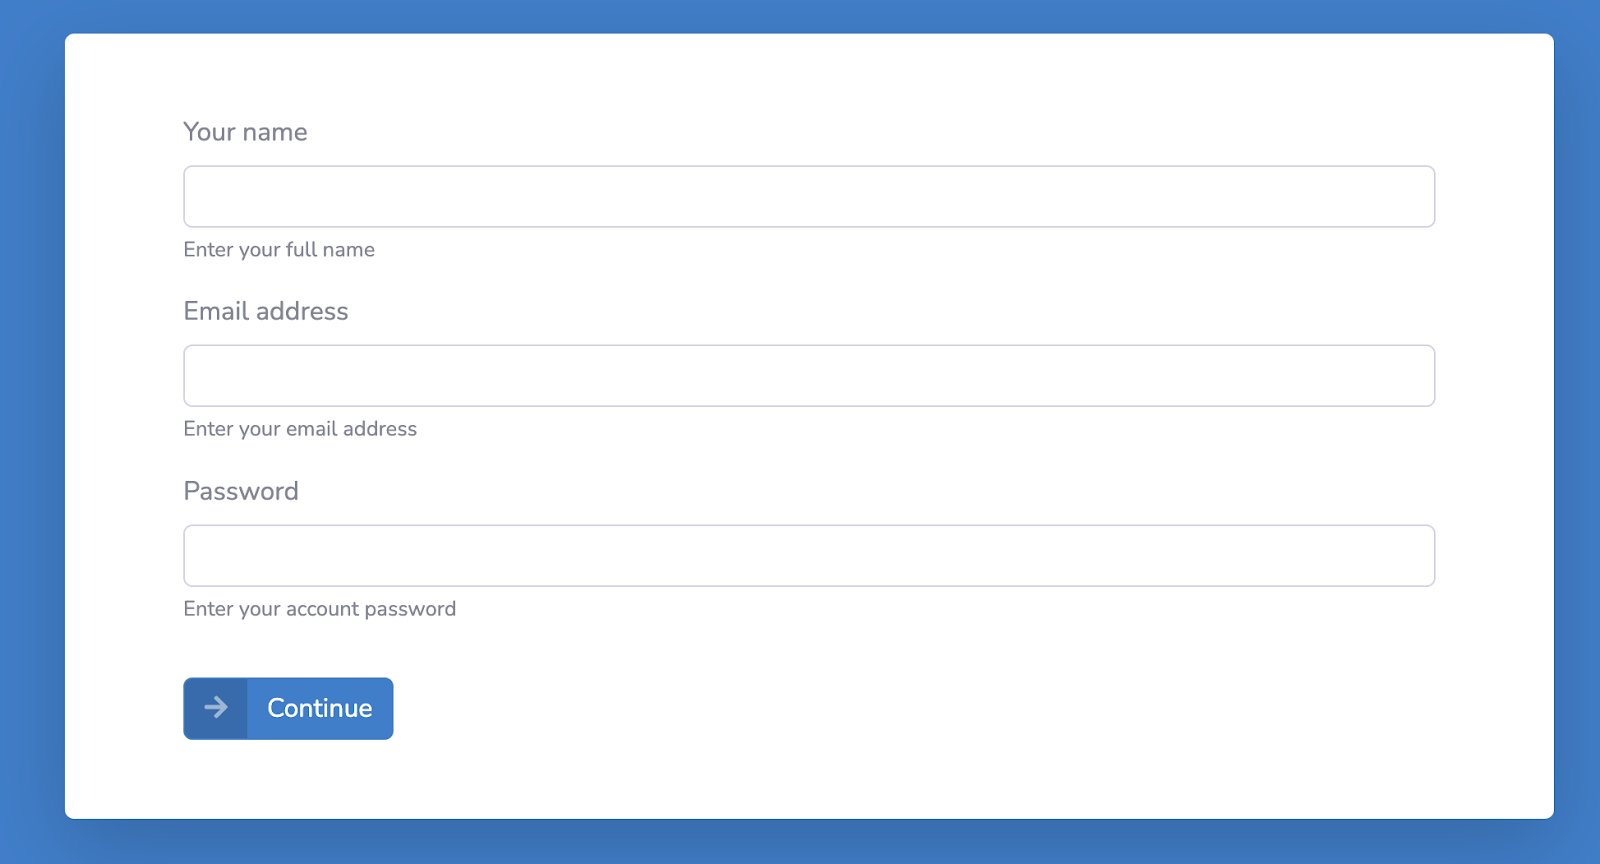
 Click on this link and this form will open, fill in your name and email. Do not yet enter a password or press *Continue*.
Your password will need to be an App Password. Navigate to the settings for your email provider and generate an App Password. You must also enable 2-Step Verification in your email settings.
After creating an App Password, put that in the password field on the form, and click *Continue*.
Click on this link and this form will open, fill in your name and email. Do not yet enter a password or press *Continue*.
Your password will need to be an App Password. Navigate to the settings for your email provider and generate an App Password. You must also enable 2-Step Verification in your email settings.
After creating an App Password, put that in the password field on the form, and click *Continue*.
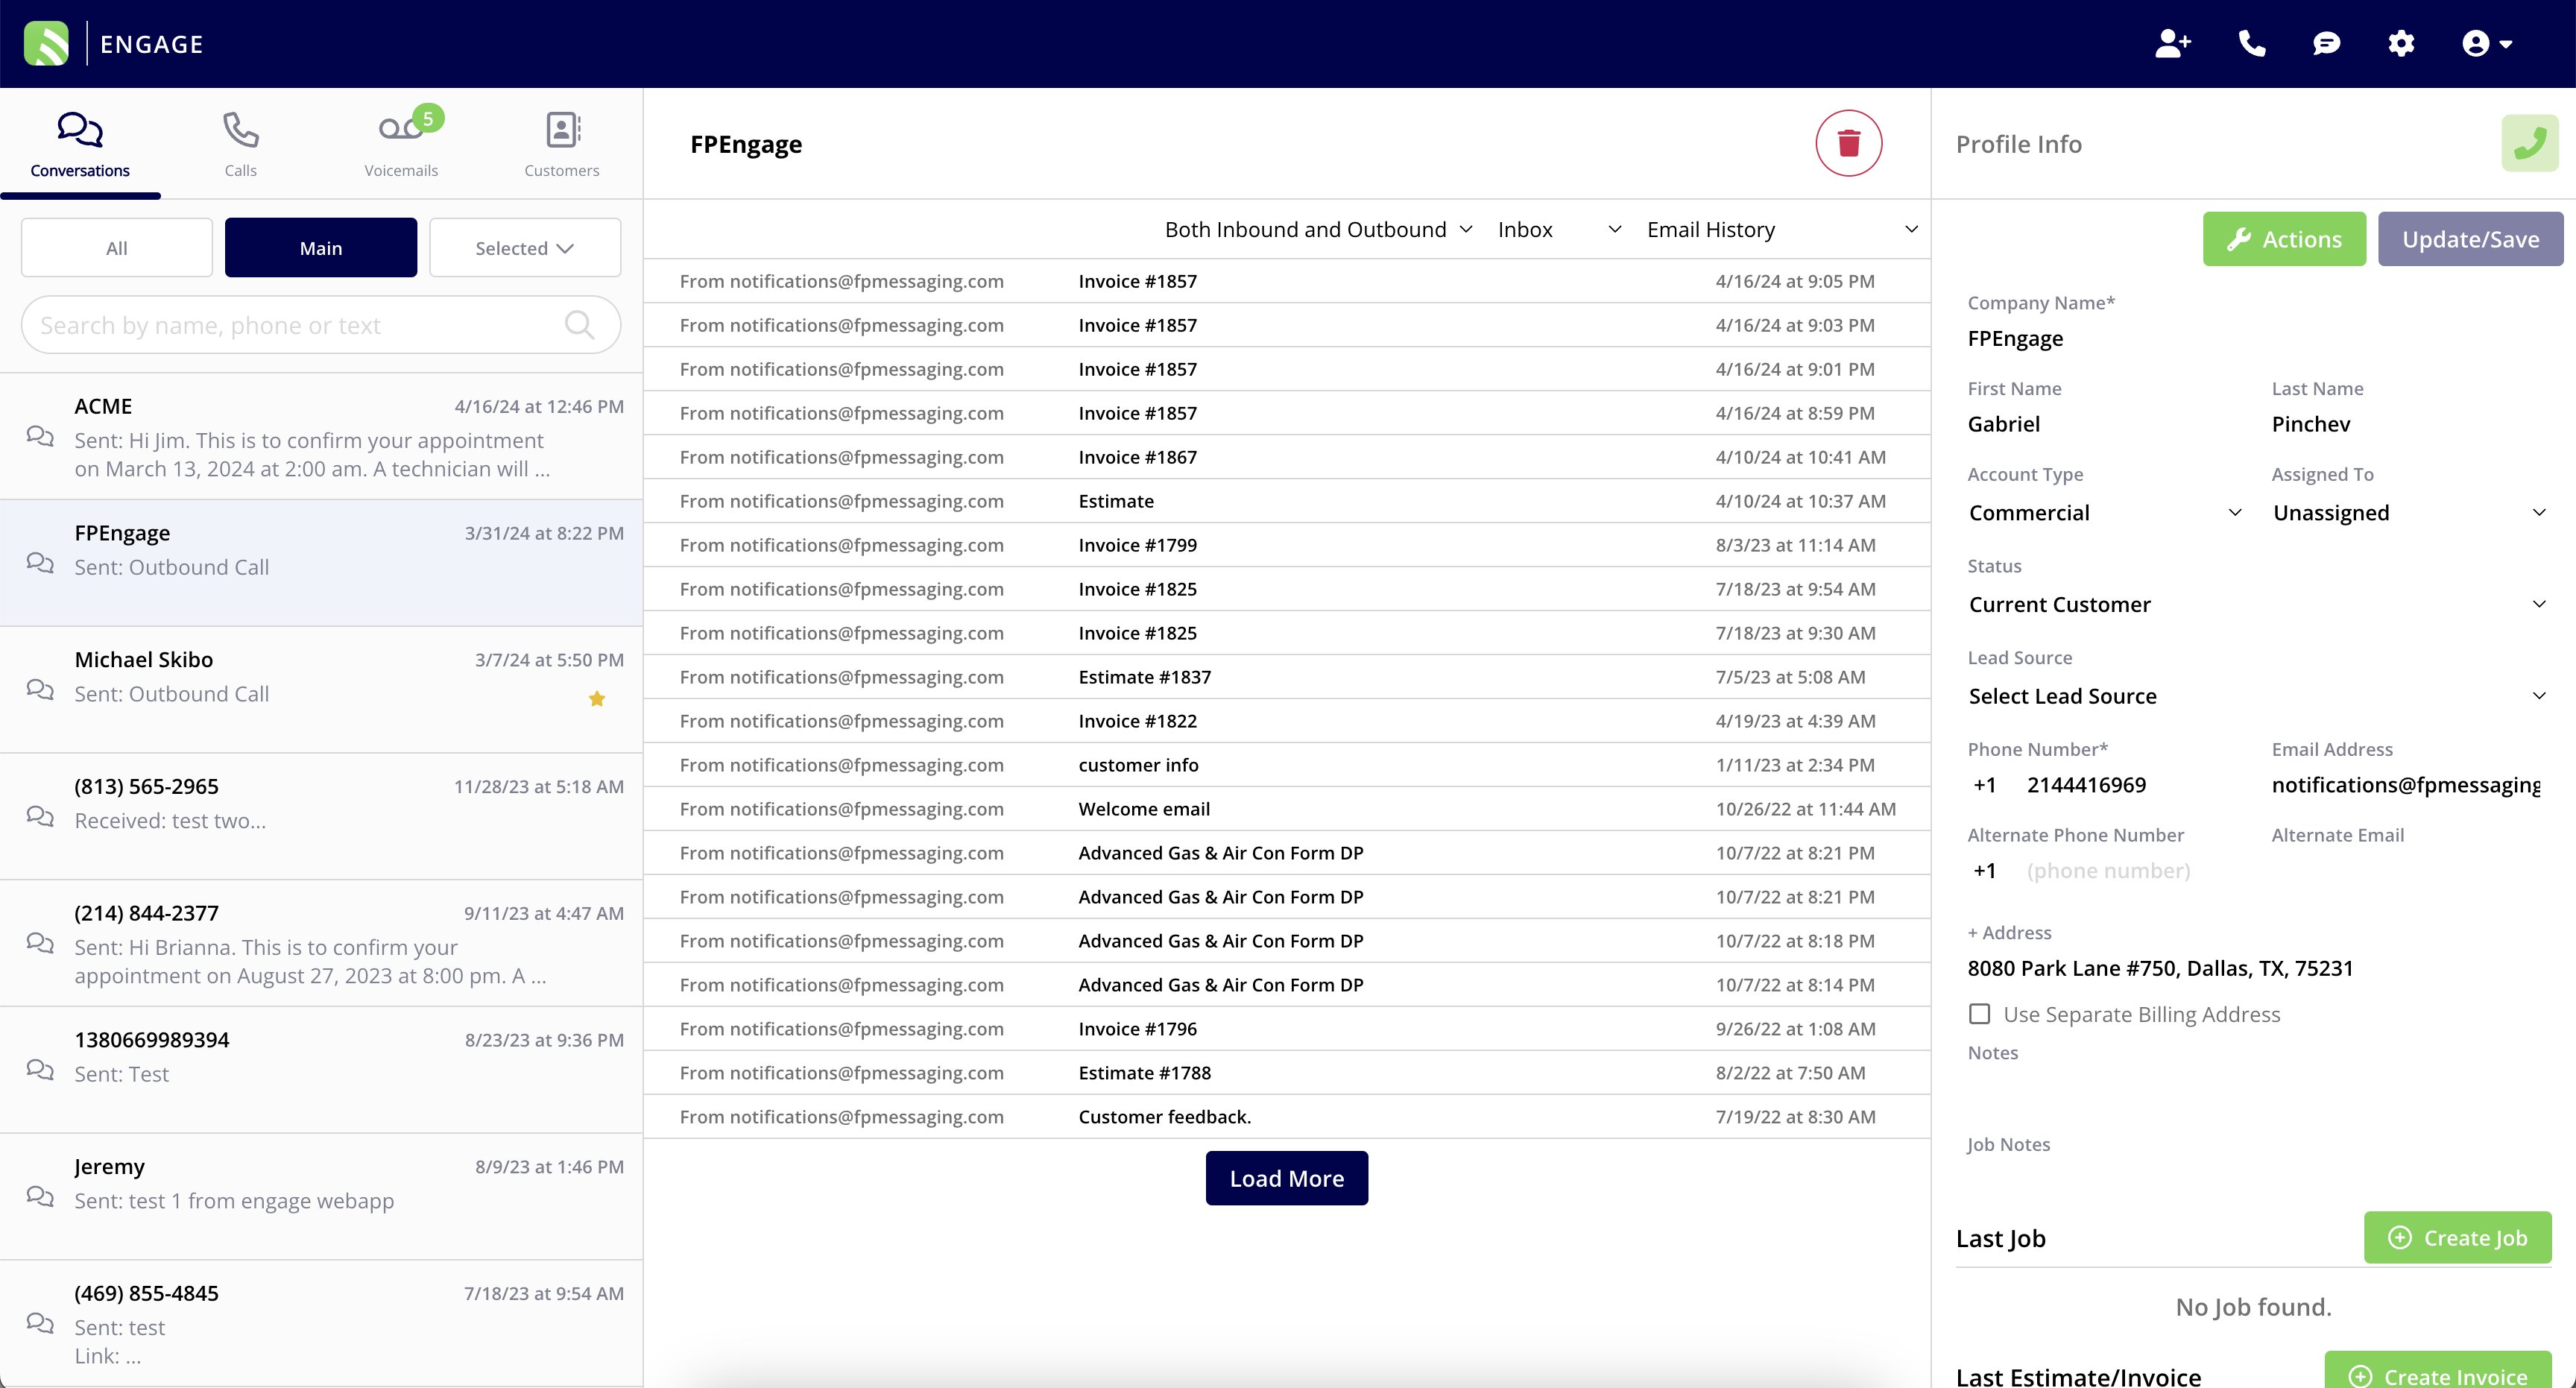
 After completing the form, you will be redirected to Engage. Your emails should now populate when selecting *Email History*.
FieldPulse will now fetch all of your mailboxes and allow you to select which mailbox you would like to sync (Inbox, Junk, etc.). Gmail users can use the “Both Inbound and Outbound” filter to see all customer emails in your selected mailbox, while other email users can select one direction at a time (Inbound or Outbound).
***
## Troubleshooting: Error Message
If you enter a password that is not the App Password you generated above, you will receive an Error Message. To overcome this, close the popup, and click on *Instructions*.
After completing the form, you will be redirected to Engage. Your emails should now populate when selecting *Email History*.
FieldPulse will now fetch all of your mailboxes and allow you to select which mailbox you would like to sync (Inbox, Junk, etc.). Gmail users can use the “Both Inbound and Outbound” filter to see all customer emails in your selected mailbox, while other email users can select one direction at a time (Inbound or Outbound).
***
## Troubleshooting: Error Message
If you enter a password that is not the App Password you generated above, you will receive an Error Message. To overcome this, close the popup, and click on *Instructions*.
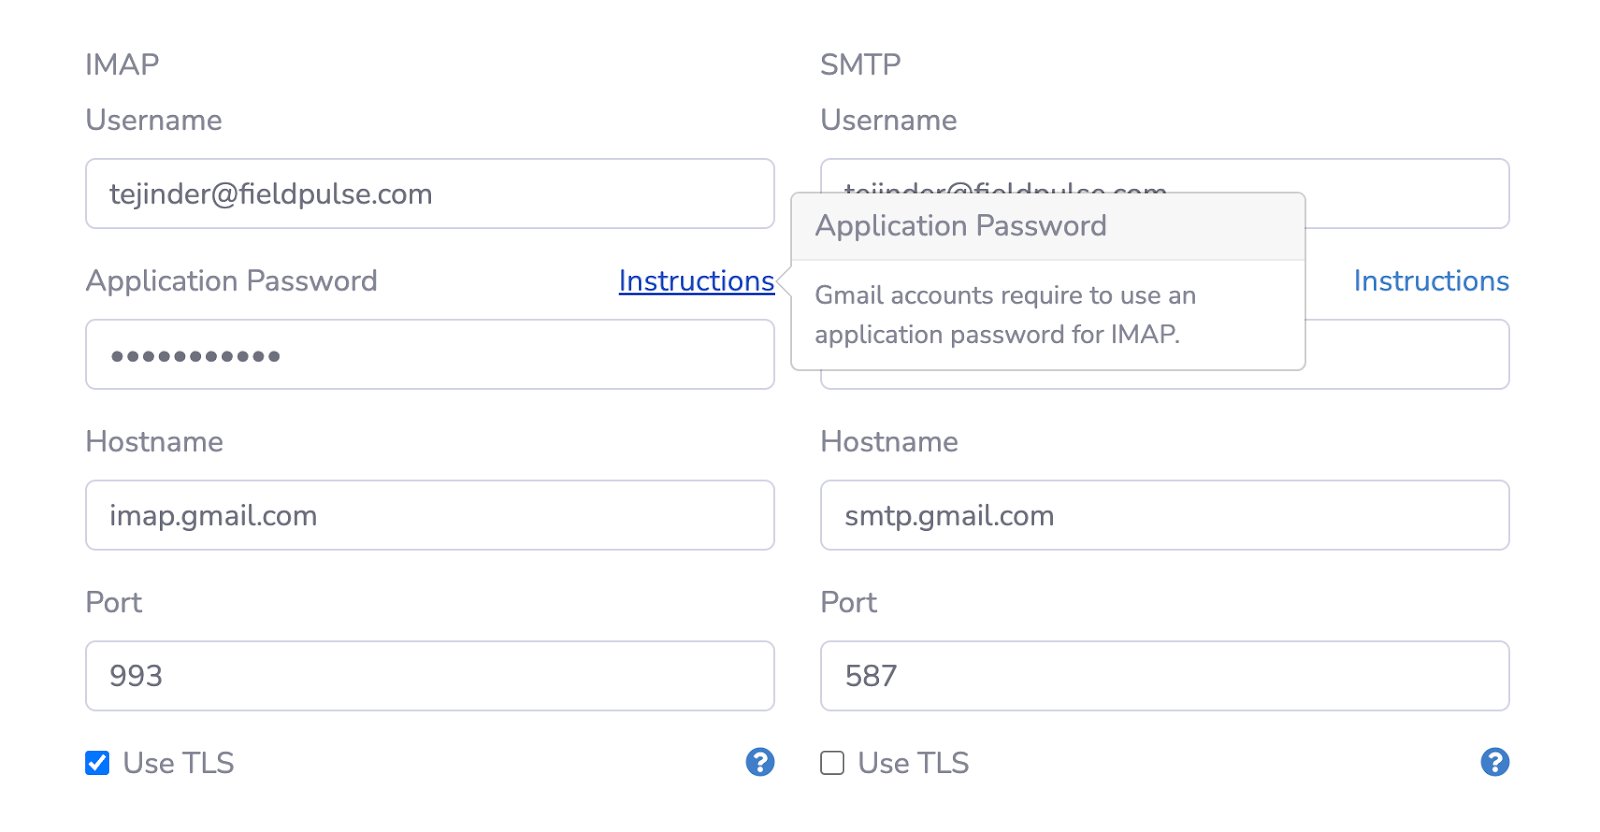
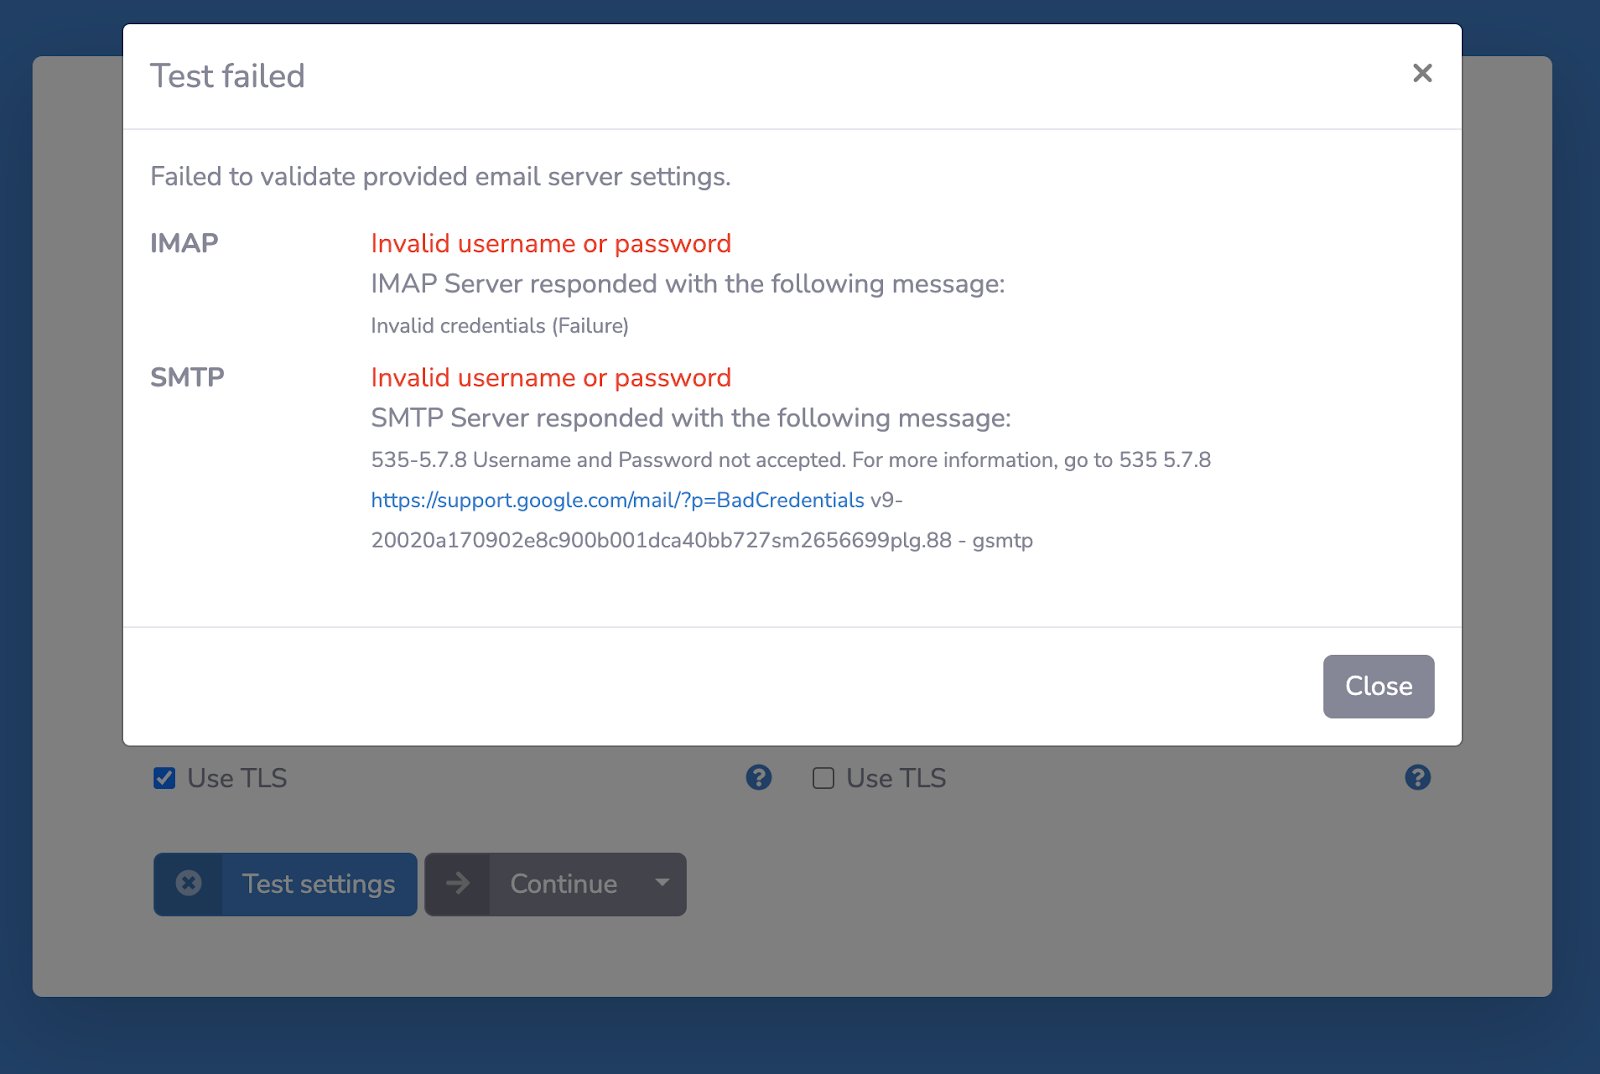 As you can see, it identified that this is a Gmail account and consequently filled in many of the fields. Click on *Instructions* to be redirected to set up an App Password and 2-Step Verification with your email provider. Once these have been generated, enter the App Password and press *Continue*.
 Allow Engage a few minutes to sync your email history over. Once it is synced, you can view all emails with a customer, adjust between inbound/outbound emails, as well as navigate between mailboxes.
 ***
# Video Tutorial
***
**Have additional questions?**
*Contact us at [support@fieldpulse.com](mailto:support@fieldpulse.com) or use the chat feature in the bottom right corner of your screen.*
***
# Video Tutorial
***
**Have additional questions?**
*Contact us at [support@fieldpulse.com](mailto:support@fieldpulse.com) or use the chat feature in the bottom right corner of your screen.*