Overview
When the same kind of job comes up again and again, Job Templates let you pre-fill job details (title, location, notes, scheduling parameters, custom forms, and material lists) so a new job is ready in just one click.On Web: Admin Experience
Creating a Job Template
Begin by navigating to Jobs in the left-side menu, then selecting Create Job.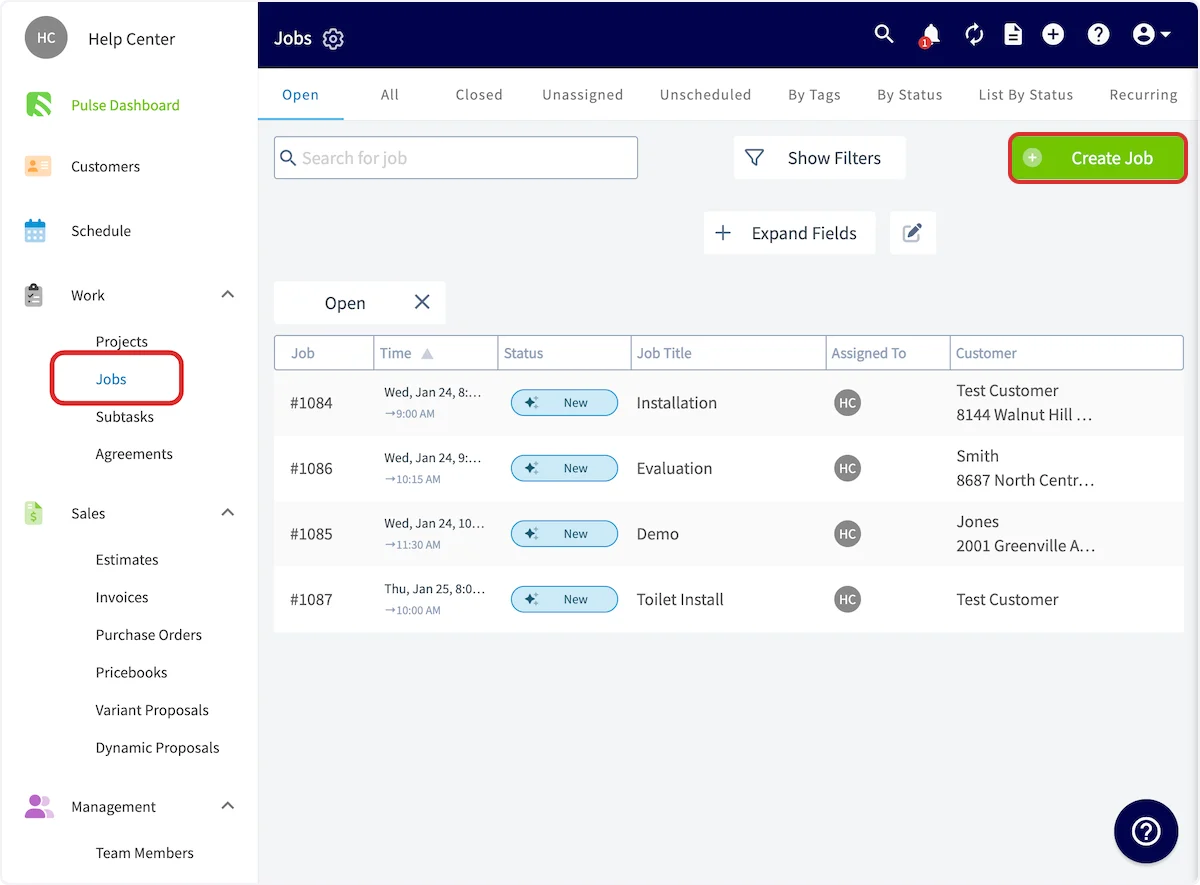
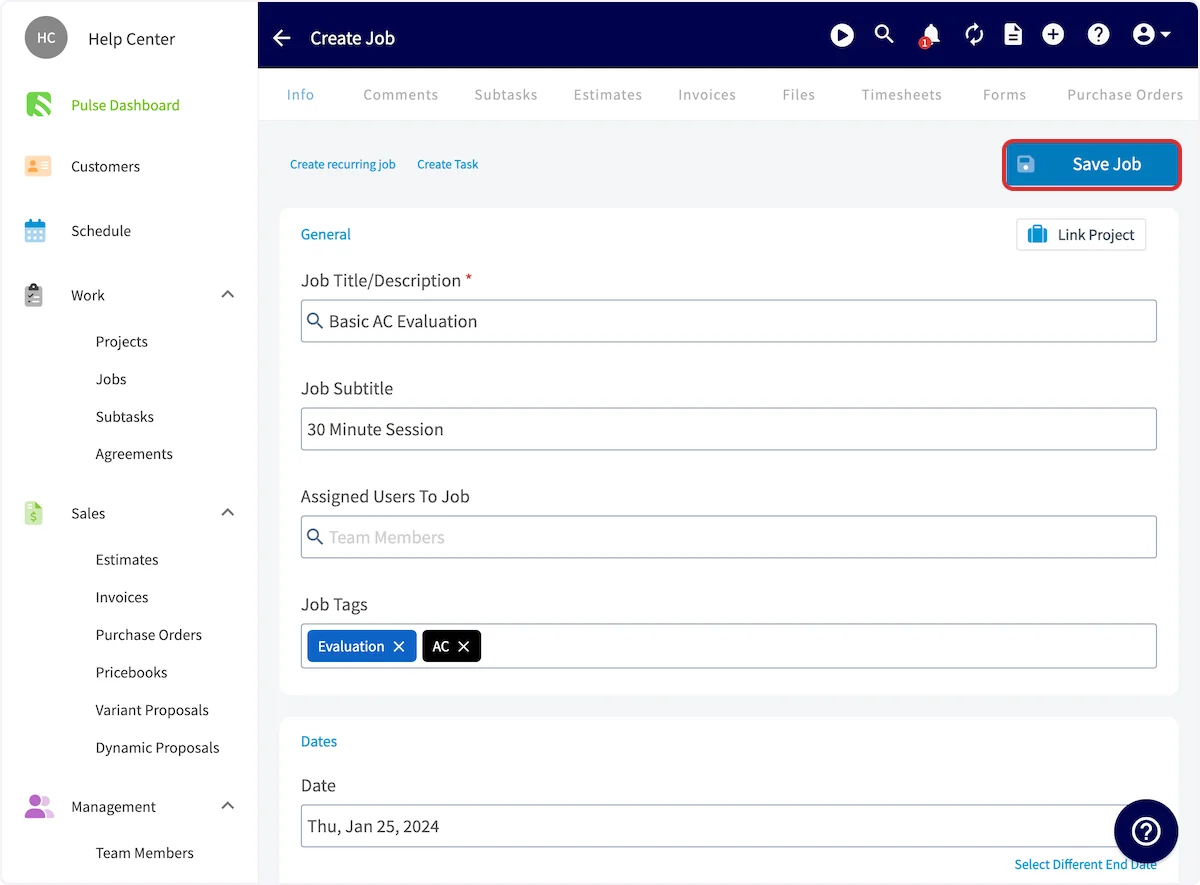
34.0522, -118.2437) or Degrees, Minutes, Seconds (e.g., 34°03'08"N, 118°14'37"W) formats. Press Save Job after entering your details.
Adding Scheduling Parameters
You can optionally add scheduling parameters to job templates to make scheduling even easier. When scheduling a new job using a job template, the Find Availability feature will take these parameters into consideration to speed up the scheduling process.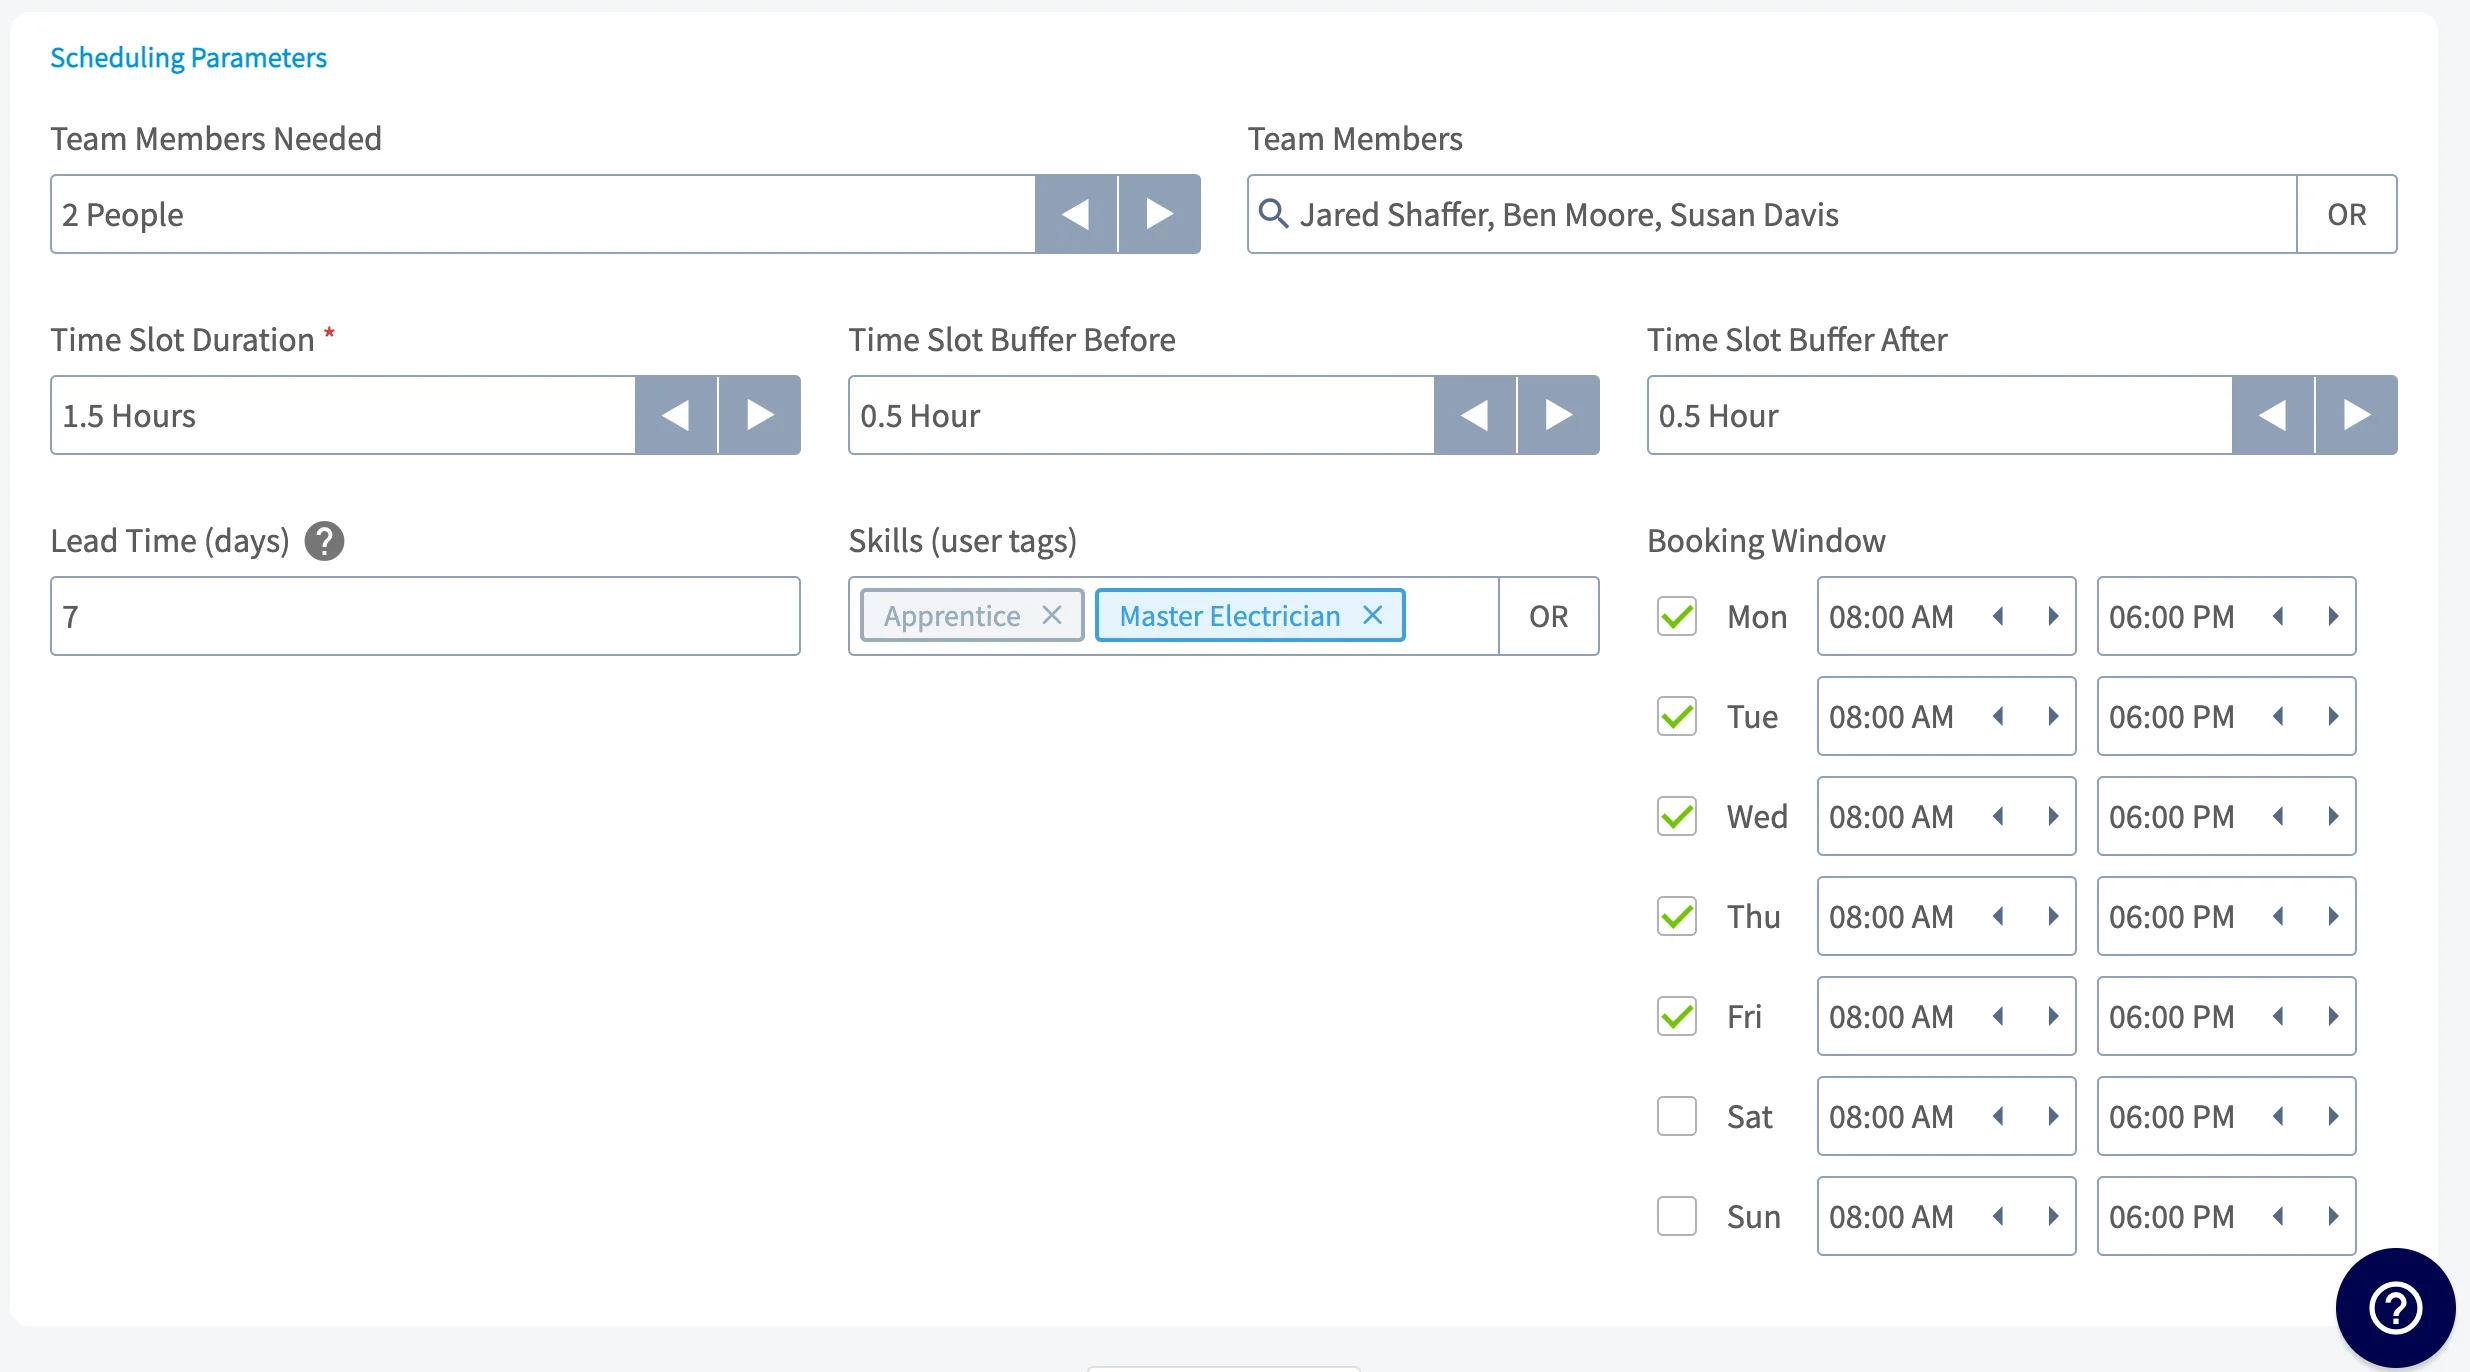
- Team Members Needed: by default, we require at least one team member needed for a job. If you set 2 people required, FieldPulse will identify time slots that are available for different combinations of two of your employees.
- Team Members: select specific team members who are eligible to work this job.
- Time Slot Duration: this represents the amount of time that a job will block off on your users’ calendars.
- Time Slot Buffers: optionally add a required amount of time to be available on your employees’ calendars before and after a job. This is helpful for taking into account drive time between multiple jobs.
- Lead Time: this is the minimum amount of time required before a job can be scheduled.
- Skills: utilize user tags to specify skills and other information to qualify specific users for working the job.
- Booking Window: select specific hours on each day of the week for when the job is available.
Editing or Deleting a Template
To edit or delete your template, navigate to Jobs, then Templates, and select the pencil icon to edit or the trash icon to delete your template.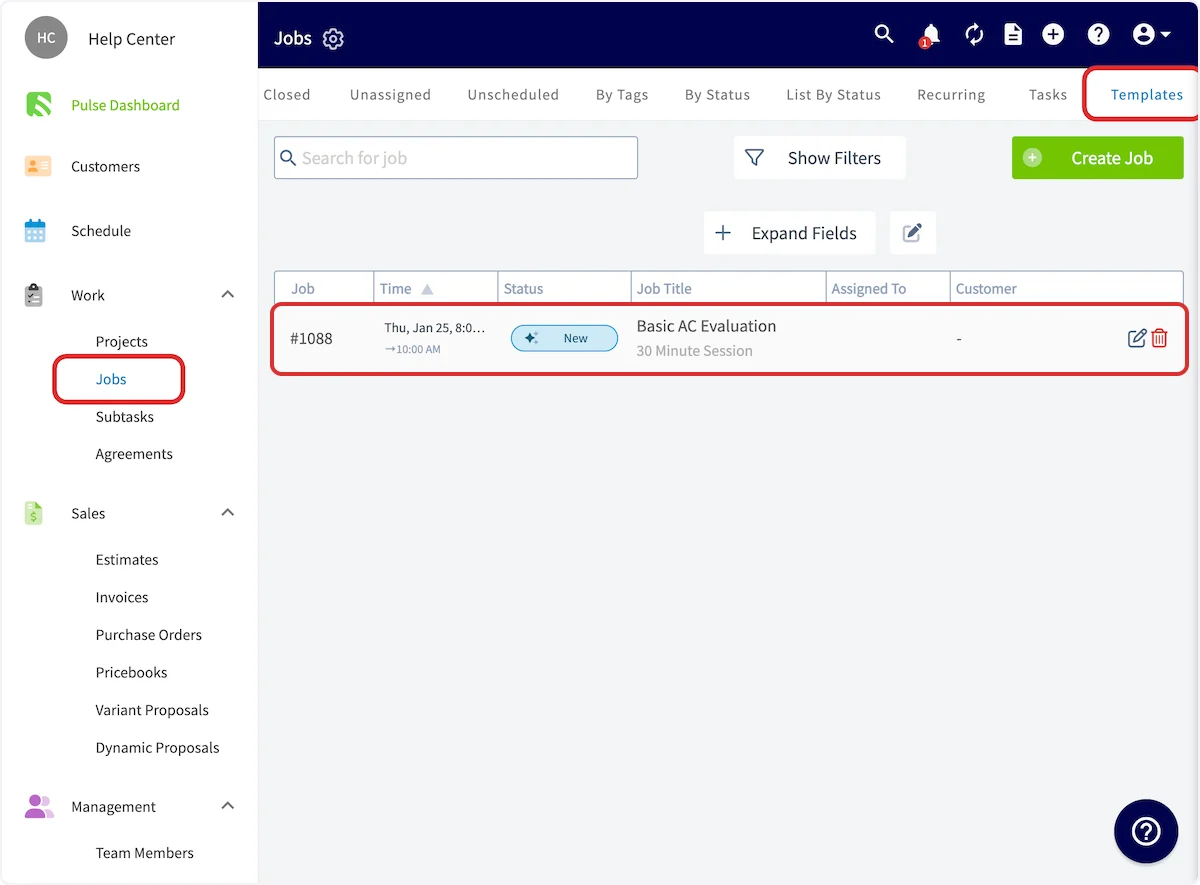
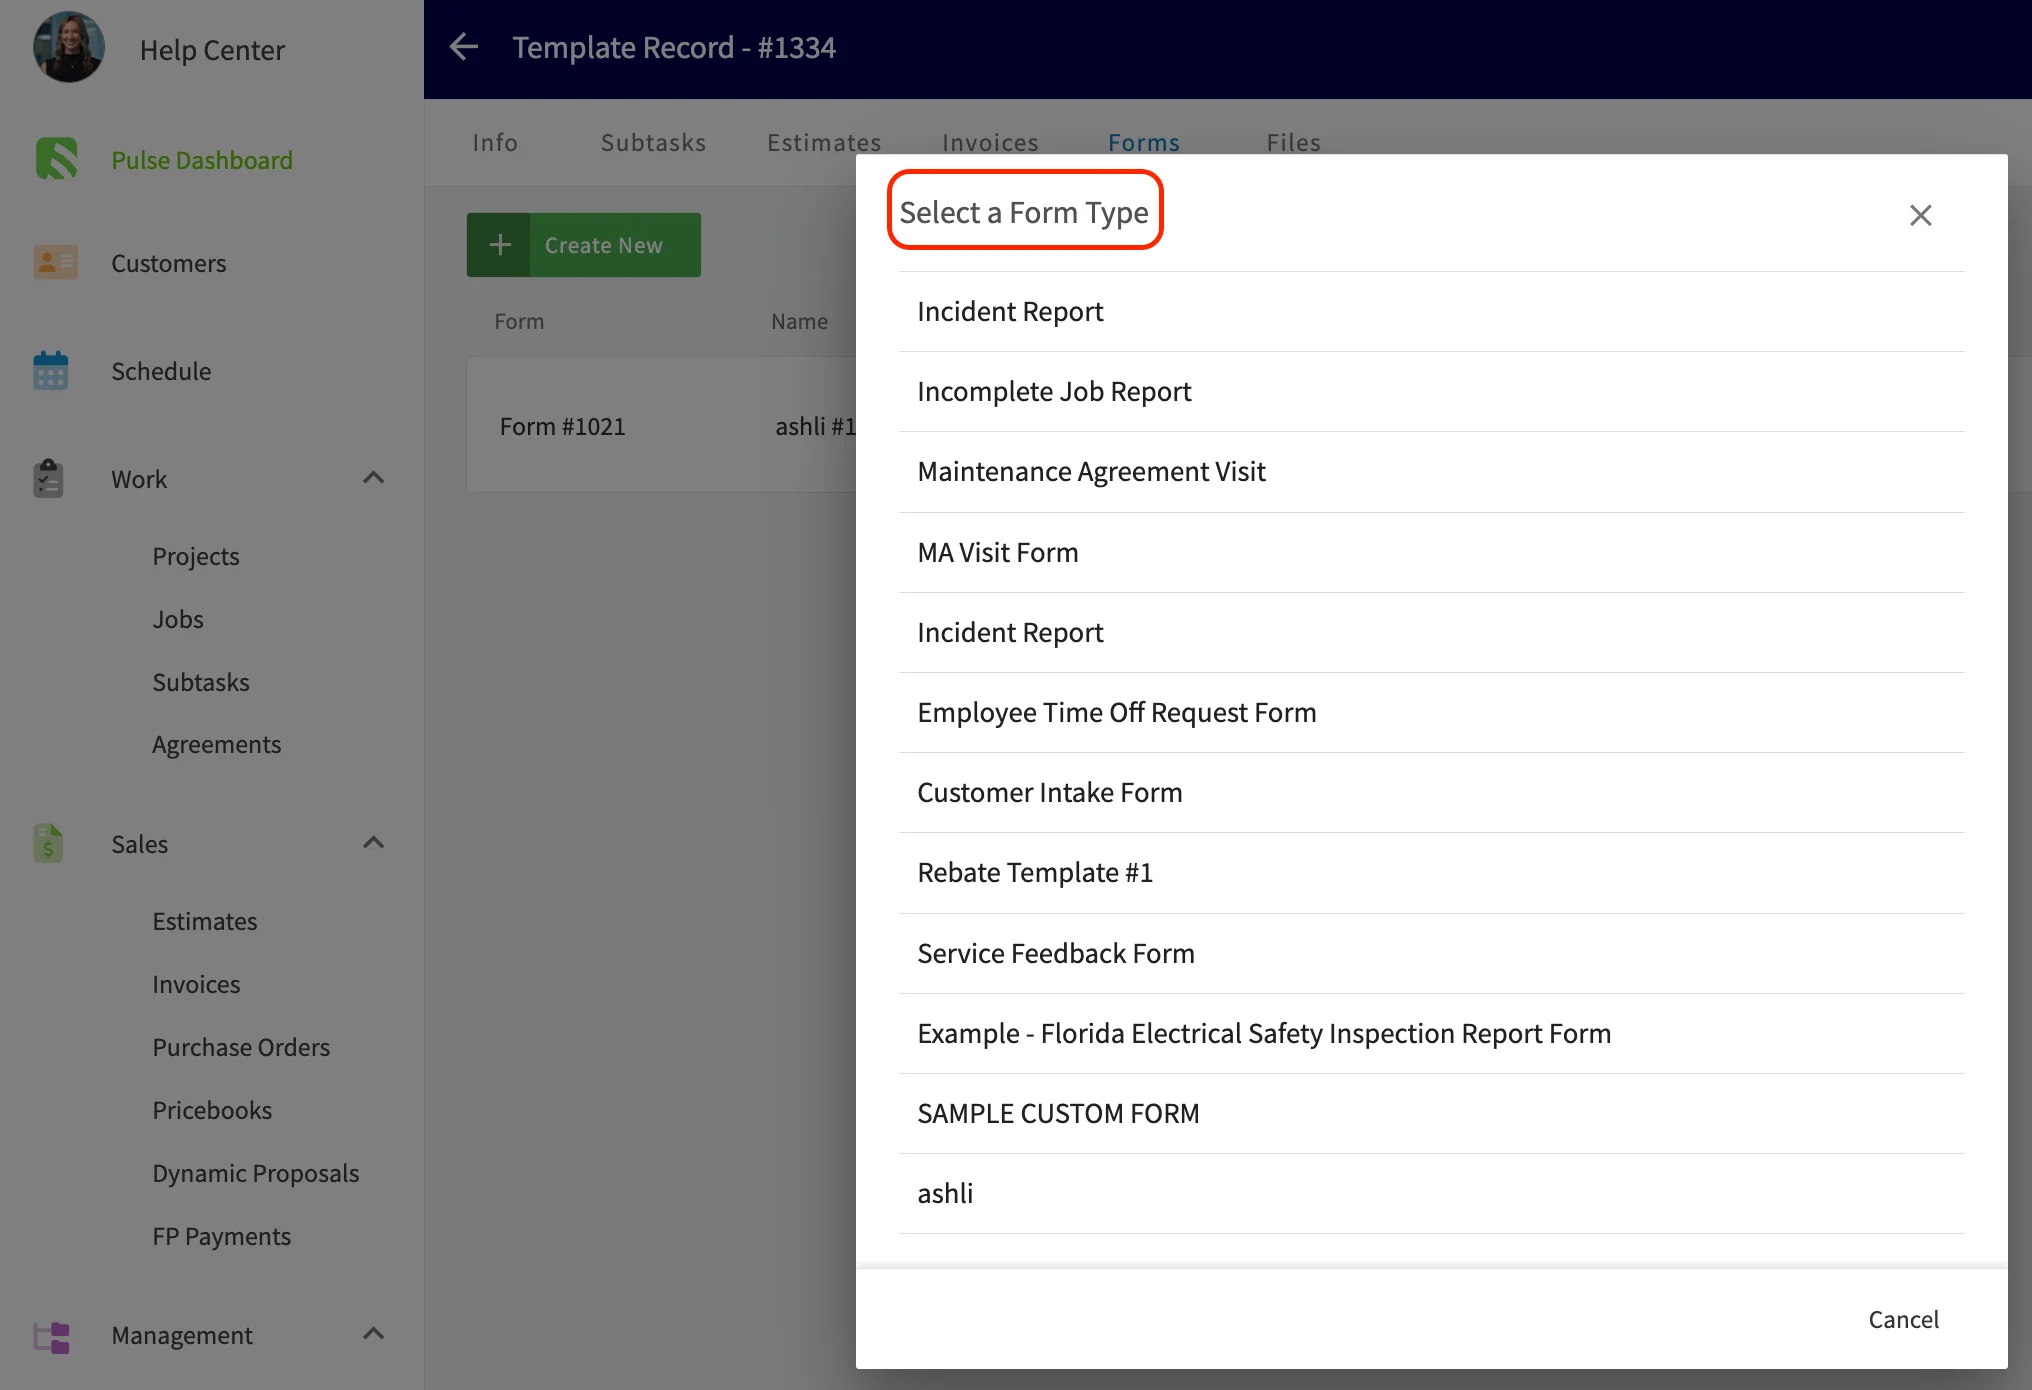
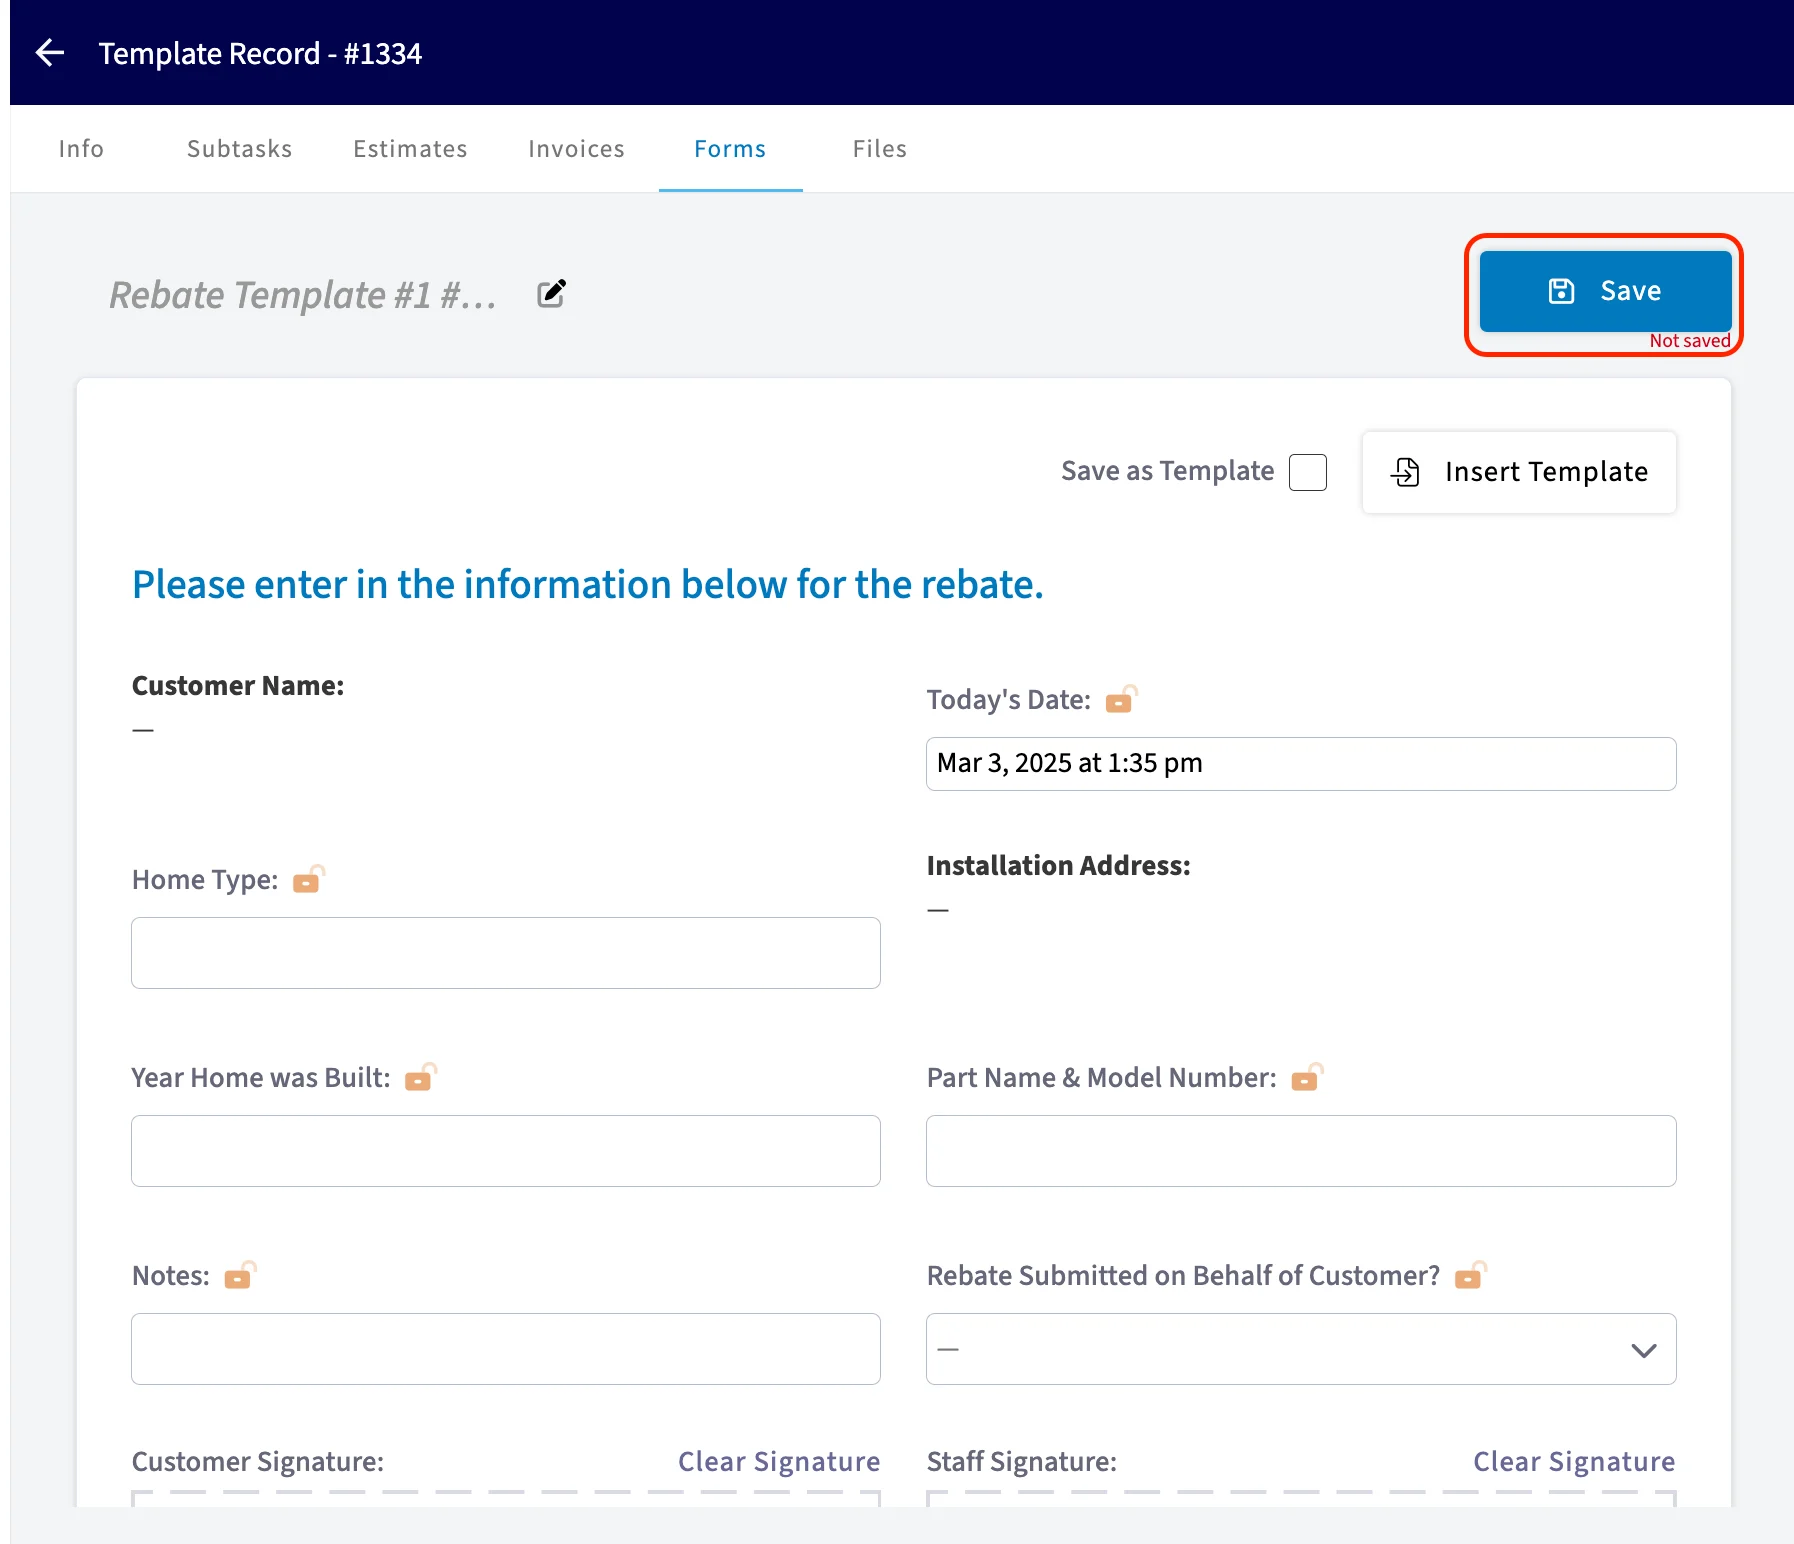
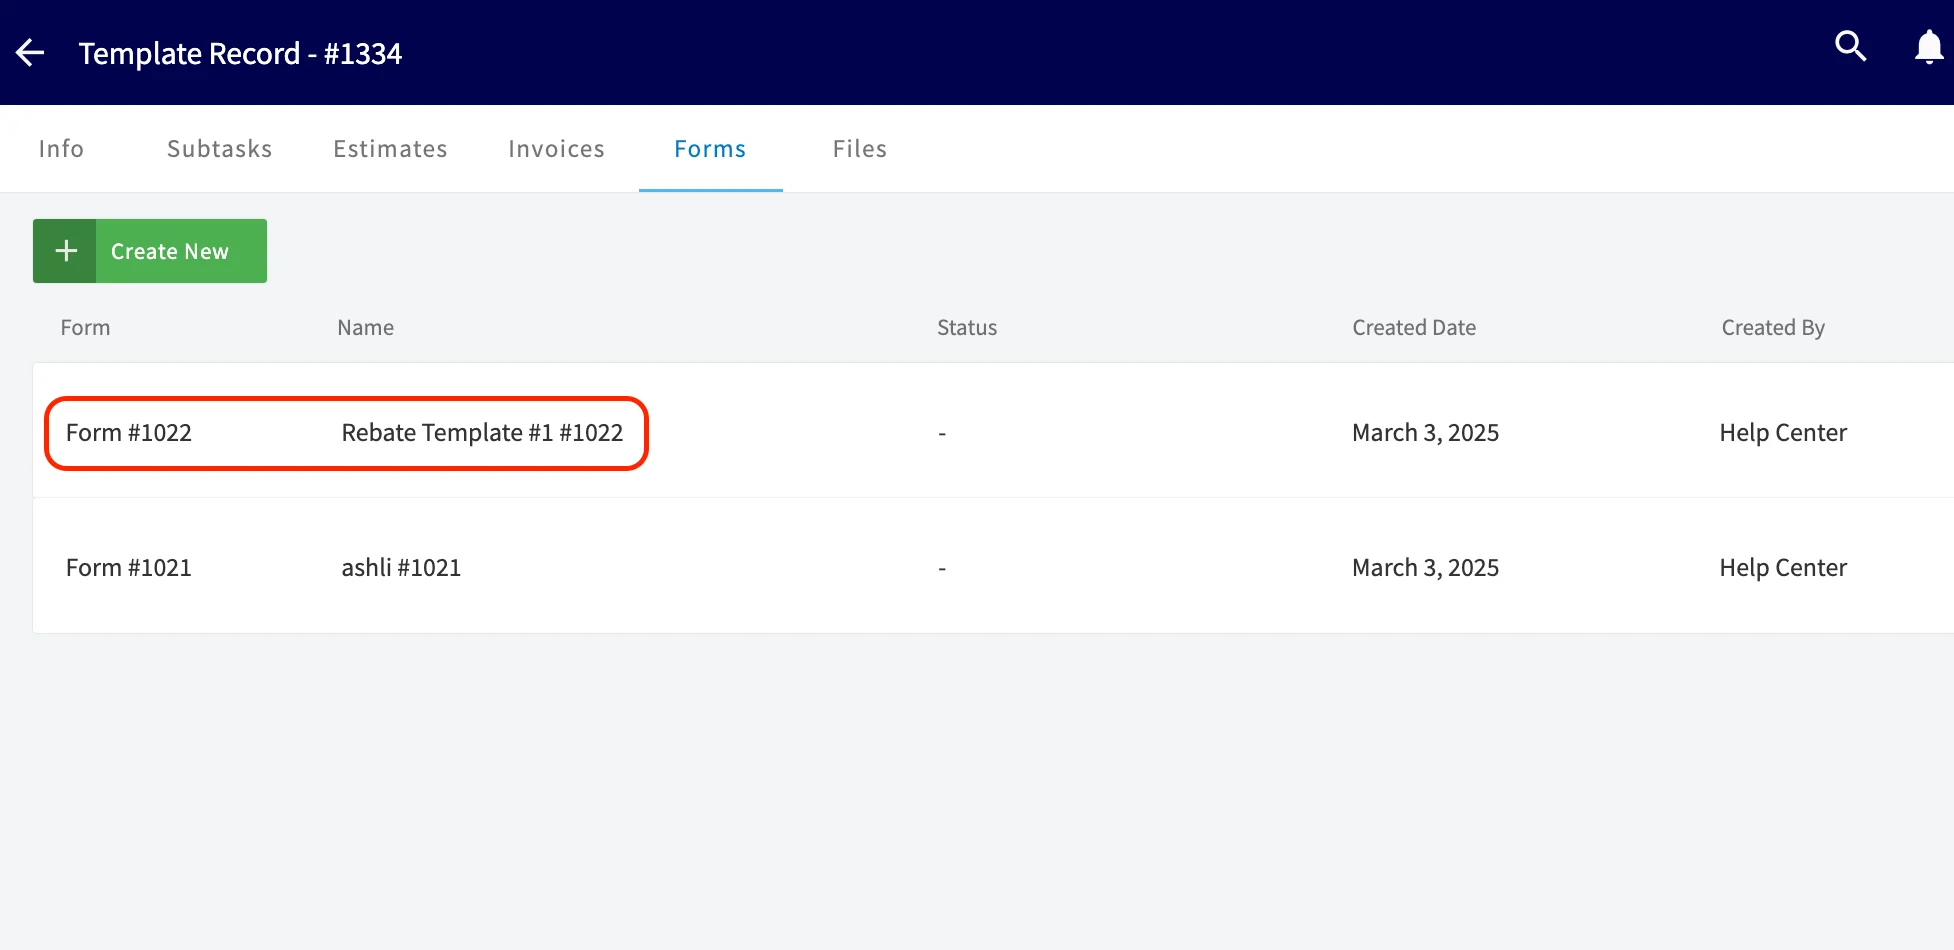
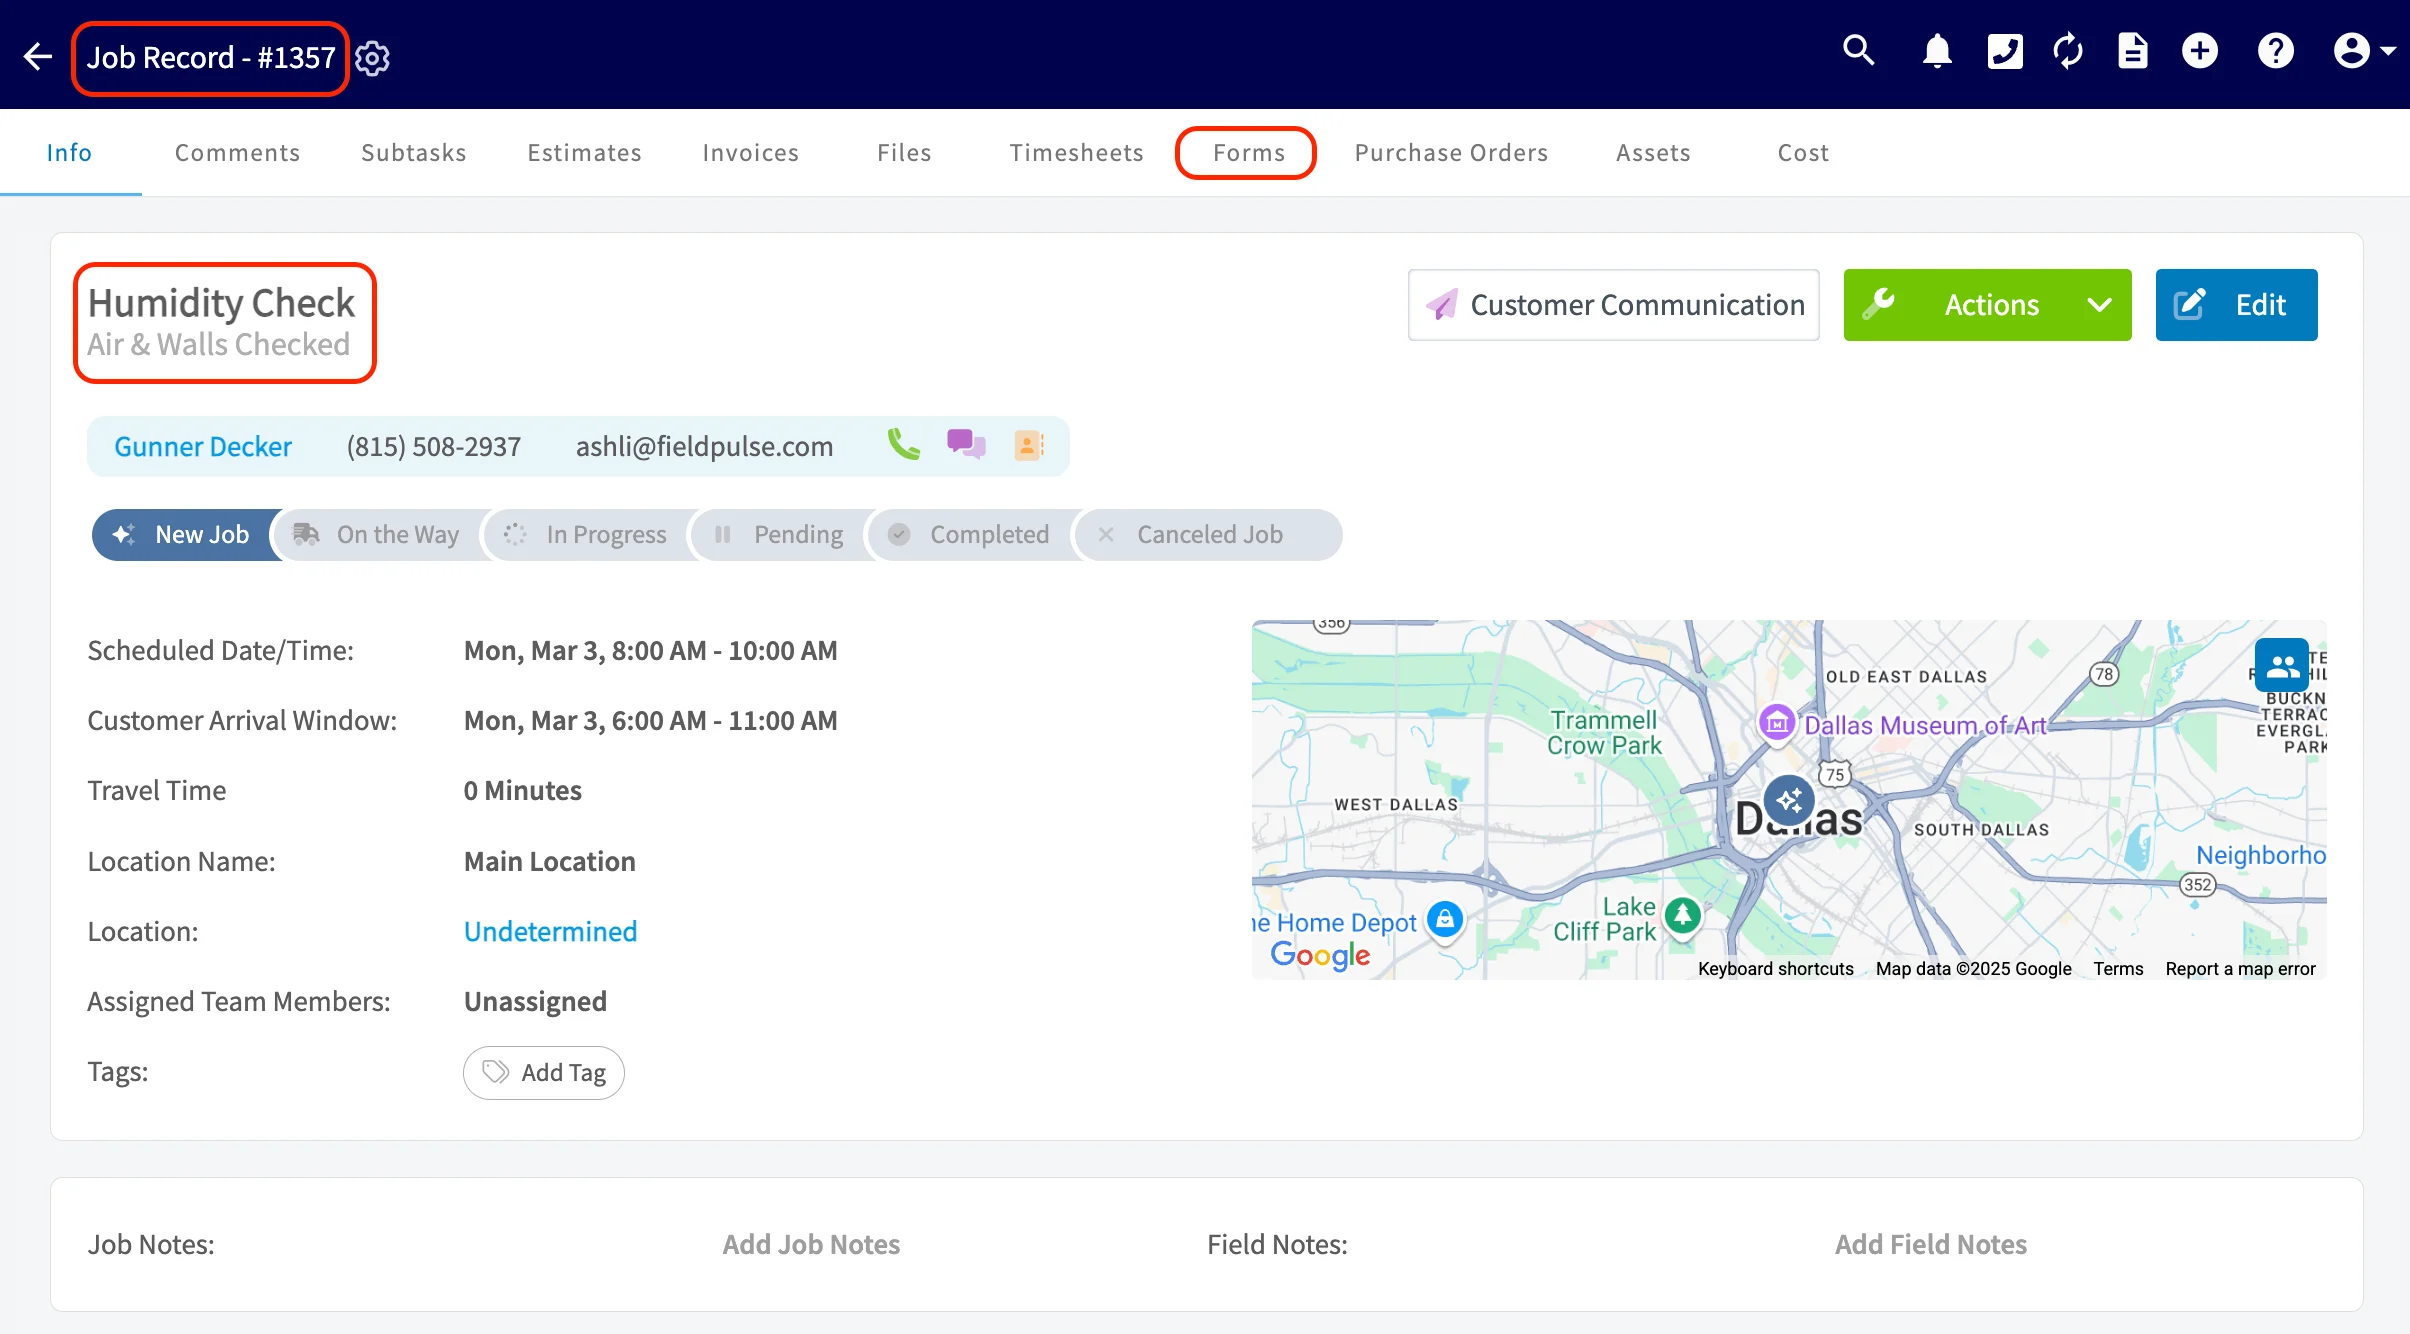
Custom Forms on Job Templates
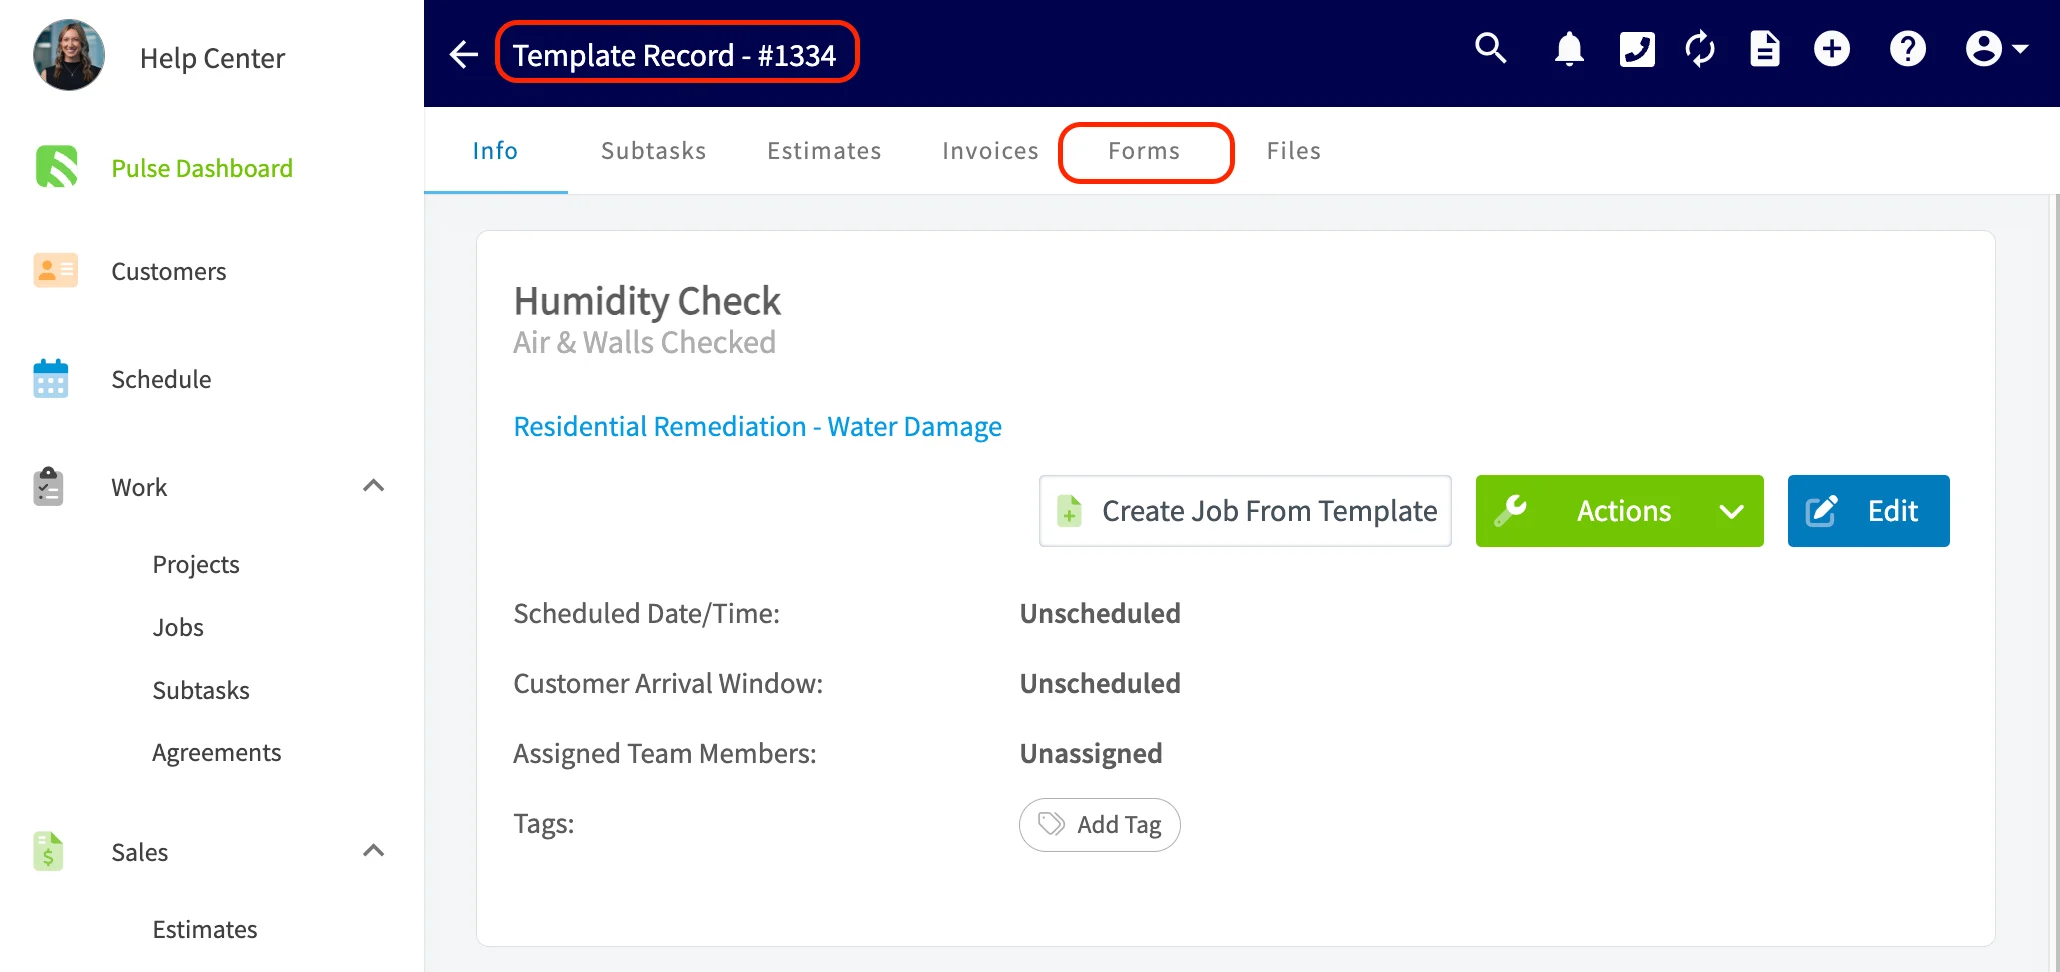
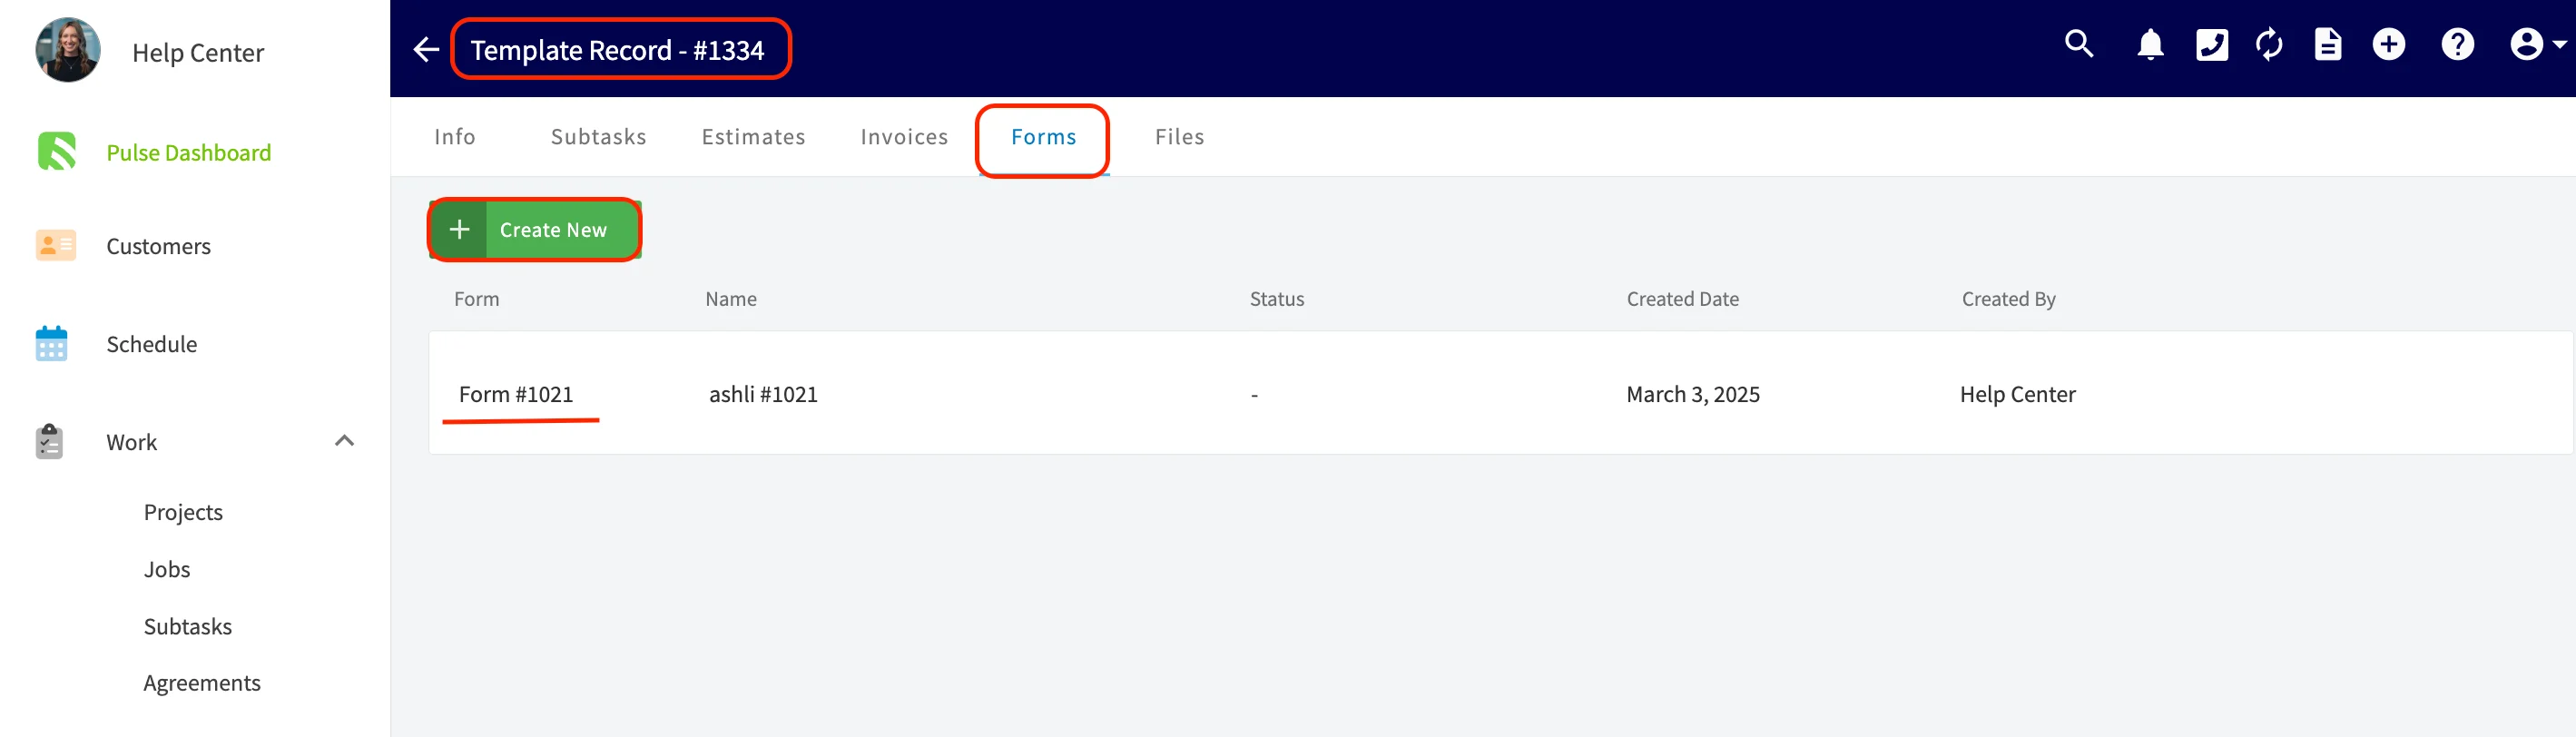
You can now easily create standardized job templates that include pre-designed Custom Forms that you’ve created or imported! This will save you time and ensure that there is consistency and accuracy in the information you and your team are gathering. This is available on the web app as well as our mobile app! From the menu on the left-hand side of your screen select Jobs under the Work tab. Locate the Templates tab from the top menu and then click into one of your job templates. In the example shown below, I am clicking into the job template titled “Humidity Check”.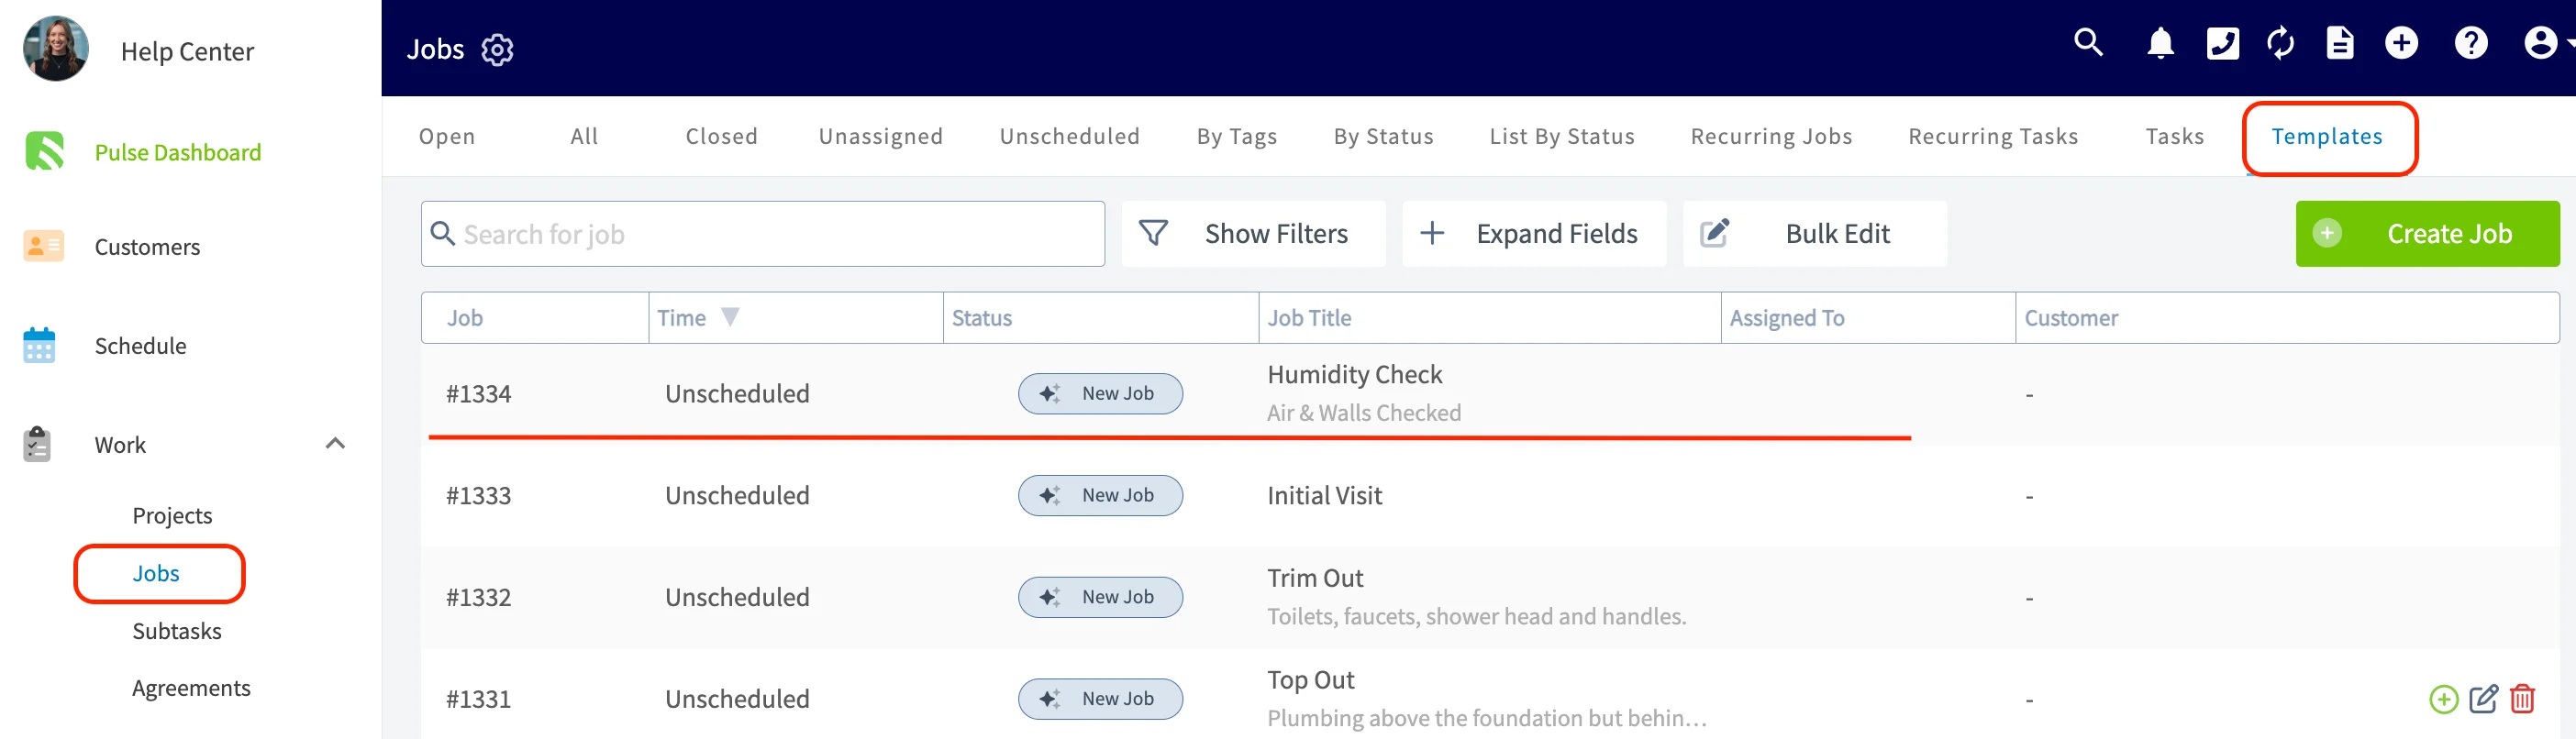

Adding a Material List to a Template
To ensure every job has the materials it needs, you can also create and manage Material Lists directly on Job Templates, just like you do for Estimates and Invoices. This allows you to standardize the materials required for common jobs and save time by automatically populating them when you create a new job. From the template record, you will find a new Materials tab next to the Subtasks tab. Simply click this tab and add materials to the list just as you would on an Estimate or Invoice. Once saved, these materials will be automatically included in any new job created from this template, ensuring consistency and accuracy.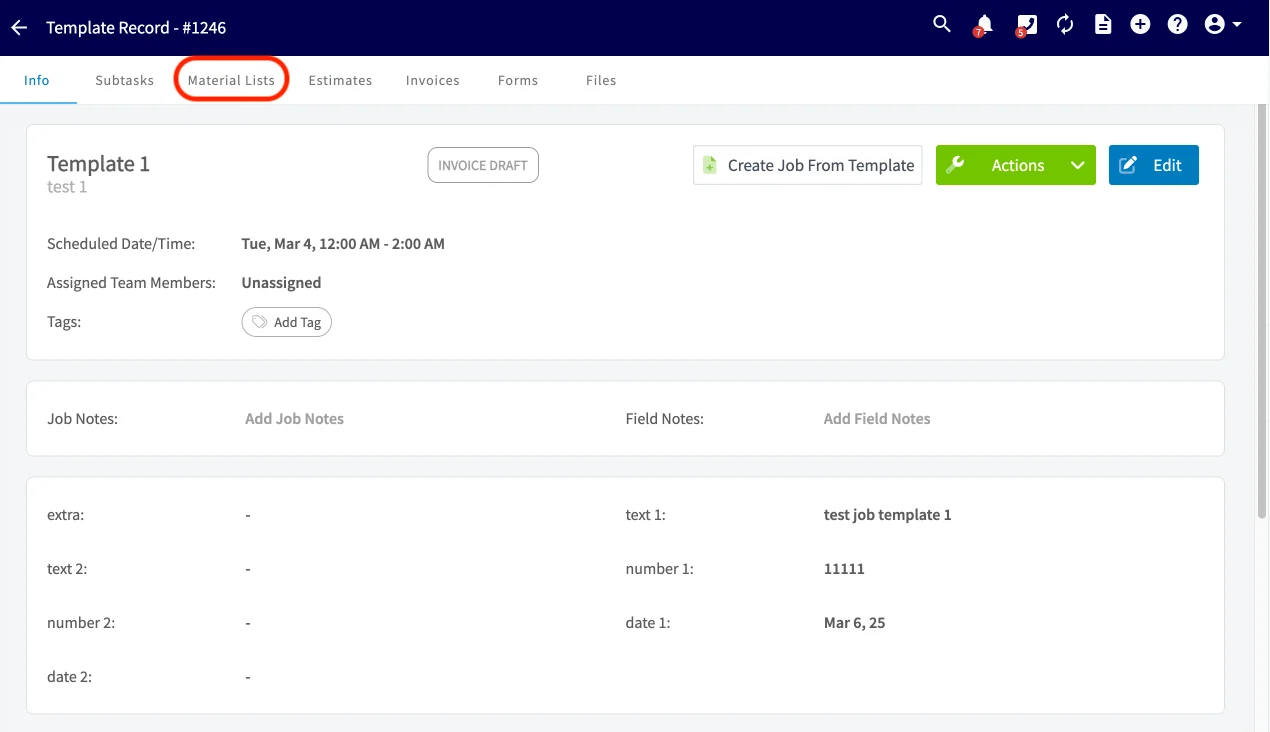
Using Job Templates
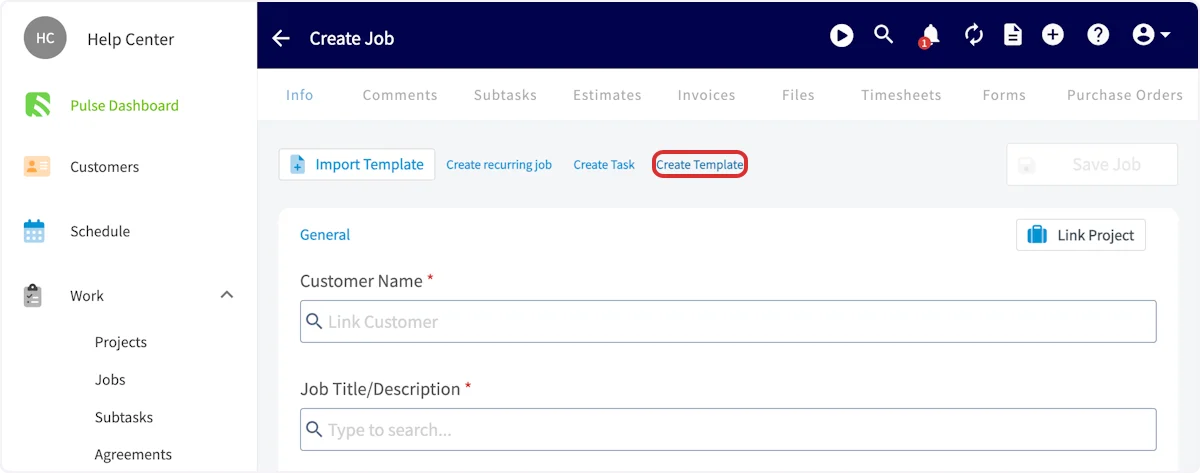
To use a job template, begin by selecting Create Job, then select Import Template before entering any details. You can then choose a template from the dropdown list. The template details will auto-populate into your job record, saving you time and ensuring consistency.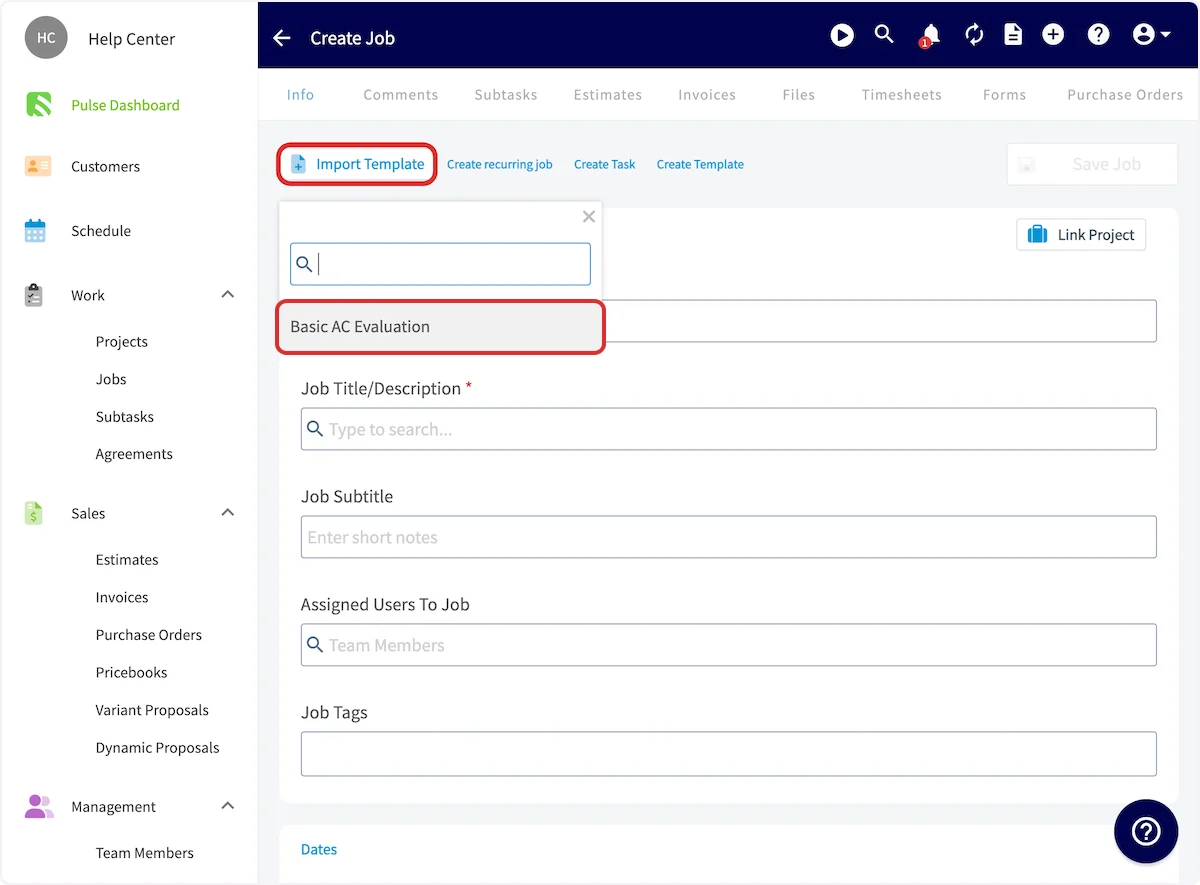
On Mobile: Field Experience
Creating a Template
To create a job template, follow the process of creating a new job. Once you are creating a new job record, toggle on Save as Template in the top right corner. The details you enter for this job will now be saved as a template for future use!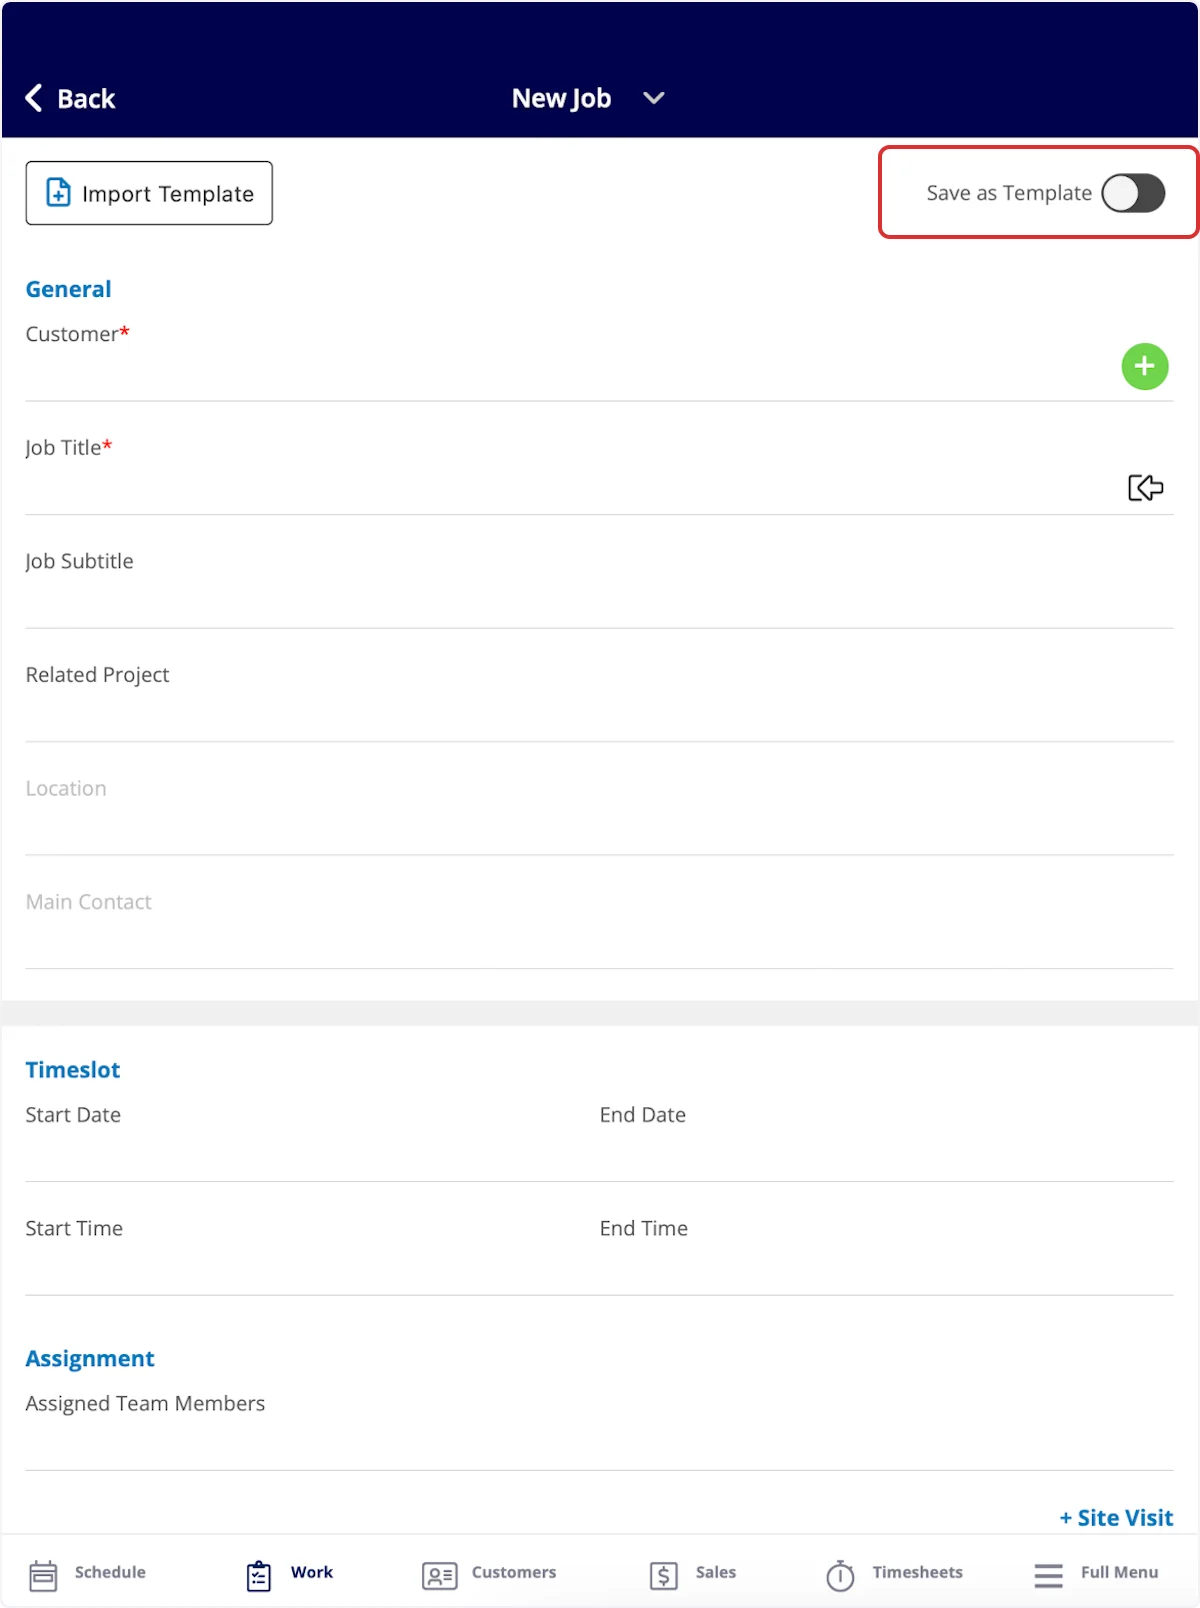
Using a Template
If you’d like to use a job template in the future, select Import Template in the top left corner when creating a job.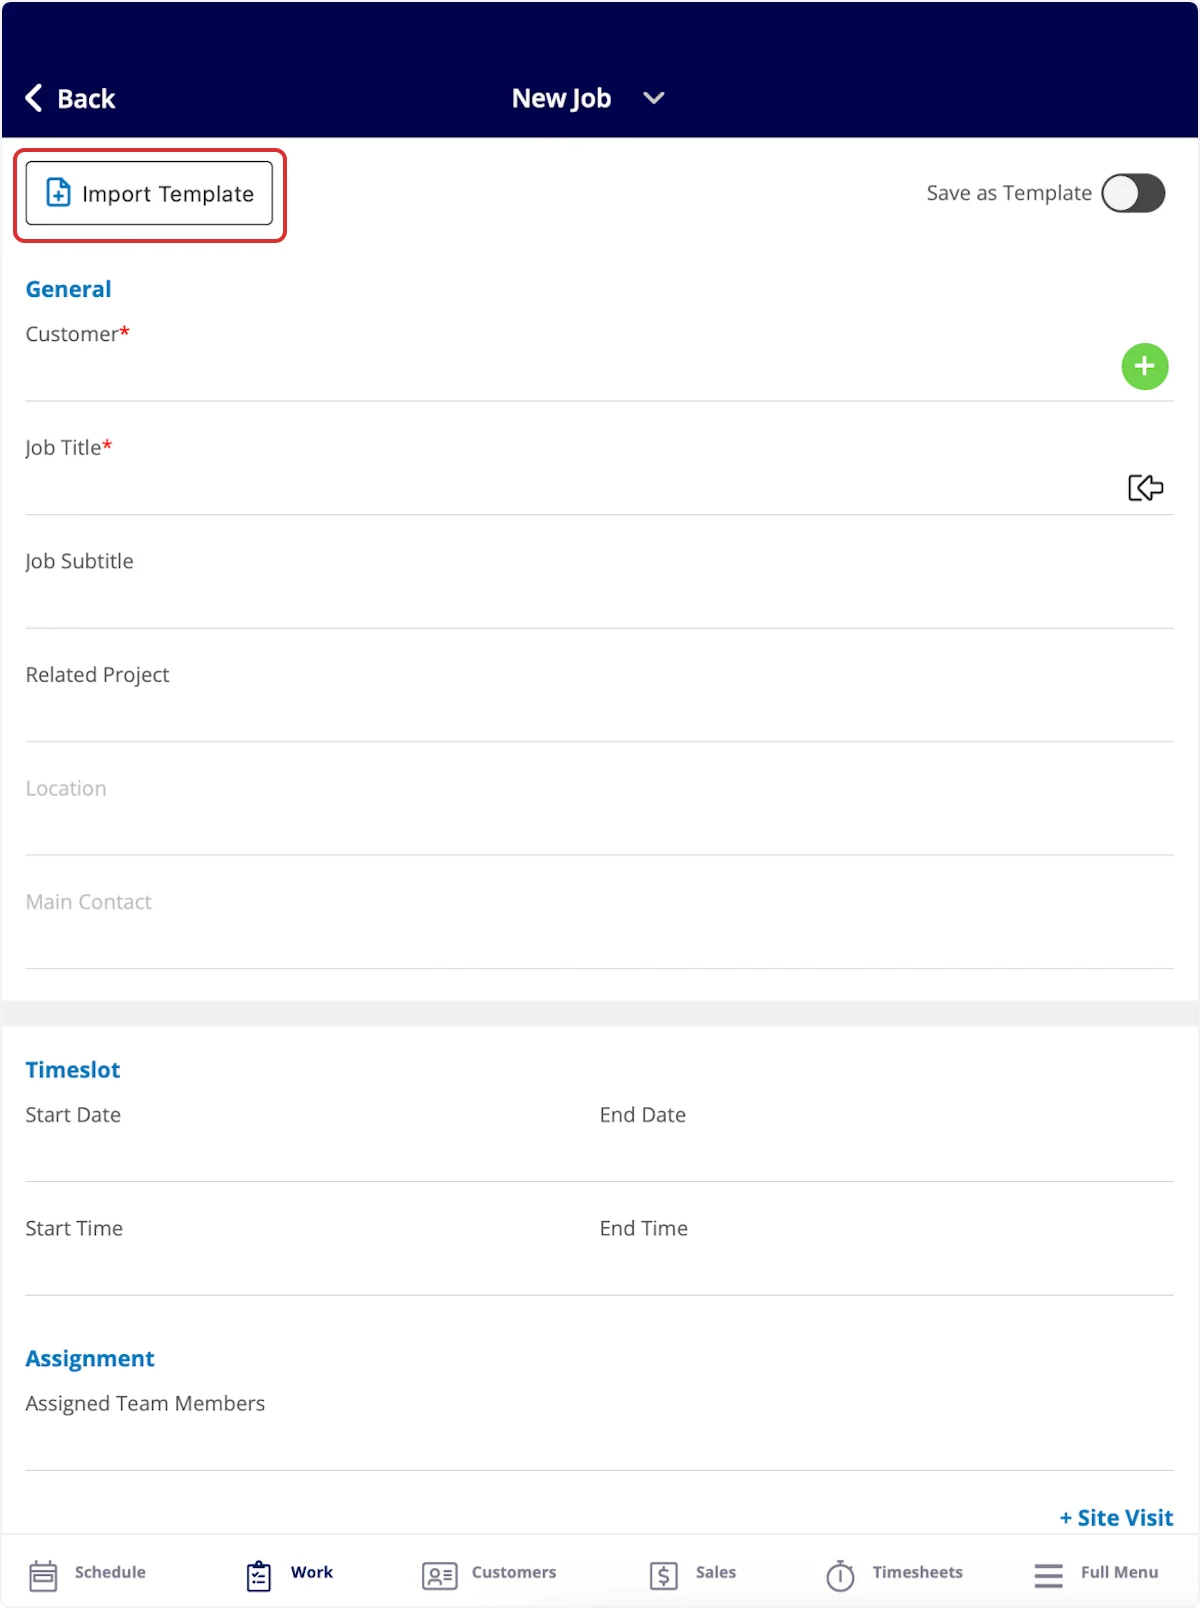
Viewing All Templates
To view all of your job templates, navigate to the Work tab in the bottom menu and then select Templates.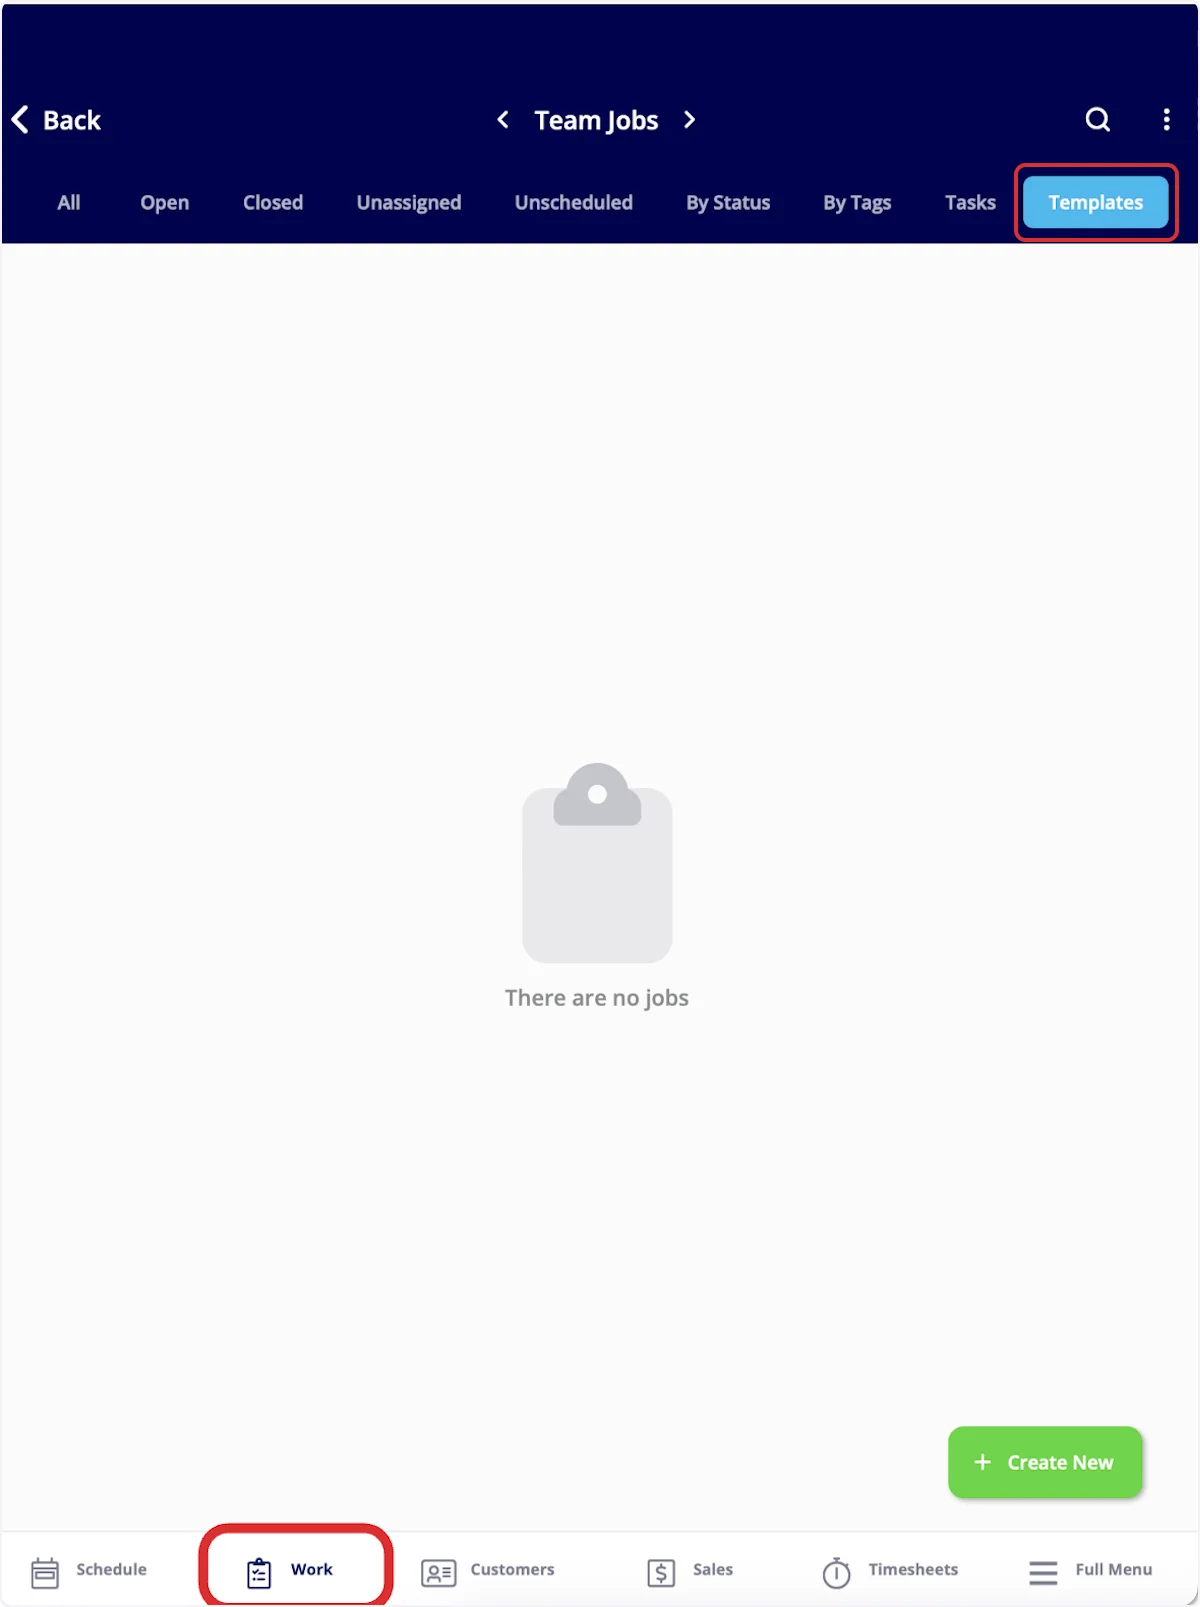
FAQs
Will folders set up on a Job template be carried over to any Job created using that template? Yes, folders created on Job templates will populate into instances where Job templates are used.Video Tutorial
Web App
Mobile App
Have additional questions? Contact us at support@fieldpulse.com or use the chat feature in the bottom right corner of your screen.