There are several areas where you can create a job in the mobile app:
Pulse Dashboard
Schedule tab on the bottom menu
Work tab on the bottom menu
Customer tab on the bottom menu
Method 1: Pulse Dashboard
From the Pulse Dashboard, you can select Create Job towards the top of the screen or select Create New under Today's Jobs. Both will allow you to create and save a new job record.
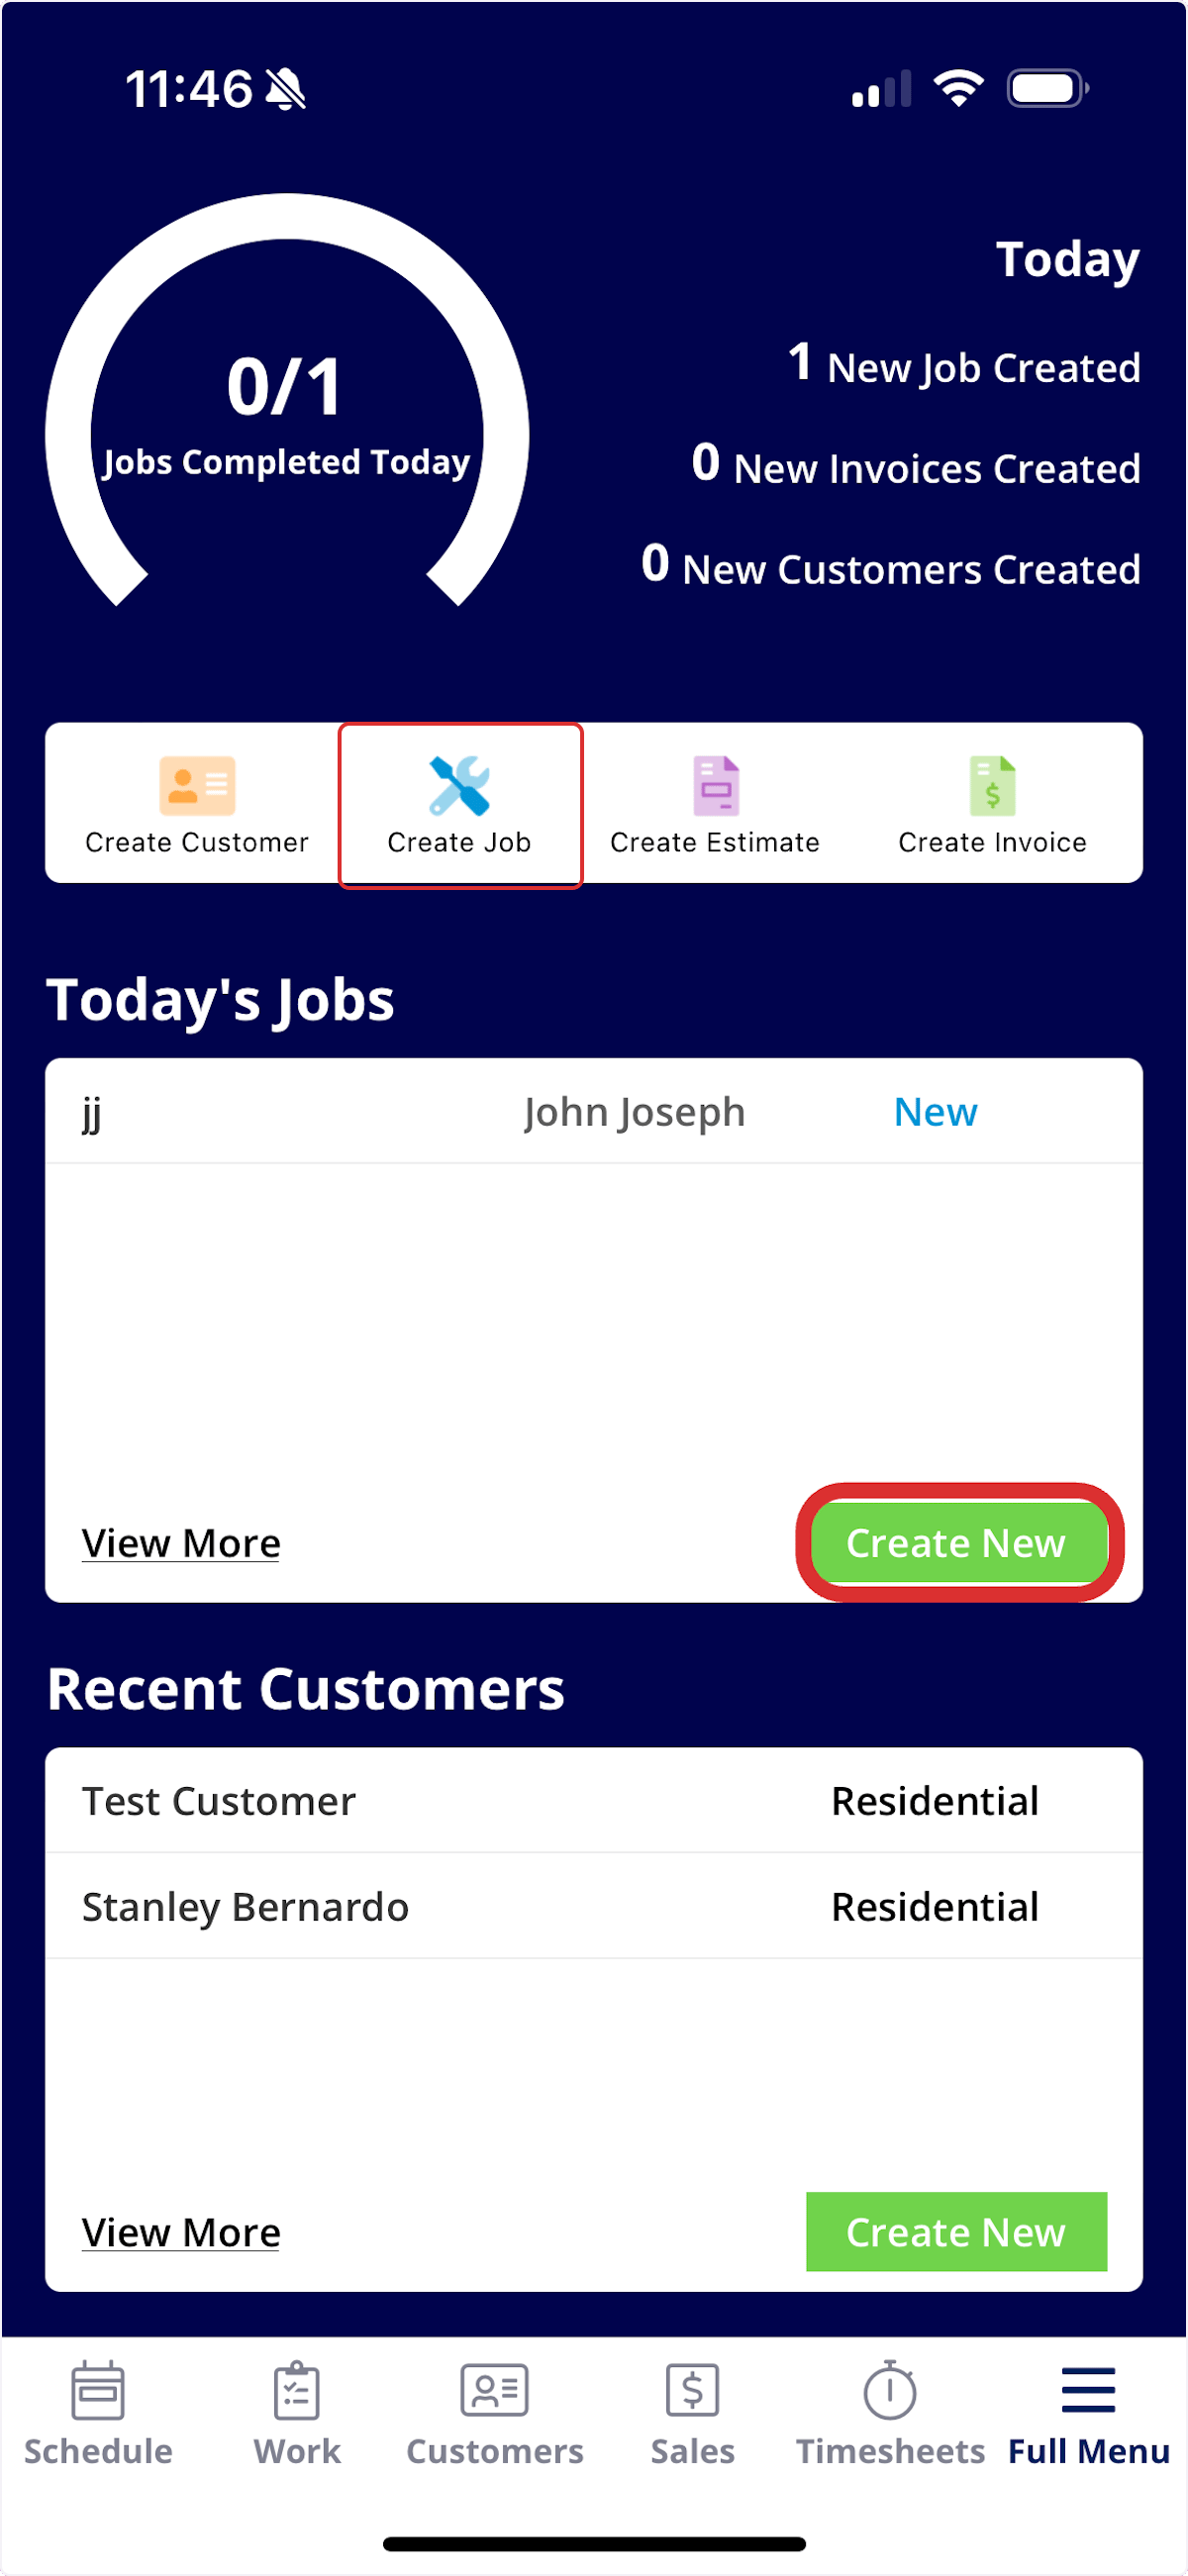
Method 2: Schedule Tab
From the Schedule tab in the bottom menu, you can select Create New. This will allow you to create and save a new job record.
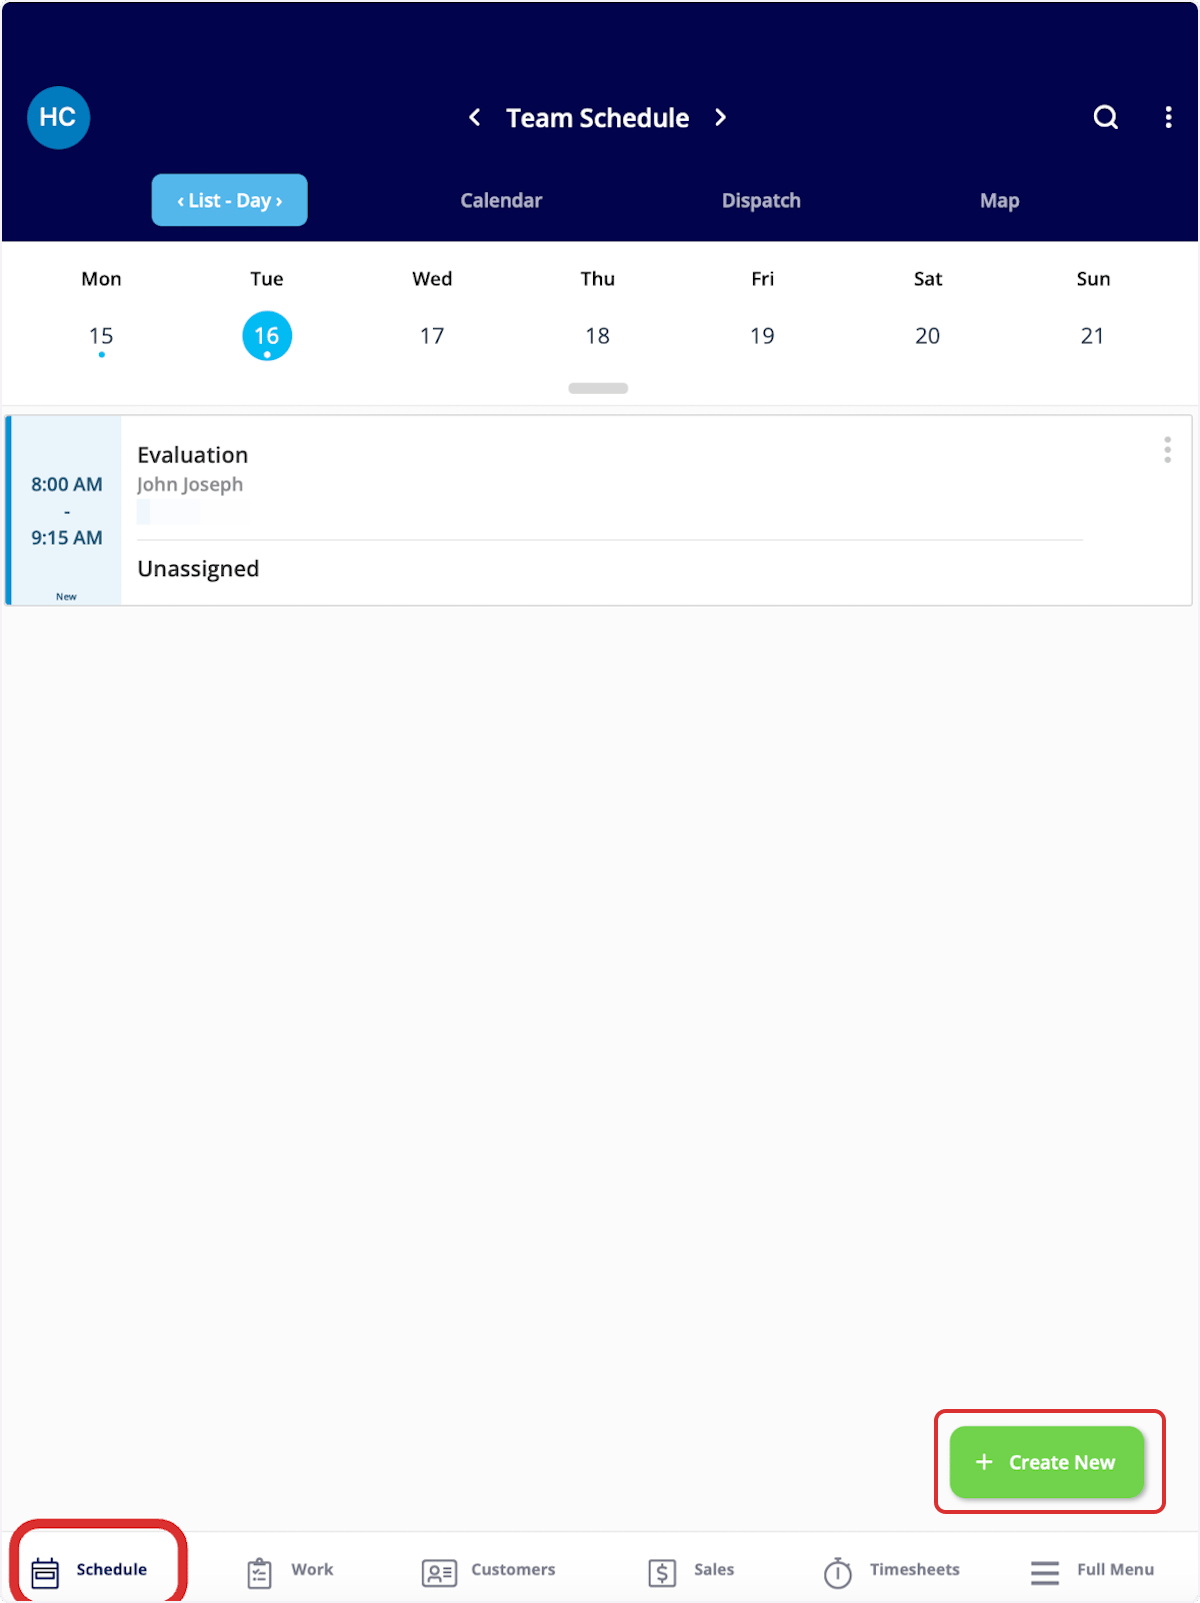
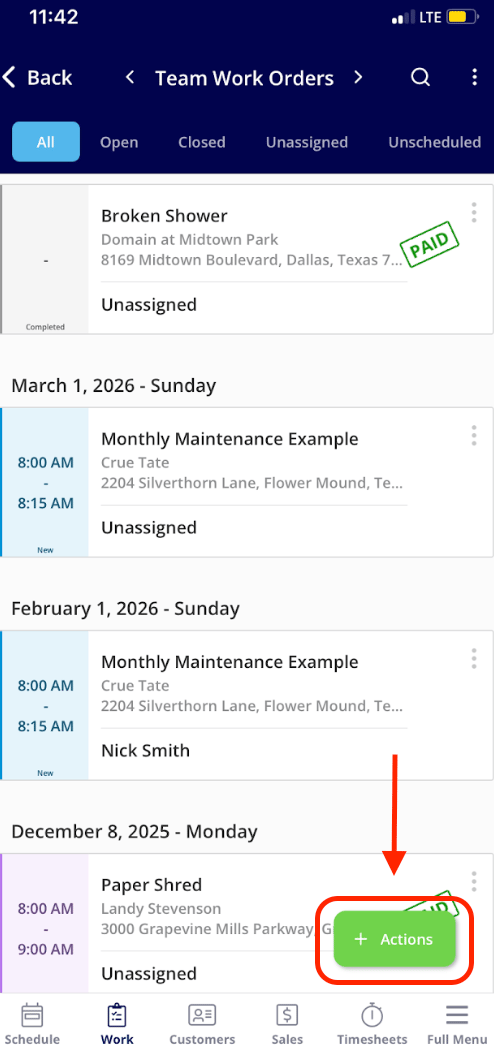
Method 3: Work Tab
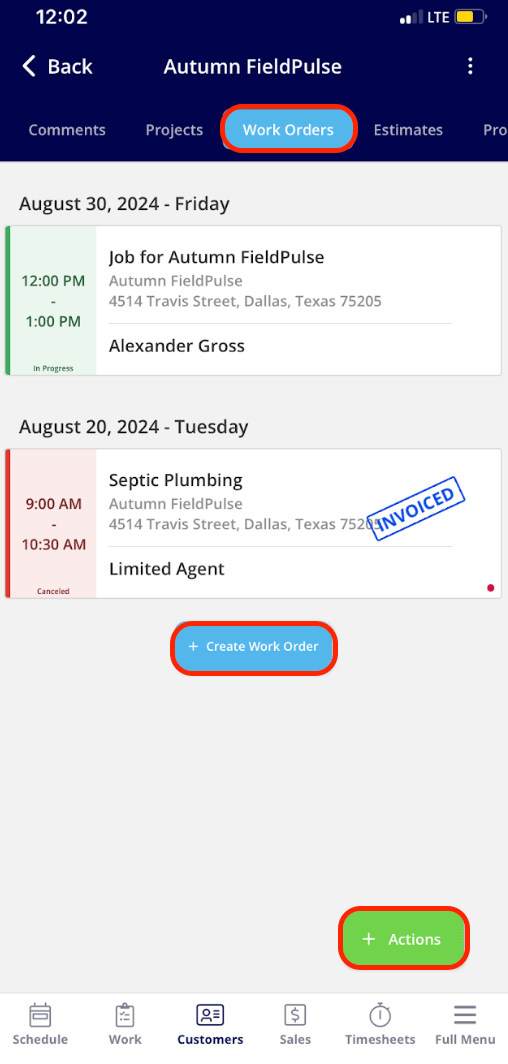
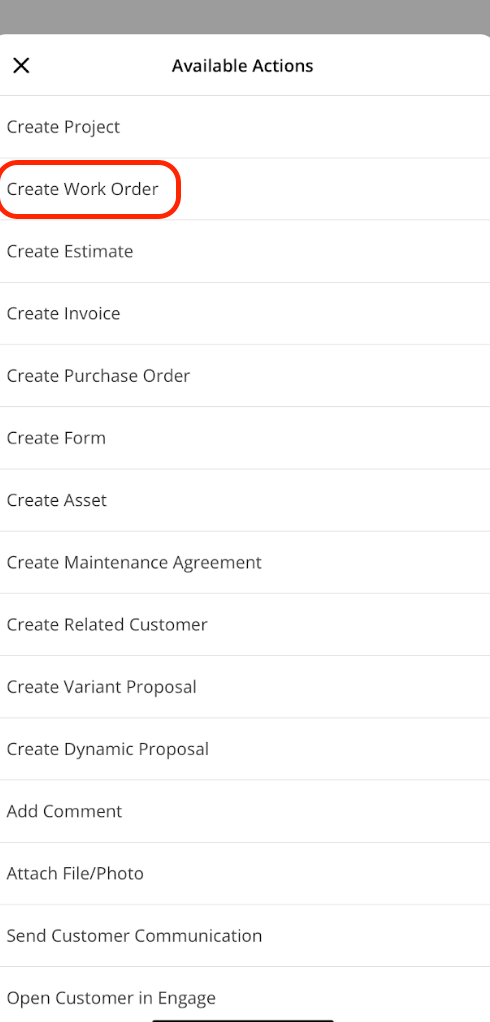
From the Work tab in the bottom menu, you can select Work Orders or Actions. Actions will present you with a menu of work-related actions, including creating a job. Alternatively, Jobs will show you all of your jobs, as well as allow you to create a new job.
If you selected Work Orders, click the Actions button to create a new job.
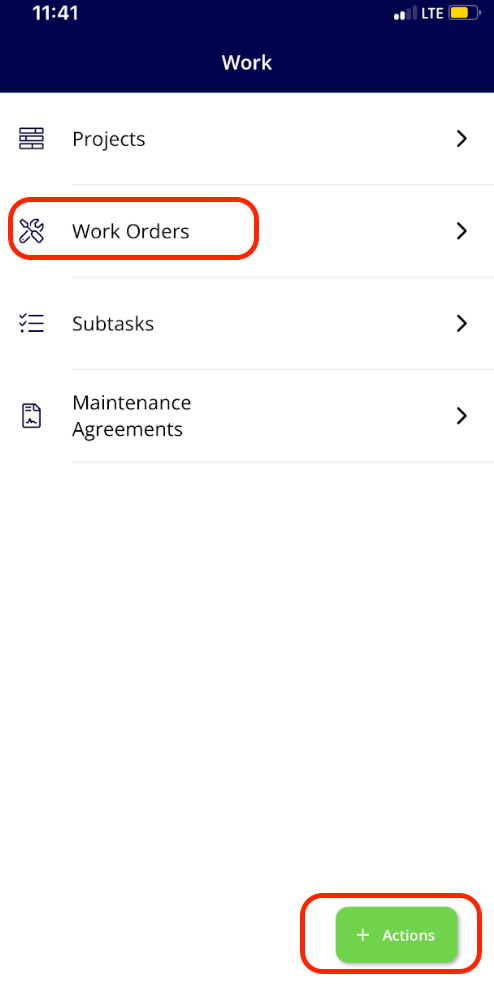
Method 4: Customers Tab
From the Customers tab in the bottom menu, click on a customer to open their customer record.
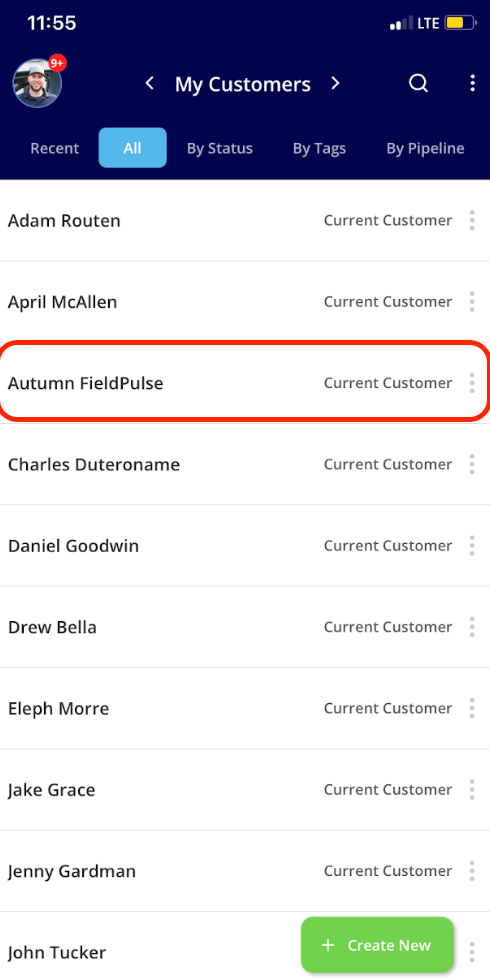
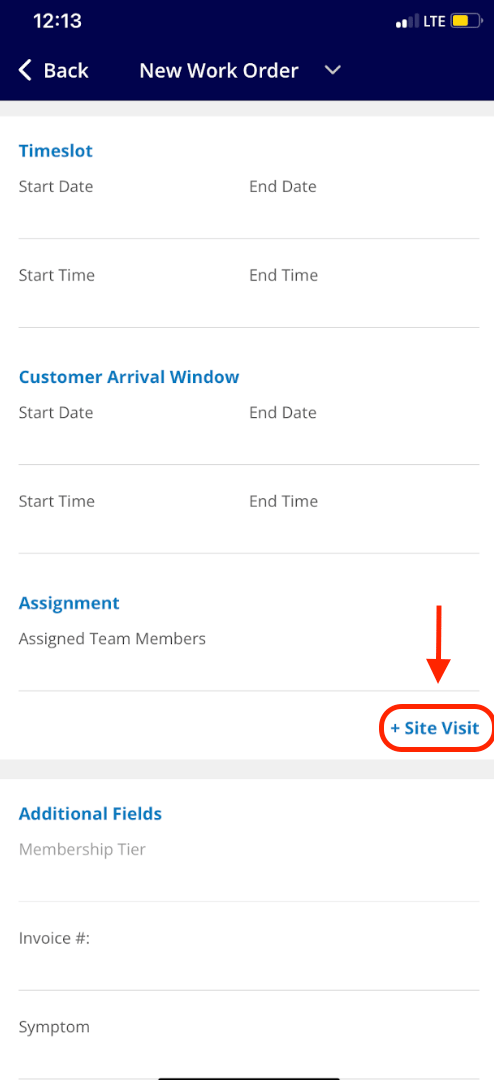
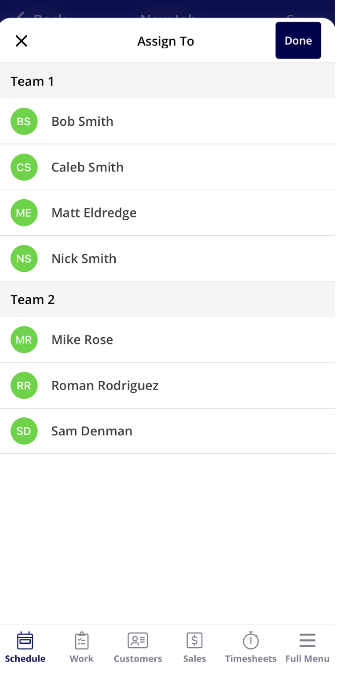
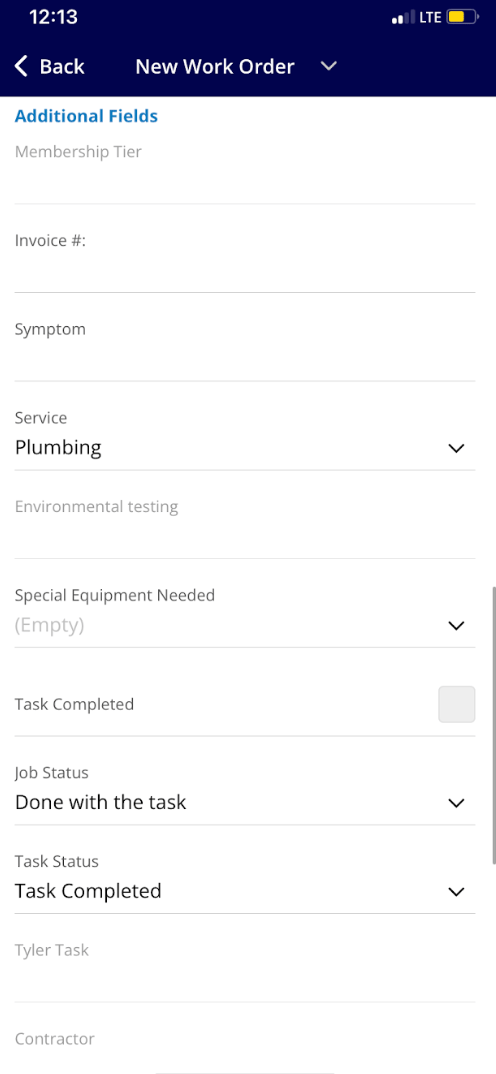
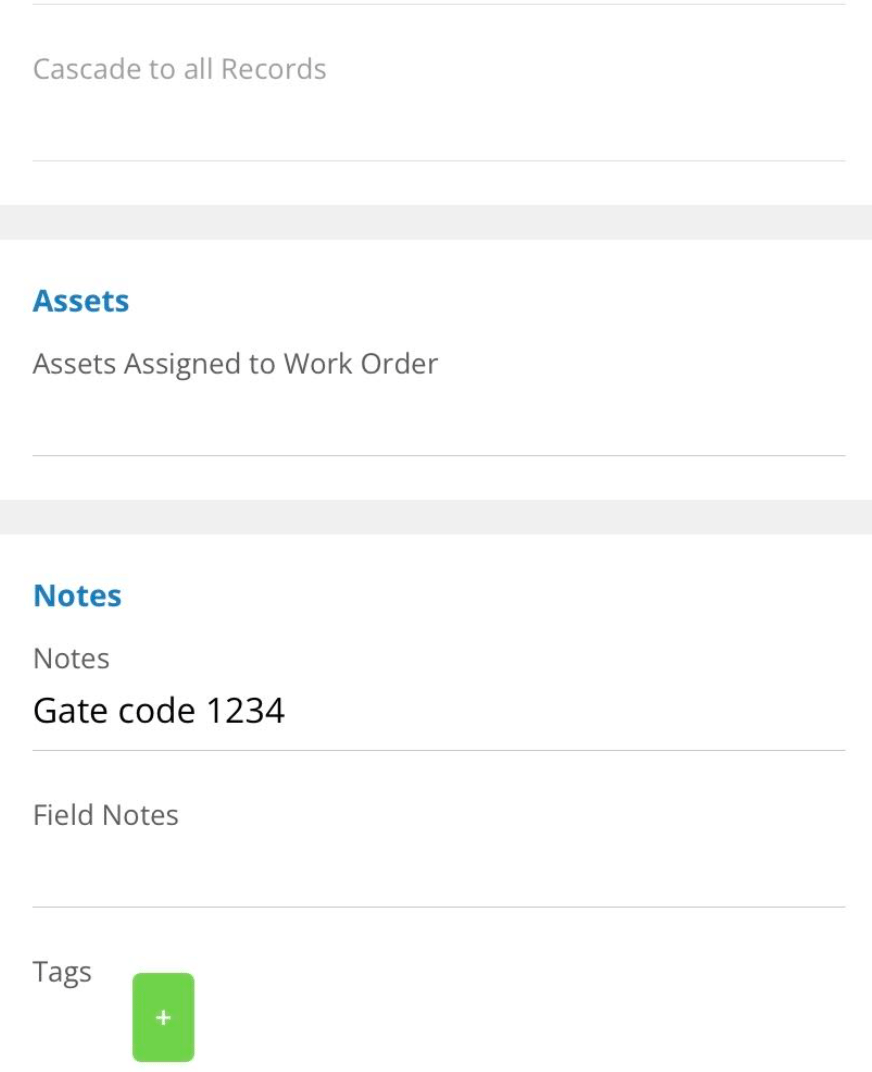
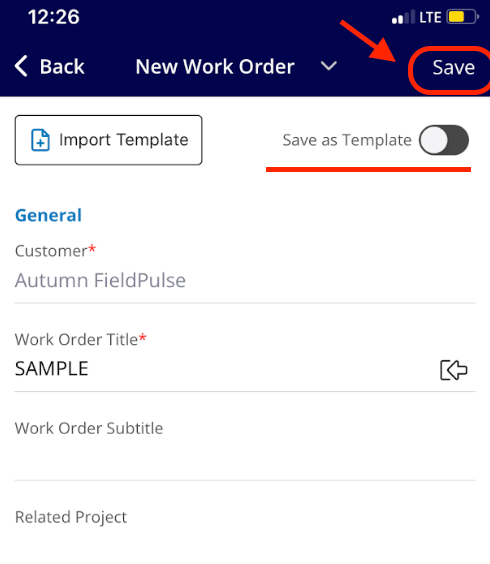
From here, you can select Work Orders to view existing jobs for this customer and create a new one. Additionally, you can select Actions, which will present you with a menu of customer-related actions, including creating a work order.
If you selected Actions, click Create Job to create a new job.
Adding Job Details
From here, you can begin filling in the job details. You will need to attach a customer. You can use a current customer or create a new customer. You also have the ability to customize the job title.
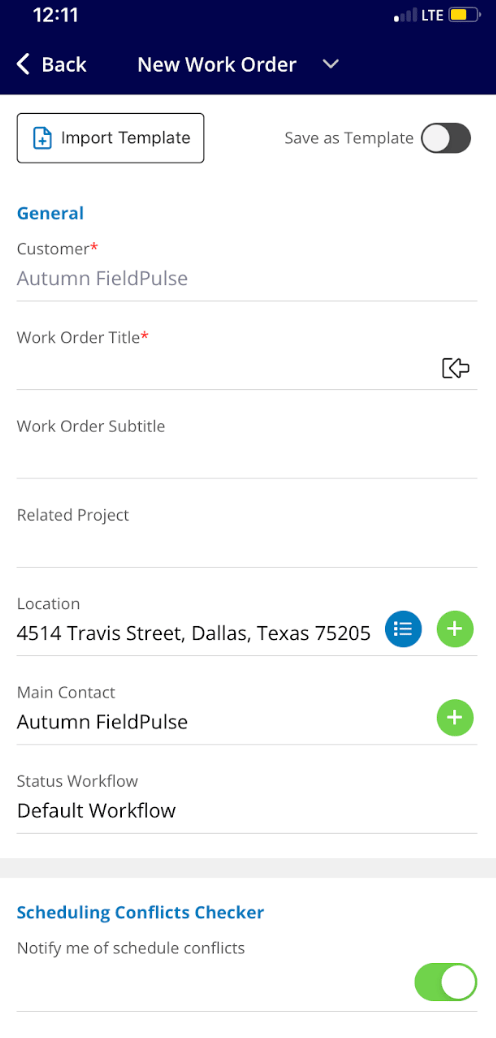
If the job you are scheduling requires an additional visit, you can select Site Visit to schedule the next occurrence.
You can then assign teams or team members to the job.
If additional fields have been added, here is where you would view and fill them out:
Here is where you can add any assets to the work order as well as notes and tags.
When you are finished entering the details (required fields must be filled out before the Save button will appear), click Save in the top right corner. You also have the option to save the job as a template by turning the toggle on.
After saving, you'll see all the details of the job appear. If you want to edit the job again in the future, select Edit in the top right corner.
If you click the Schedule tab in the bottom menu, you'll be able to view the newly scheduled job on the calendar.
Video Tutorial
Have additional questions?
Contact us at support@fieldpulse.com or use the chat feature in the bottom right corner of your screen.