Overview
As an admin or manager, you can view your team member’s timesheets on a daily, weekly, or monthly basis, as well as open the team member’s specific log to view or modify details. If the team member clocked in or clocked out via the mobile app, you can also access the geotagged location to confirm their location at the time of their clock in.Prerequisites
Before you can use Timesheets, make sure the following is in place:- Timesheets are enabled in your account
On Web: Admin Experience
Getting Started
To begin using employee timesheets, you’ll first need to enable it. Start by clicking on Company Settings and selecting Features & Plugins. Navigate to Employee Timesheets and select Enable. Now you’re ready to begin tracking your employees’ hours!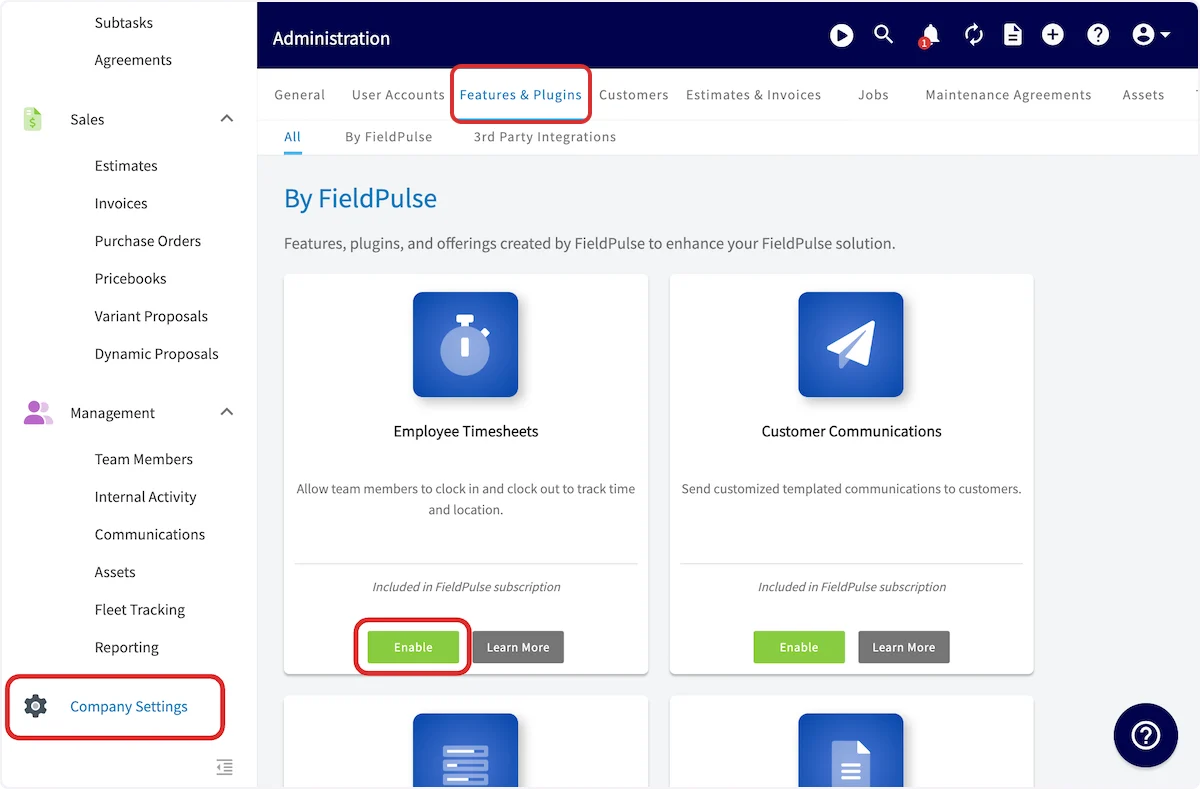
-
General Timesheets
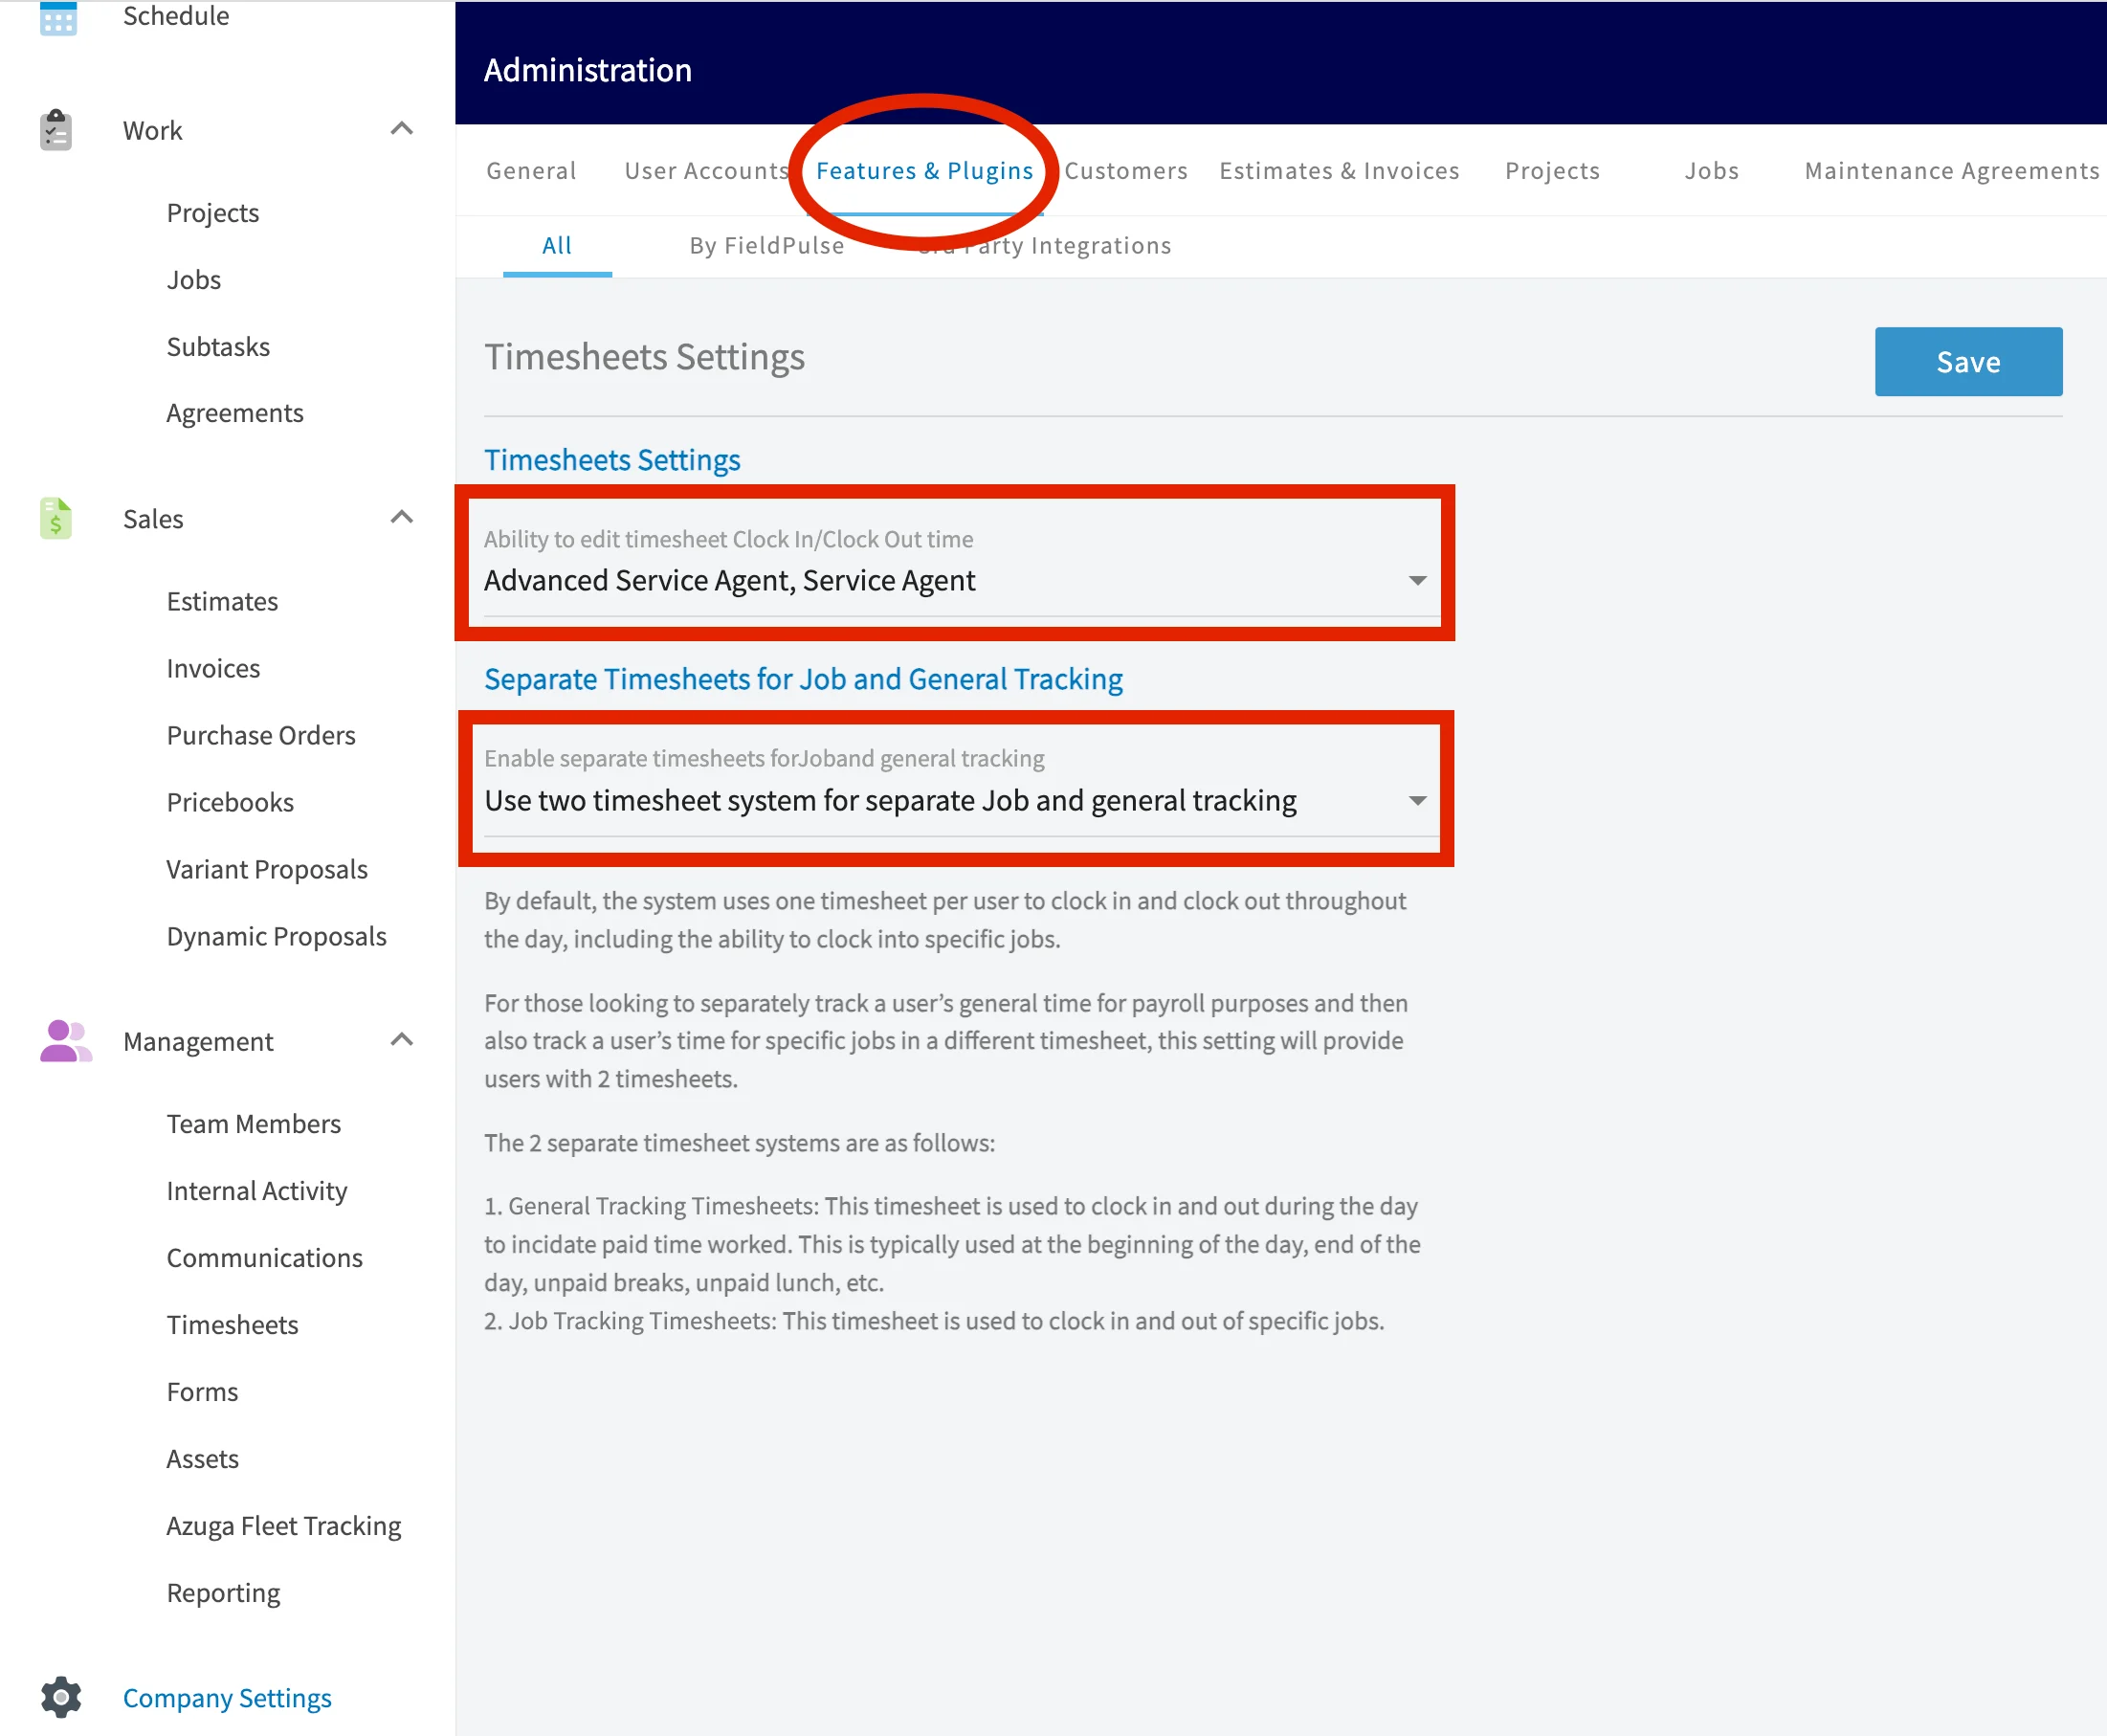
- The ‘General’ timesheet is used to clock in and out for the day usually for payroll purposes. General timesheets are not tied to any specific job.
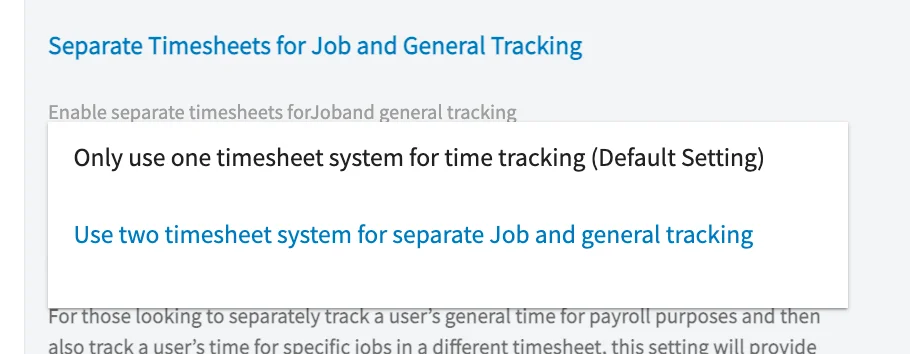
- If you select Only use one timesheet system for time tracking, then your team will only have the option to clock into the General Timesheets.
-
Job Tracking Timesheets
- If you want to enable separate timesheets for job and general tracking, select Use two timesheets system for separate job and general tracking from the dropdown menu.
- The Job Tracking timesheet is tied to a specific job or task and is used to track the amount of time spent on that job.
Clocking In and Out in the Web App
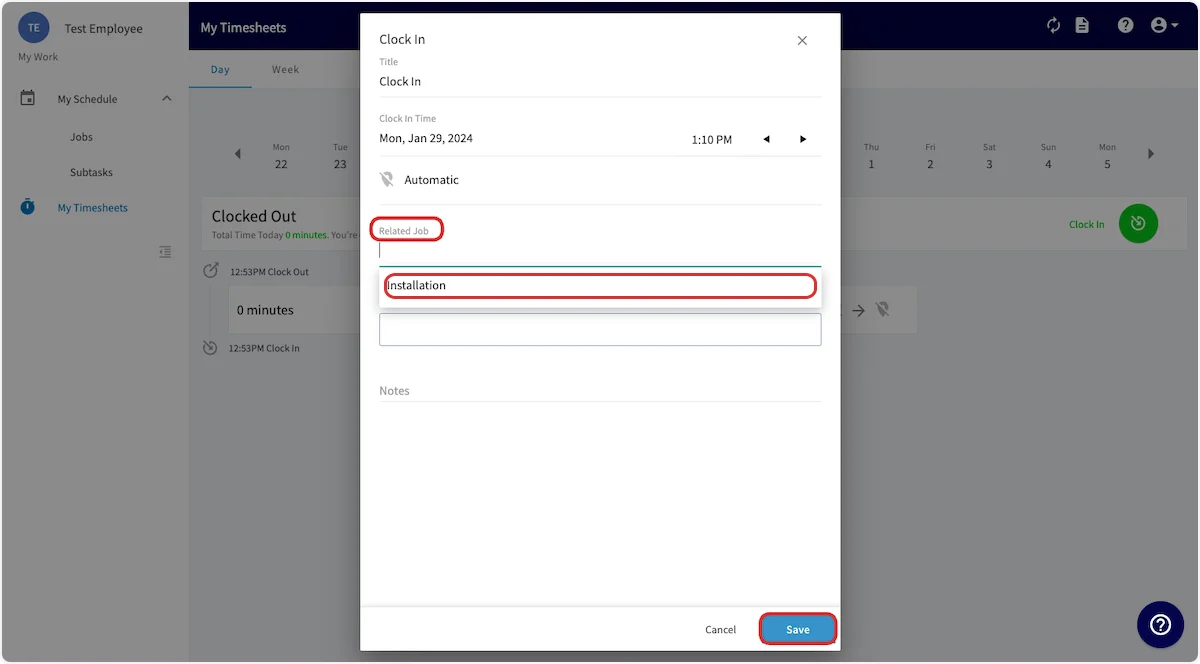
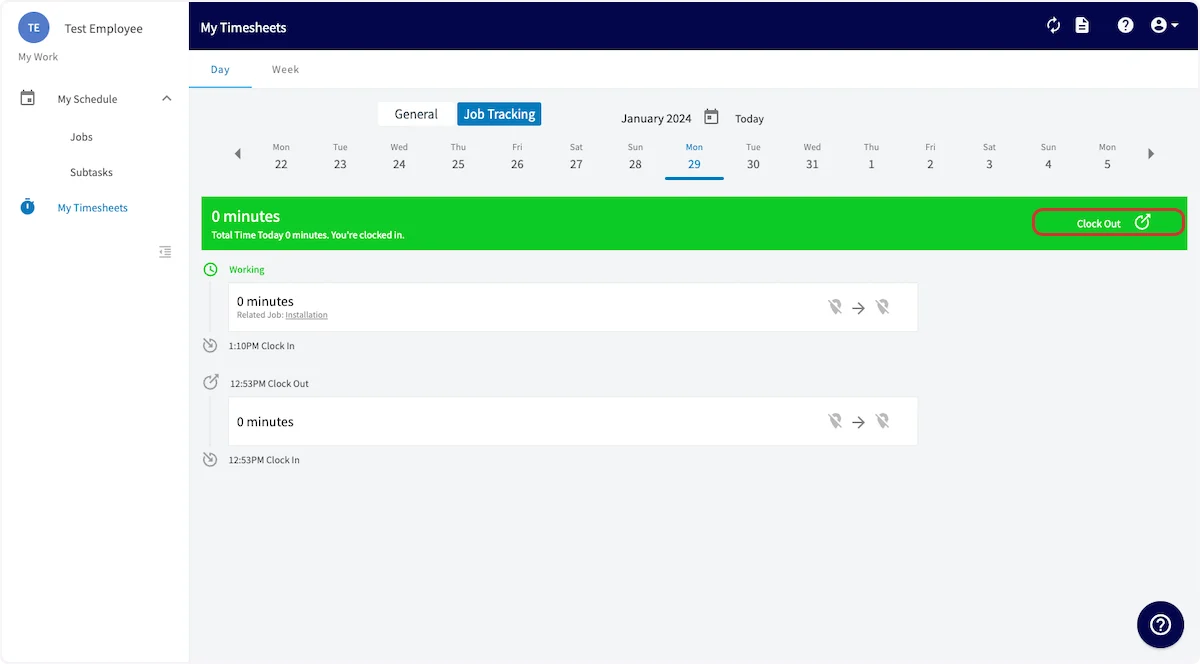
FieldPulse allows your team members to clock in and clock out to track time. Each time a team member clocks in or clocks out from their mobile app, their location is automatically tagged for you to verify their location. While this is the most common method, you can also clock in and out from the WebApp. Begin by selecting My Timesheets from the left-side menu. (Note this walkthrough is from the Service Agent view. Team Managers and Admin will have a similar process, but more options in the left-side menu. You can now select General or Job Tracking to determine which timesheet you’d like to clock into. Once you’ve selected your timesheet, click Clock In.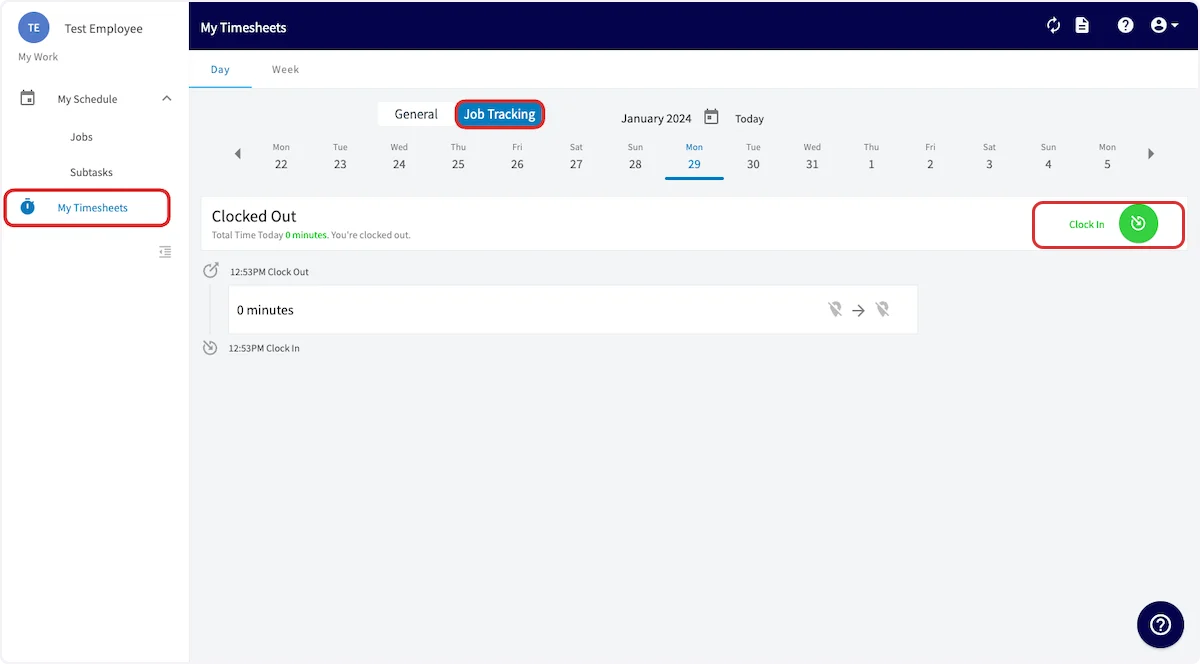
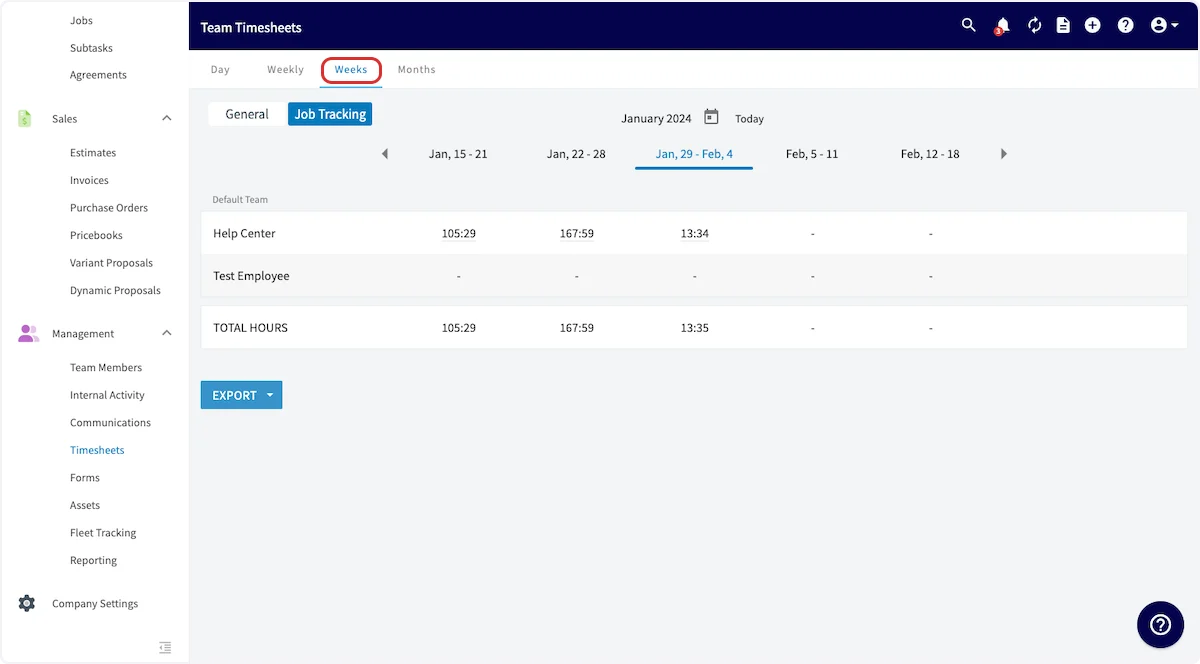
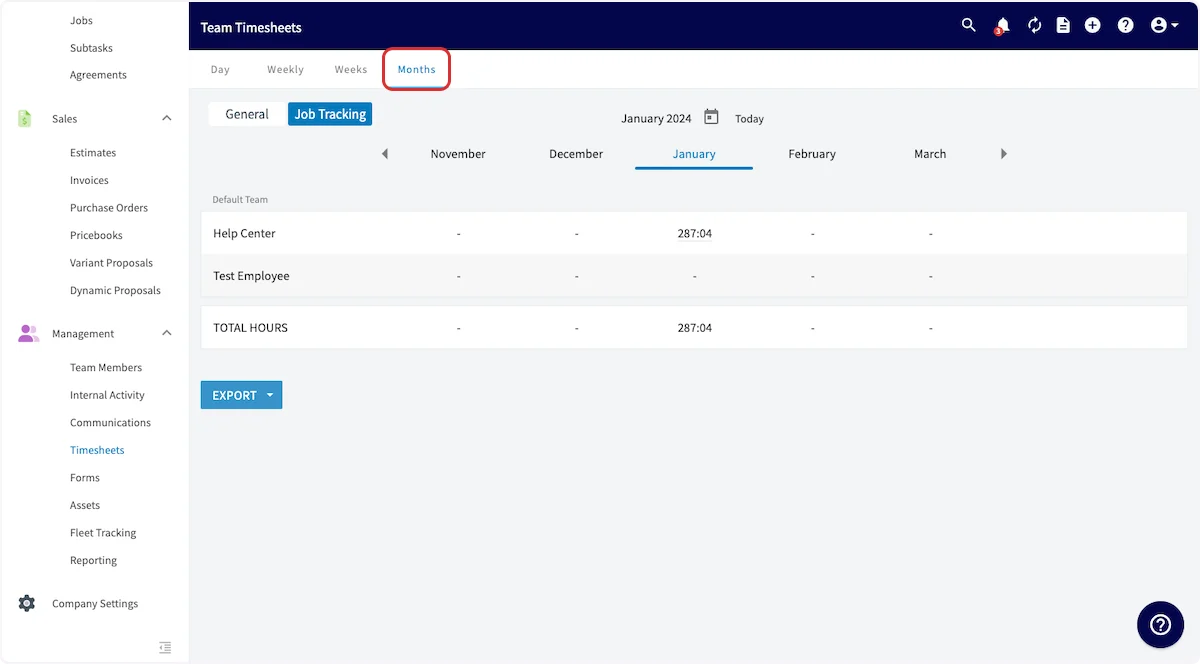
Team Timesheet Views
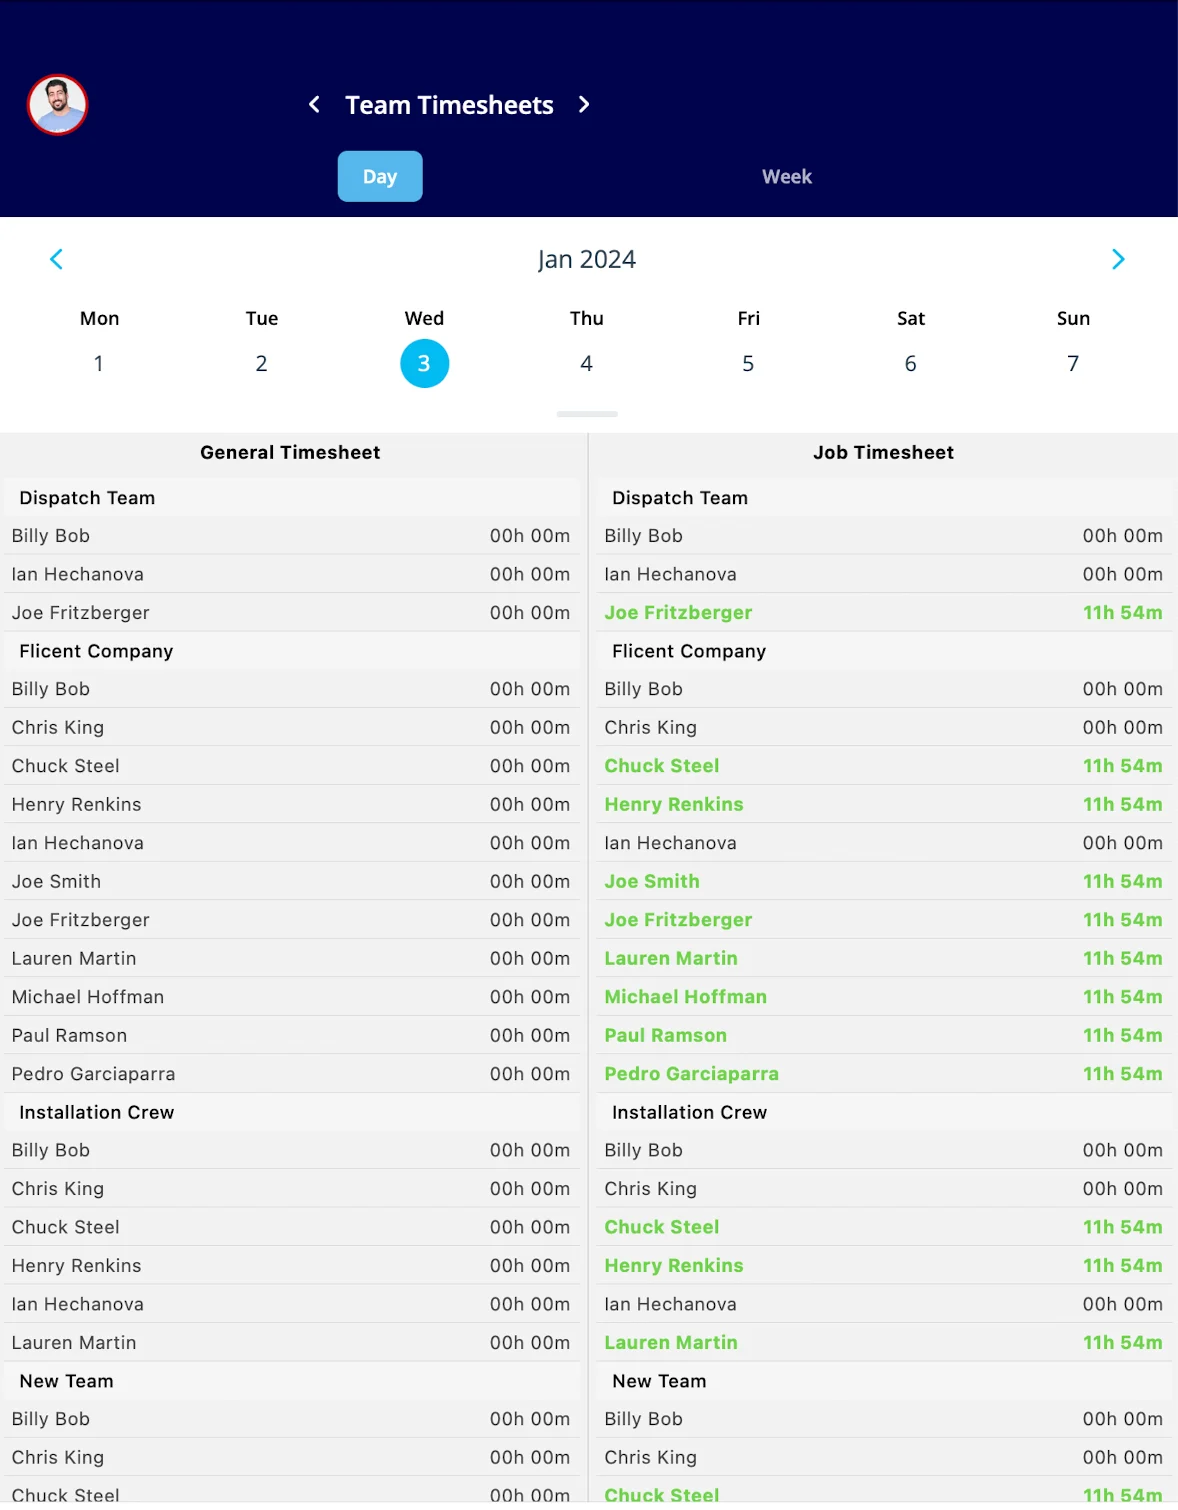
To begin, select Timesheets in the left-side menu. You can view your timesheets or your team’s timesheets by toggling between My and Team, as well as select the timesheets displayed by General or Job Tracking. You can also view your team’s timesheets in a variety of ways. When reviewing timesheets under Day, you can display your timesheets in Overview, Dispatch, or Map view.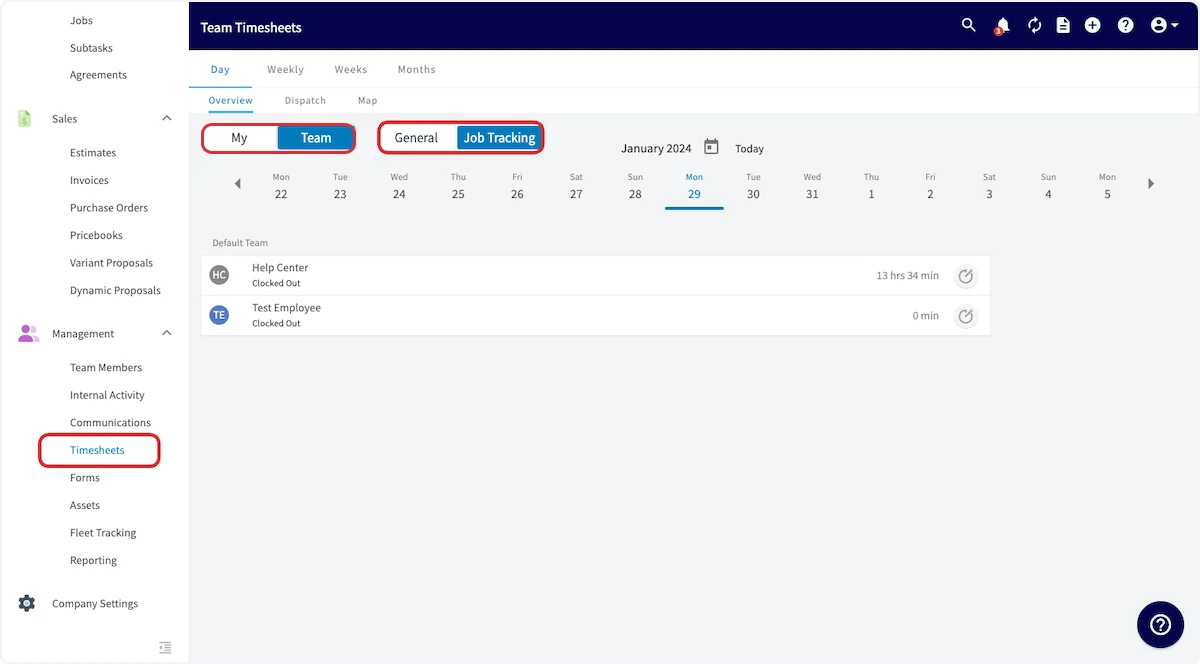

Clock-In & Clock-Out Locations
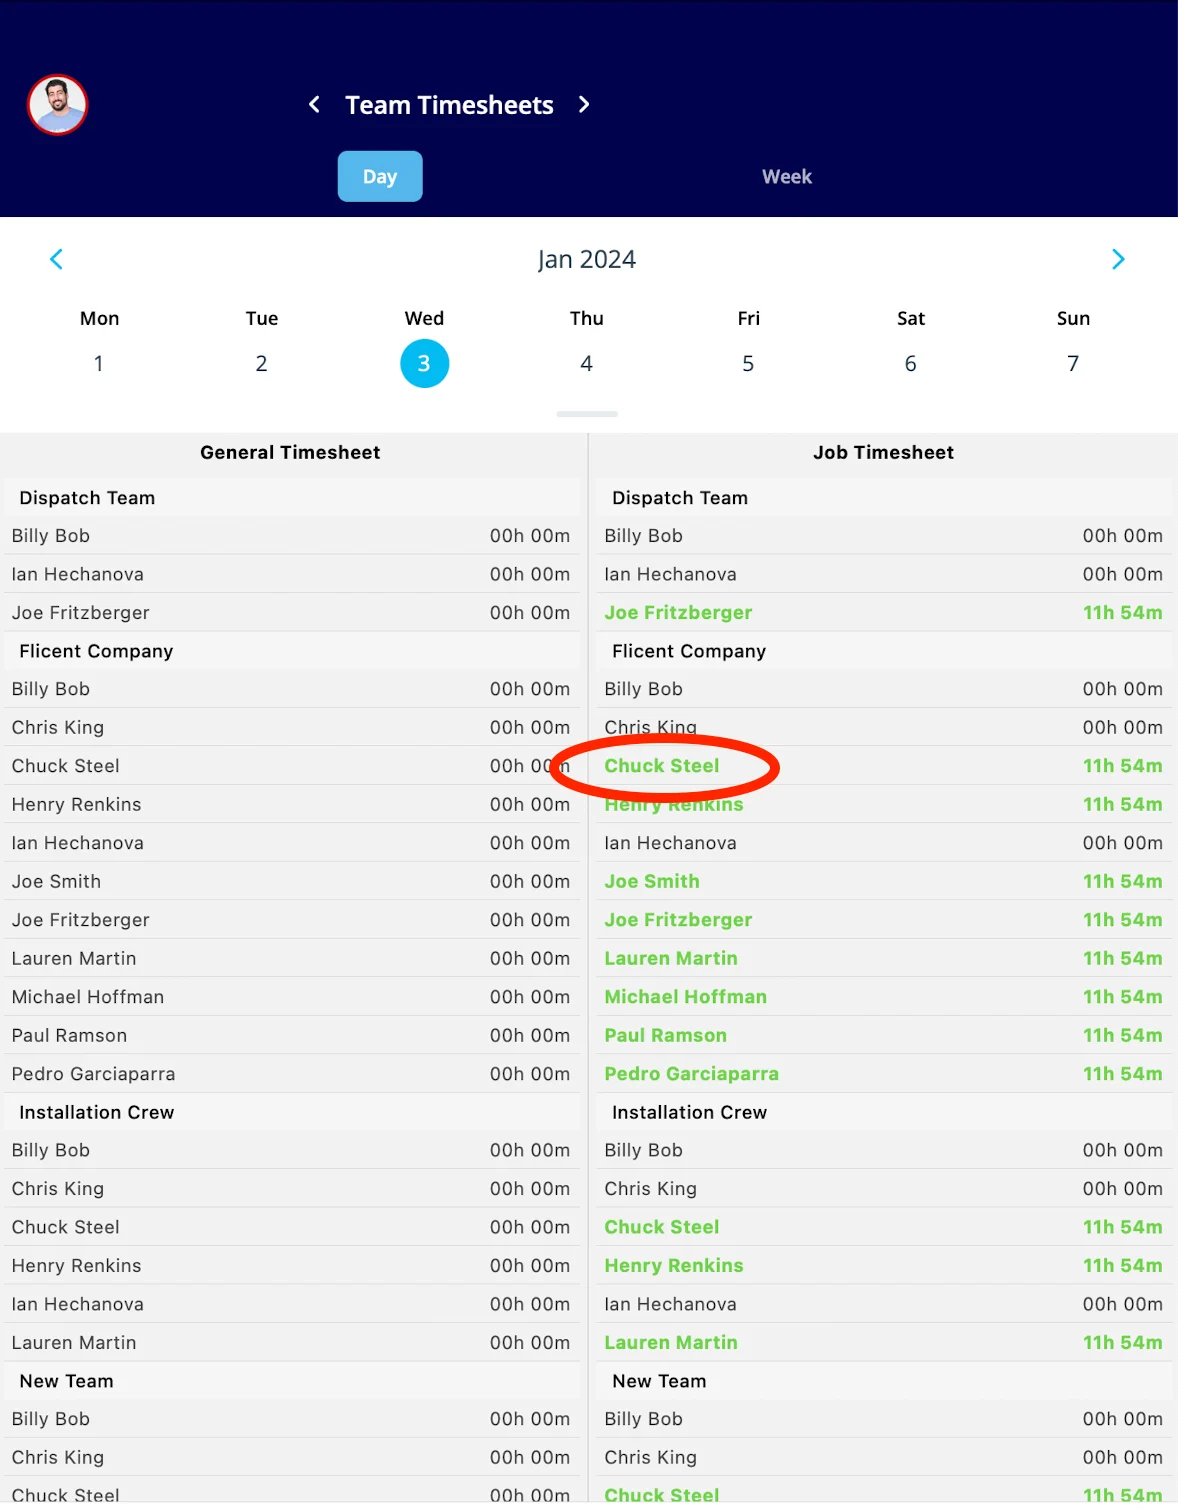
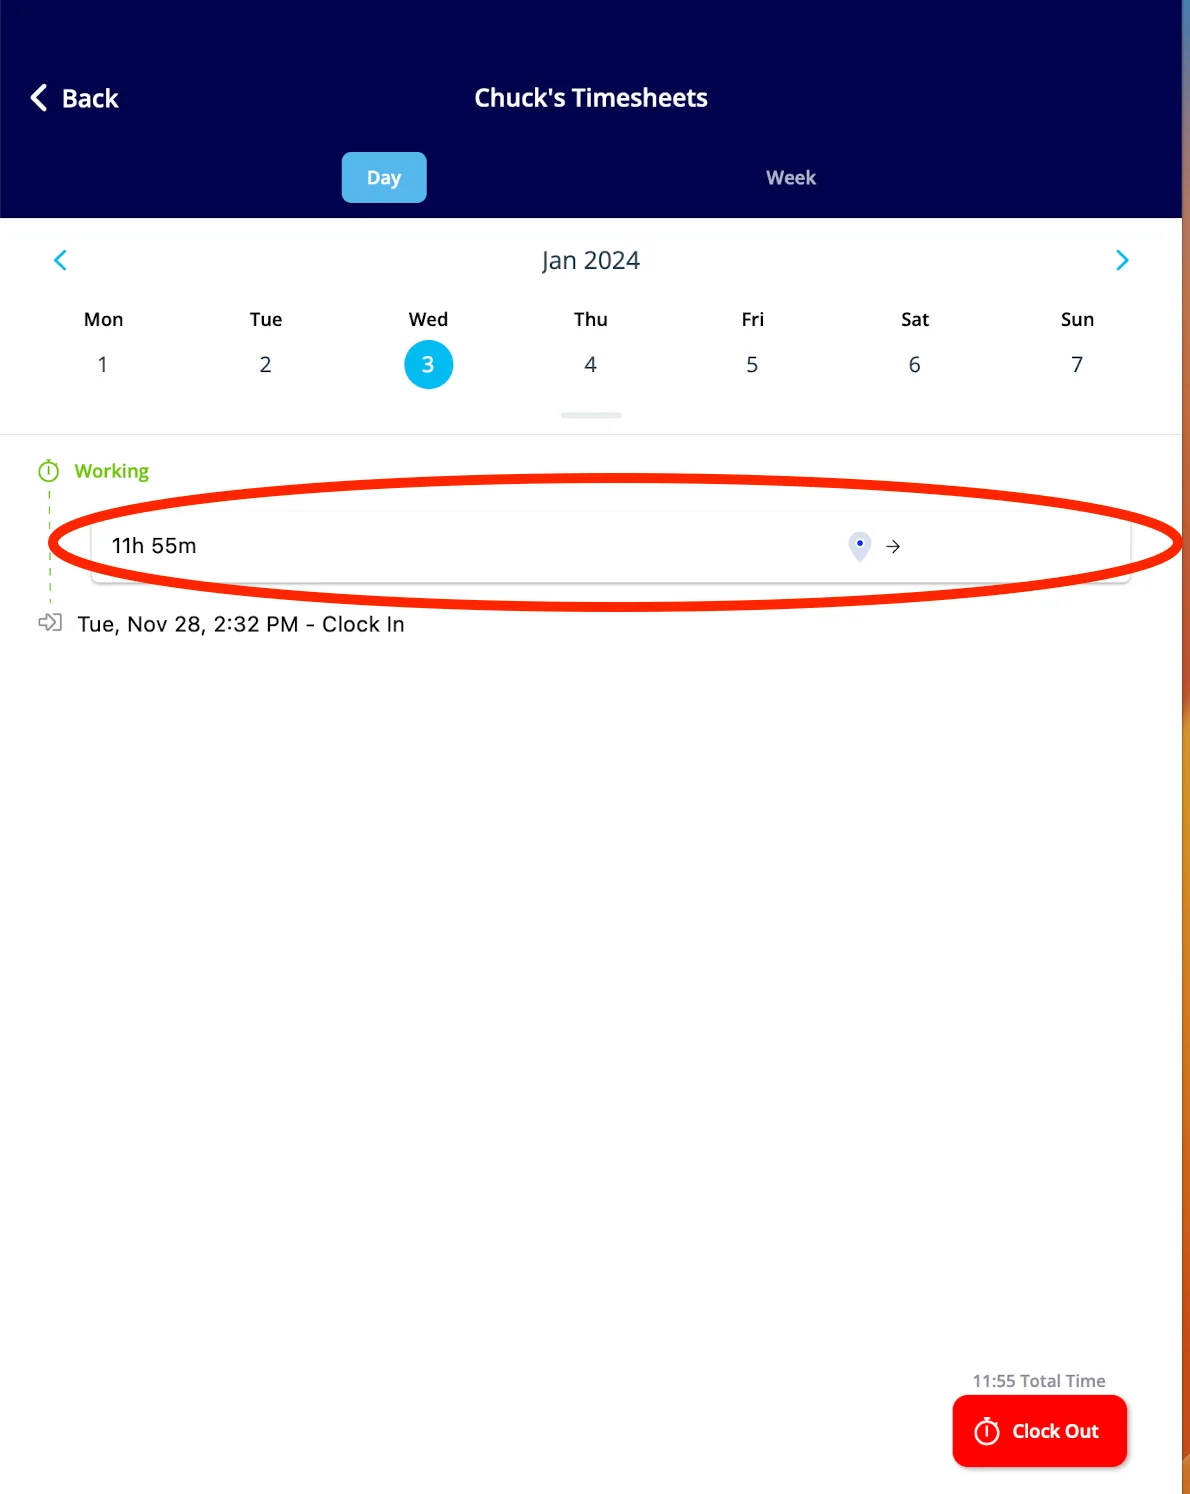
When a team member clocks in or out on the mobile app, their location will be geo-tagged. You can view their location at the time of the clock in/out by clicking on their name, and then clicking the blue location marker that indicates their clock-in or clock-out. That will open a map of the clock-in or clock-out location.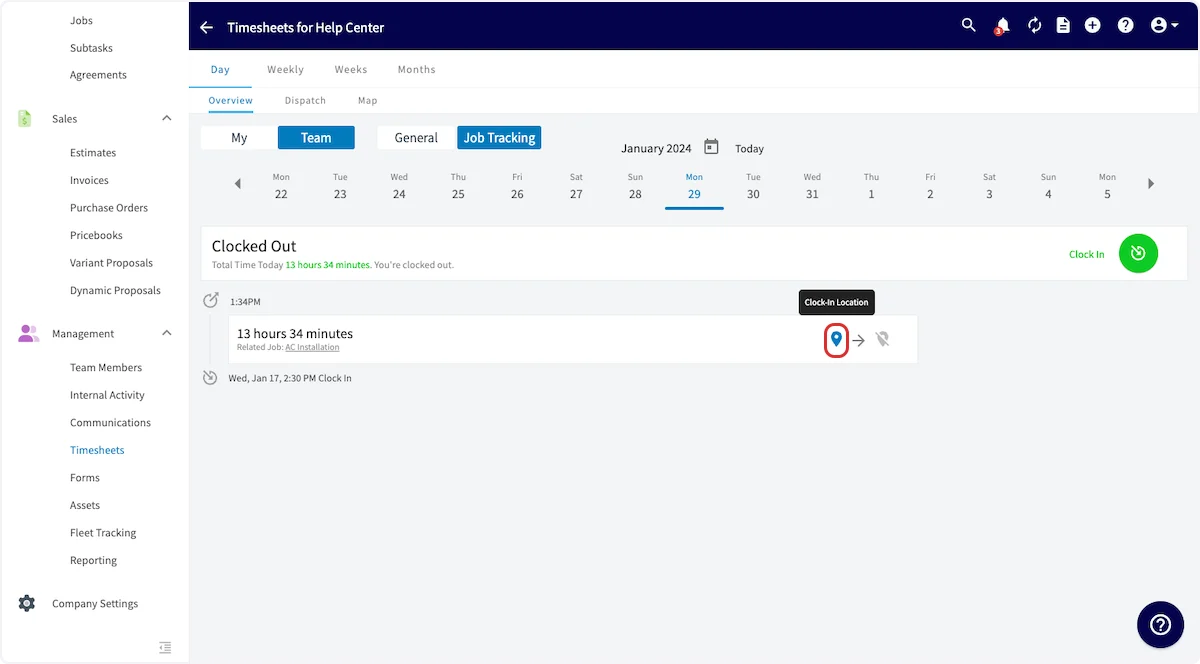
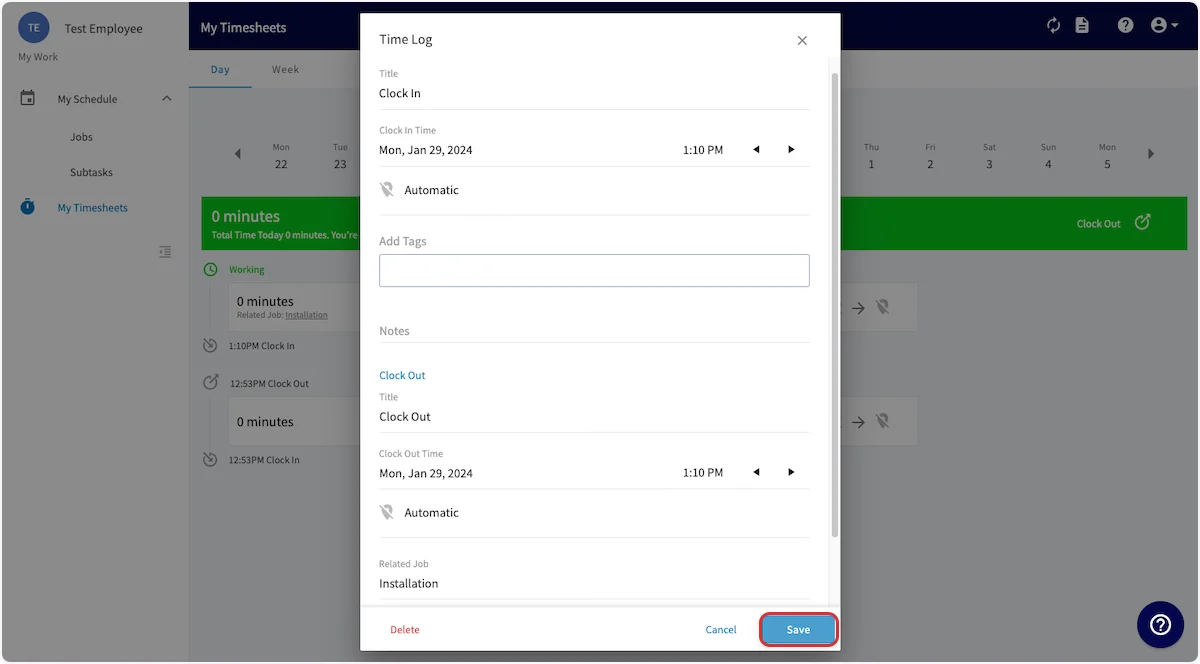
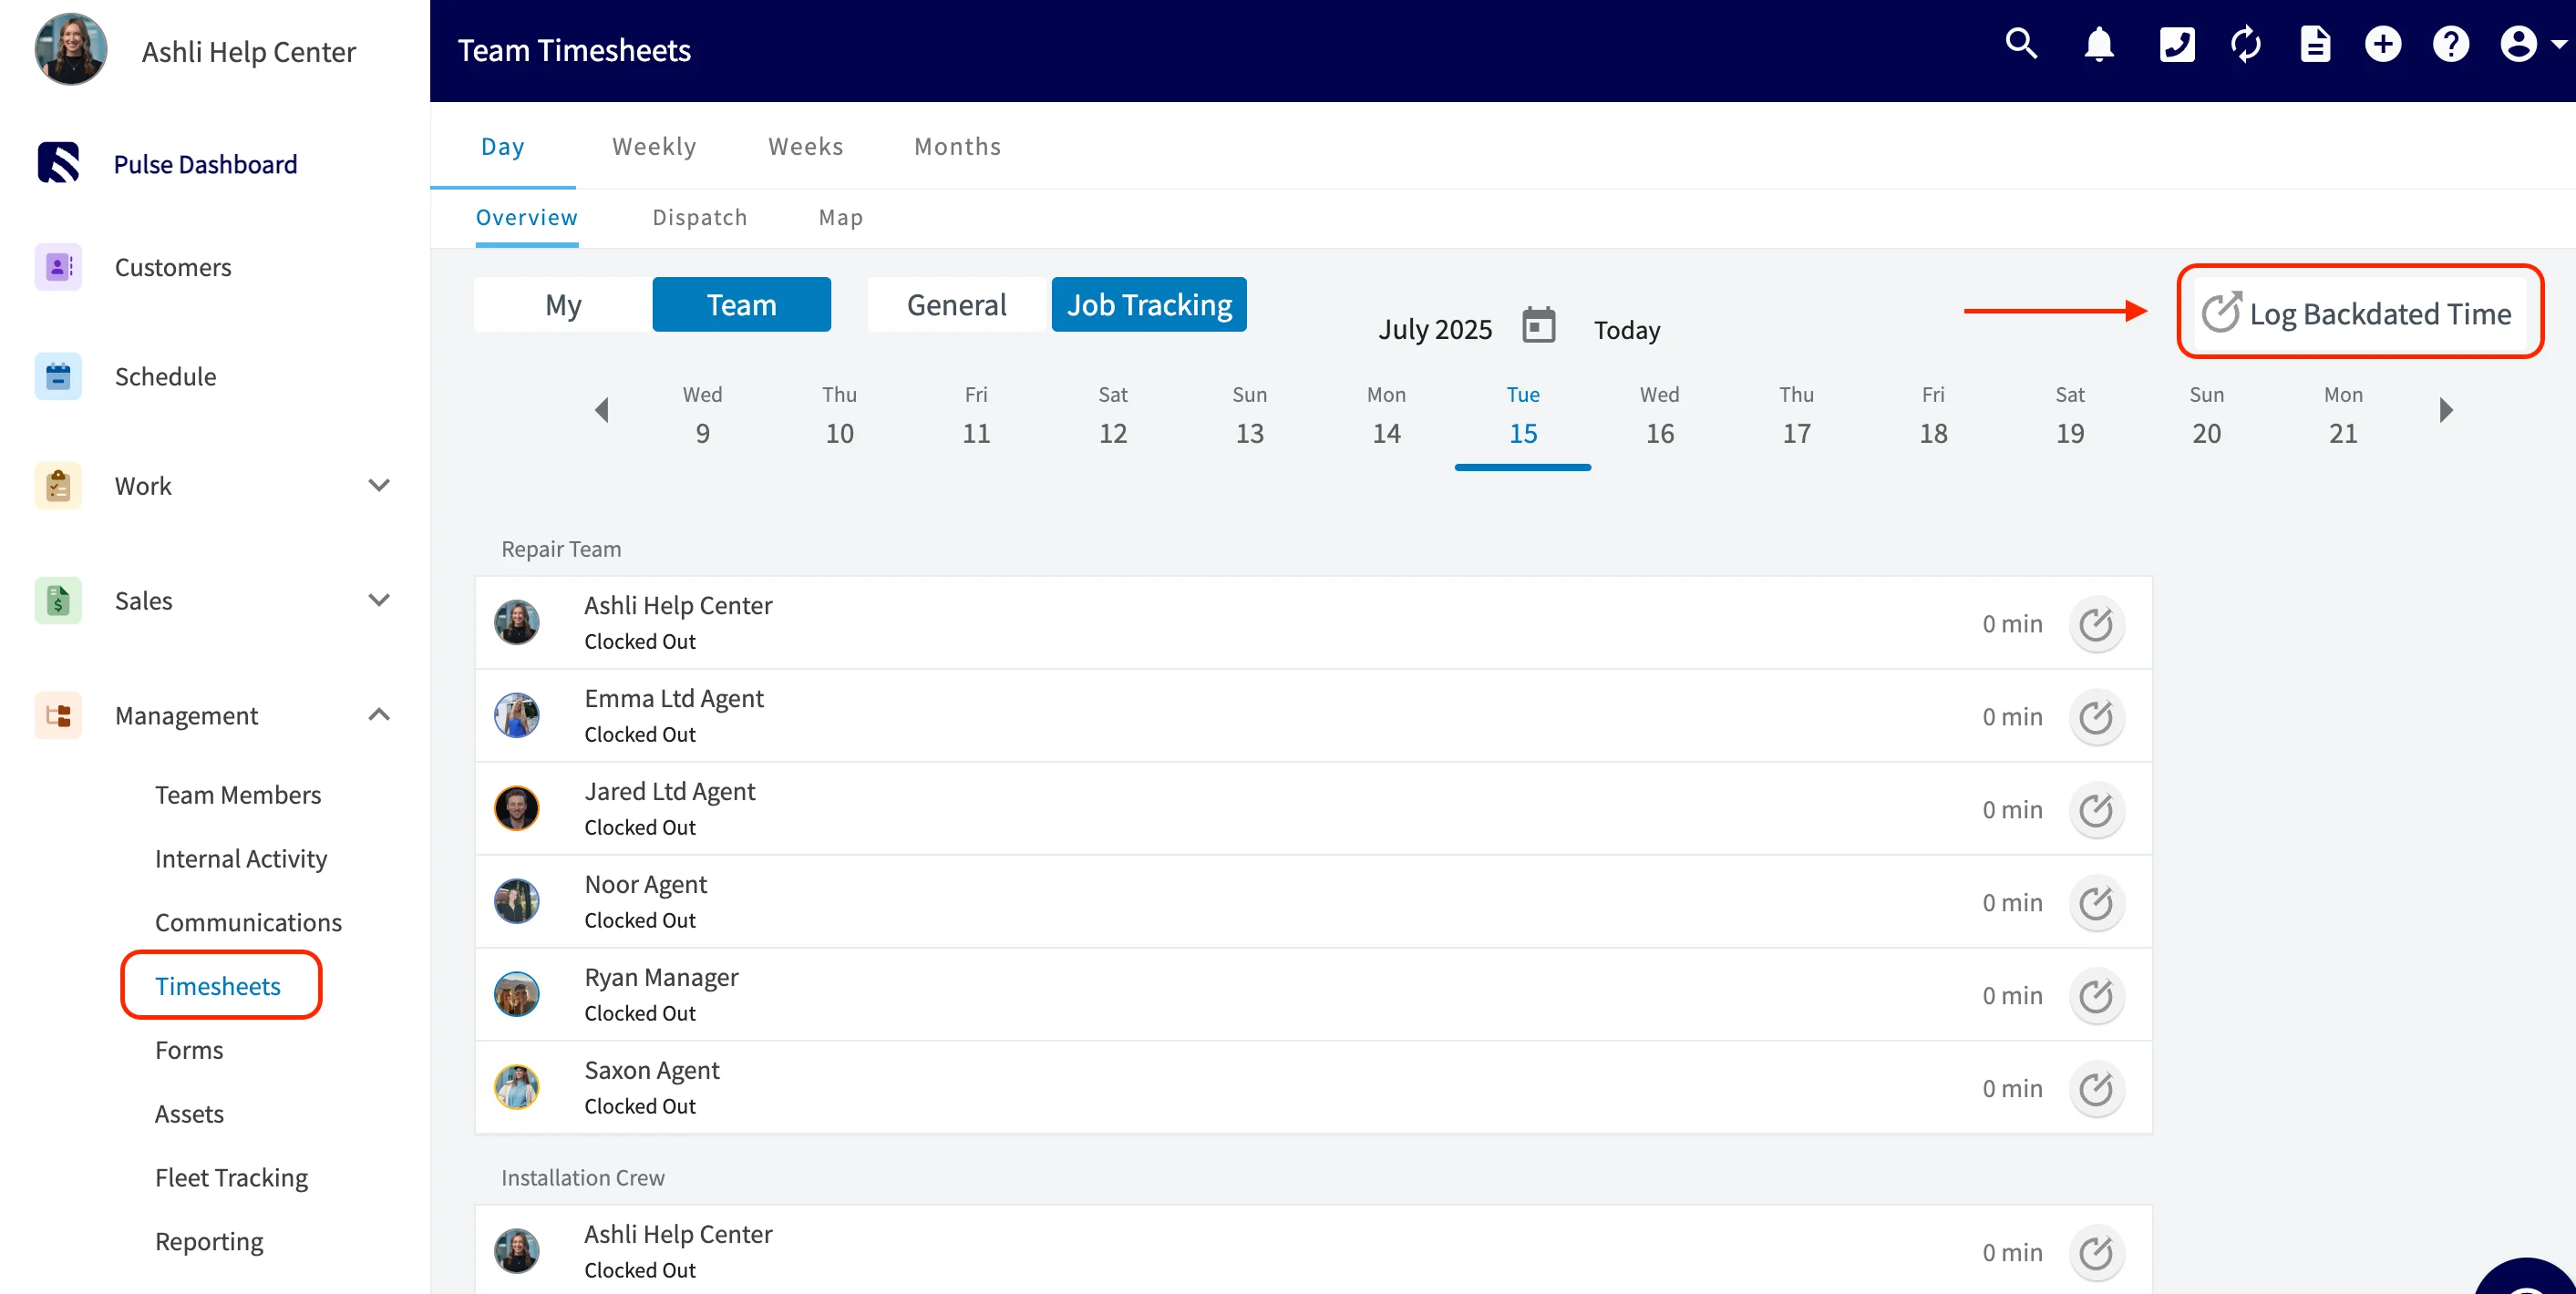
Log Backdated Time While Clocked In
In the web app, users can log backdated timesheets even when a team member is currently clocked in.What This Looks Like
- When using the web app and navigating to the Timesheets tab within FieldPulse, each employee will now find the Log Backdated Time button located in the top right corner of the screen.
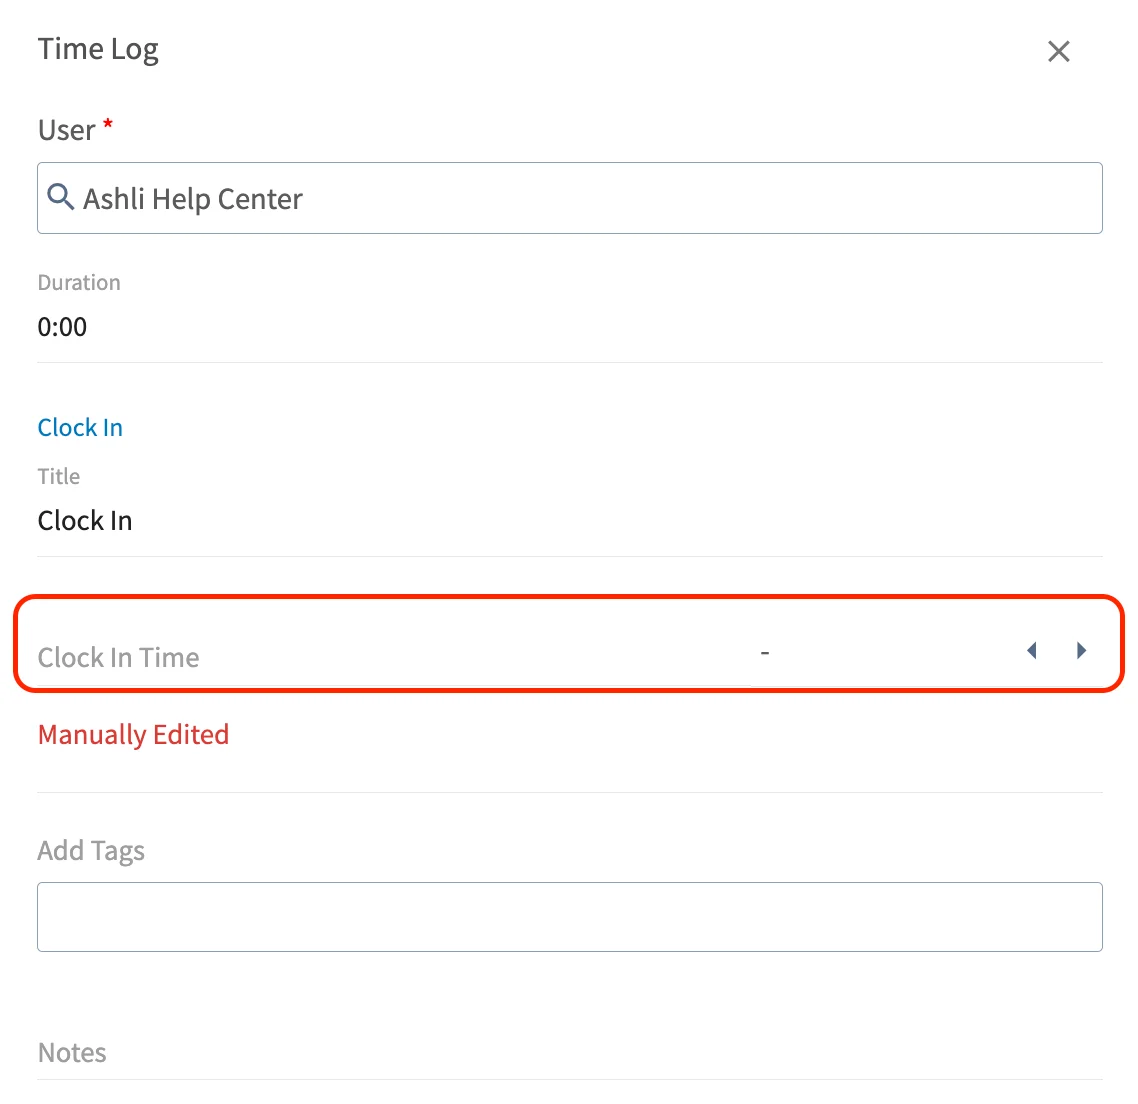
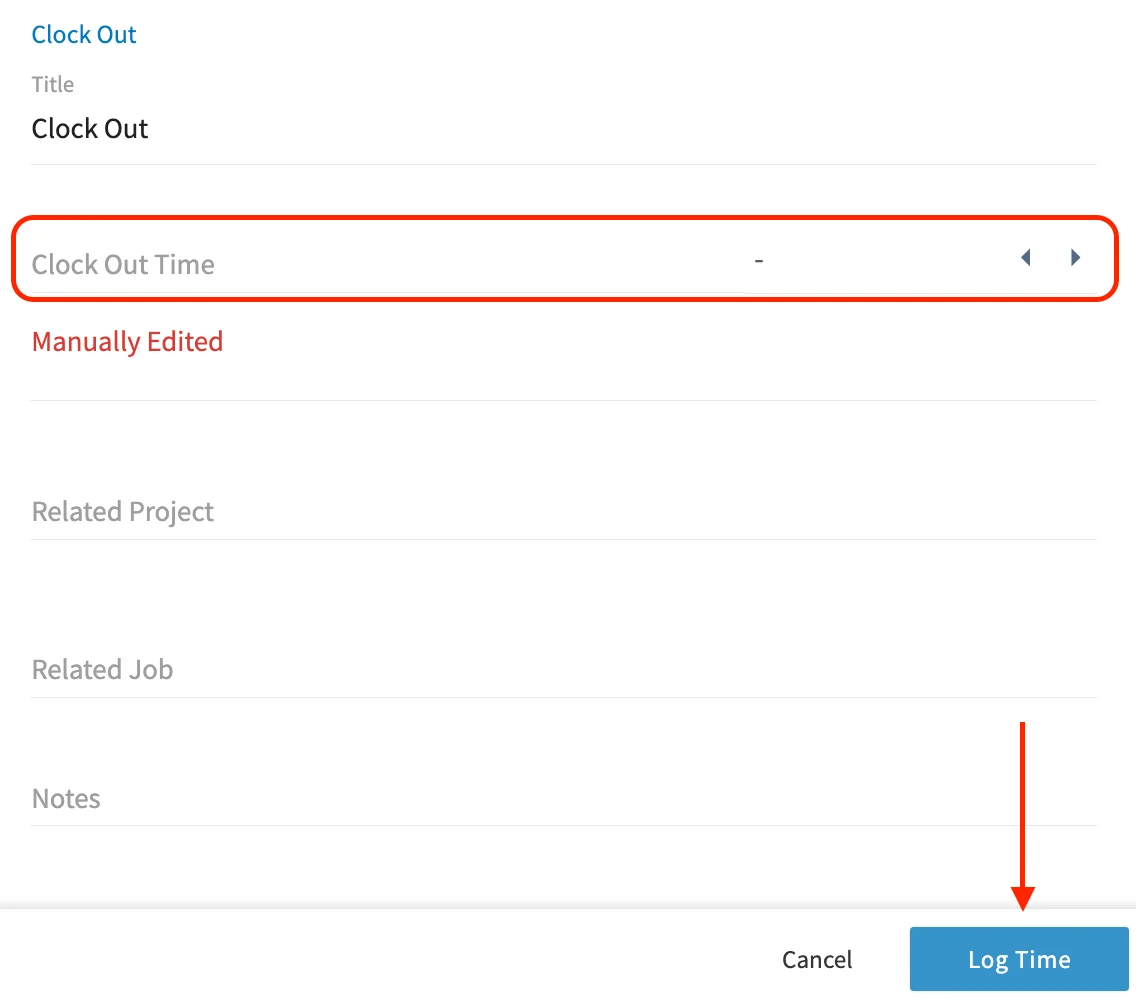
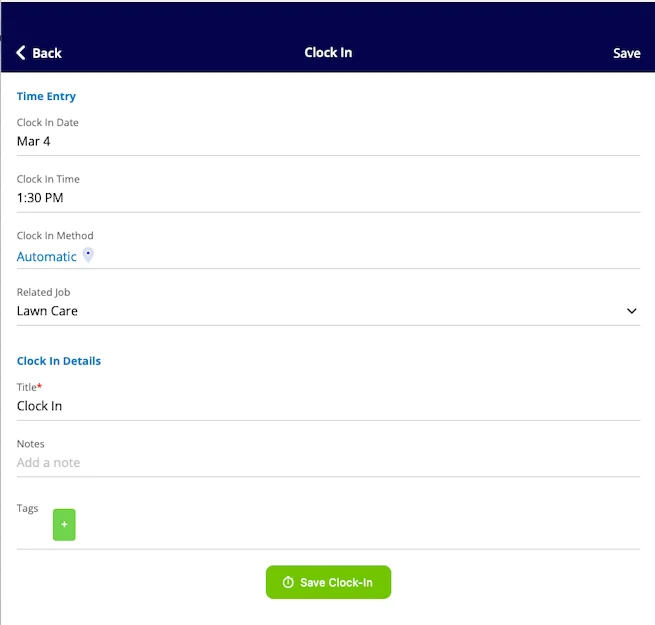
- At a minimum, you will need to enter both the clock-in and clock-out times. Additionally, there are extra fields available for you to add Tags and Notes. You also have the option to link the timesheet to a related Project or Job. Once you have filled out all the necessary information for the backdated timesheet, be sure to click the blue Log Time button to save your entry.
User Permissions and Functionality
Service Agents
- The Team Member field will auto-fill with the service agent’s own name, and this cannot be changed. This ensures that agents can quickly log their own time without confusion.
Team Managers
- Team managers can select any team member within the teams they manage. This provides greater flexibility in managing team timesheets.
Admins
- Admins have the ability to select any user across the business, allowing for comprehensive oversight and management of all timesheet entries.
Important Notes & Reminders
-
Historical Time Punches
- Please note that historical time punches must be for past dates and times only. Future timesheets cannot be logged using this feature.
-
Mobile/Web Differences
- This feature is currently available only on the web app. Mobile users will need to access the web app to utilize the Log Backdated Time option.
Interactive Demo
the backdated timesheets demo to see Backdated Timesheets in action!
On Mobile: Field Experience
Clocking In & Out
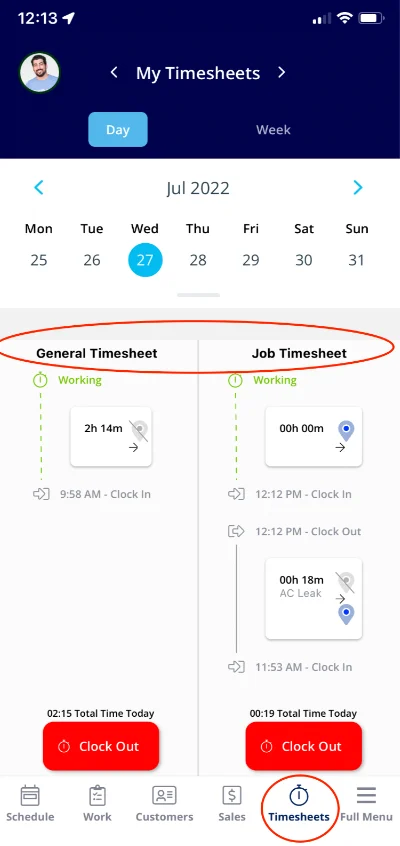
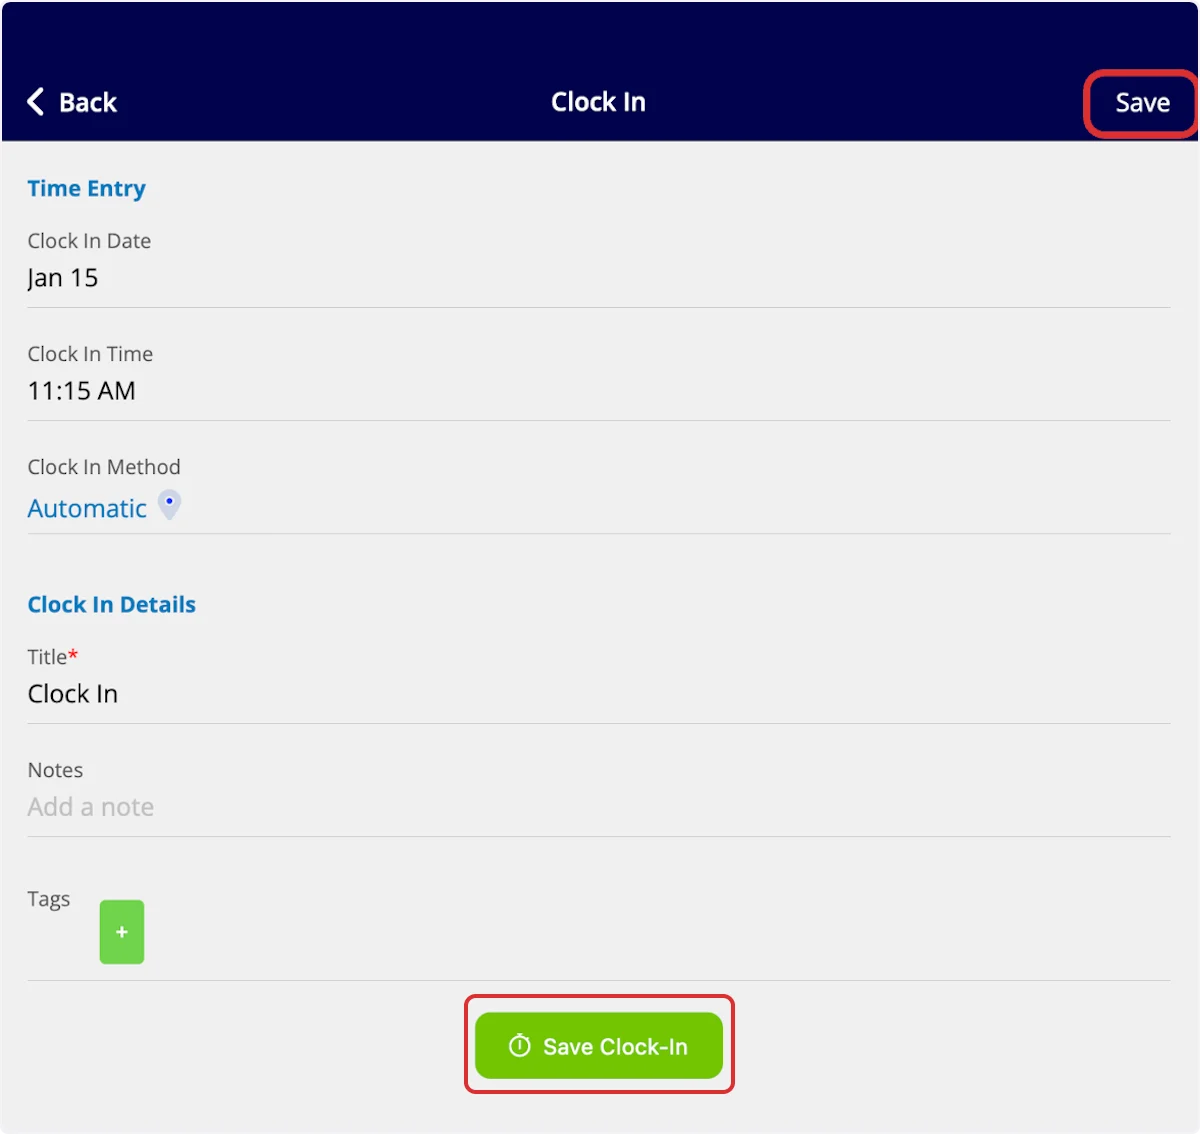
To clock in to your general timesheet in the mobile app, use the bottom menu to navigate to Timesheets. Then, select Clock In under General Timesheet. You will repeat this process when you’re ready to clock out.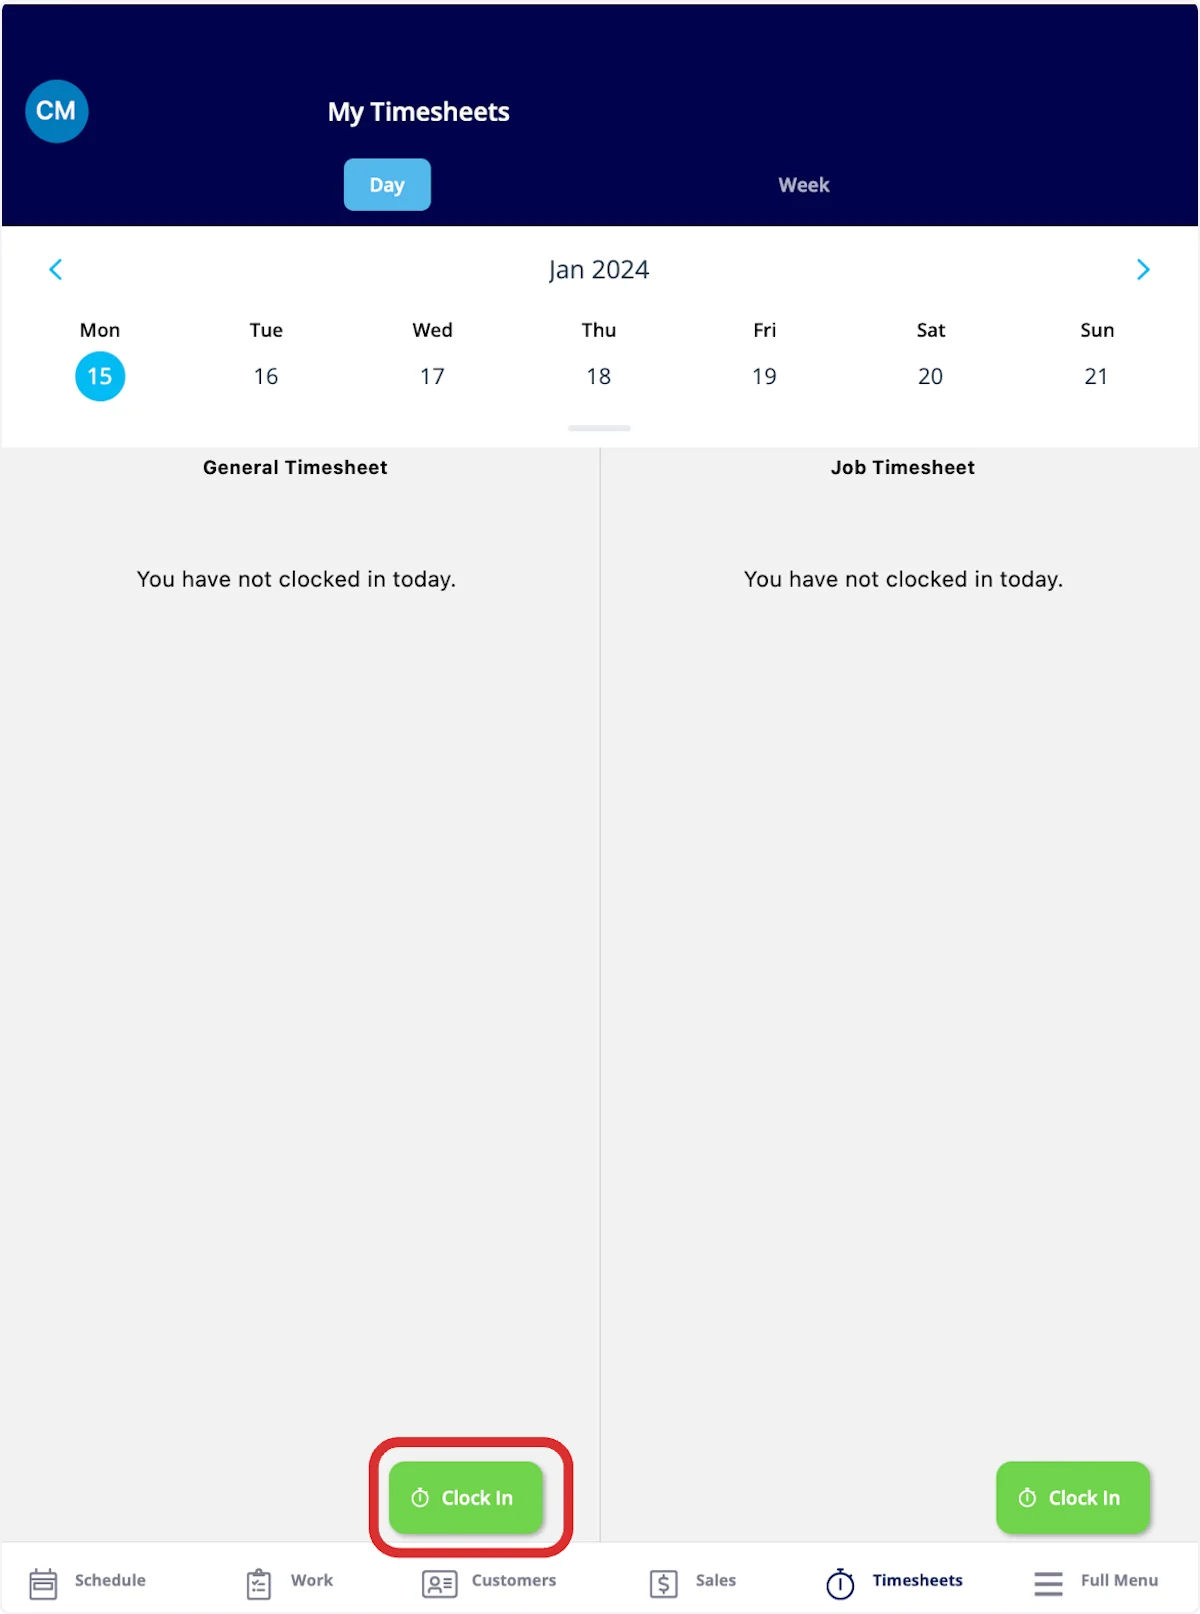
Job Timesheets
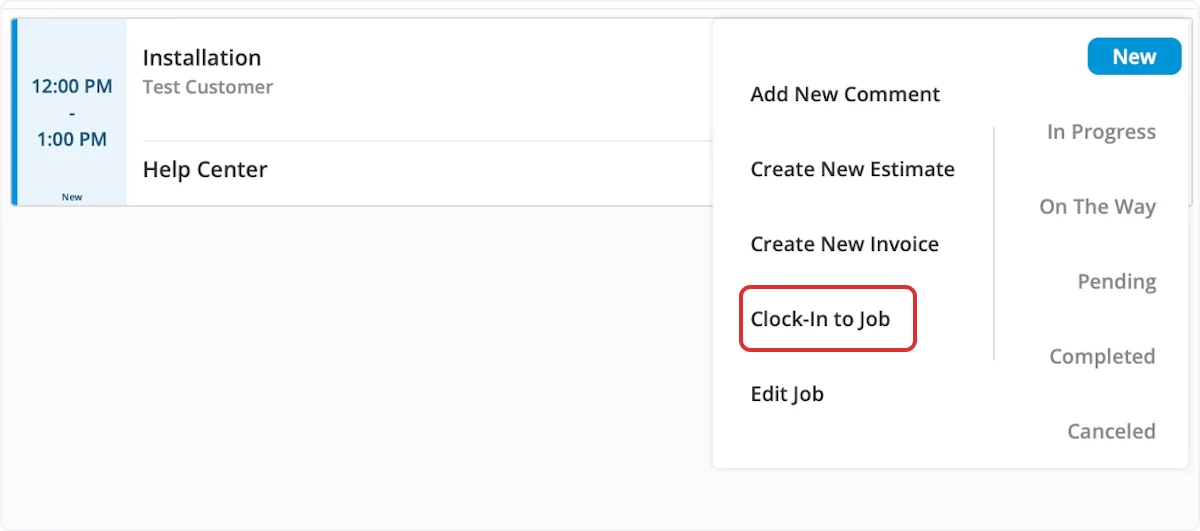
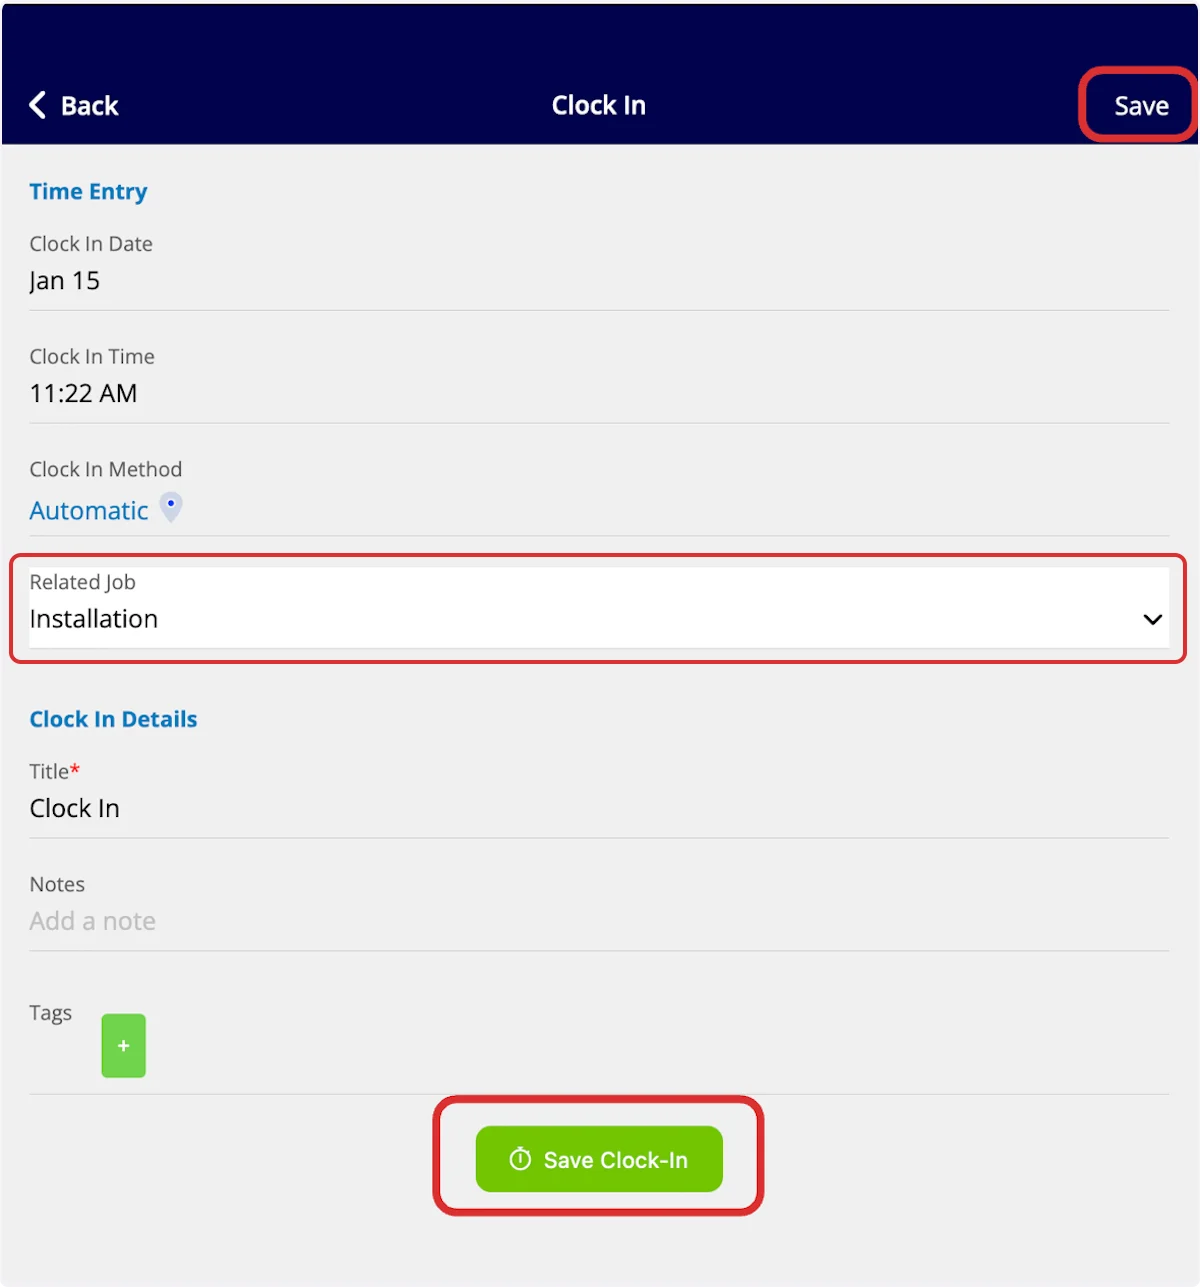
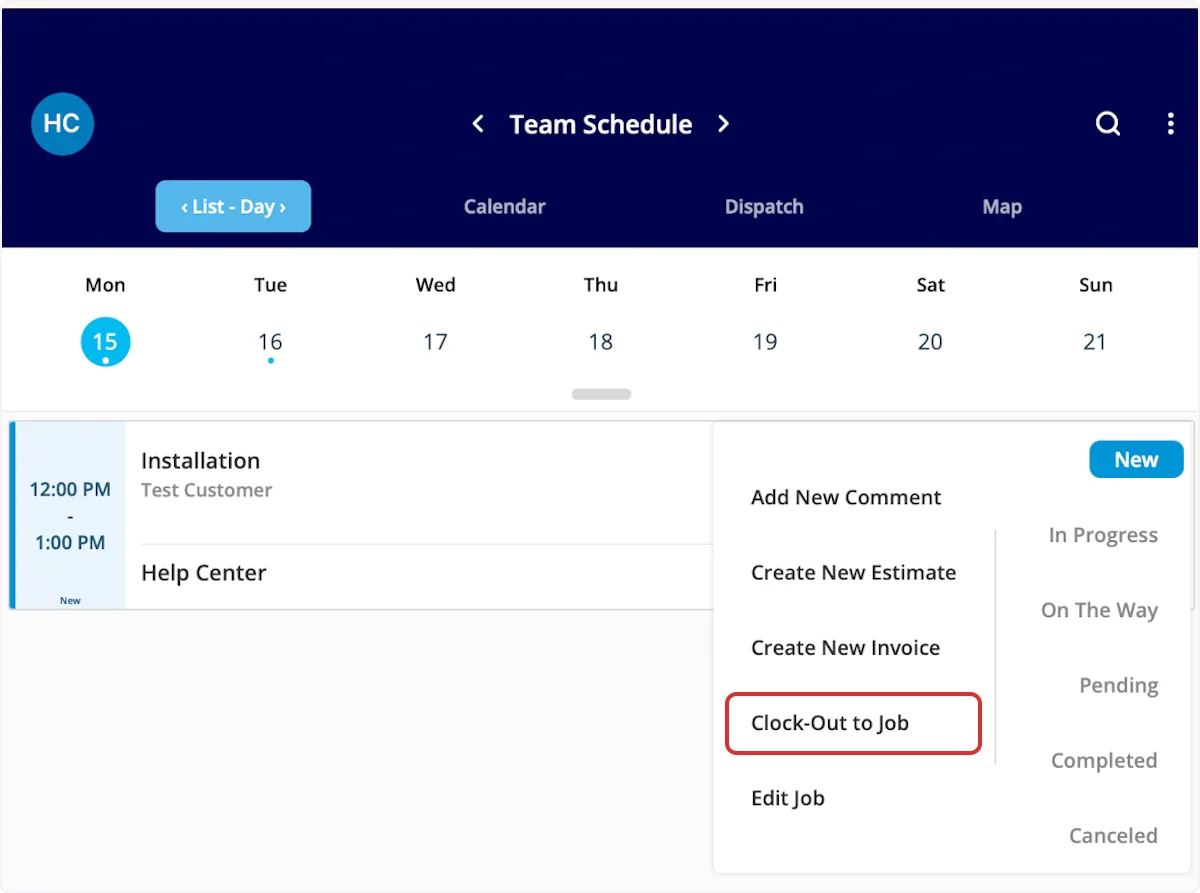
To clock in for a job, begin by clicking the Schedule tab on the bottom of the screen. Here, you will see a list of your jobs for the day. To clock in for a job, select the three dots on the right side of the job.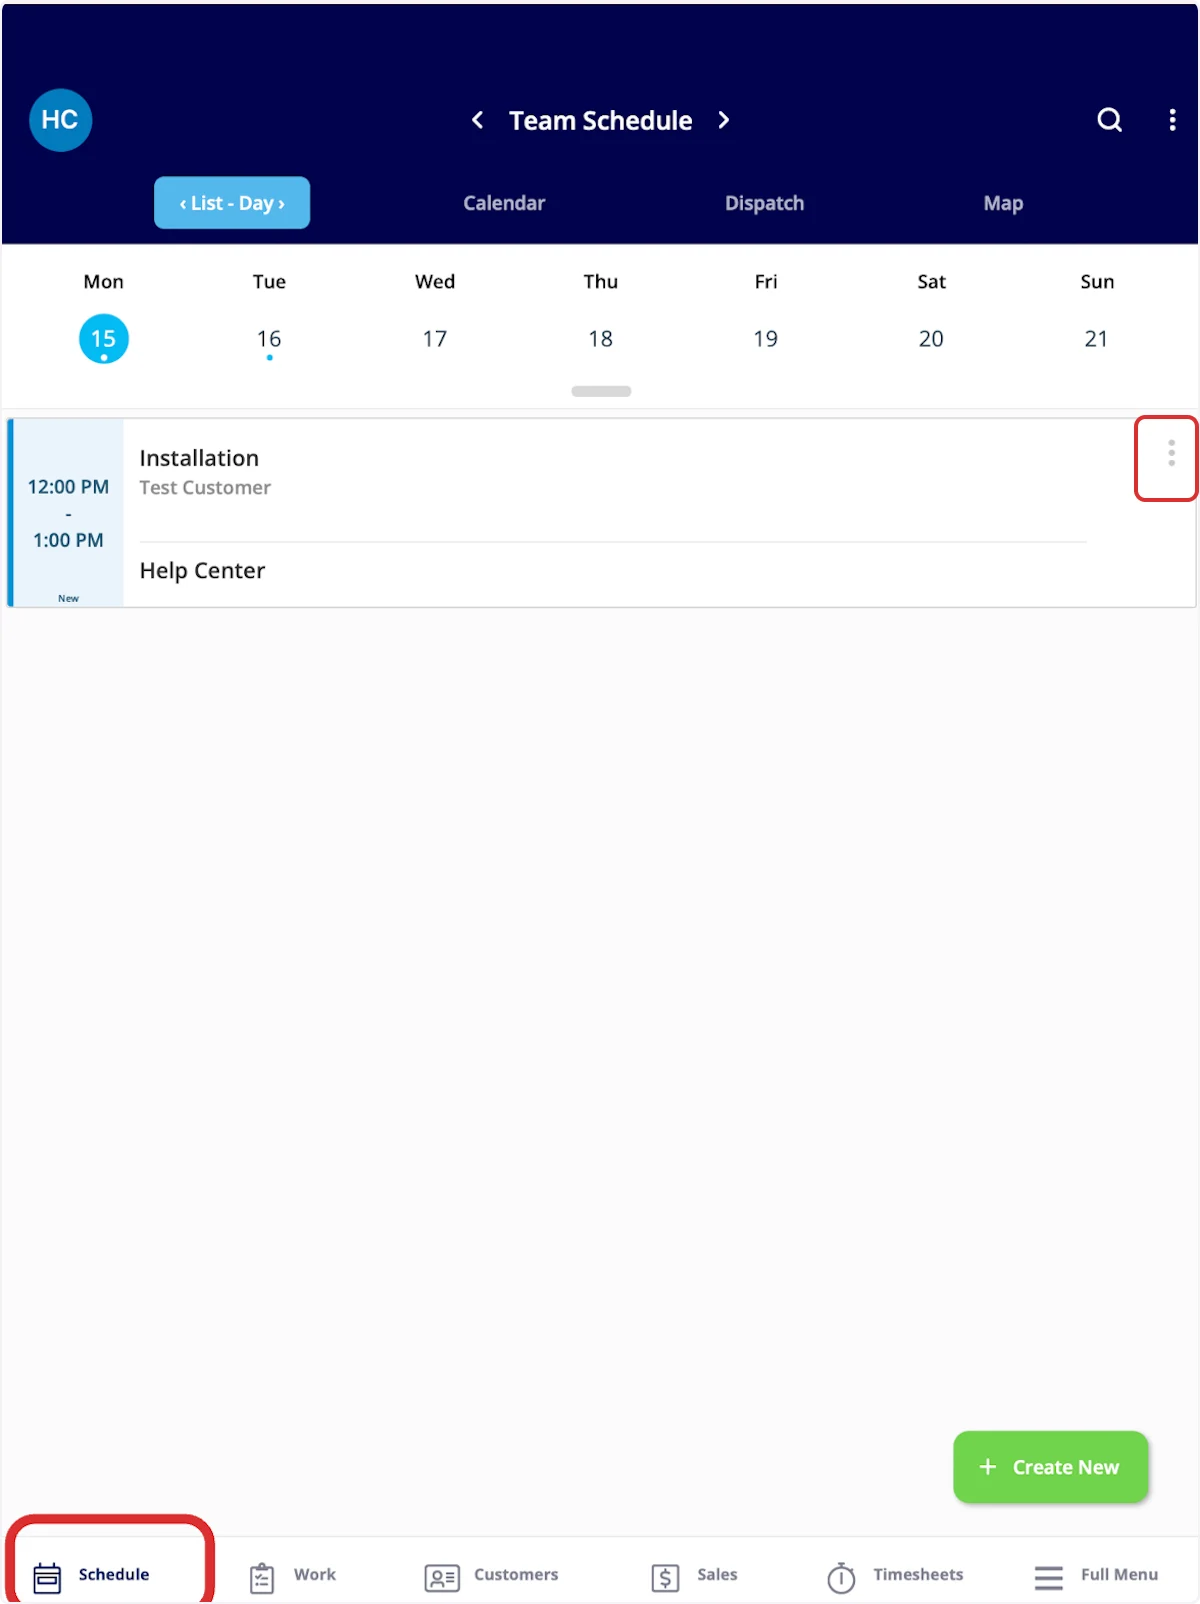
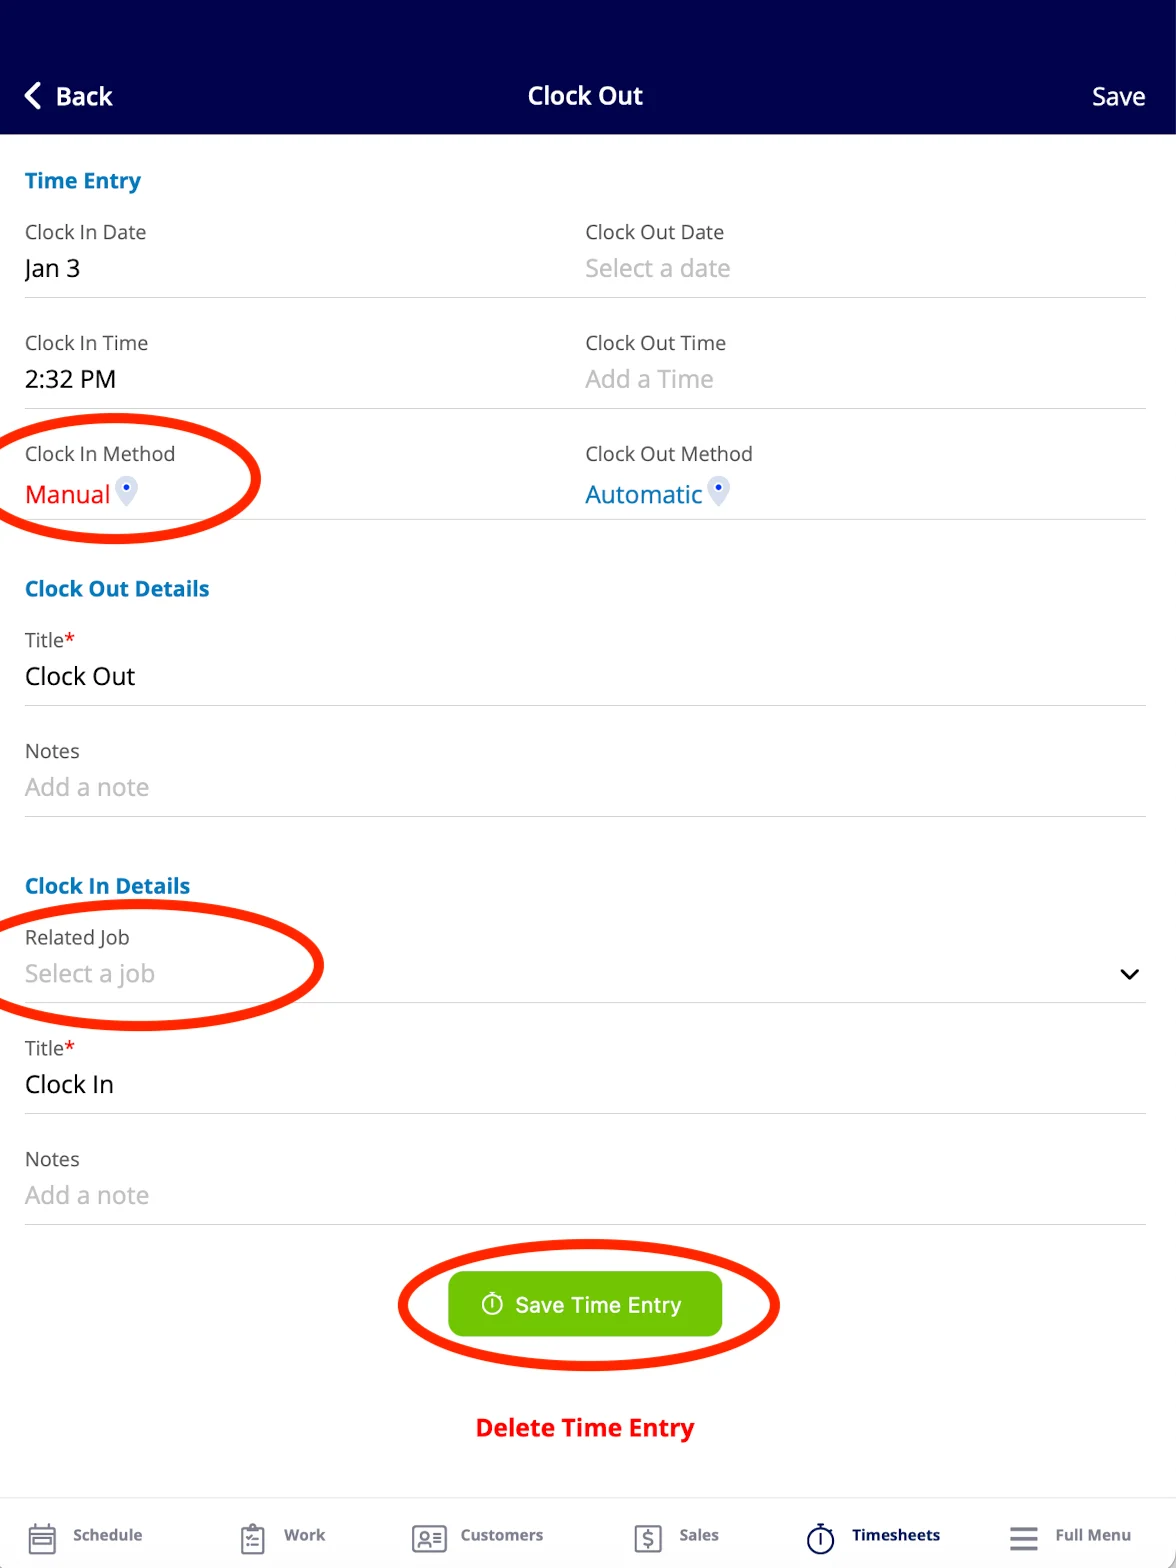
Clocking Out
To clock out of a general timesheet or a job-specific timesheet, navigate to the Timesheets tab at the bottom of the screen. You can now select clock out for either timesheet, as well as view your previous timesheets by selecting a day or week from the top of your screen.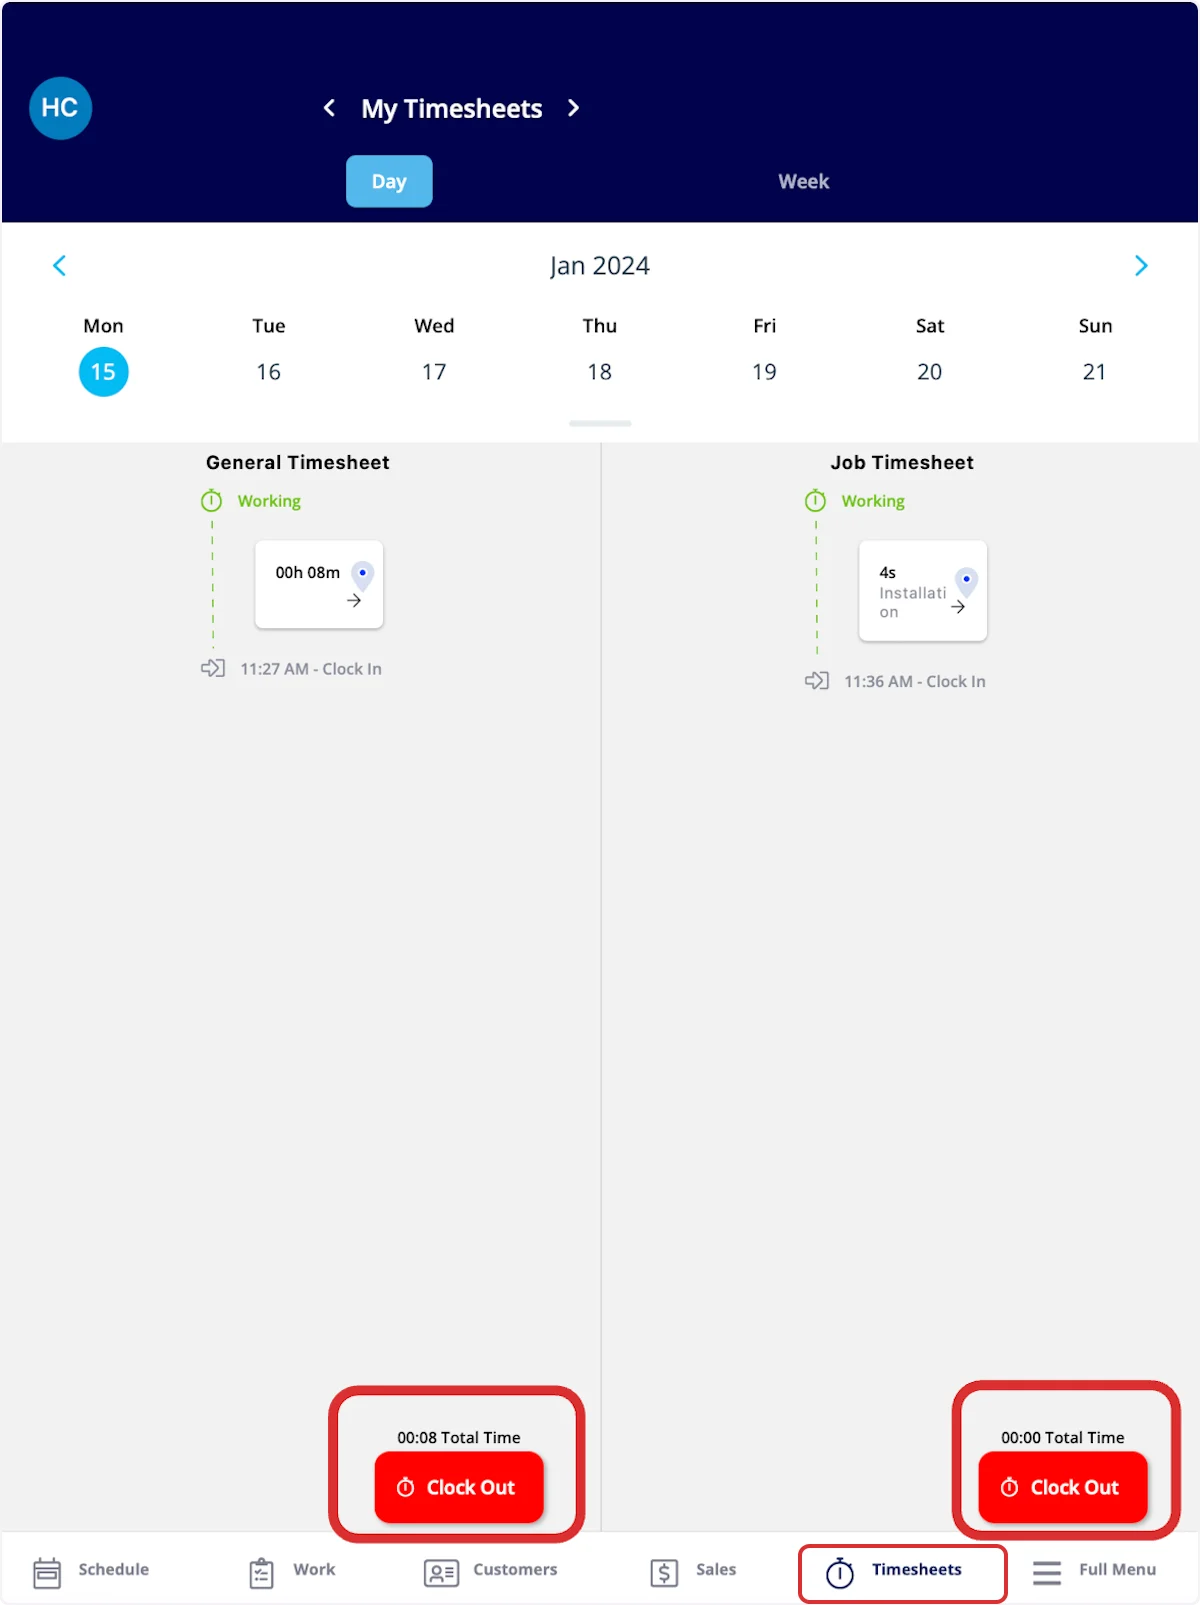
Viewing Timesheets
My Timesheets
This section allows you to easily view your timesheets by day or week, which can be changed at the top of your screen. You can also clock in or out from this view using the Clock In or Clock Out buttons at the bottom of your screen.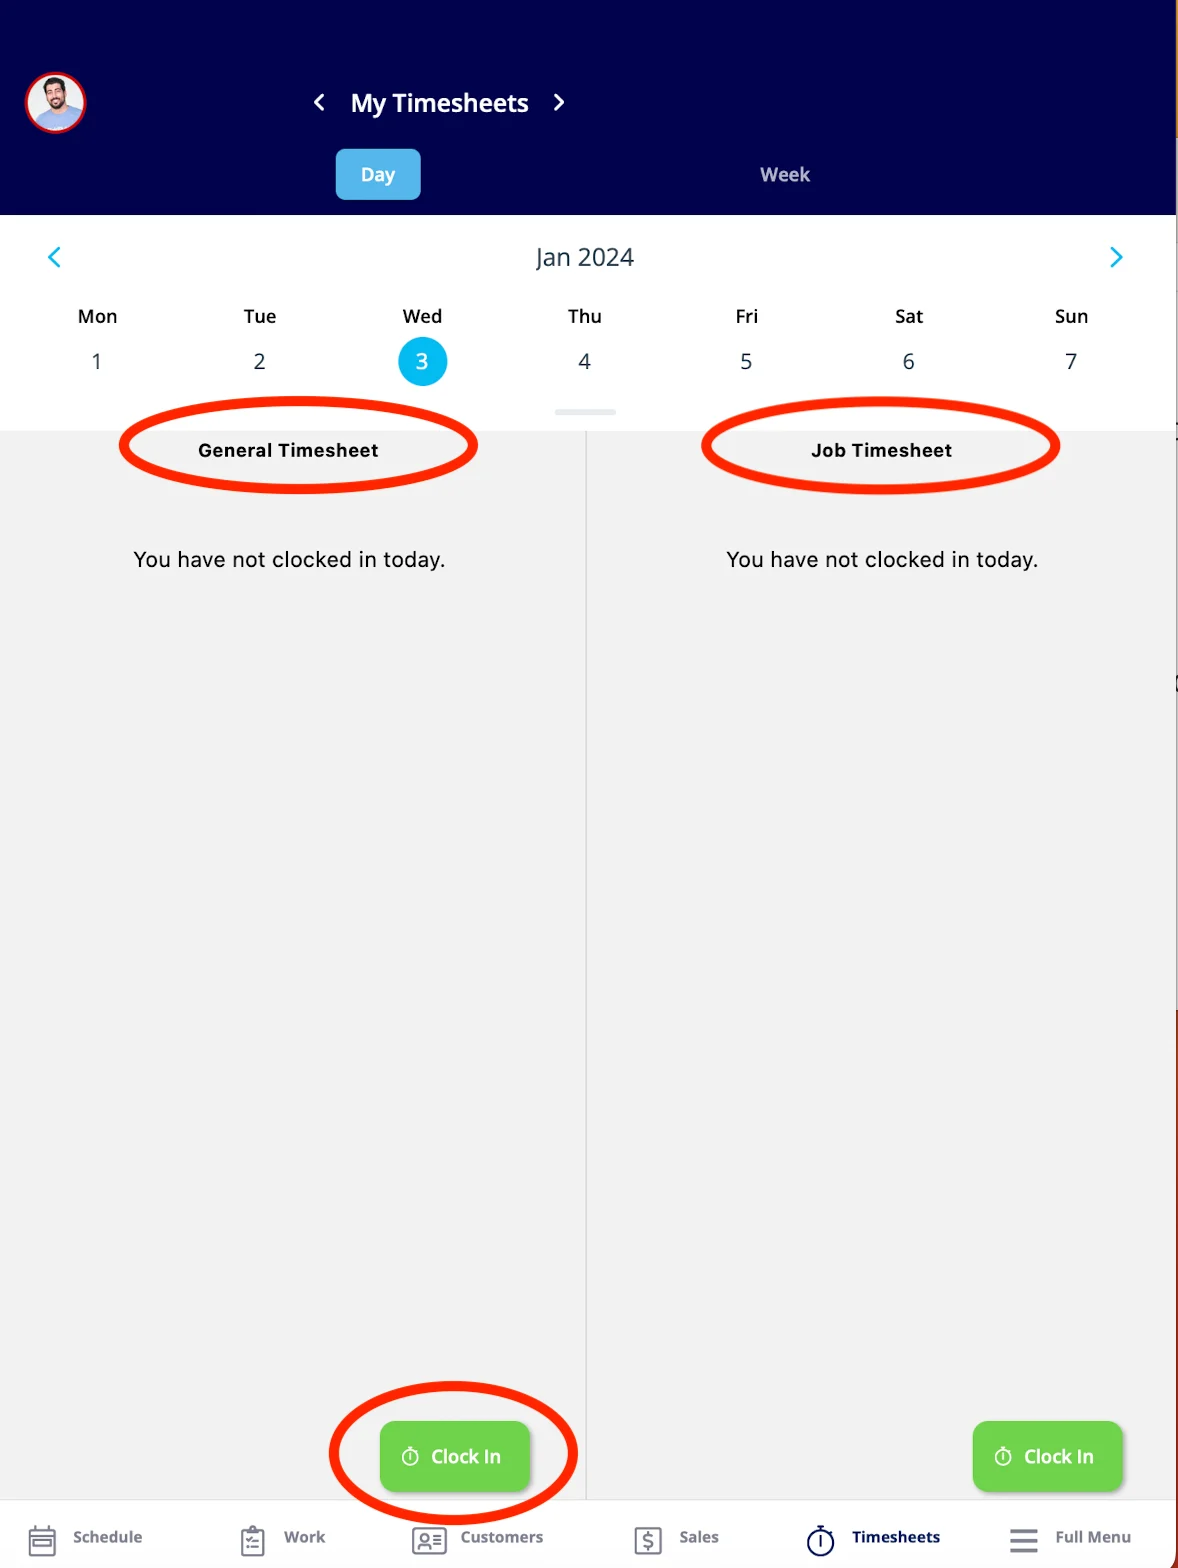
Viewing Team Timesheets
If you’d like to view the timesheets for your team, click the arrows next to the My Timesheets to switch your view to Team Timesheets.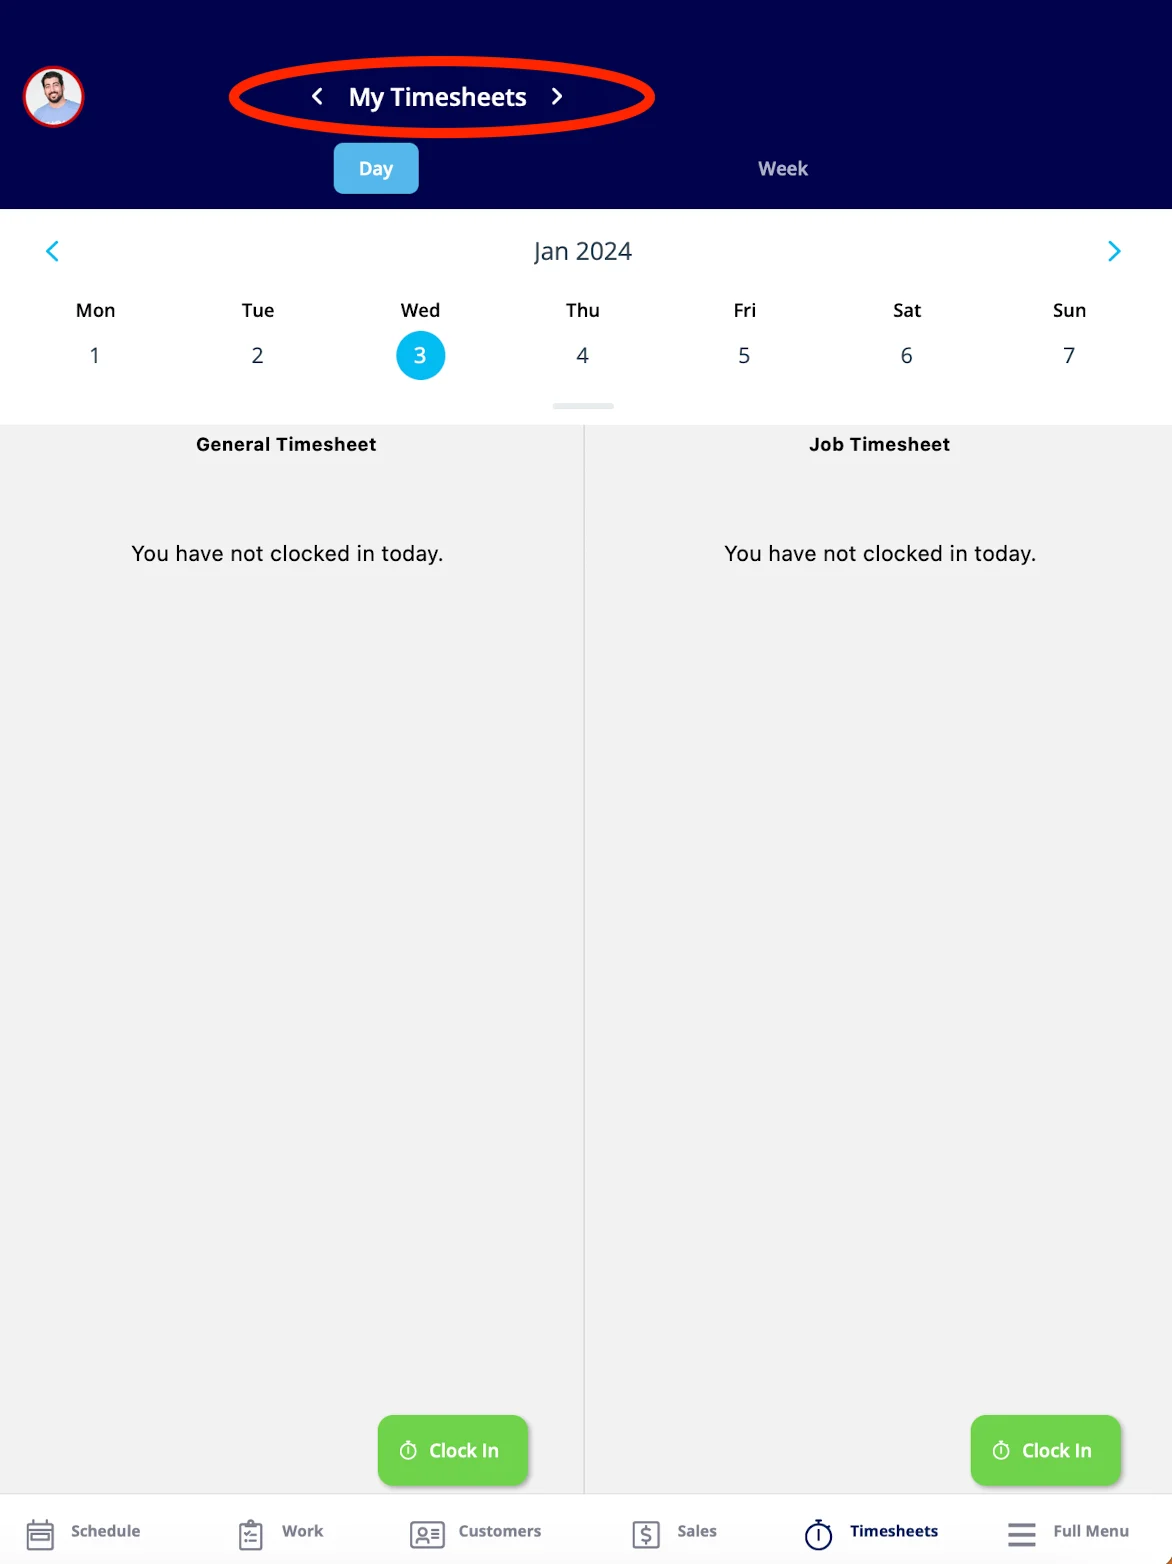
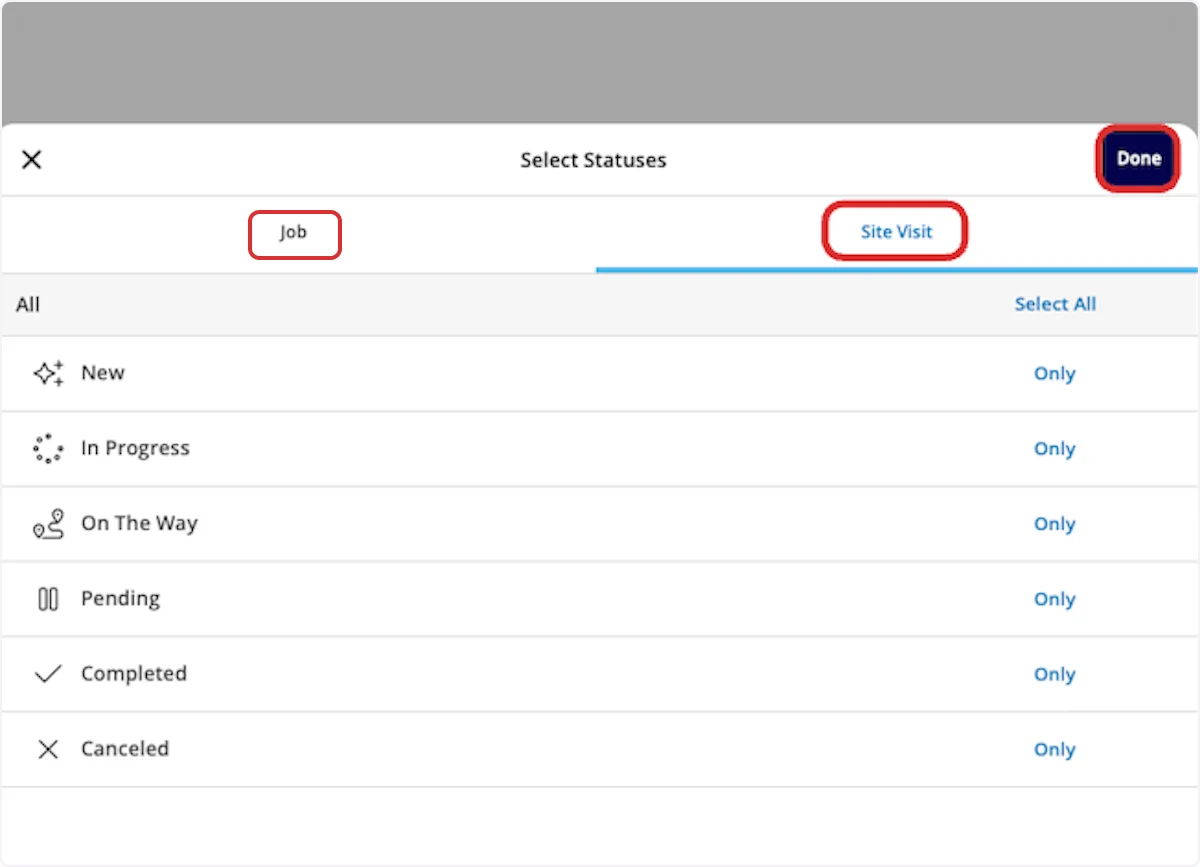
Custom Status Timesheet Triggers
In the mobile app, set up triggers to prompt you to clock in or clock out when you select specific custom statuses on jobs and site visits. To begin, select your photo or initials in the top corner of the mobile app.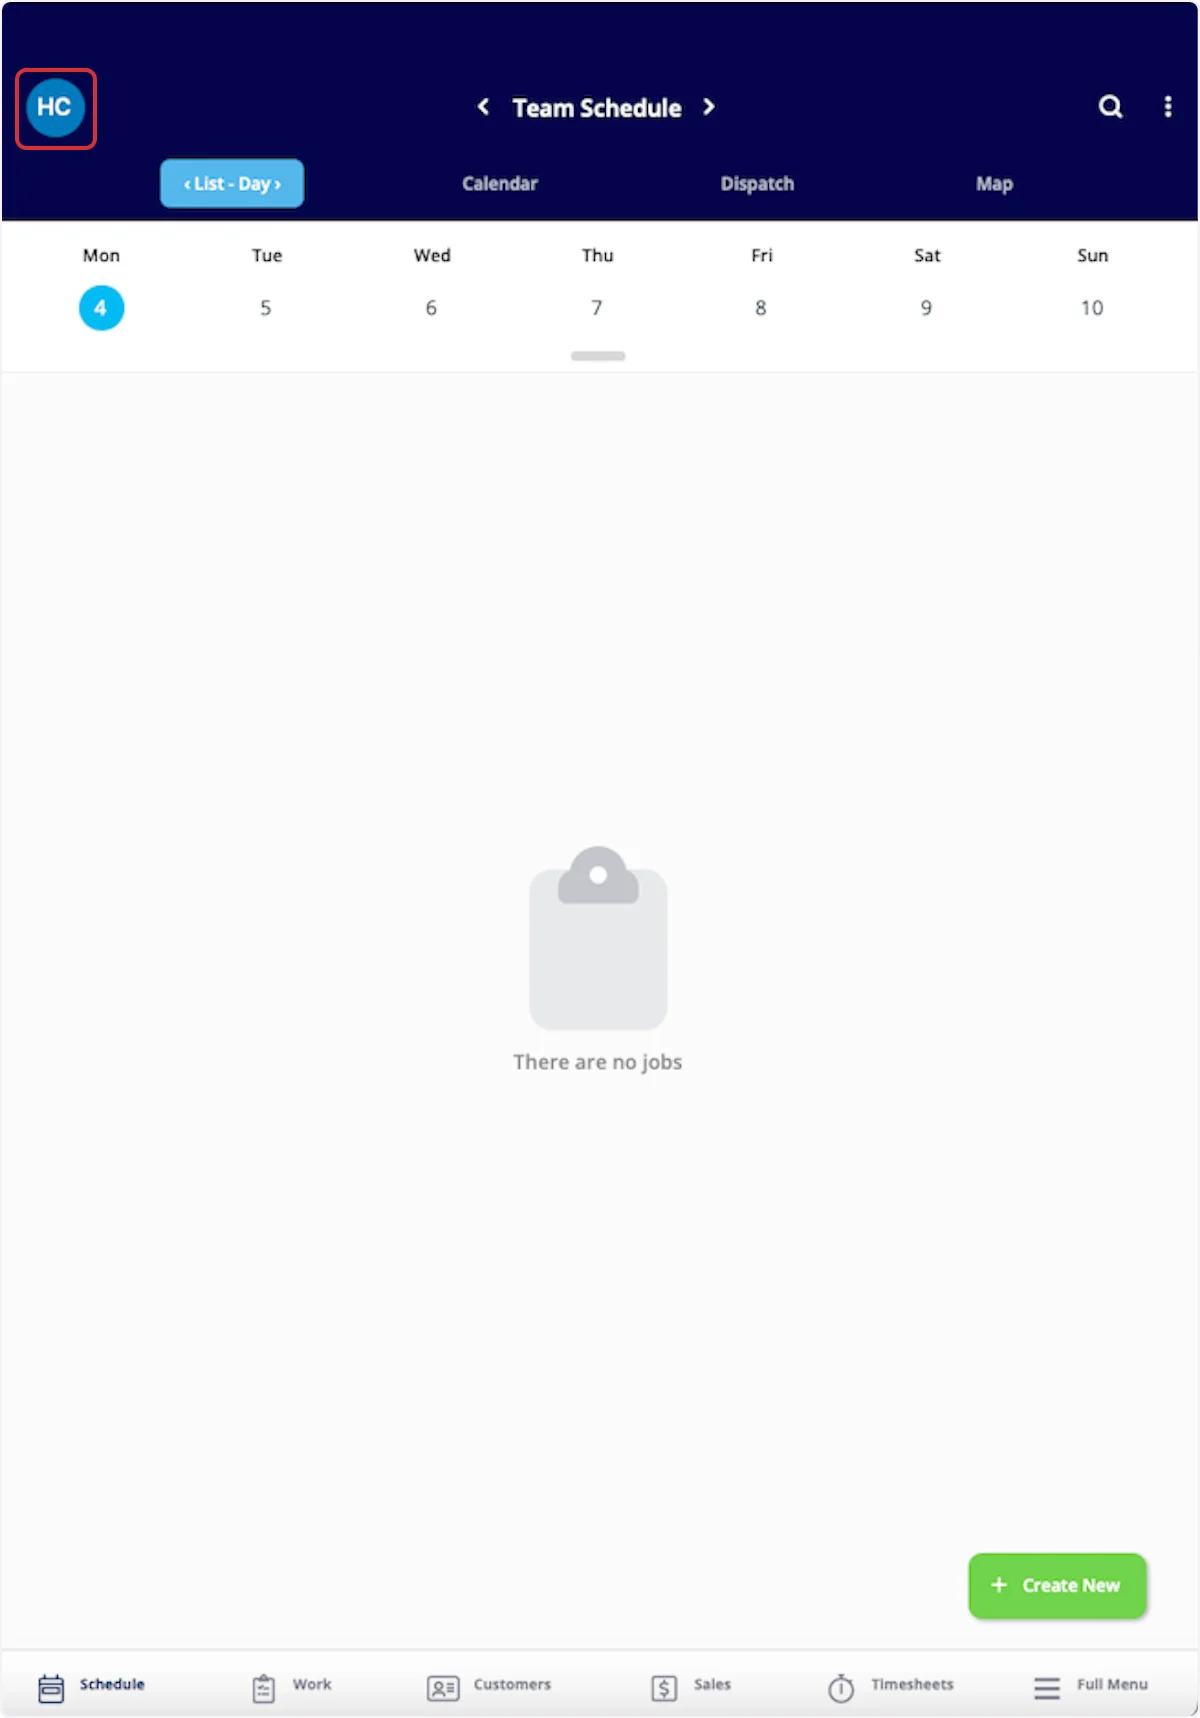
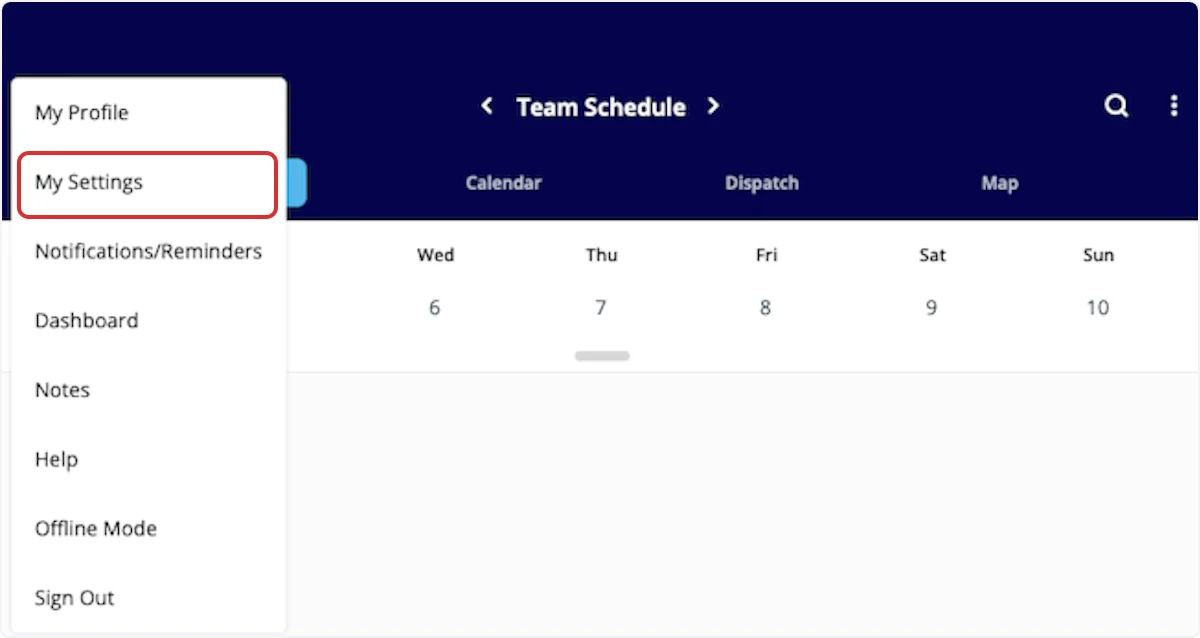

Note: These settings are saved to each user’s account and will persist across logouts, app updates, and device reinstalls.
Video Tutorials
Web App
Mobile
Have additional questions? Contact us at support@fieldpulse.com or use the chat feature in the bottom right corner of your screen.