Pulse Dashboard

Learn how to setup your dashboard and configure it to your preferences

Updated over a week ago

You can use the dashboard in FieldPulse to see the business information that's important to you - at a glance. To make the dashboard as useful as possible, there are several options for configuring it to show all of the information that you need.


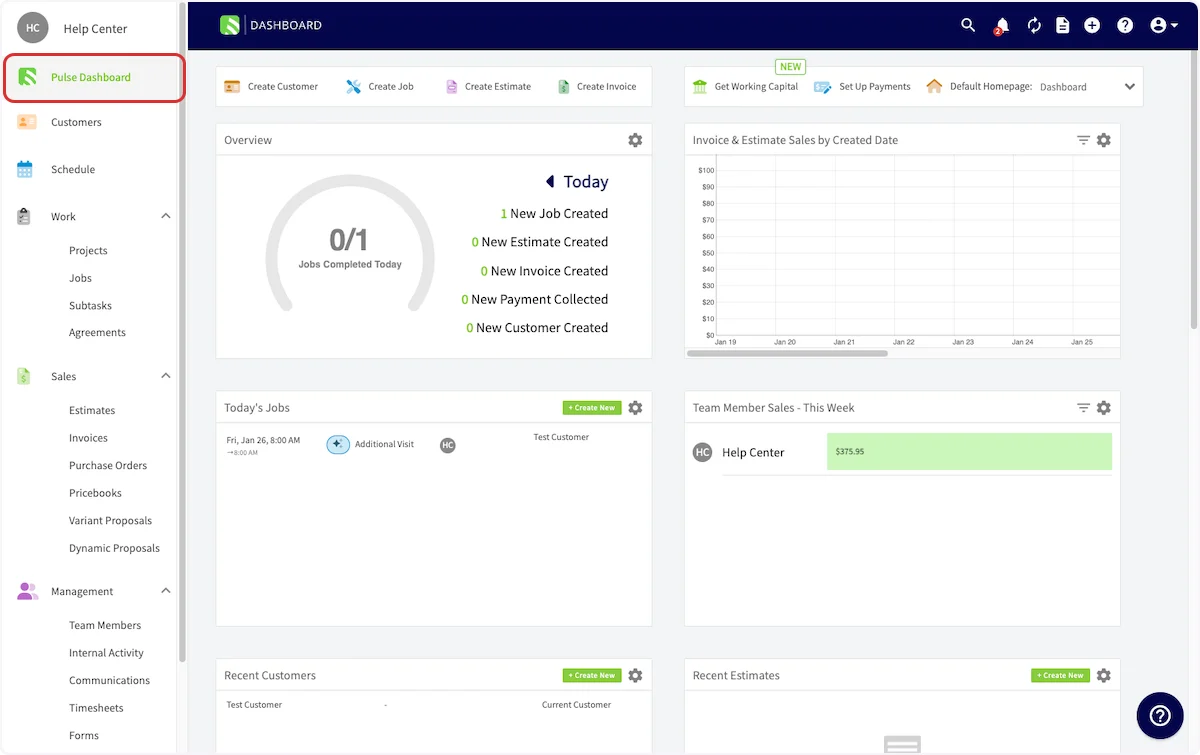
To get to your dashboard, click on the Pulse Dashboard tab in the left-side menu.

Click on  Pulse Dashboard

On the dashboard, you'll see a variety of widgets with current business information displayed at a glance. You can set the dashboard as the default page when you log into the web app by clicking the Default Homepage dropdown.

The other options for your default homepage include Team Schedule, Team Timesheets, Estimates, Invoices, Customers, or Projects.

Click on Default Homepage:…

On each of the widgets you'll see your recent business activity, as well as a Create New button on some widgets allowing you to quickly create a new job, customer, estimate, or invoice.

Click on + Create New

Each widget also has a gear icon that you can click to delete a widget you don't need on your dashboard, or move them around to the order you prefer.

Click on settings

In the Payments Collected and Invoices & Estimate Sales by Created Date widgets, you can filter the data displayed by a variety of factors. Click the grey lines to filter the results, and select the parameters you'd like to filter the graph by. 

When you make changes to the dashboard, whether it's filtering widgets, moving widgets, or deleting them, they are stored so that next time you visit your dashboard it looks exactly the way you set it up.


Have additional questions?

Contact us at support@fieldpulse.com or use the chat feature in the bottom right corner of your screen.
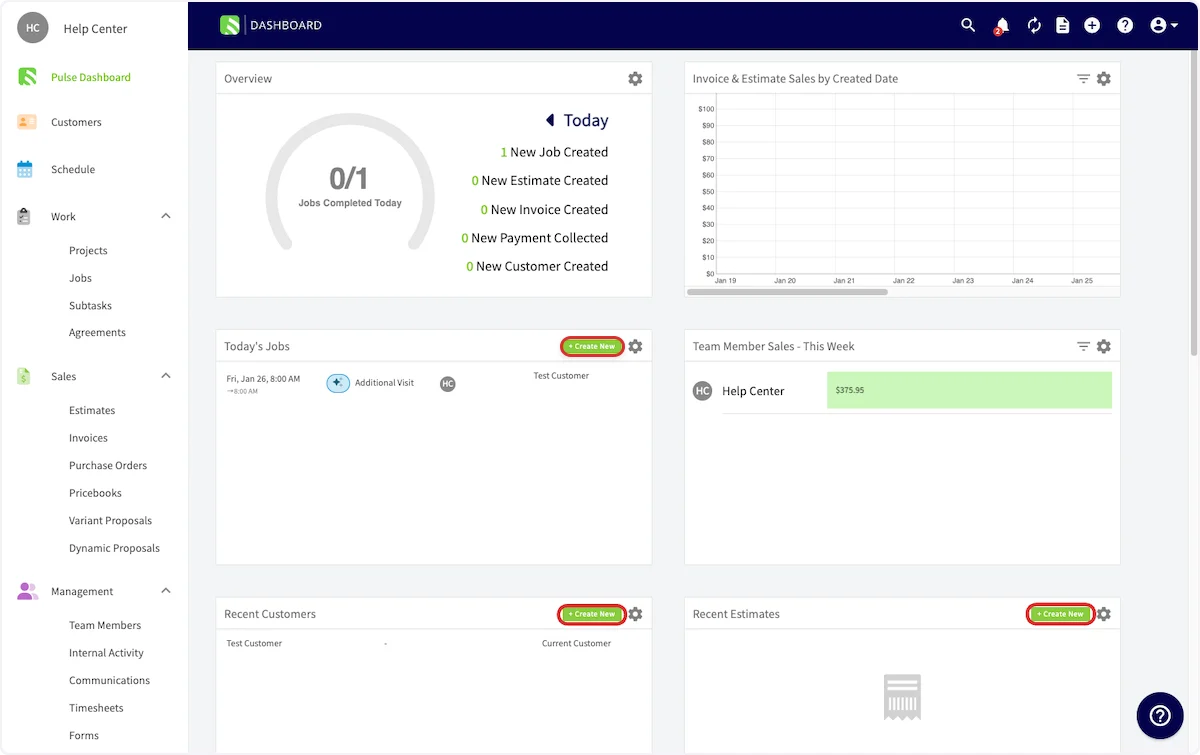
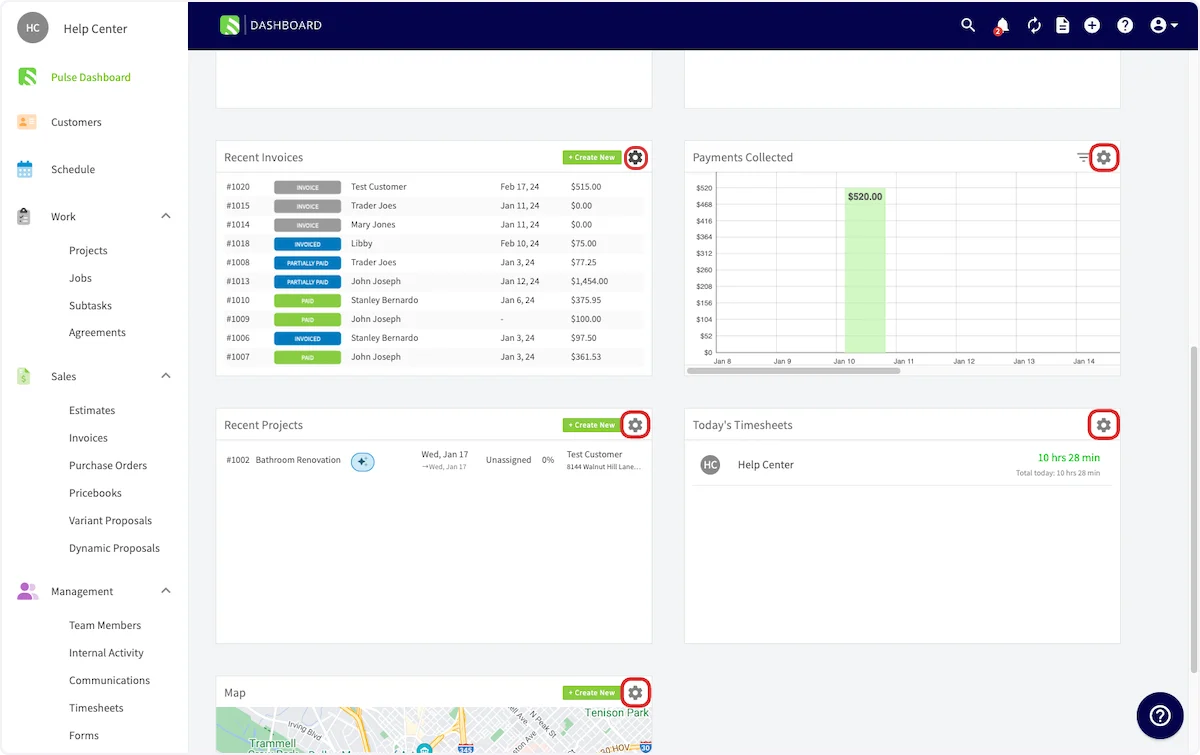
Did this answer your question?