Zapier Integration Sample Walkthrough
Updated over a week ago

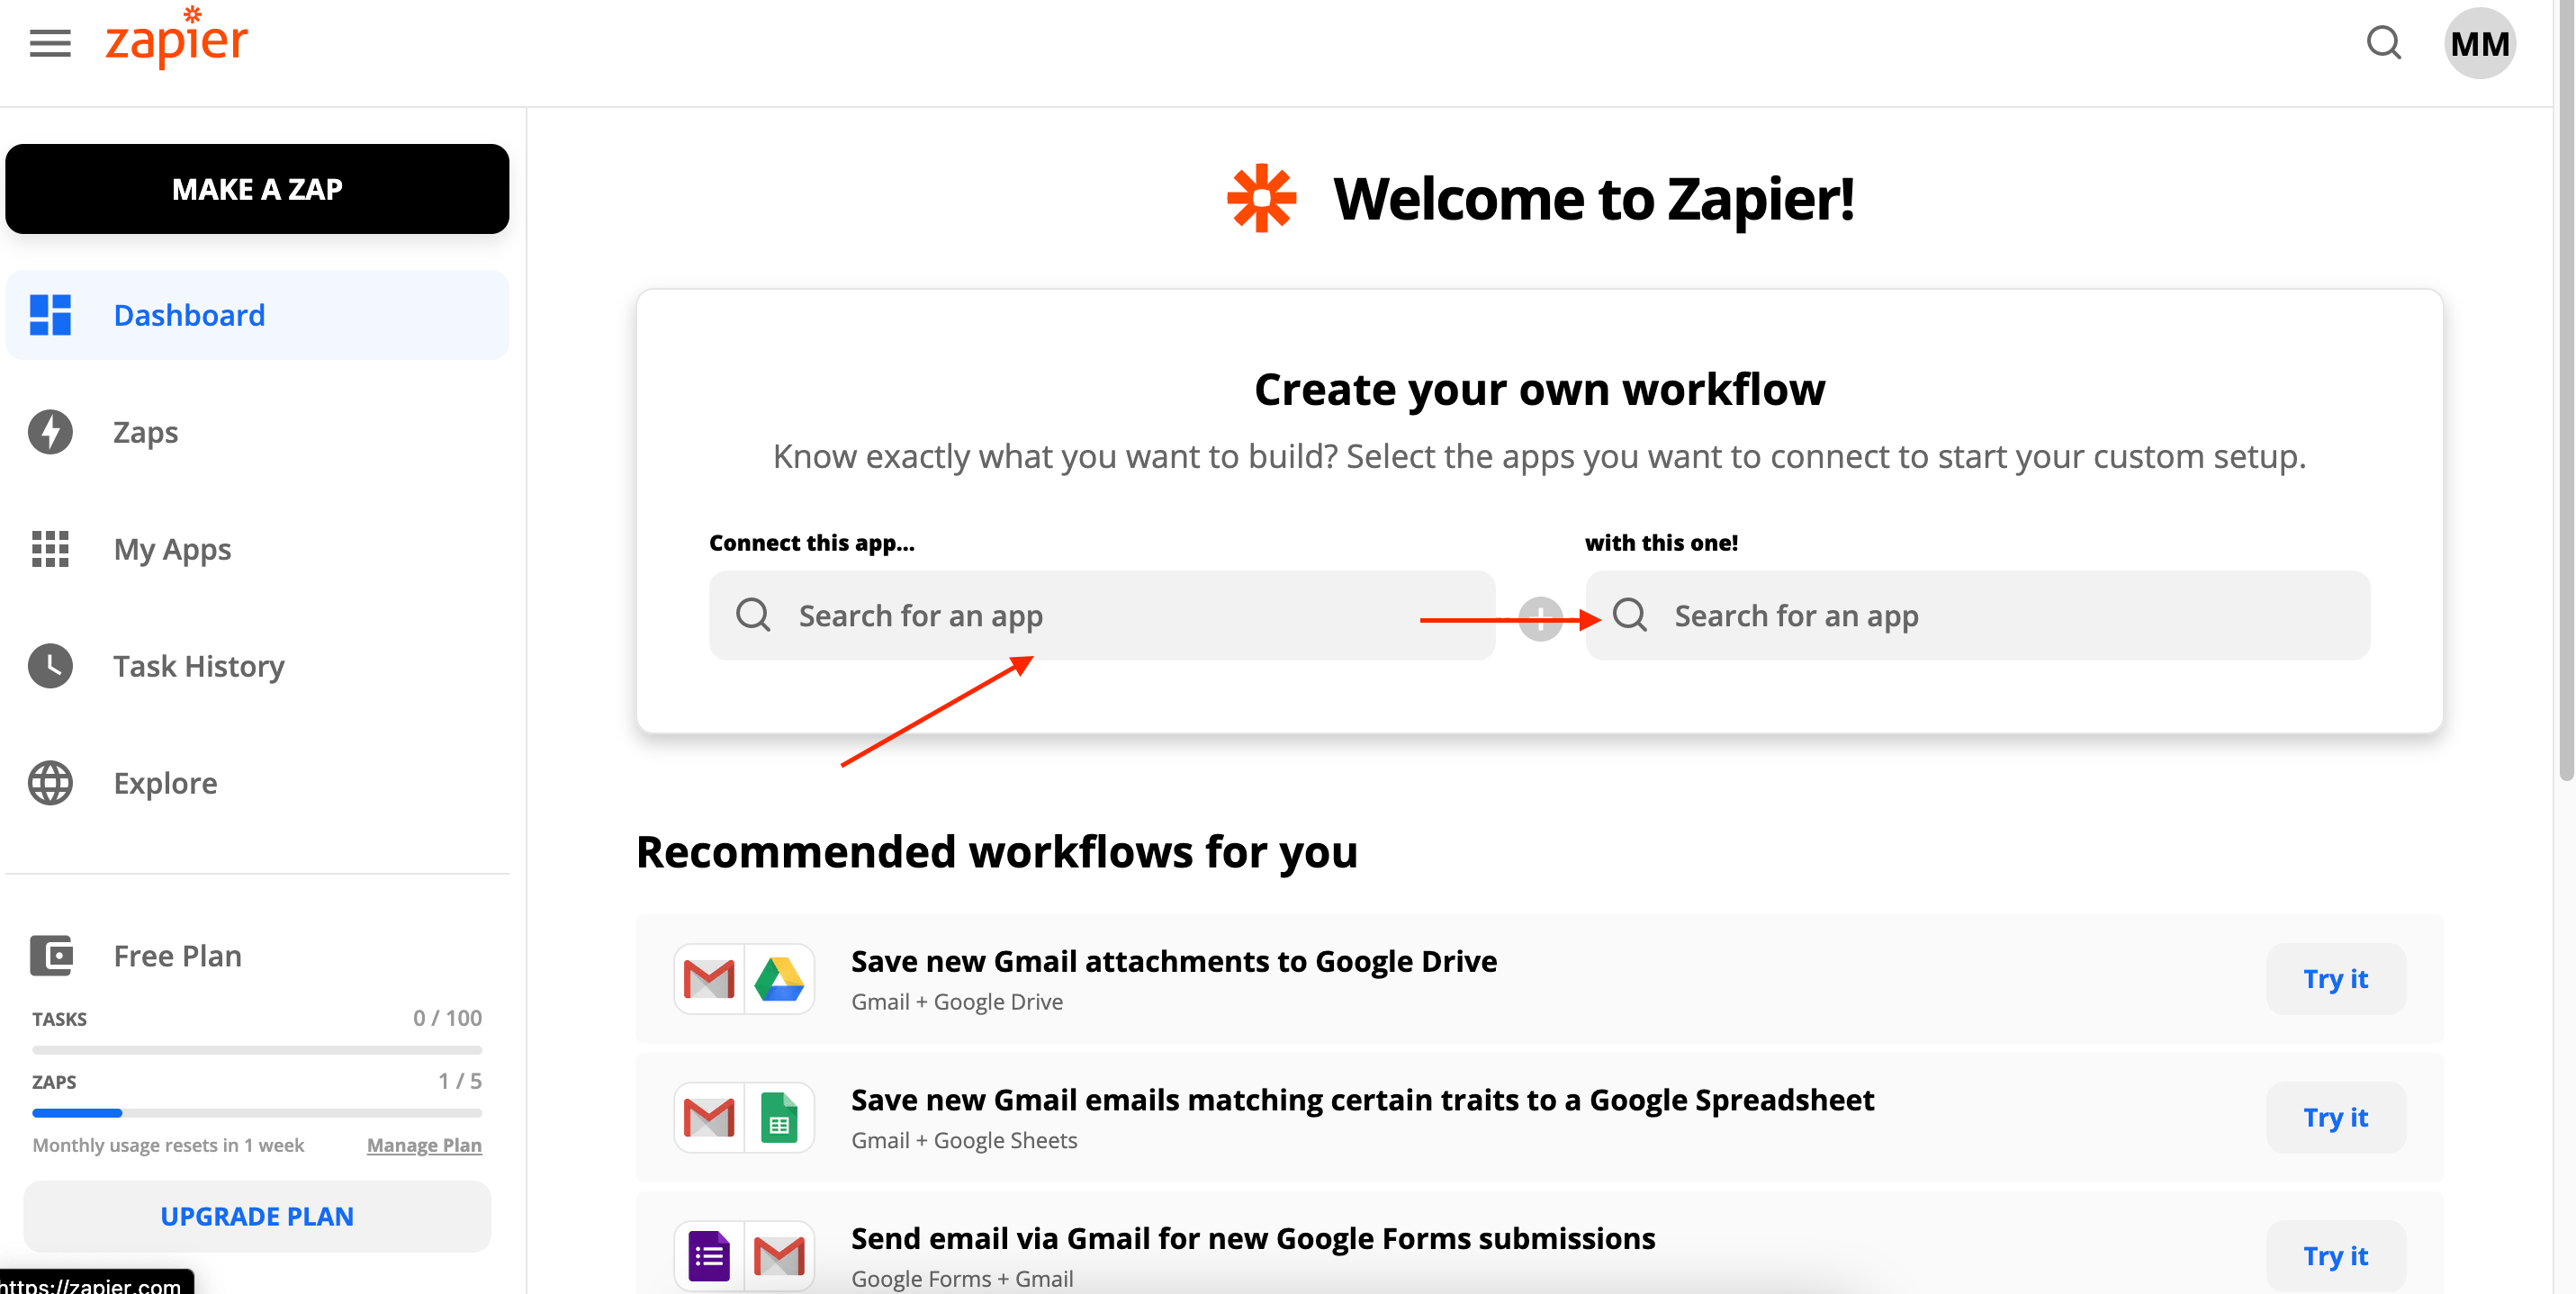
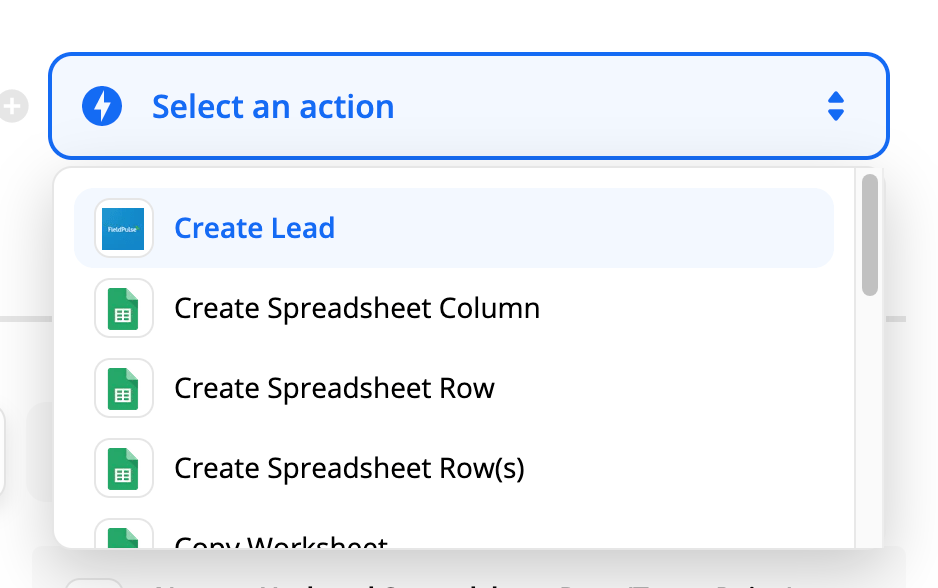
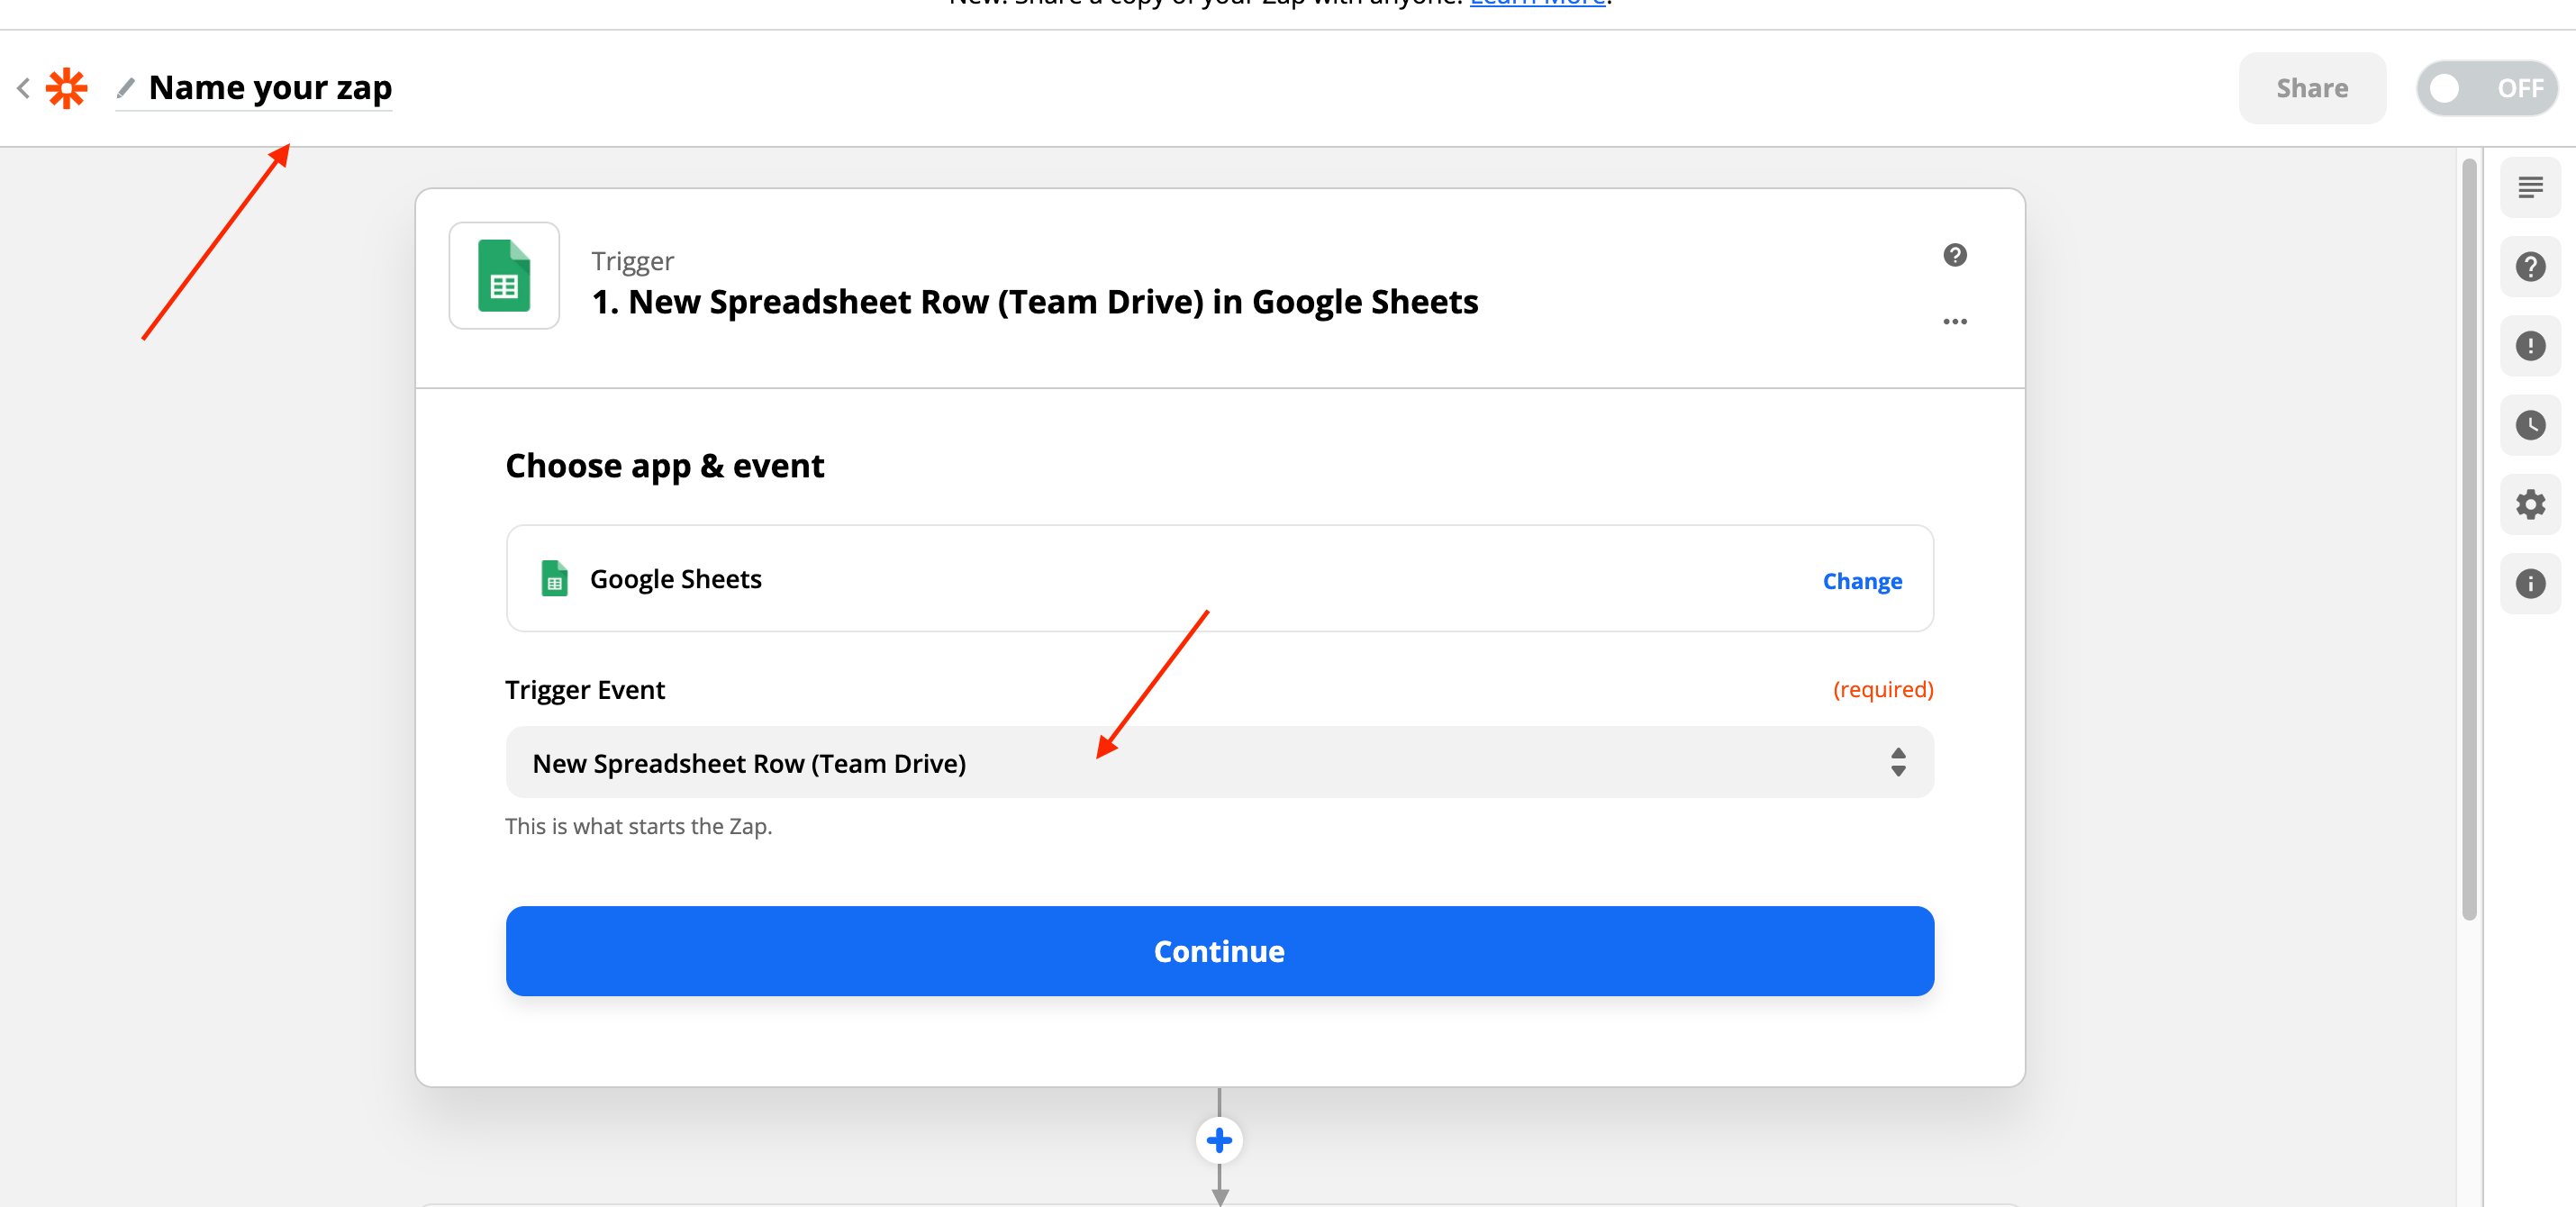
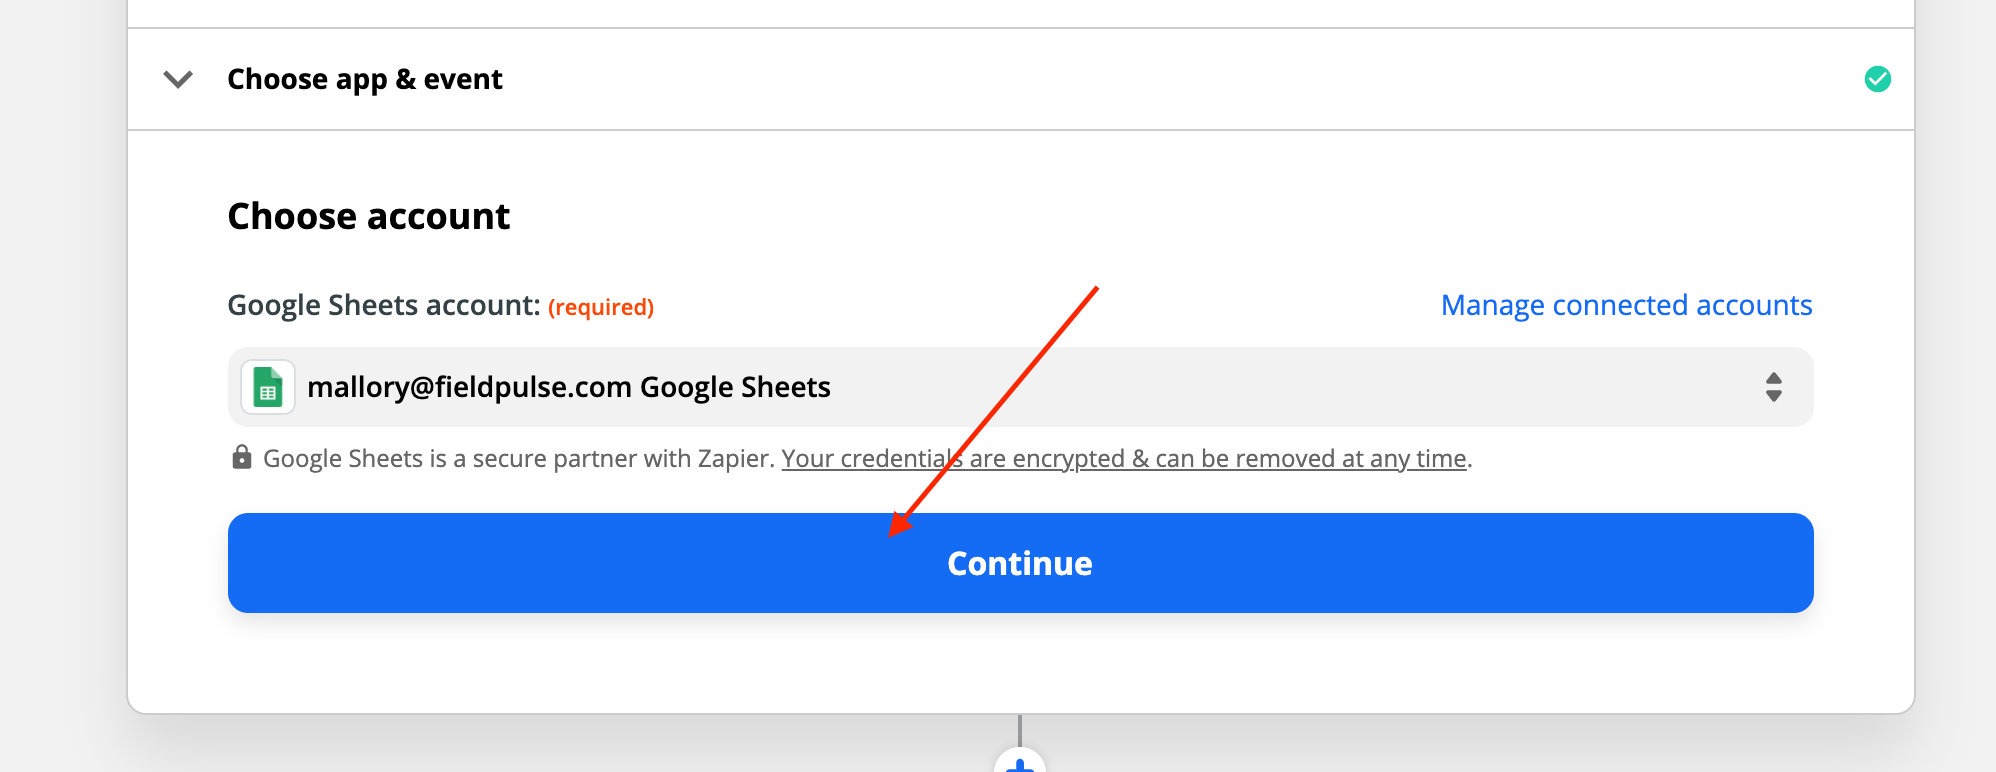
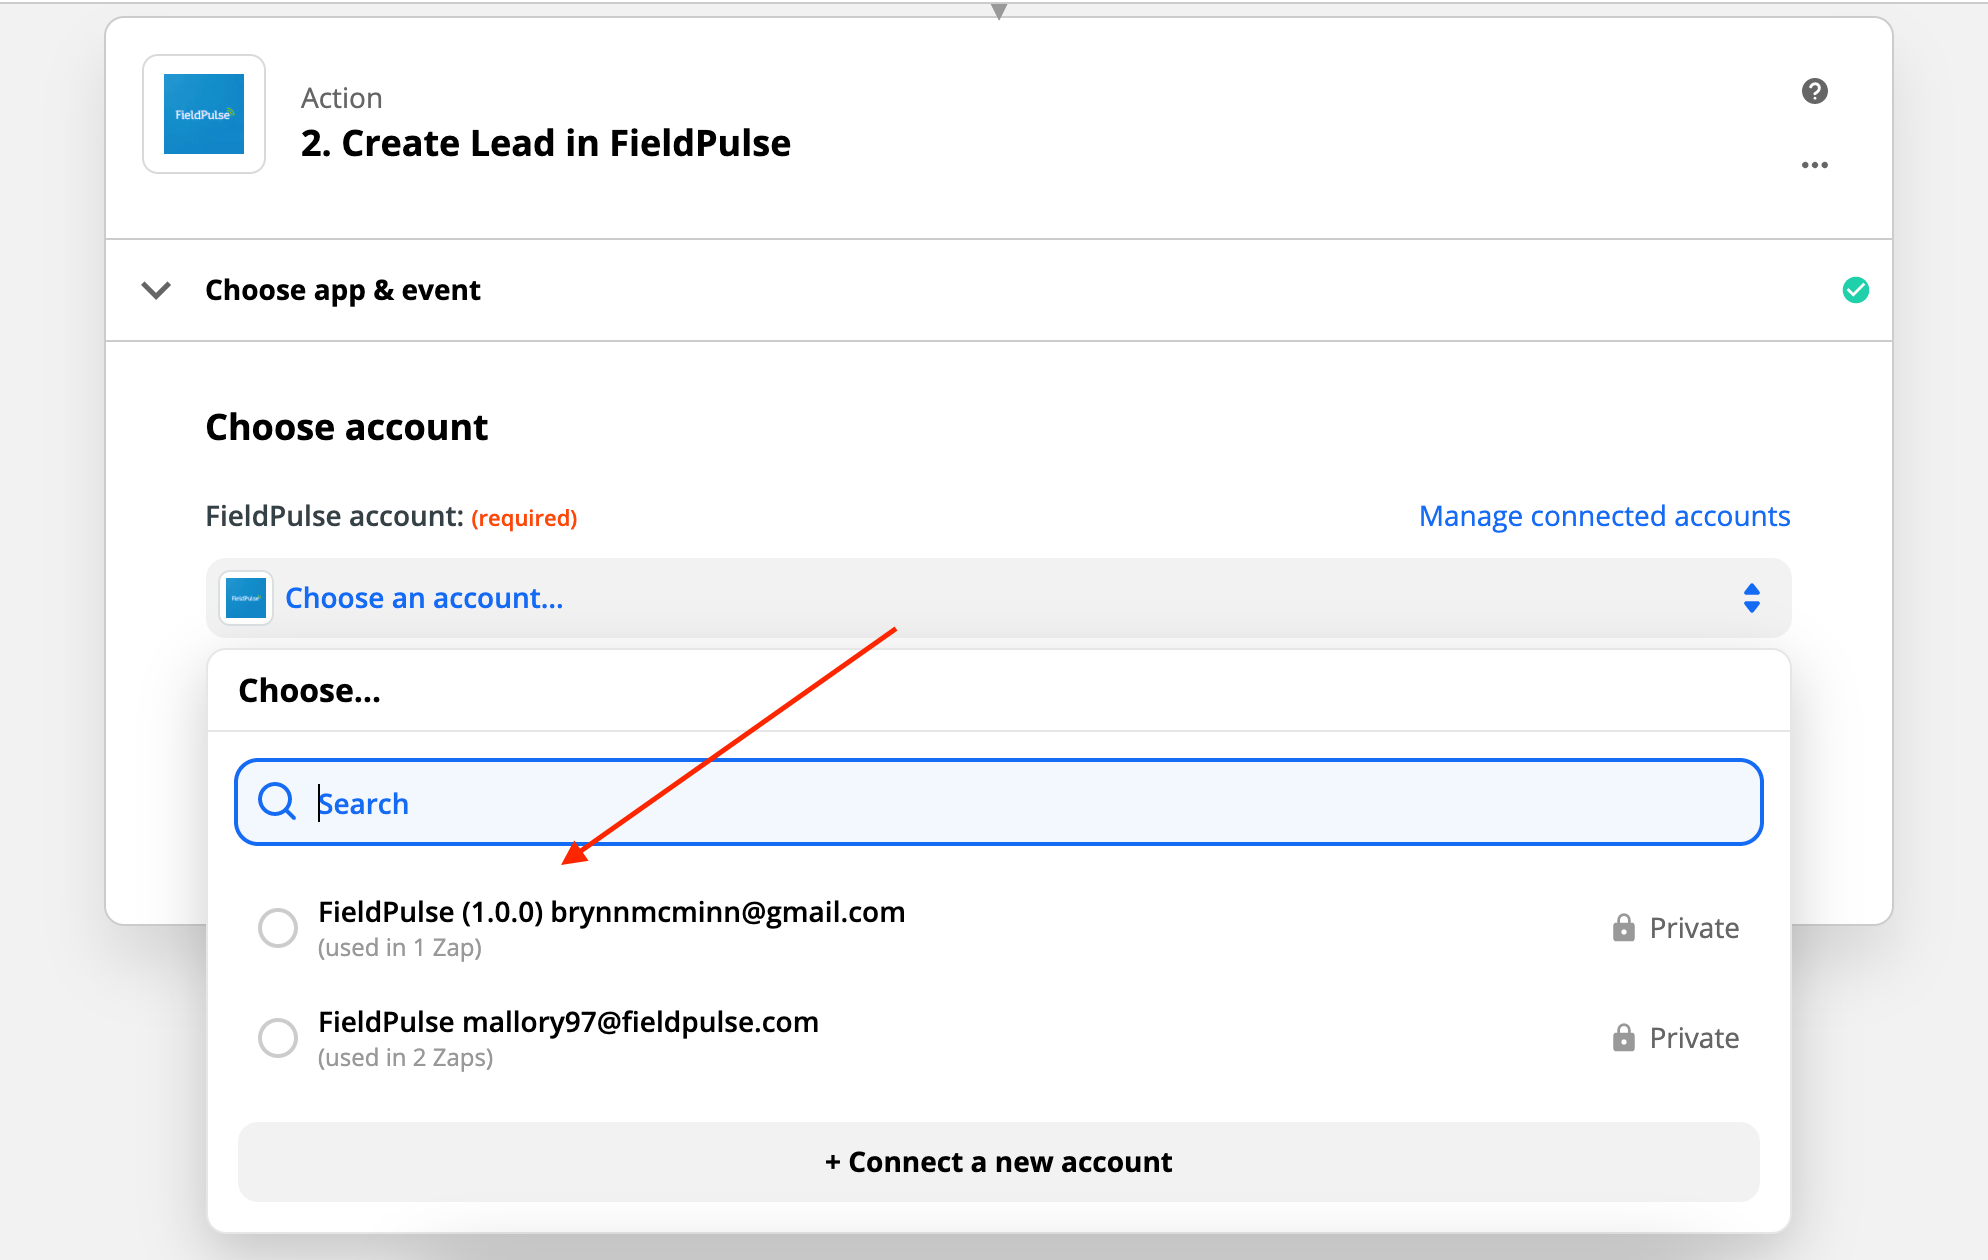
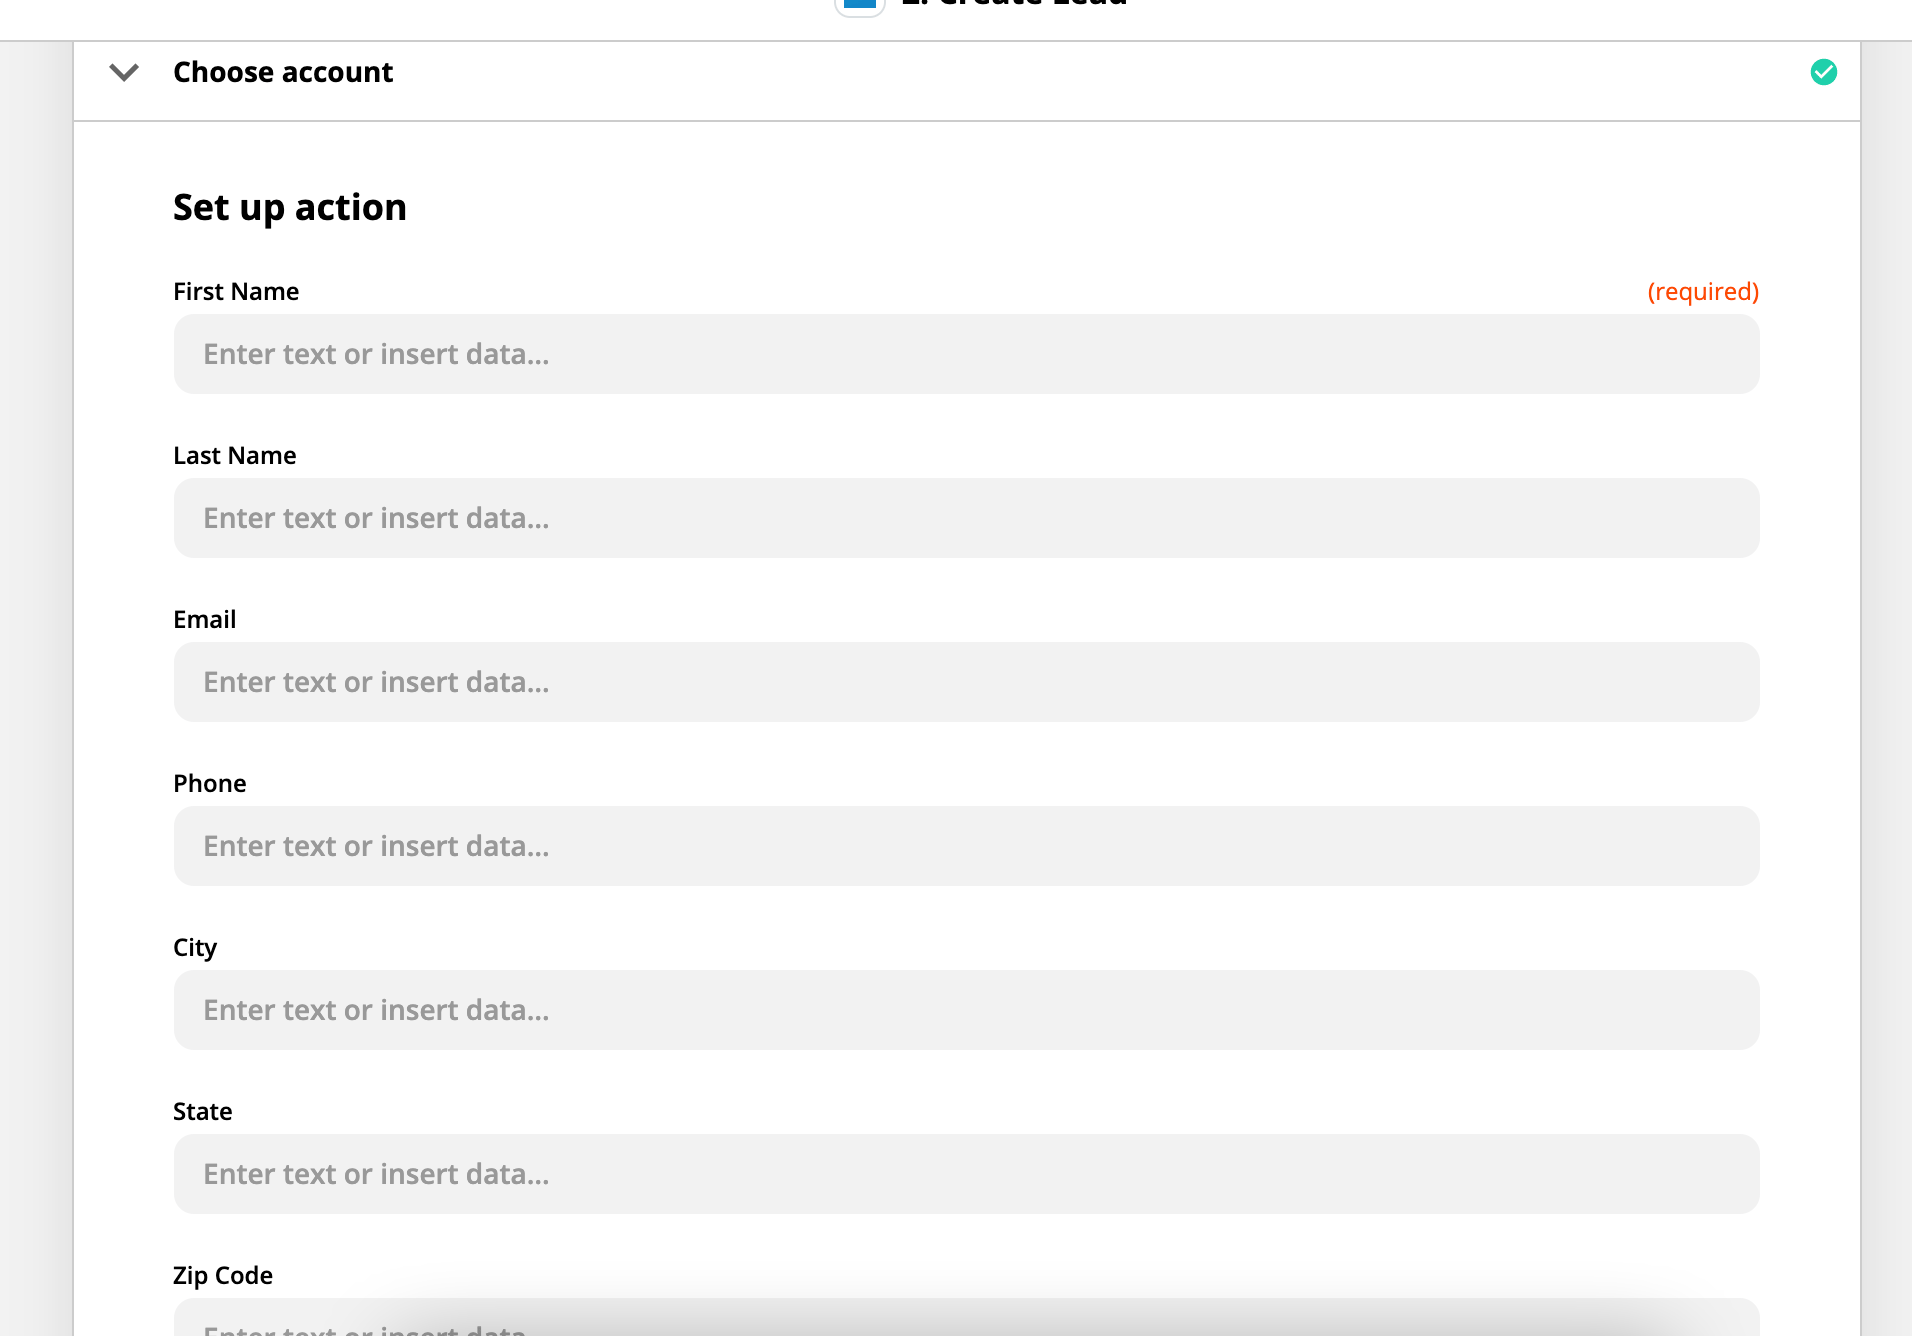
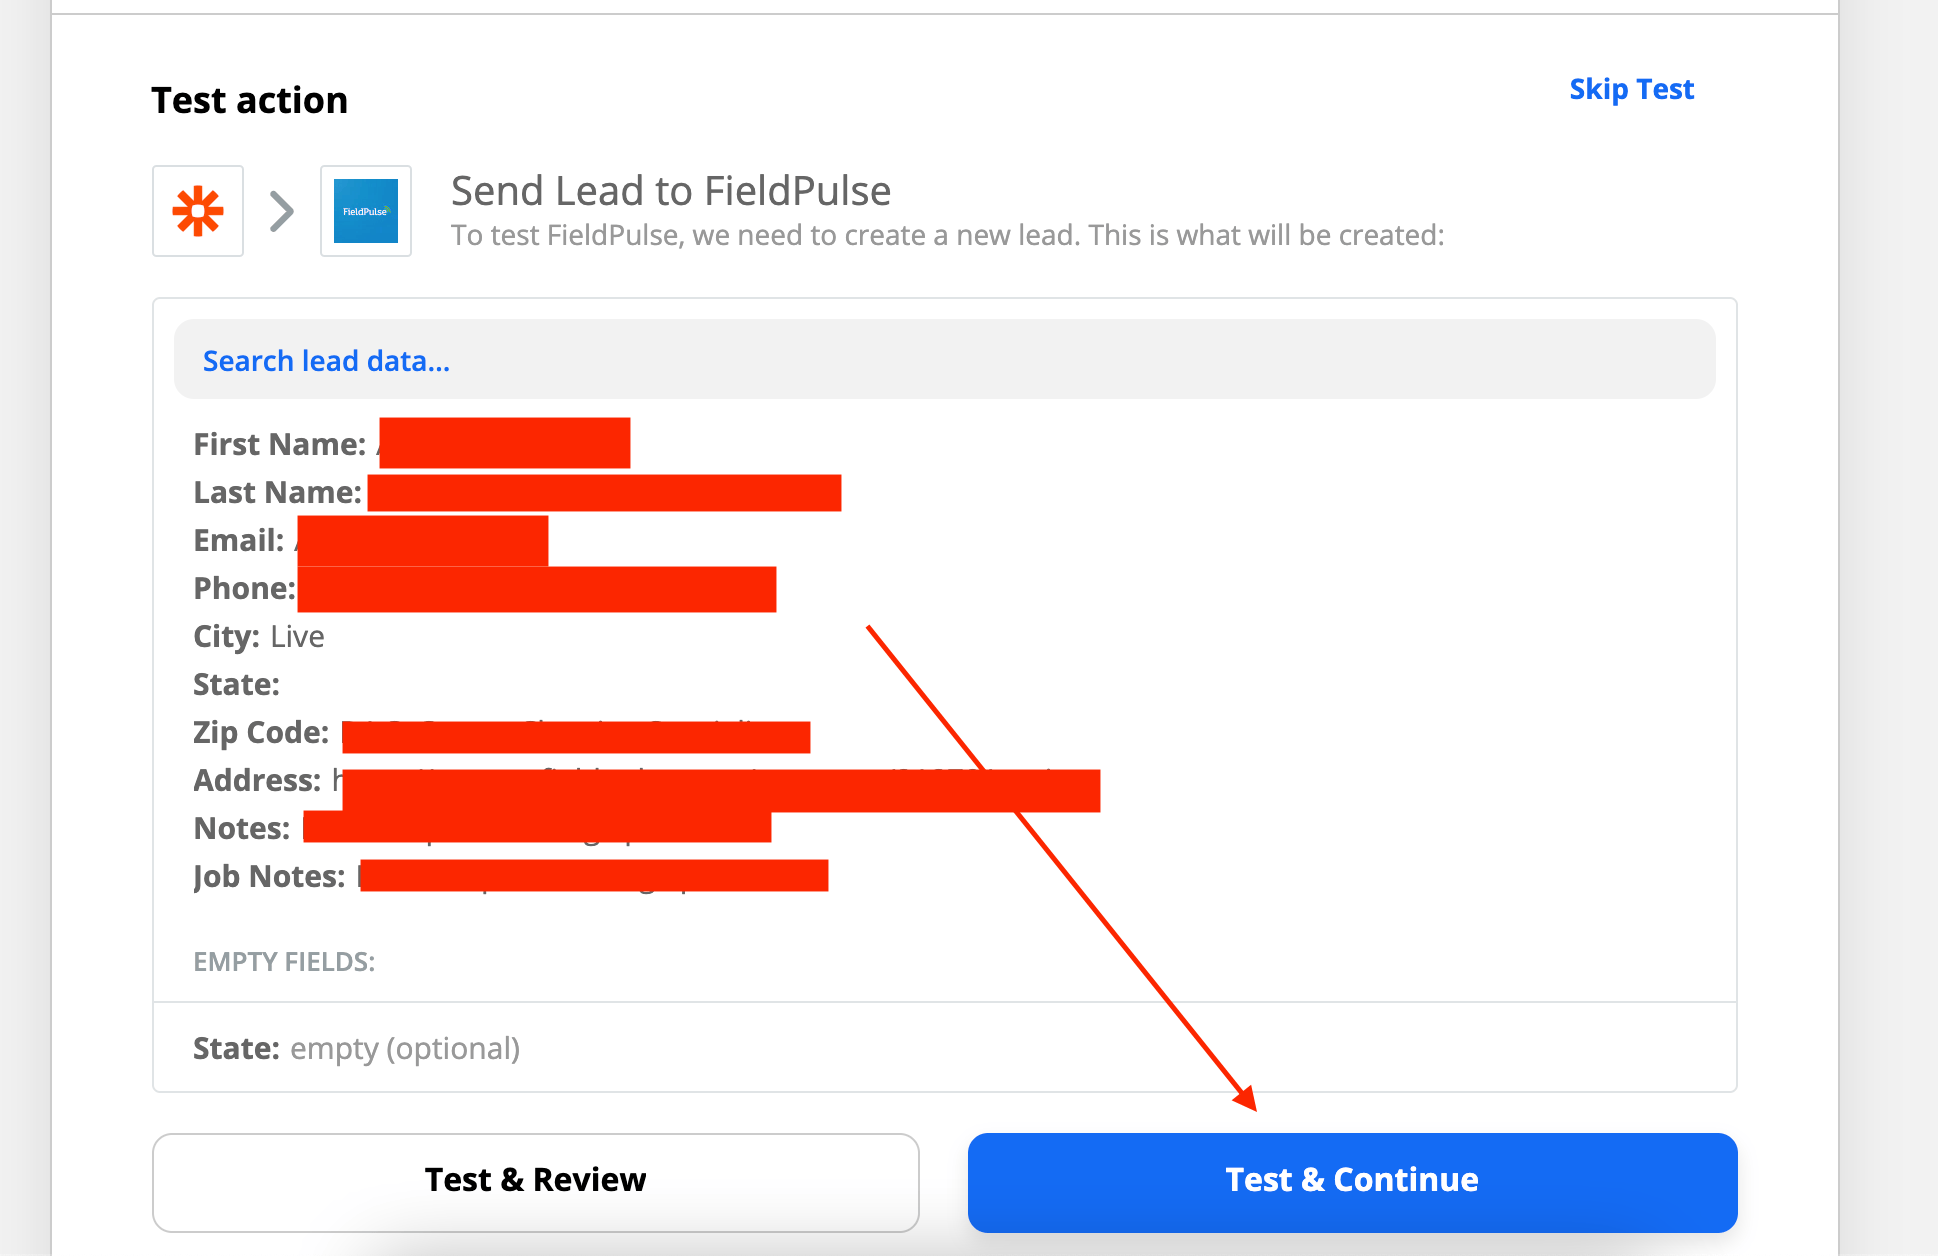
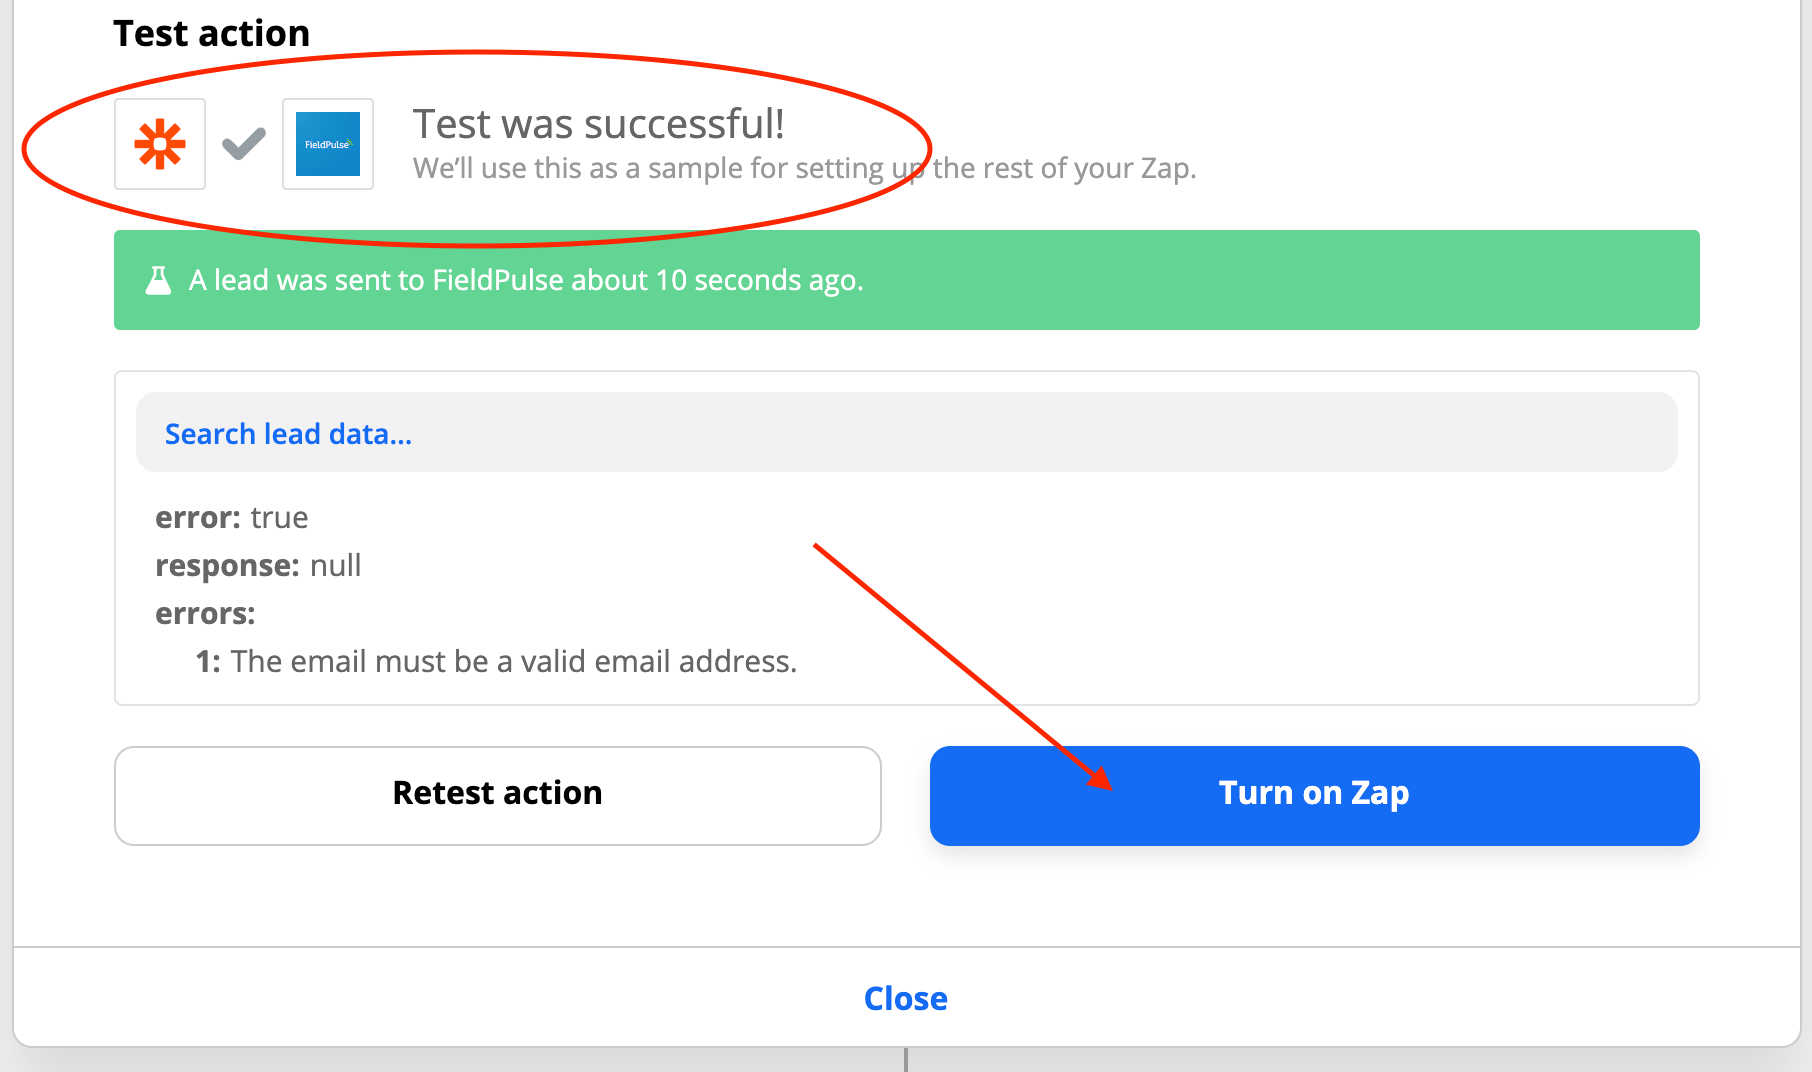
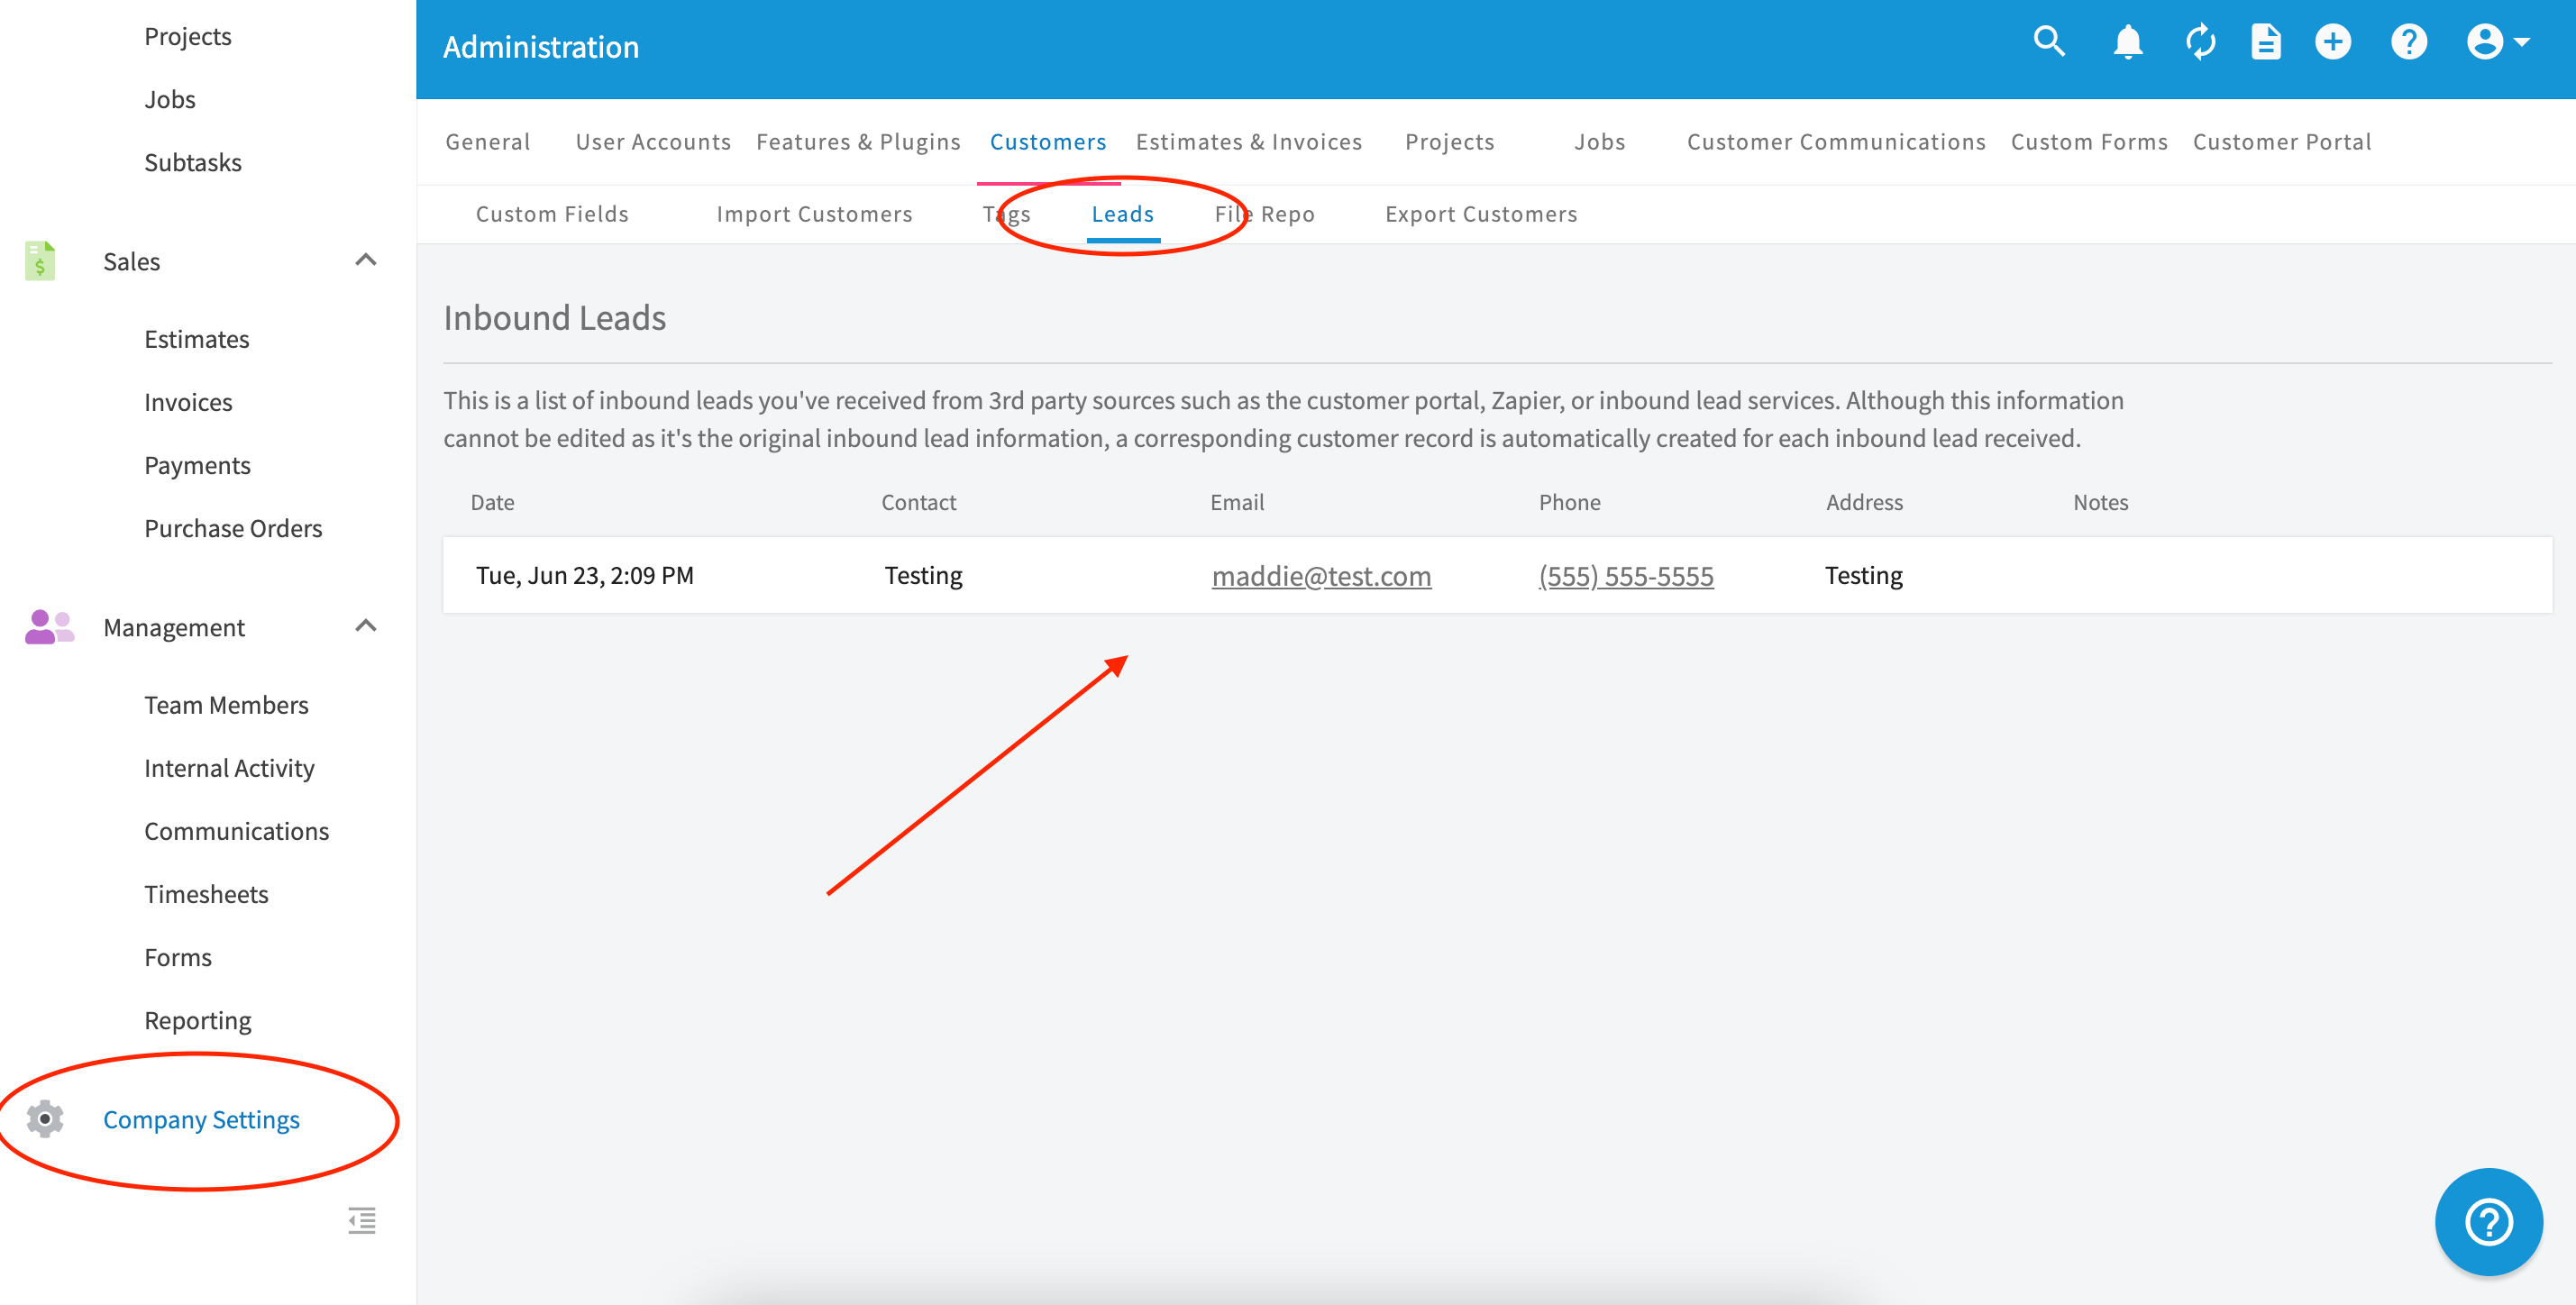
Zapier is used as a connection between applications. FieldPulse uses Zapier to pull in customer records as LEADS. These leads are stored under Company Settings > Customers > Leads.

To connect FieldPulse to another app to pull in those leads, login to your Zapier account. If you do not already have a Zapier account, you will need to create one.

You will then see the screen below. On this screen, you will search for the app you wish to connect to FieldPulse. The order in which you connect is important. First you will enter the app you want to connect, then you will have the app connected with FieldPulse.

For this example, we will be connecting a Google Sheet with the FieldPulse app. You could put a "Contact Us" section on your website, Facebook, Instagram, etc. that potential customers could fill out. Once they fill out that information on that Google Sheet, those leads would populate into FieldPulse as a result of the Zapier connection.

The other screen you might see to connect is this one below. As you see the order in which we put these together is important - Google needs to be first followed by FieldPulse.

Once you have selected these two apps you will choose what Zapier calls Triggers. These triggers will determine what actions made in Google Sheets trigger actions in FieldPulse.

For this example we are going to choose New Spreadsheet Row as a trigger.

Next, because FieldPulse is the receiving app, we will need to select an action in response to the trigger. For this example, we will select Create Lead.

Then you will hit the Connect Google Sheets + FieldPulse button to officially connect the two apps.

There are a couple more actions you must take before the Zapier connection is live. You will be able to name your "Zap" or Zapier connection to identify it for later editing or use. You will then choose an app event. Trigger event will be New Spreadsheet Row. Then select Continue.

Next, you will choose the Google account you want to connect or select + Connect a New Account. Once the account has been chosen, click Continue.

Next, you will be prompted to select more trigger options. Then you will hit To Continue, Finish Required Fields.

Then, once you have completed all triggers & selections for Google Sheets app you will move on to selecting the FieldPulse account you wish to connect as well as Action Event as Create Lead. Then you will hit Continue.

The next step is how you want the fields from Google Sheets to appear in FieldPulse. As you select each field, drop-down menus will appear for you to select field values. For example: If you click on First Name, it will prompt you to select a column in your Google Sheet. This means that that column chosen will populate in the First Name field in FieldPulse.

Once these fields have been chosen, you will then see the Test Action screen. You can test your action and see if the information populates from the Google Sheet - to the way you'd like it to show in FieldPulse.

If the connection worked well, your screen will now say Test was Successful!. Now press Turn on Zap: this will complete the set up and your connection will now be live.

You can then navigate back into FieldPulse. You will find that all your leads then populate under Company Settings > Customers > Leads.

Google Sheets is not the only app that you can connect with Zapier to FieldPulse to bring in leads - all you have to do is search for the app you'd like to connect, see if Zapier has it available, and proceed to connect.


Have additional questions?

Contact us at support@fieldpulse.com or use the chat feature in the bottom right corner of your screen.

Did this answer your question?