Adding a New Custom Field
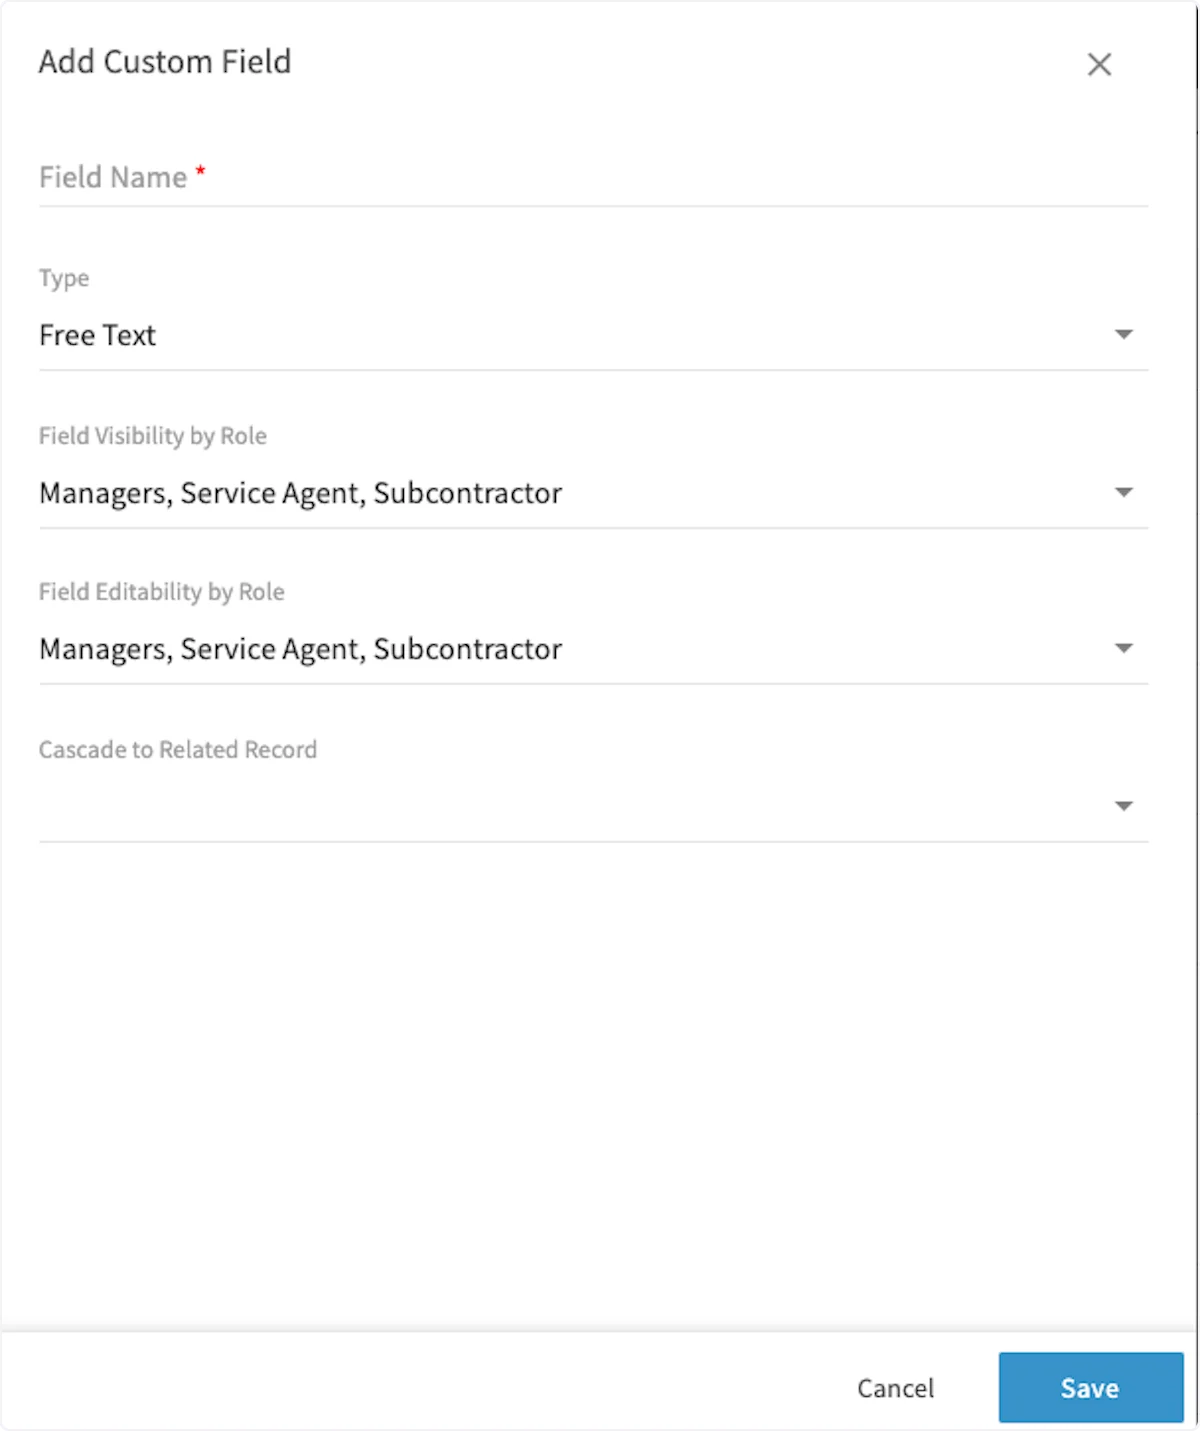
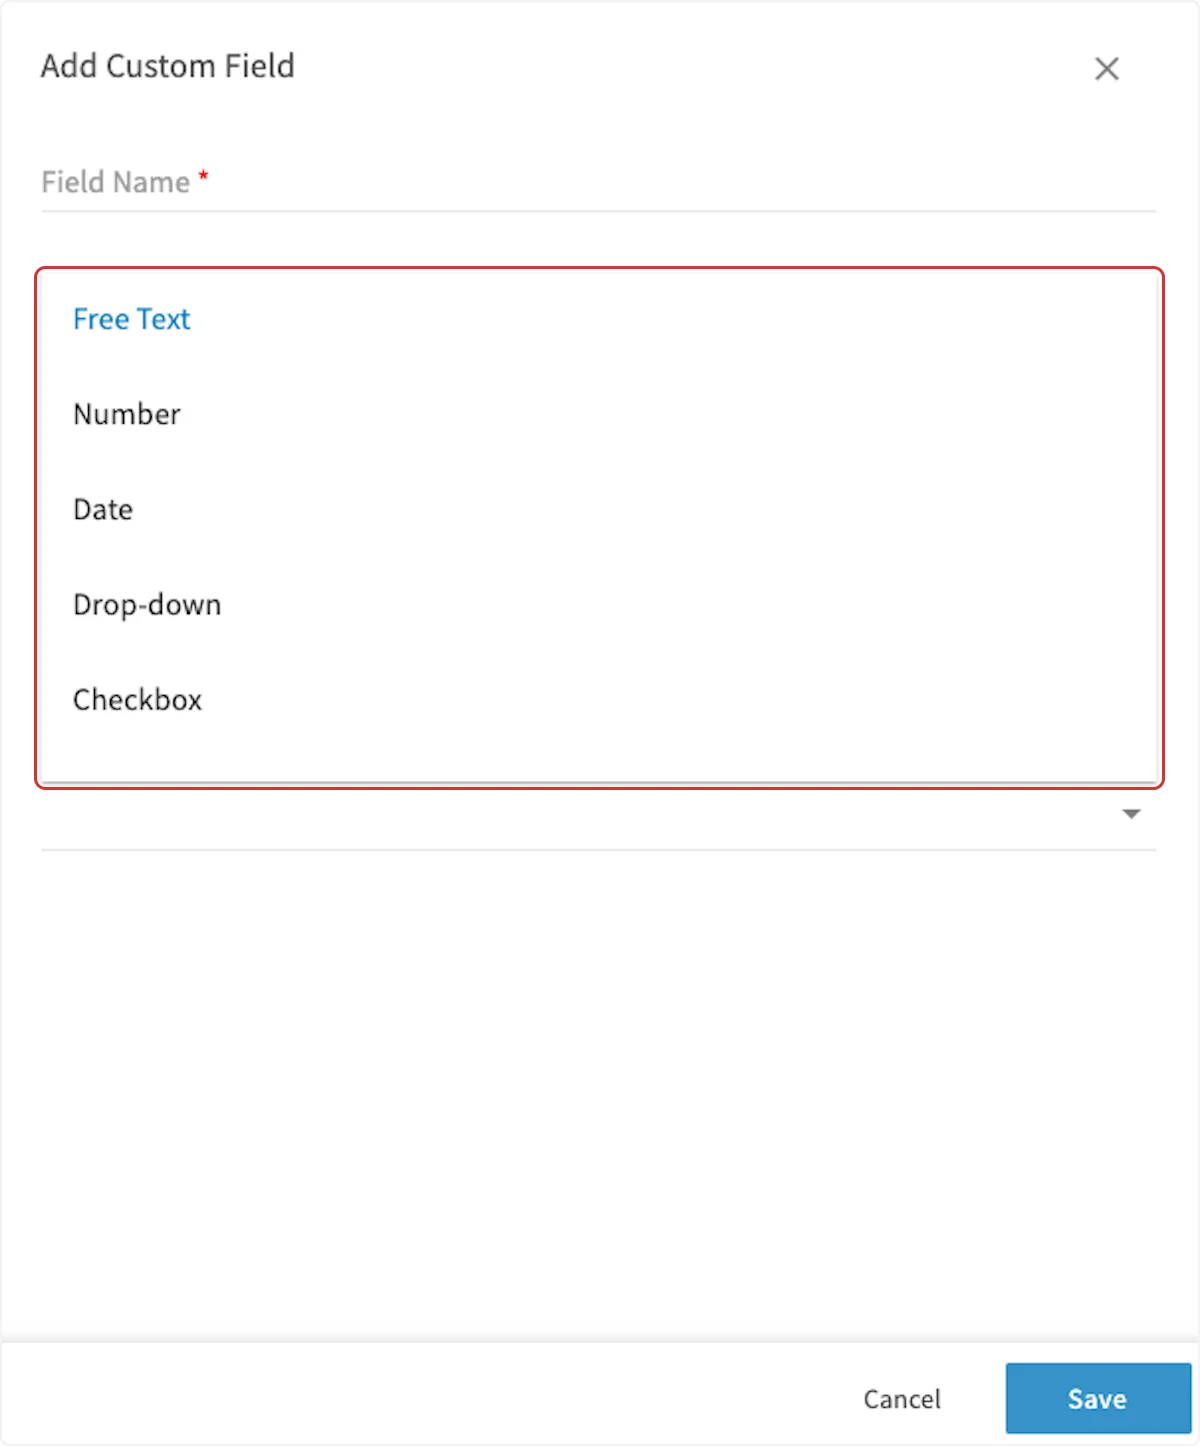
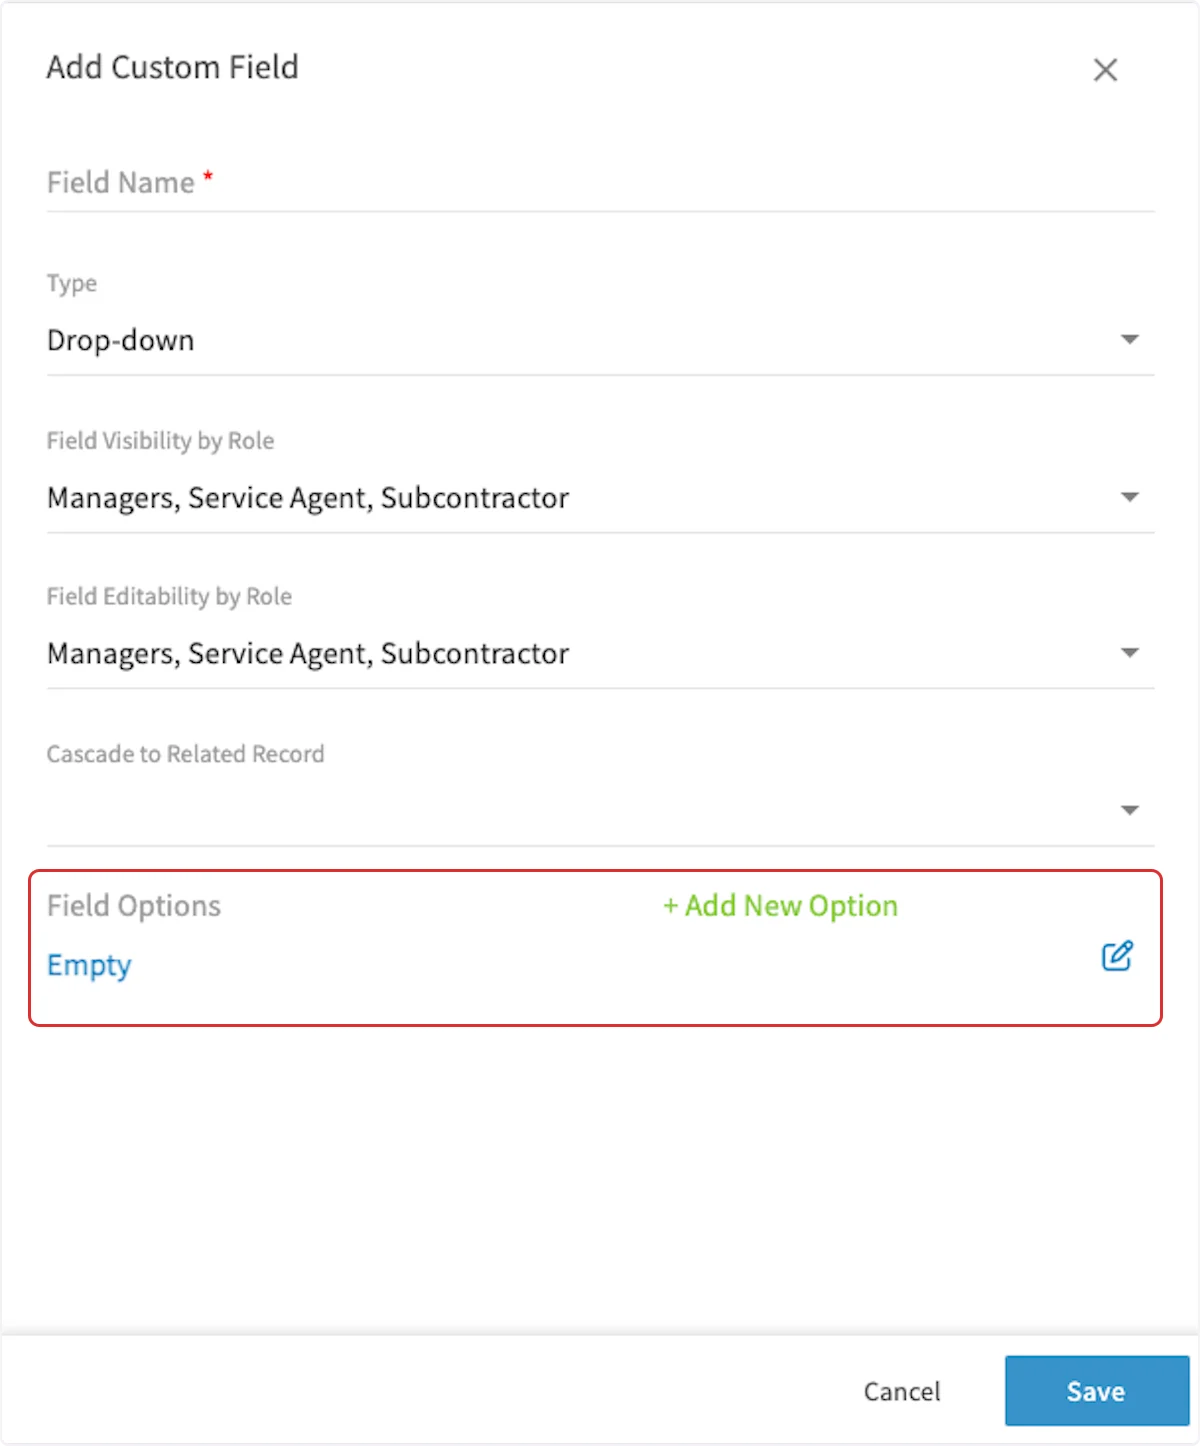
To create a custom field, navigate to Company Settings, click on Jobs and then the Custom Fields tab. On the Custom Fields page, click Create New.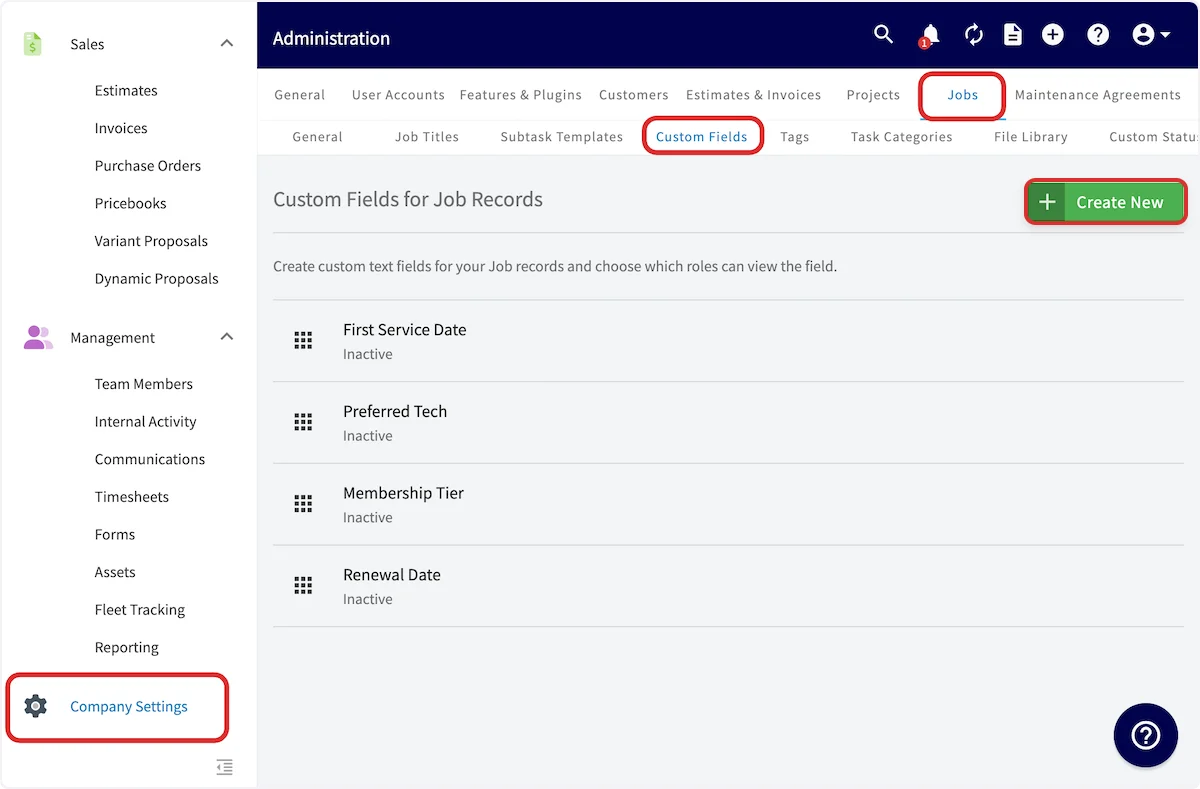
Video Tutorial
Have additional questions? Contact us at support@fieldpulse.com or use the chat feature in the bottom right corner of your screen.