
Who uses this: An Admin prepares data and configures the integration. Availability: Requires a connected Xero account; the FieldPulse Xero integration is available for customers in Australia and New Zealand only.Preparing to sync with Xero means getting your customer records and line items into the format Xero requires before you connect the two systems. Xero is stricter than FieldPulse about names, SKUs, tax accounts, and special characters, so a few minutes of cleanup here is what keeps invoices from stalling on the first sync.
Overview
The Xero integration is a two-way sync for customers, line items, invoices, and payments, and a one-way sync for estimates (FieldPulse → Xero). Once connected, creating or editing a customer, invoice, or payment in the office or on the job is reflected in both systems automatically — no more double entry. FieldPulse handles the invoicing, and Xero handles the accounting. Records sync in a fixed order — customers first, then line items, then invoices — so a formatting problem early in that chain blocks everything after it. Preparing your data before you connect is what prevents that.Before you begin
- Confirm you have a Xero account in Australia or New Zealand.
- Have access to both your Xero contact list and your FieldPulse item list so you can correct records in either system.
- Set up your tax rate in Xero — FieldPulse pulls the tax rate from Xero, not the other way around.
- Review the Xero integration overview if you have not connected an accounting integration before.
Step-by-step setup
1. Prepare your customer records
Get every customer record ready to sync from Xero:- Give each customer a name — a first name, last name, or company name. A customer with no first and last name in Xero syncs to FieldPulse as a commercial (company) customer.
- Make sure a Contact Name / Display Name is filled in. This is a required customer field in both Xero and FieldPulse after syncing.
- Add a unique email address and a phone number where you can. These are preferred but not required.
- Note that Xero contacts, suppliers, and customers all sync into FieldPulse as customers, and Xero Contact Groups come across as a parent customer shown as “Group: Primary Person.”
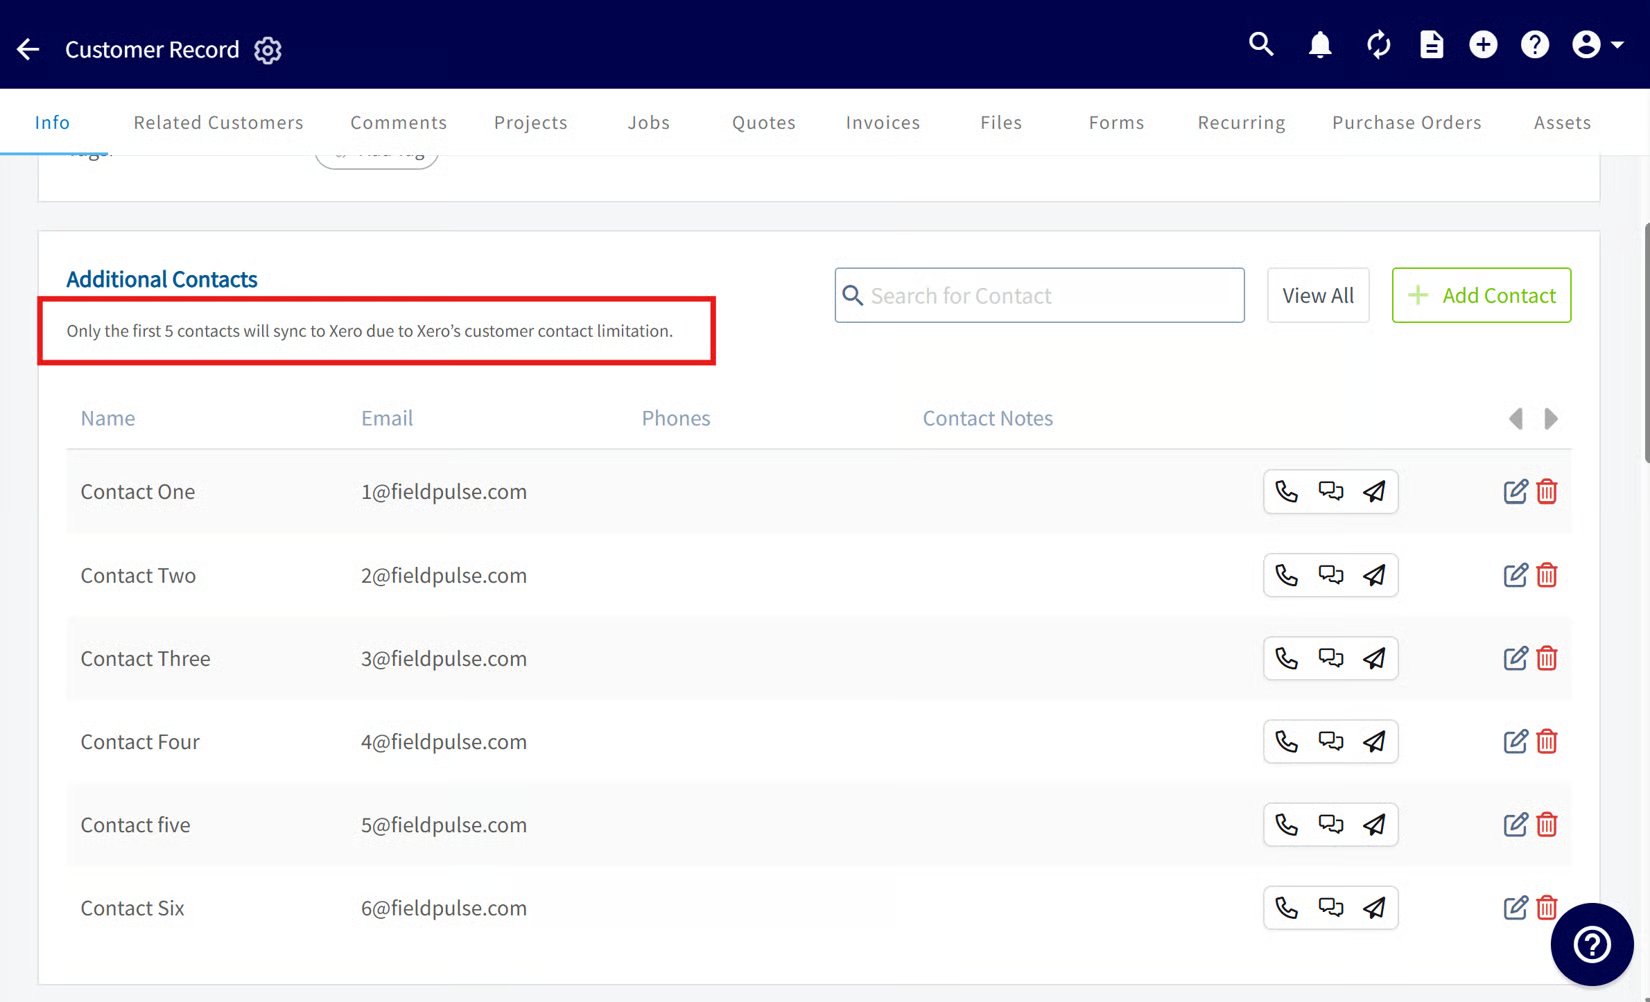
- Trim contacts if needed: FieldPulse holds unlimited contacts per record, but only the first 5 contacts sync to Xero due to a Xero limit.
2. Prepare your line items
Line items are where most sync problems start. Before connecting, check each item so it meets Xero’s rules:- Remove special characters from item names — Xero rejects $ % ^ ( ) = ’ < > { } ” and items containing them will not sync.
- Make sure names are not alphanumeric — an item name can’t mix numbers and letters together. For example, items named “Filter 20x25” or “2 inch PVC elbow” won’t sync.
- Give every line item a unique SKU.
- Set a GST account on each item. The tax account must be set to GST on income, or the item should read BAS excluded or GST free.
- Confirm your tax rate is set up in Xero, since FieldPulse pulls the tax rate from Xero.