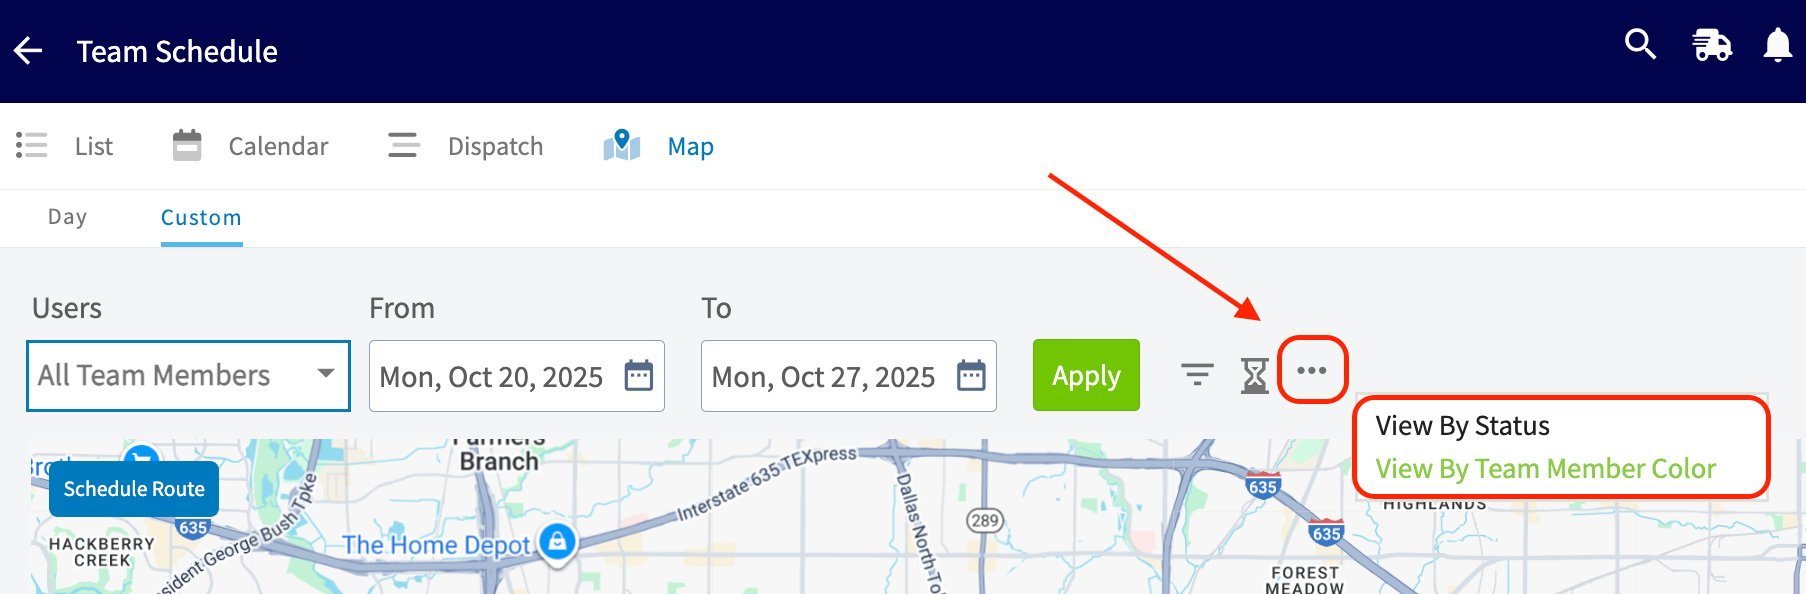
Who uses this: The schedule map view is a tab on the Team Schedule page, next to List, Calendar, and Dispatch. Availability: All regions.The schedule map view plots your jobs and your team members on a map, so you can see where the day’s work actually is — which team members are stacked up, which are open, and which jobs still have nobody on them. Instead of reading a list and picturing the geography in your head, you look at it while you schedule and dispatch.
Overview
The schedule map view has two modes. Day shows the jobs and team members for a single day. Custom offers the same functionality across a date range you choose. Both modes plot jobs and team members on the same map, so you can see how workload is distributed, locate unscheduled jobs, assess team performance, and spot the gaps or overlaps in your scheduling.Before you begin
- An unscheduled job only appears on the map if it has an assigned location. Confirm your jobs have locations before you rely on the map to find open work.
- The Team dropdown in the day view and the Users dropdown in the custom view list the teams you have created in FieldPulse.
On web
Open the day view
-
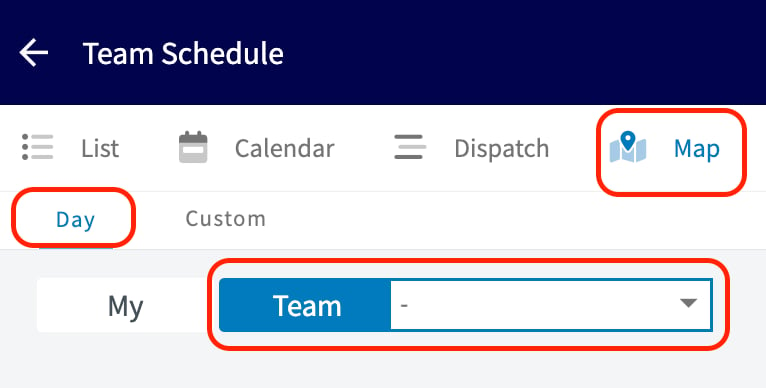
Select Schedule in the left menu, then the Map tab, then Day.
-
Select the dropdown next to Team to choose what the map displays. Options include:
- Teams you’ve created in FieldPulse.
- Deactivated Users.
- Unassigned Jobs.
- Unscheduled Jobs — these must have an assigned location to appear on the map.
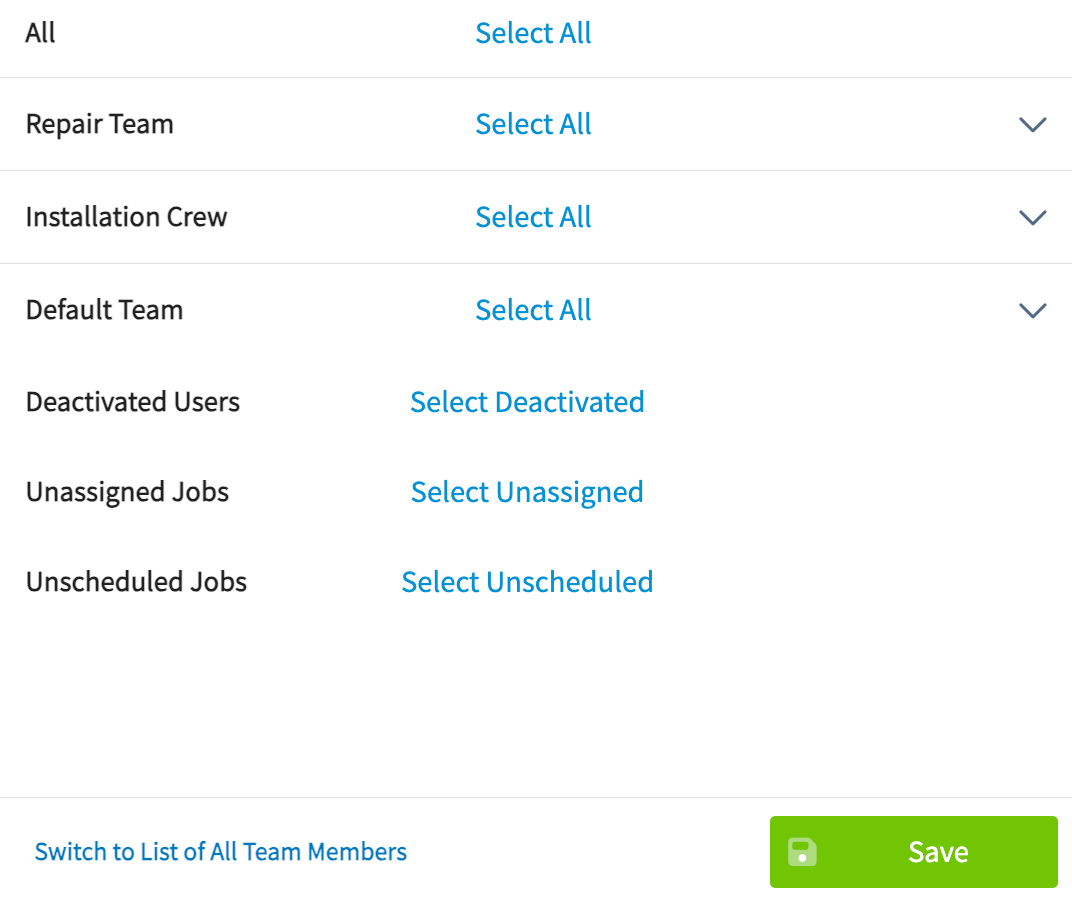
- Select Save.
- Select a job marker on the map to open its detail.
Use the custom view
The custom view offers the same functionality as the day view, but across a date range you choose instead of a single day.-
Select Schedule in the left menu, then the Map tab, then Custom.
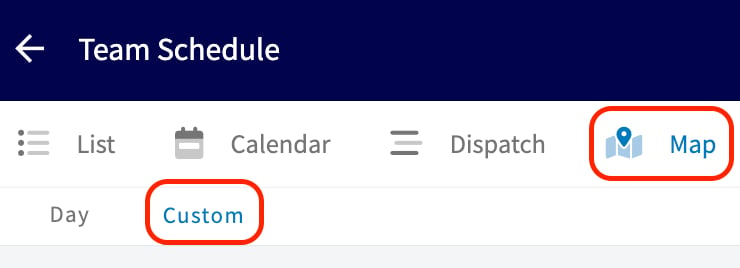
- Set the From and To dates for the range you want to see, then select Apply.
-
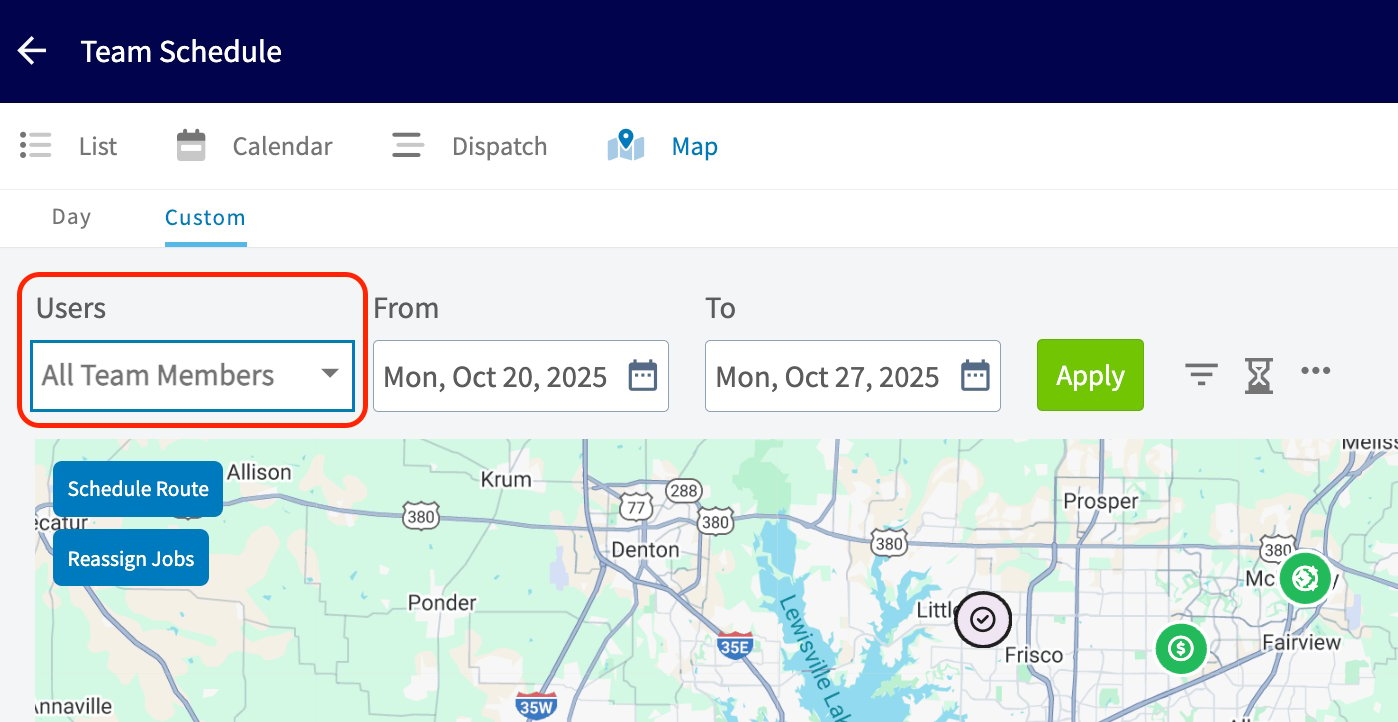
Use the Users dropdown to choose what the map displays — the same options as the day view: Teams, Deactivated Users, Unassigned Jobs, and Unscheduled Jobs (location required).
-
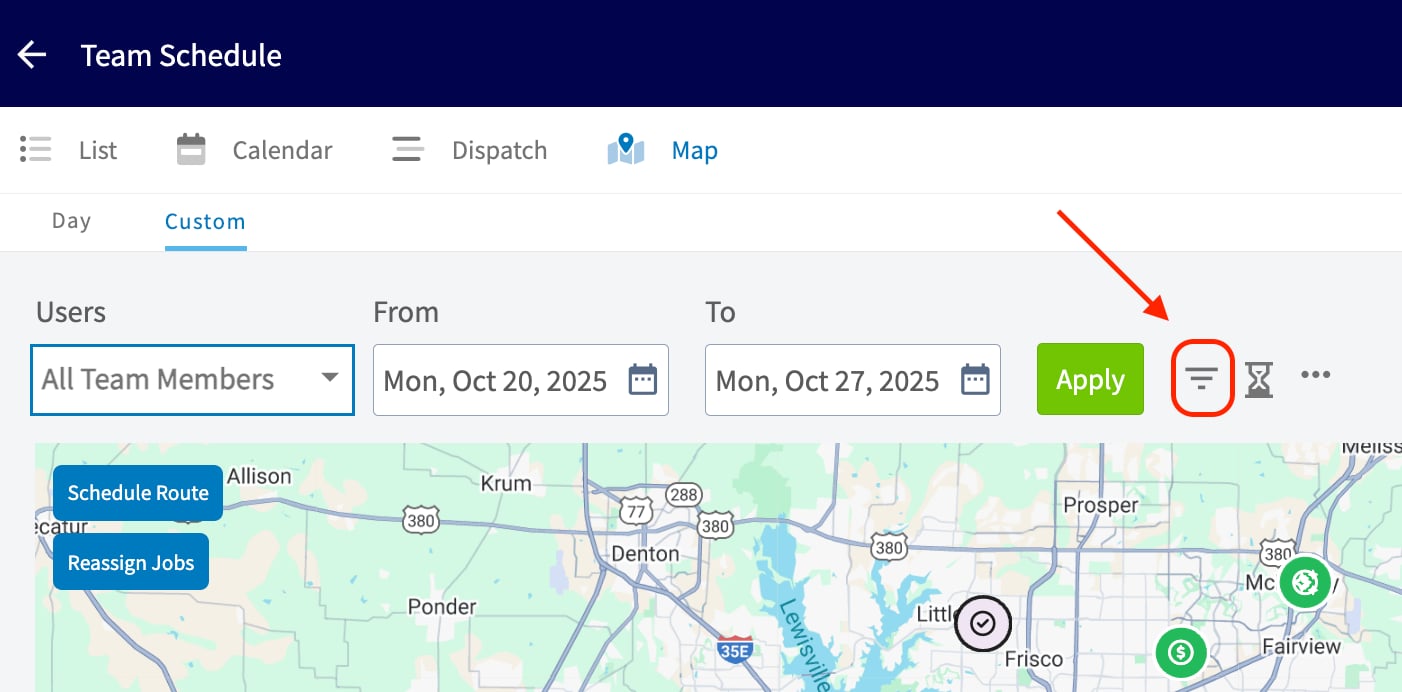
Select the funnel icon to the right of Apply to Filter by Job Status and narrow the map to the statuses you want to see.
-
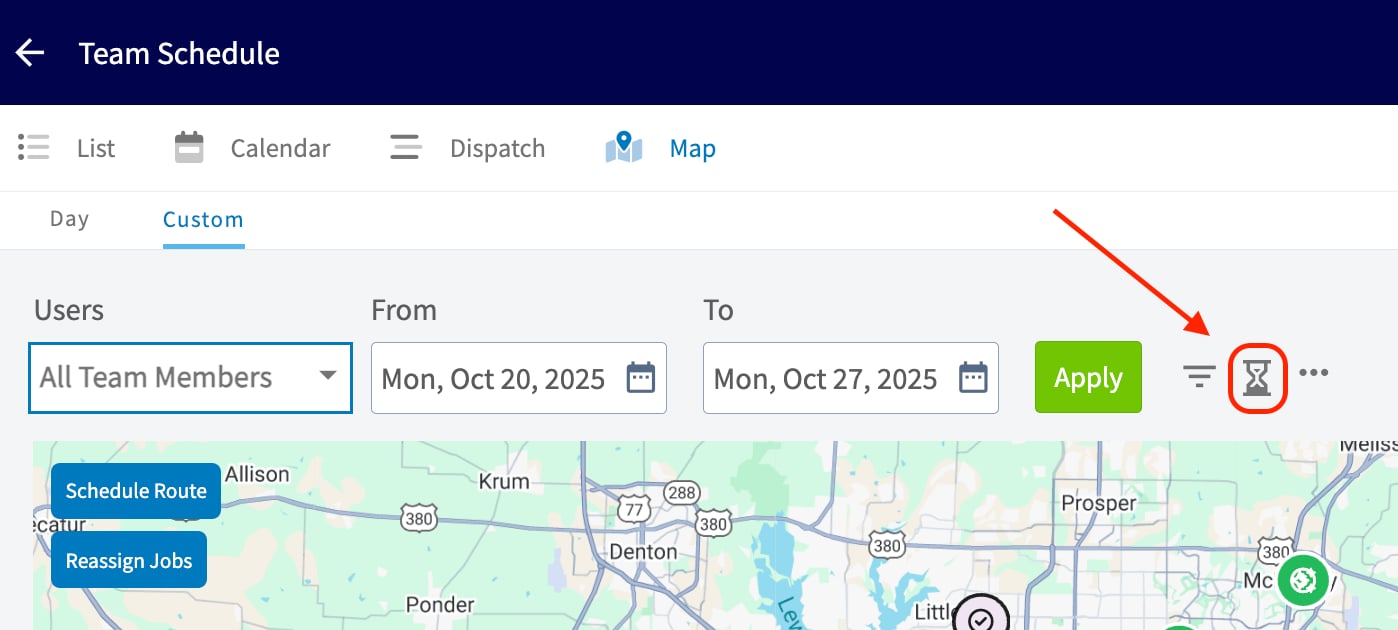
Select the hourglass icon to open the Job Queue Panel.
- Select the three-dot menu, then choose View By Status or View By Team Member Color to change how job markers are colored on the map.