
Who uses this: Administrators — enabling the Custom Sales Pipeline and building pipeline statuses both happen in Company Settings, which only Administrators can view. Availability: All regions.The Custom Sales Pipeline tracks each customer through your sales process. You name the pipeline statuses yourself, add a status to each customer, and then see your customers laid out by stage on one board.
Overview
Setting up the Custom Sales Pipeline takes three parts: enable the feature, build the pipeline statuses that match how you sell, and add a status to each customer. Once statuses are in place, the By Pipeline view shows your customers as cards you can drag from one stage to the next.Video walkthrough
Watch a short walkthrough of the Custom Sales Pipeline, then follow the written steps below.Video walkthrough: setting up and using the Custom Sales Pipeline
Before you begin
- Sign in as an Administrator. Company Settings, where both the feature toggle and the pipeline statuses live, is Administrator-only.
- Decide the stages your sales process actually moves through before you build them in FieldPulse — for example, New Lead, Estimate Sent, Follow-Up, Won, Lost. Naming the stages after real steps your team takes makes the pipeline easier to read later.
Step-by-step setup
1. Enable the Custom Sales Pipeline
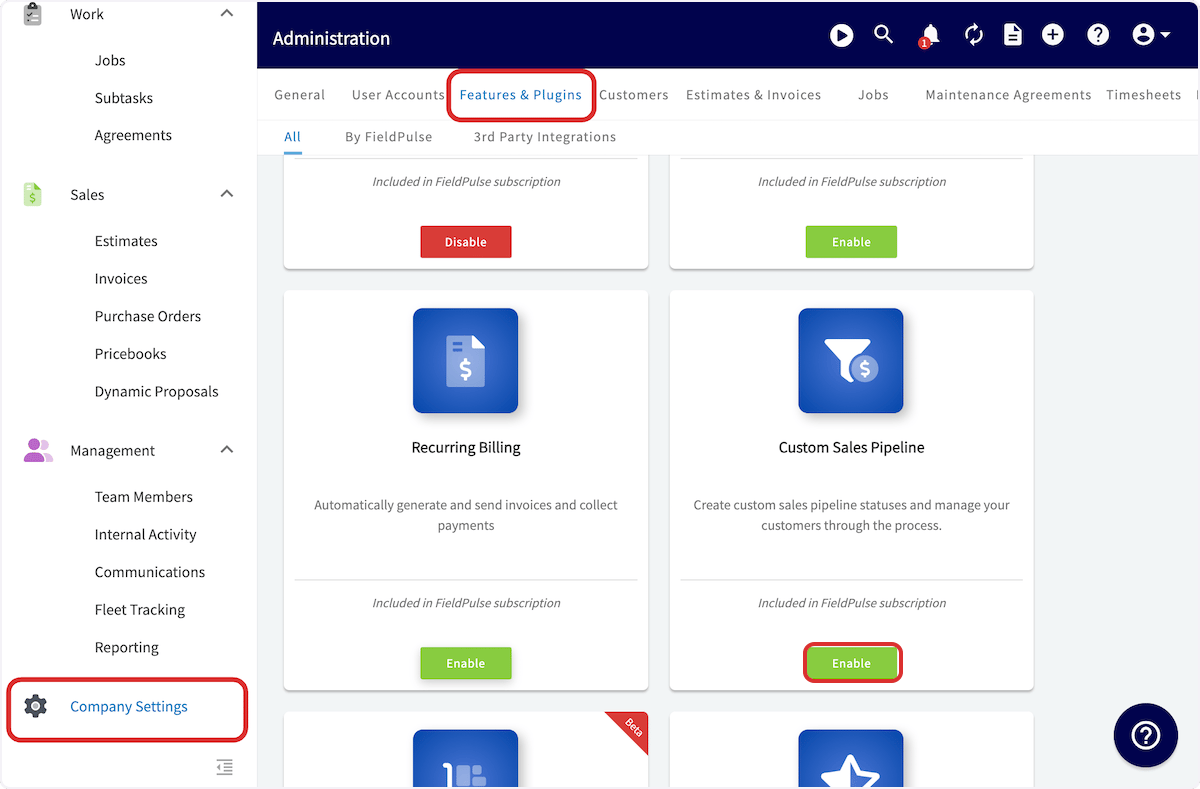
The Custom Sales Pipeline is off until an Administrator turns it on in Features & Plugins.- Go to Company Settings > Features & Plugins.
- Find the Custom Sales Pipeline tile and select Enable.
2. Build your pipeline statuses
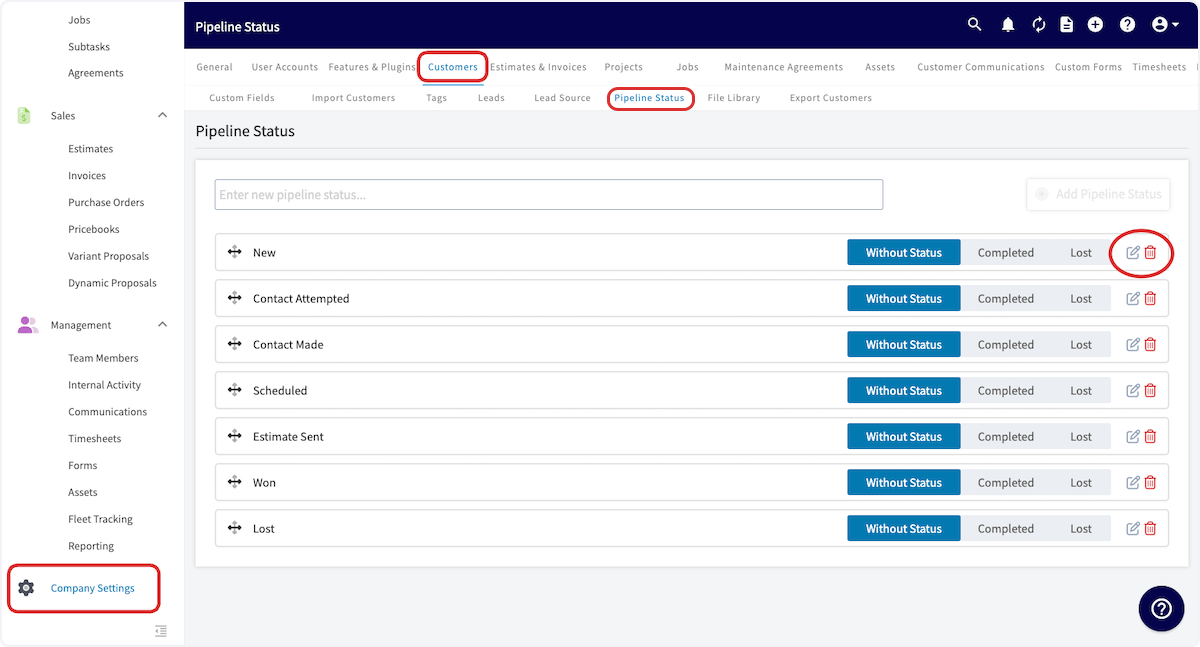
Pipeline statuses are yours to name, and you manage the whole list on the Pipeline Status page.-
Go to Company Settings > Customers > Pipeline Status.
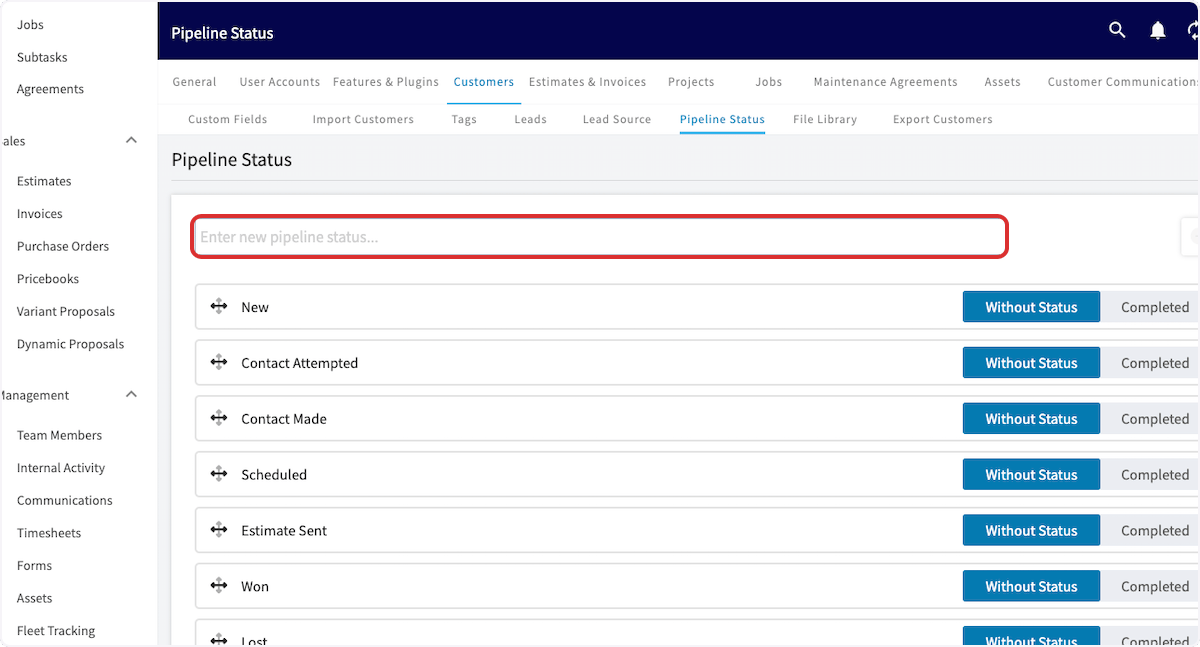
- Type the new status name in the Enter new pipeline status field.
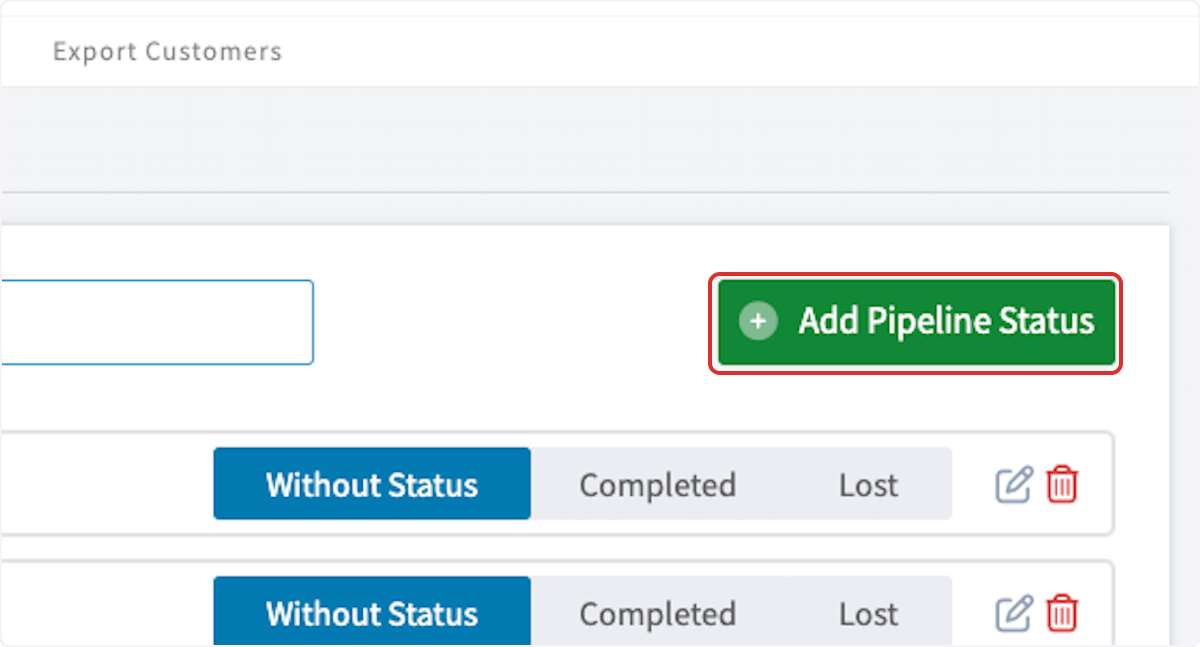
- Select Add Pipeline Status.
3. Add a pipeline status to a customer
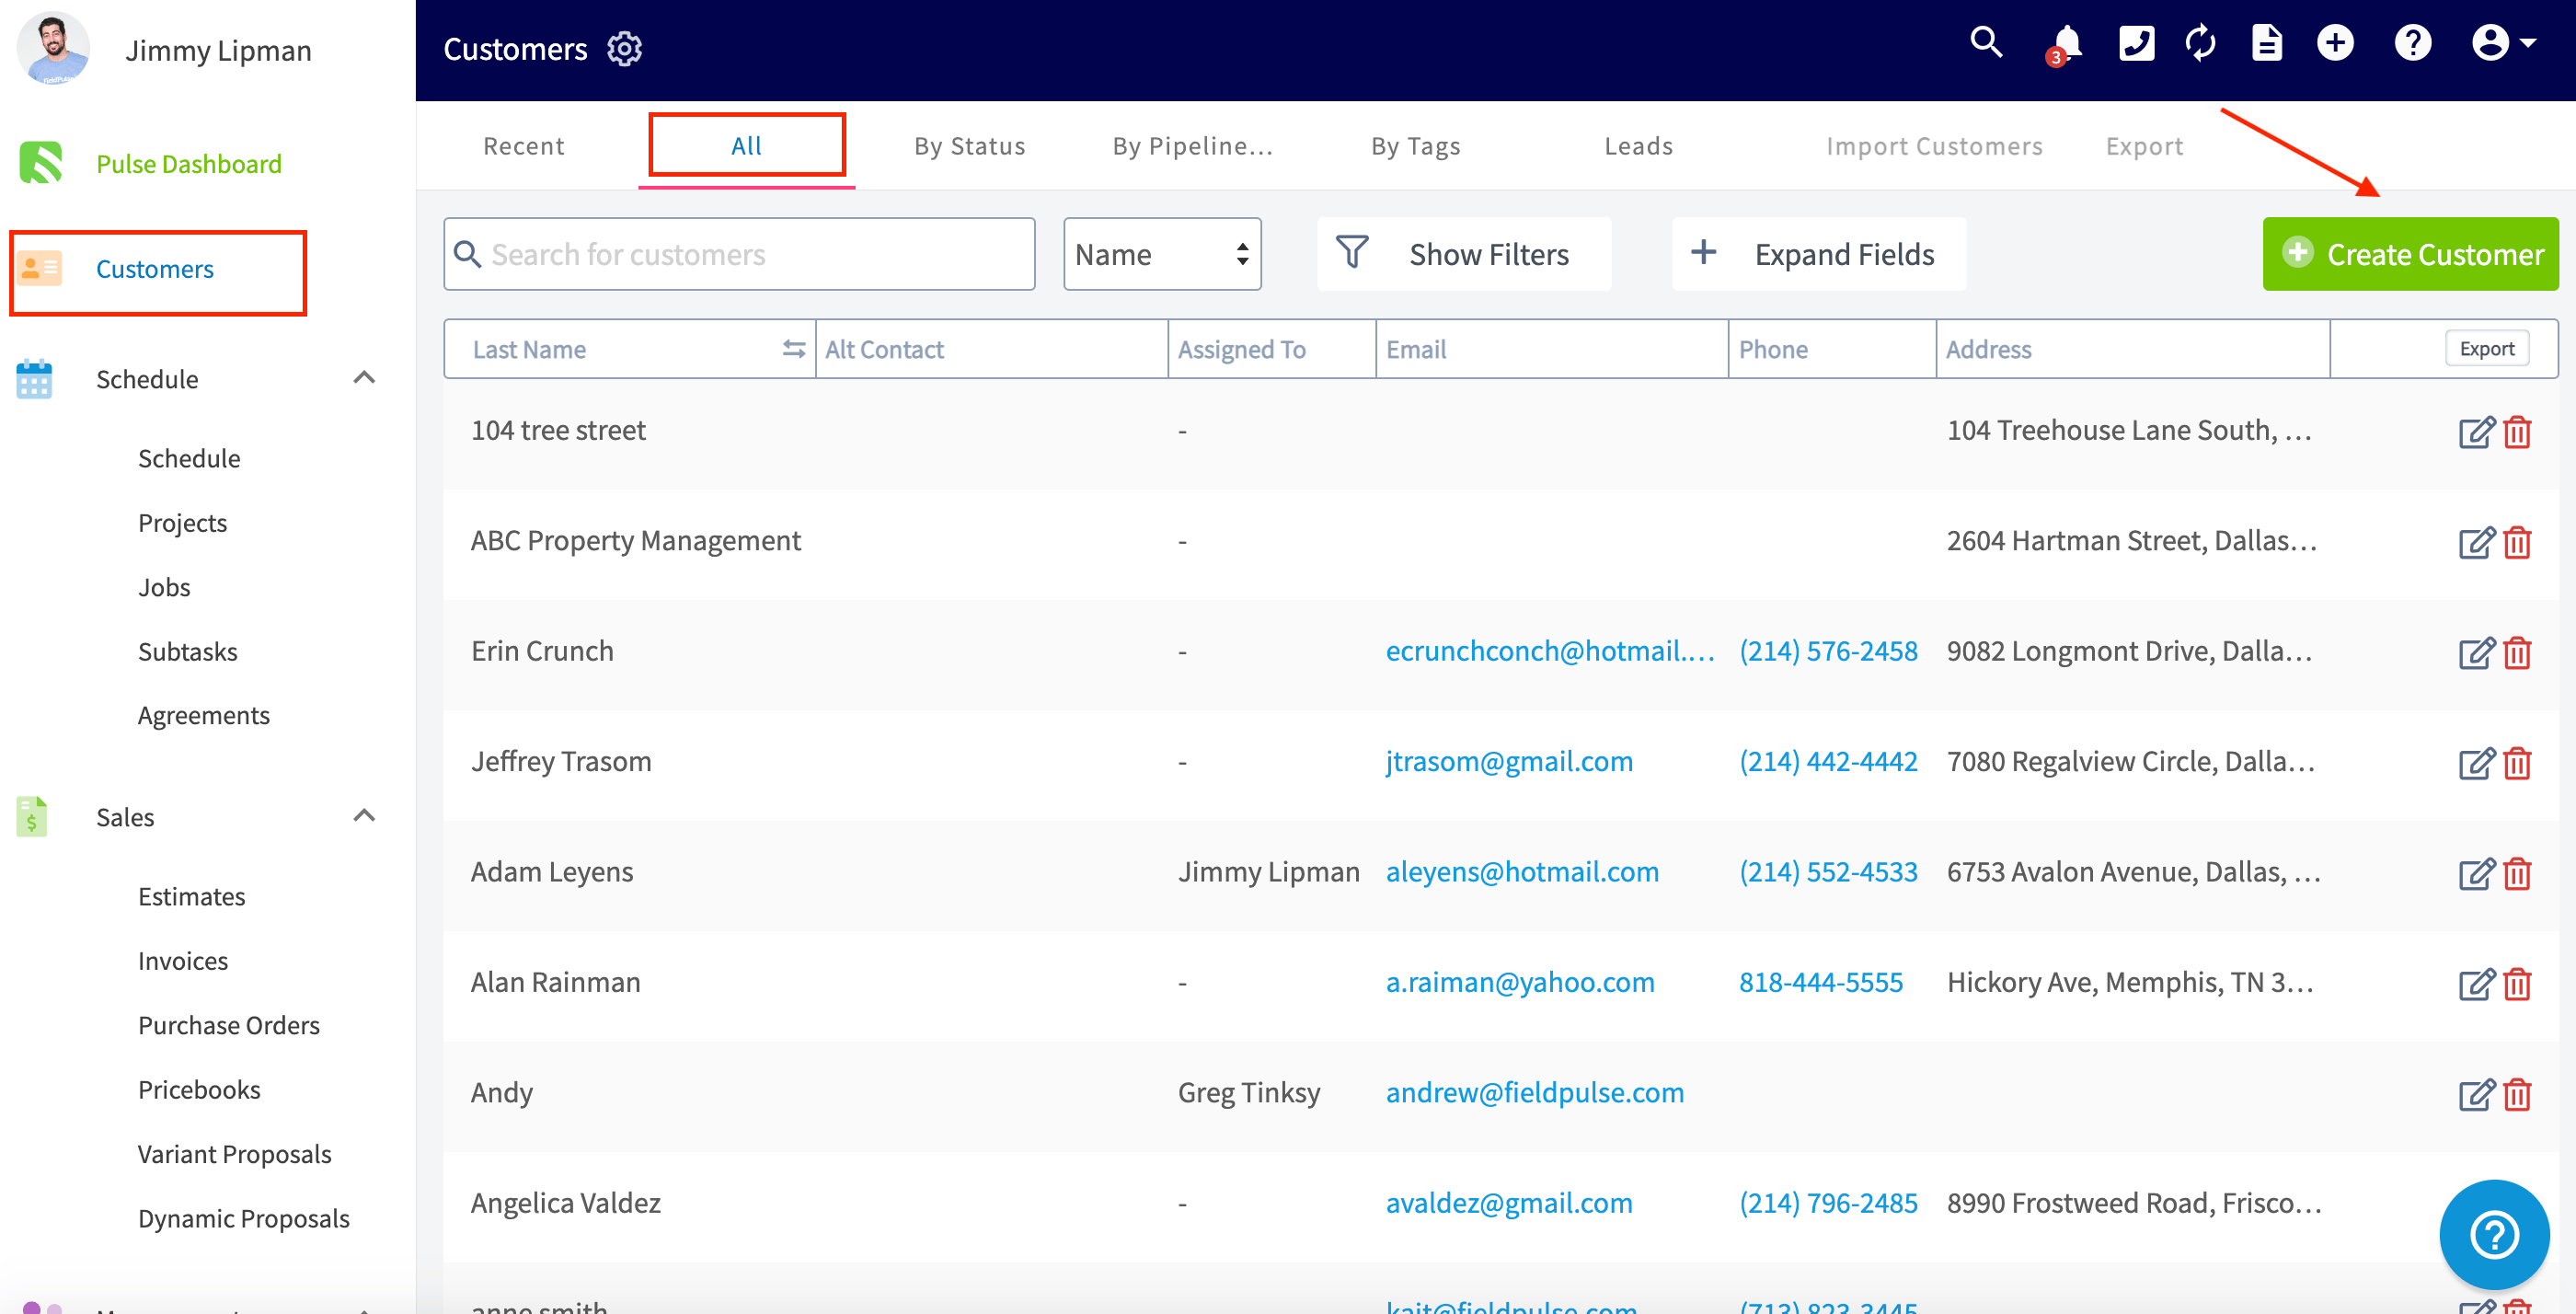
You set a customer’s pipeline status on the customer record itself.- Select Customers in the left navigation.
-
Select the customer’s name to open the customer record, then select Edit. If the customer does not exist yet, select Create Customer and build the record first.
-
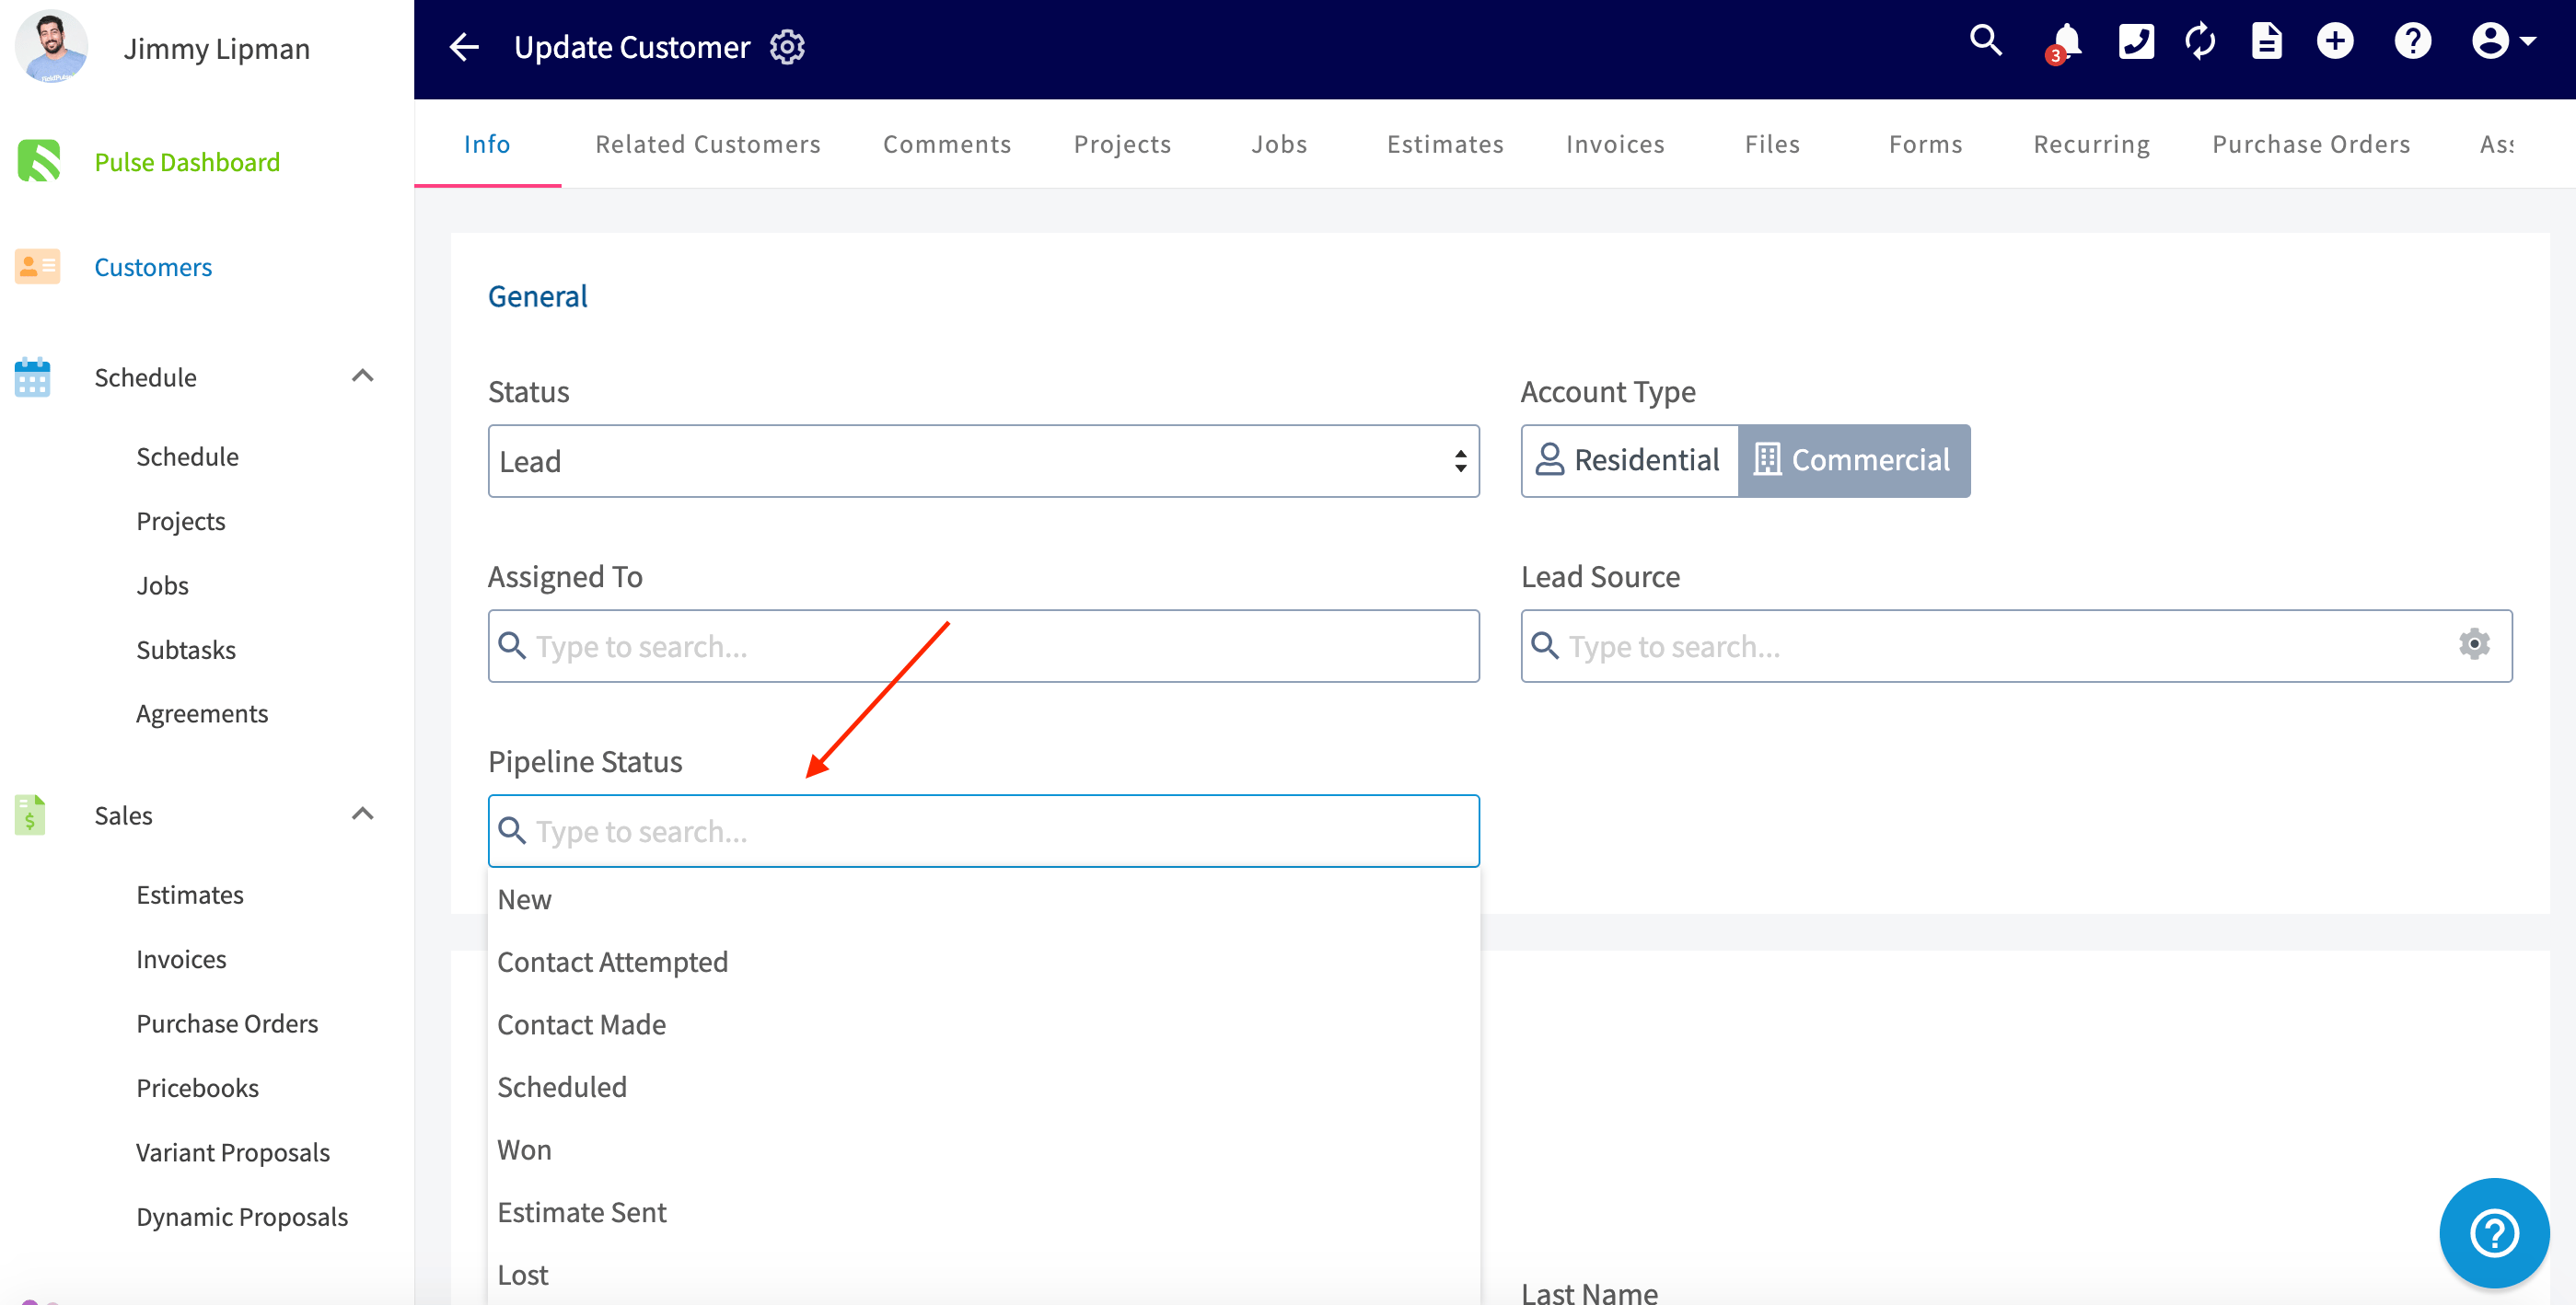
Select the Pipeline Status field and choose the status that matches where the customer sits in your process.
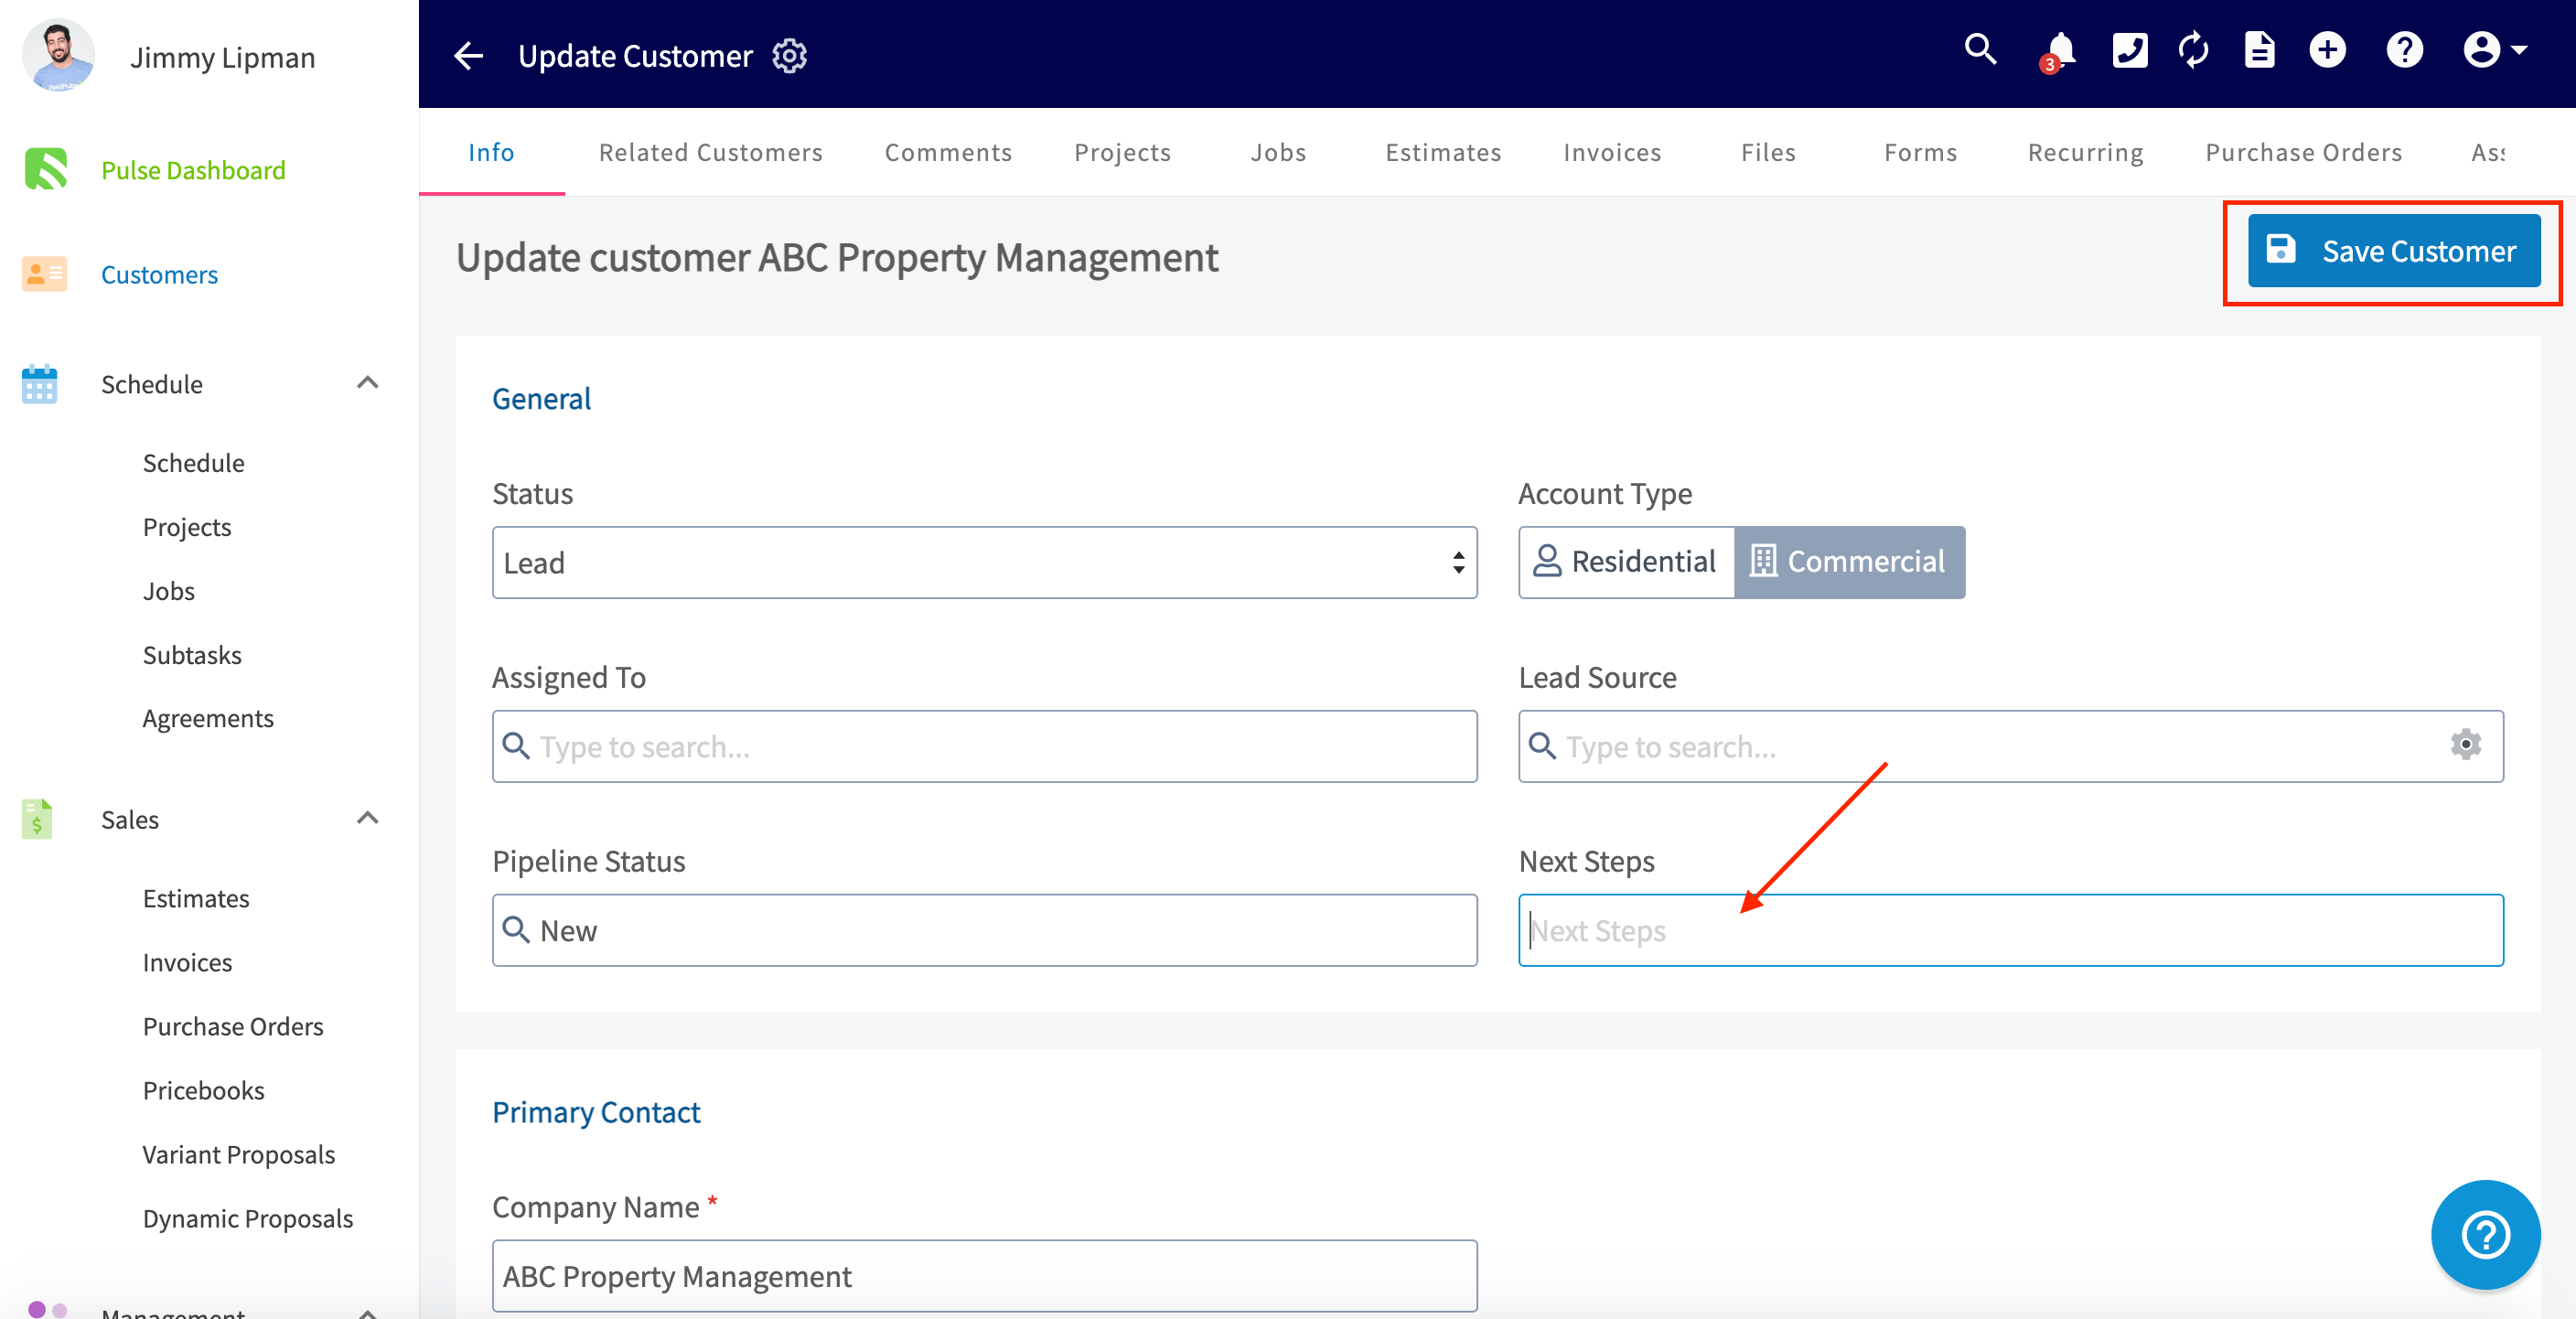
- Add Next Steps if you want to record the follow-up action for that customer.
- Select Save Customer.
4. Work your customers in the By Pipeline view
The By Pipeline view sorts your customers into a column per pipeline status, and shows each customer’s next steps and the monetary amount of their most recent estimate.-
Select Customers, then open the By Pipeline tab.
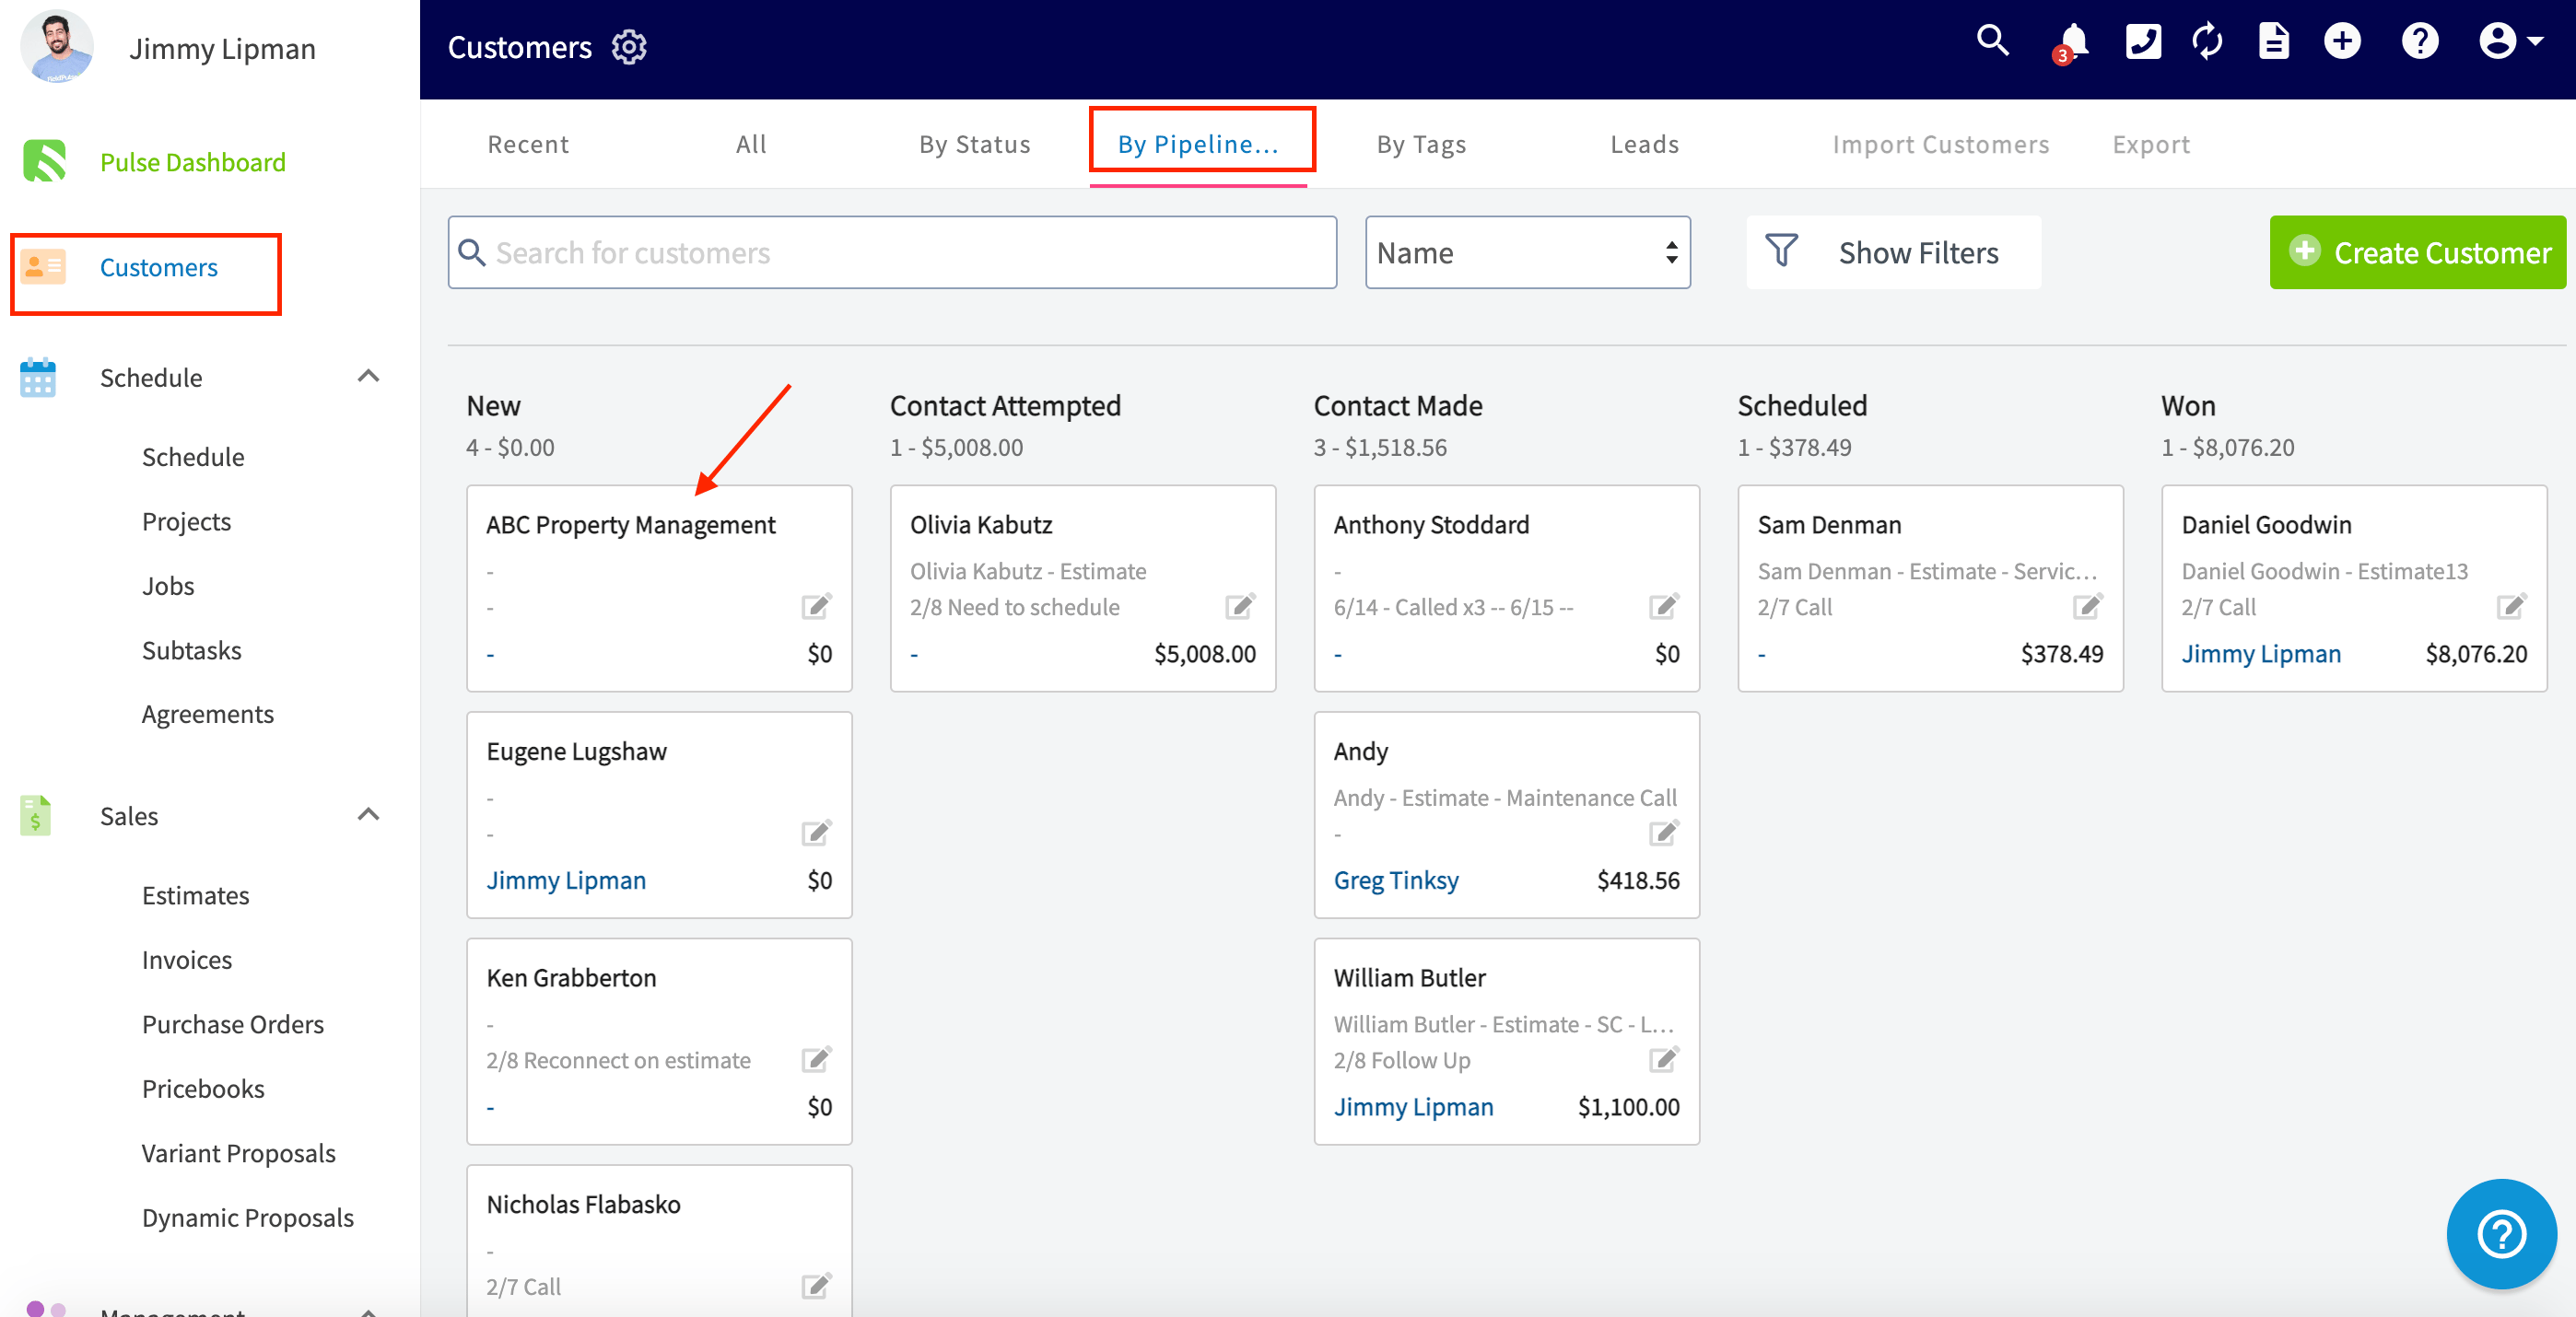
- Drag a customer’s card into another column. Dropping the card there changes that customer’s pipeline status.
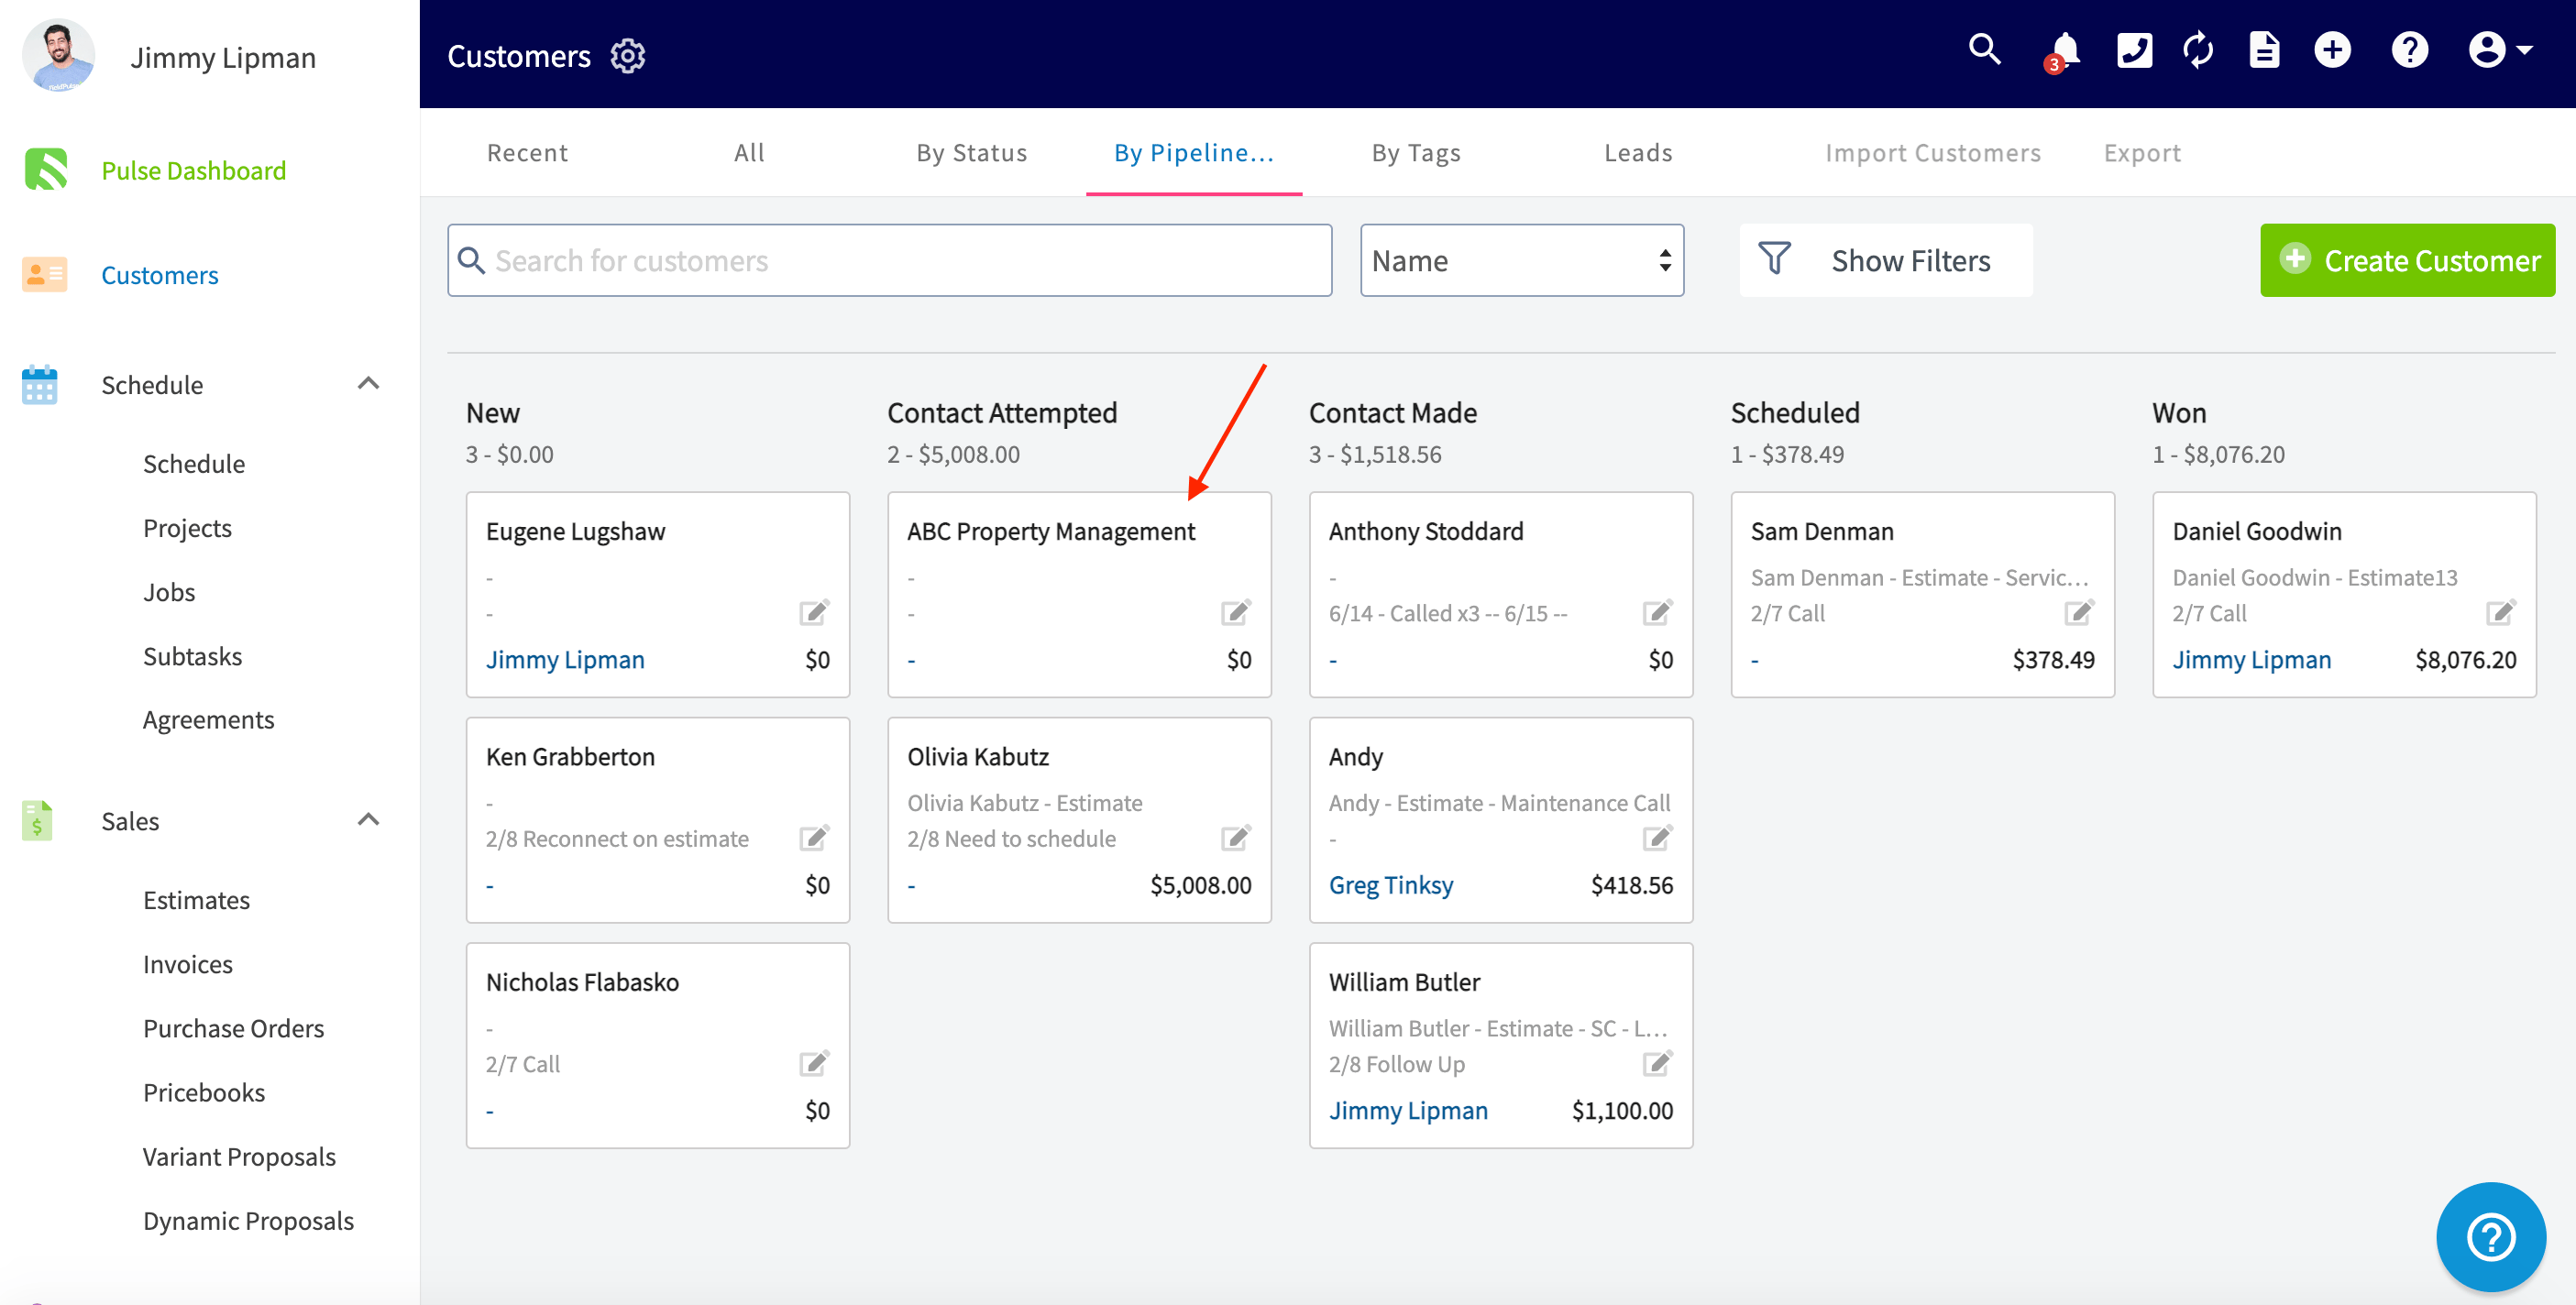
Once a customer has been marked lost or completed for one week, that customer no longer appears in the By Pipeline view. The pipeline status is still stored on the customer record.