
Who uses this: Anyone with permission to view and create the custom form — visibility and creation access are set per form in Custom Form Settings, and a form with no restrictions set is available to all users. Availability: All regions. Custom Forms has to be enabled for your account.Your team takes photos for a reason — proof of work, compliance records, before-and-after shots, equipment labels. A custom form collects those photos in the field, and the PDF display settings decide whether they travel with the document you hand the customer.
Overview
A custom form PDF can carry the photos and files uploaded to the form’s Image/Video Upload fields. You choose how those photos appear from the PDF preview, before you save or send the PDF — placed inline where the field sits in the form, gathered into a Files section, or linked from a Files Summary QR code at the end of the document. You also choose how large the photos print.Video walkthrough
Video walkthrough: photos and files on a custom form PDF
Before you begin
- Custom Forms has to be enabled for your FieldPulse account. See Setting Up Custom Forms.
- You need permission to view and create custom forms.
- The custom form needs at least one Image/Video Upload field. New to custom forms? Build your first one with How to Create a Custom Form.
- The custom form has to be attached to a record — a Customer, Job, Estimate, or Invoice, for example.
Display options
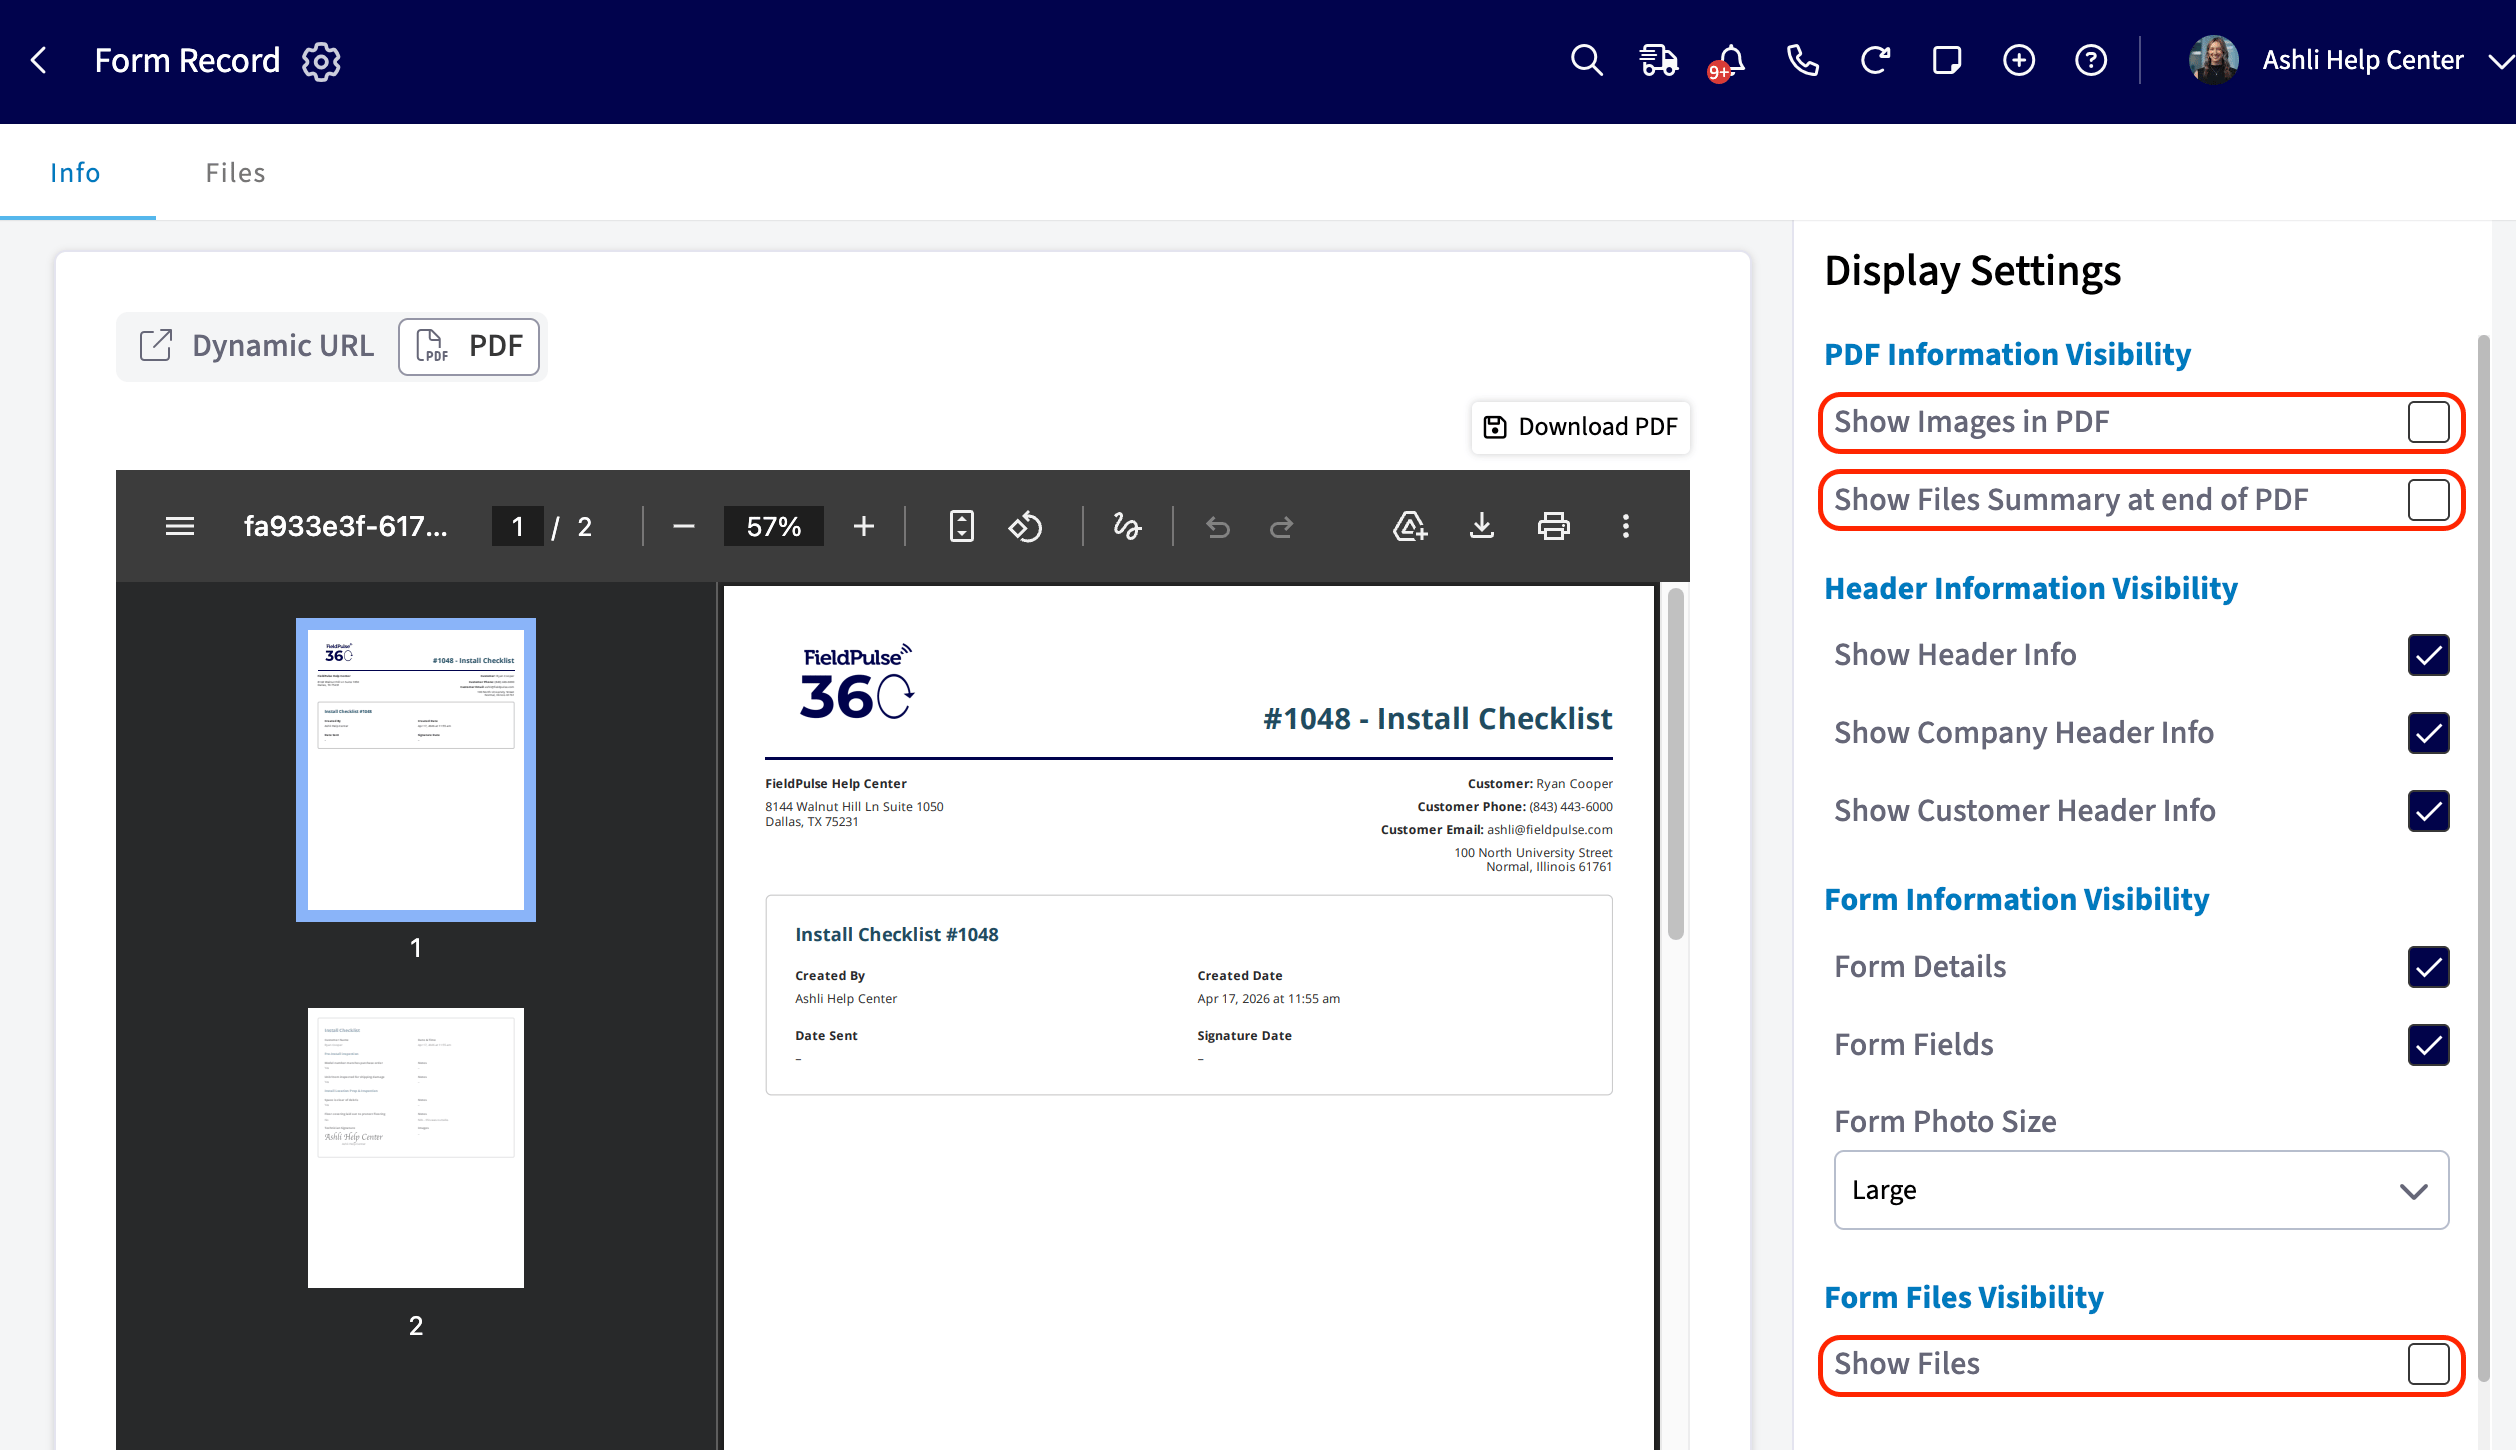
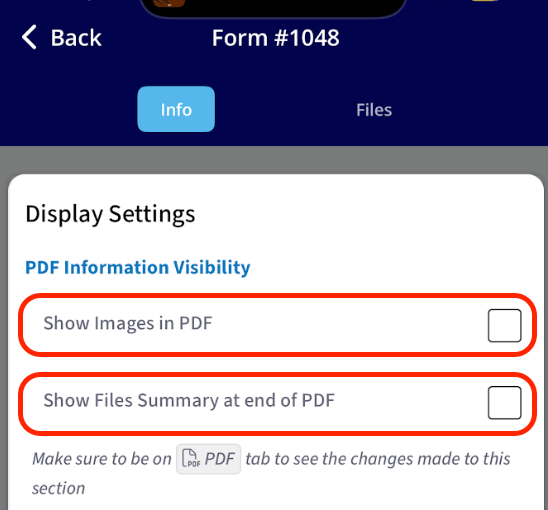
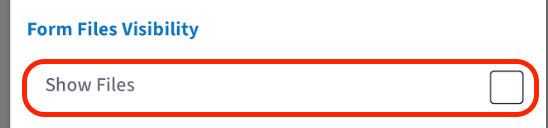
Three checkboxes in the PDF Display Settings control how photos and files appear in the generated PDF.
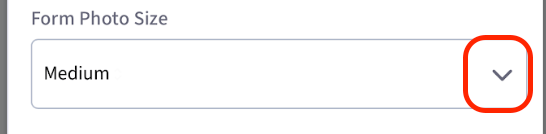
Form Photo Size sets how large the photos print — Small, Medium, or Large. Pick the size that fits the form’s purpose, such as Small for an inspection checklist with lots of photos and Large for before-and-after shots.
On web
-
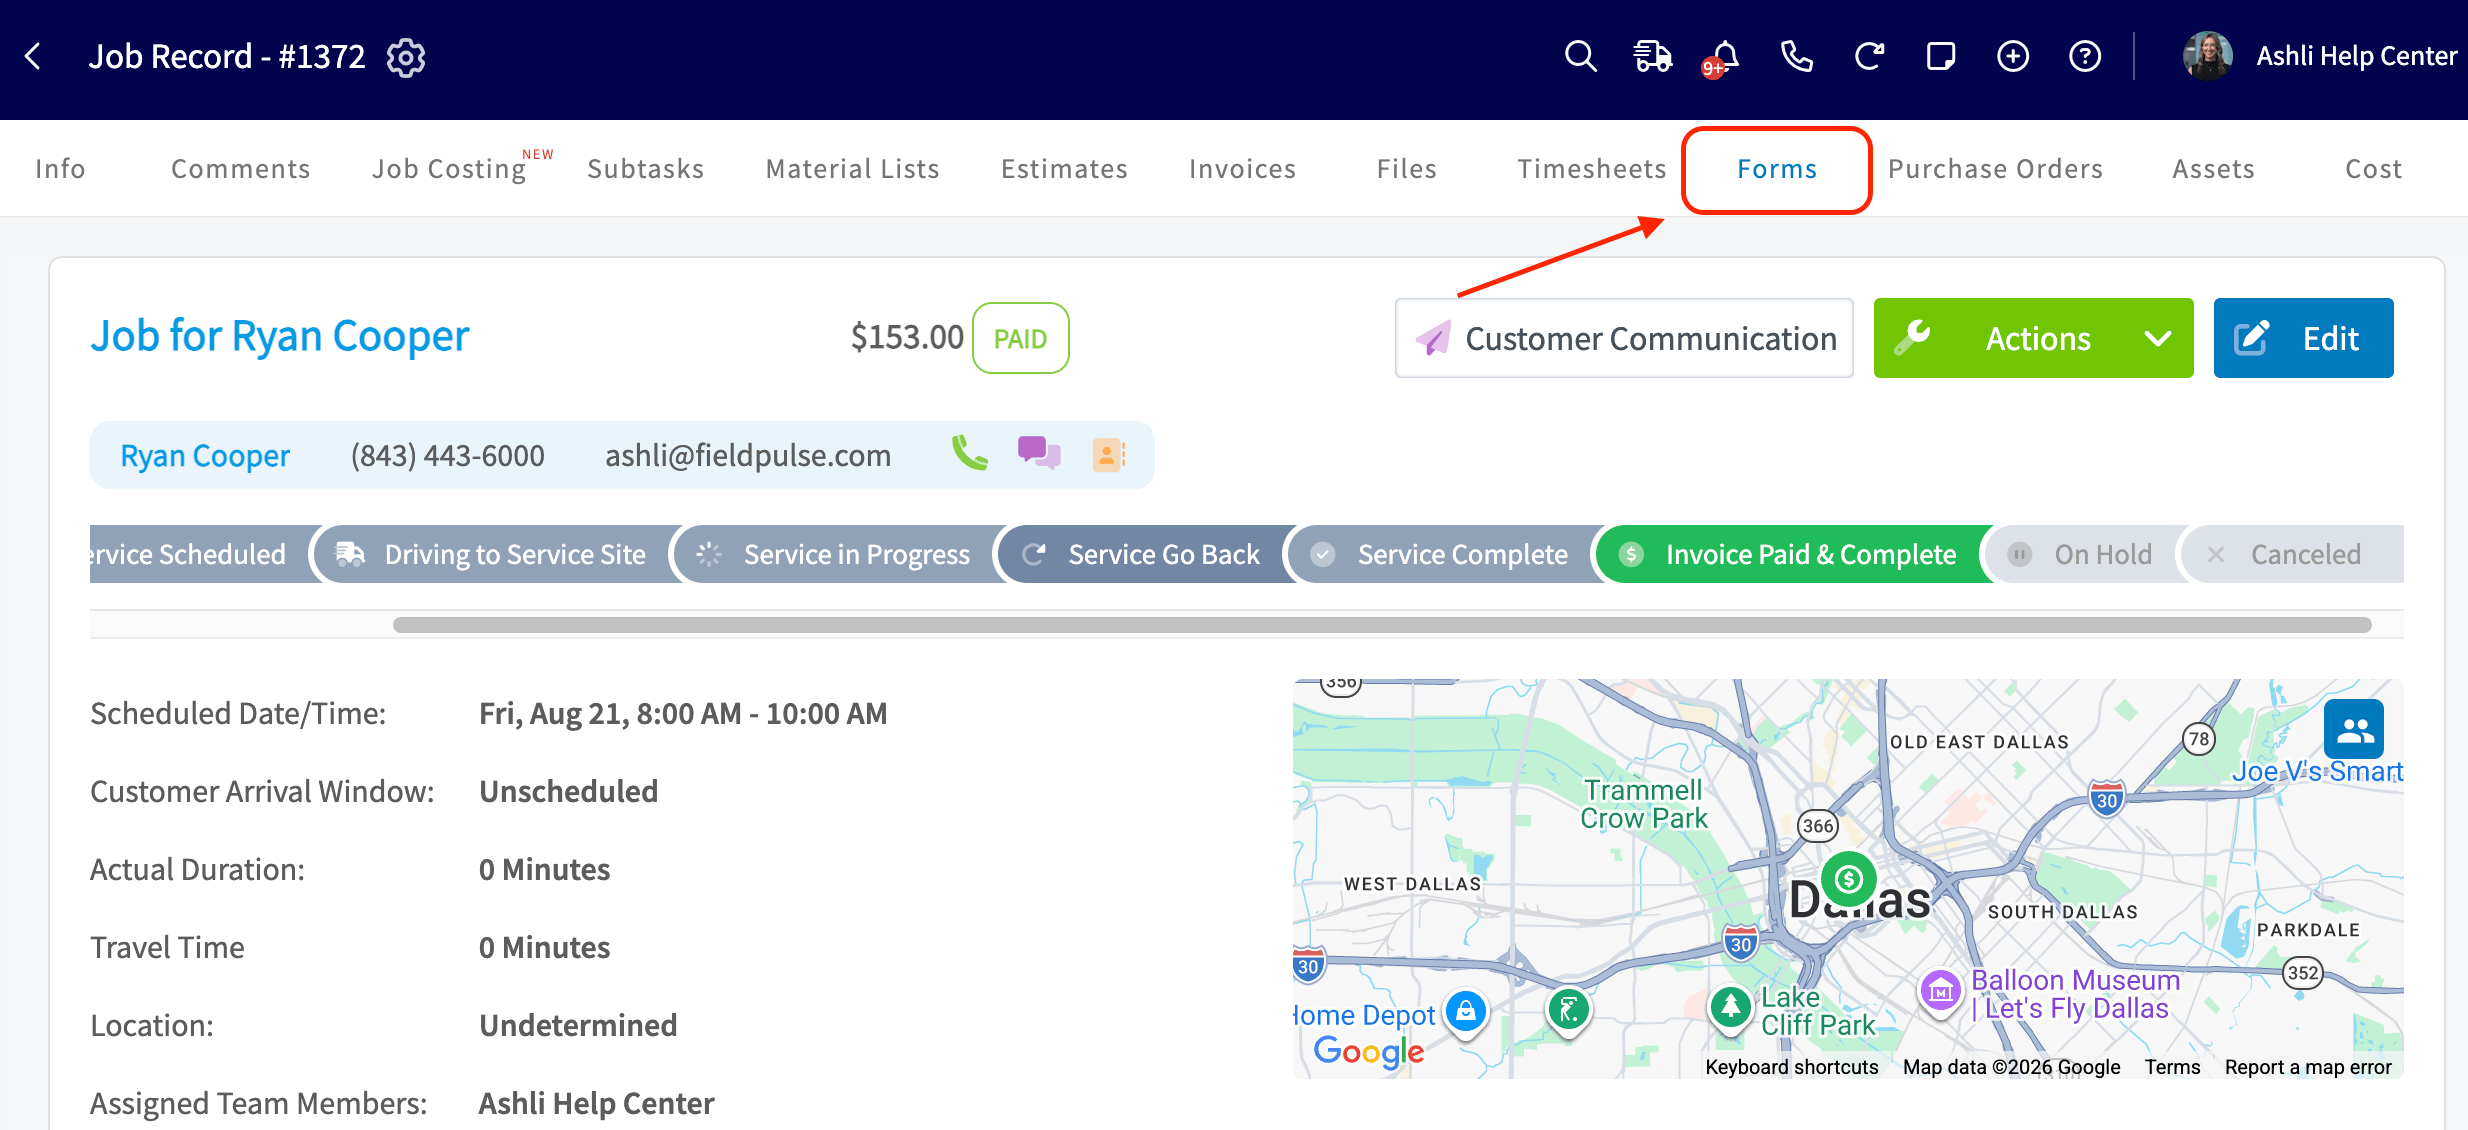
Open the record the custom form is attached to and select the Forms tab.
-
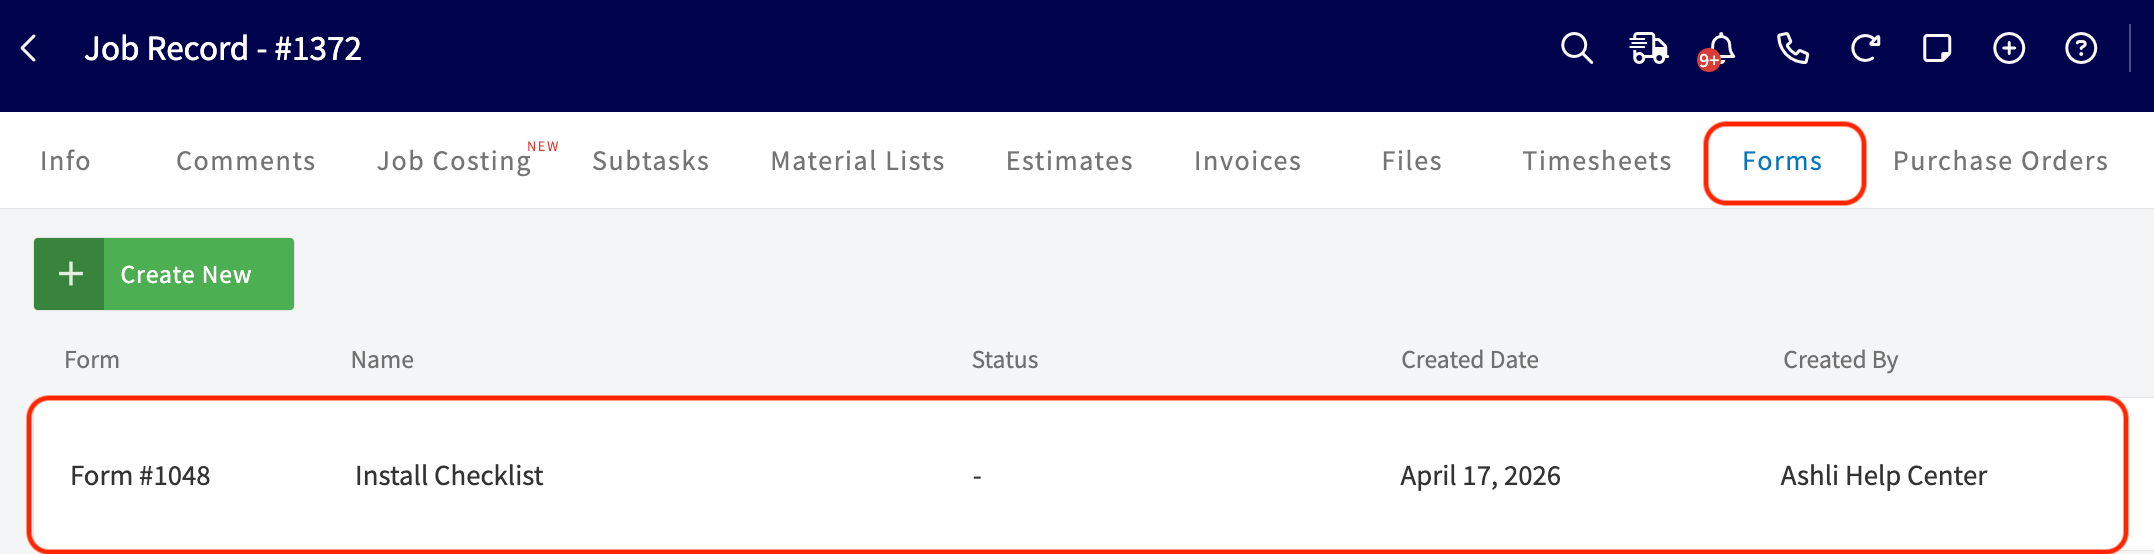
Select the completed custom form in the list.
-
Select Send or Actions on the form record to open the PDF preview. Either button reaches the preview:
- Send > Send to be Viewed
- Send > Send to be Filled
- Actions > Generate PDF
- Actions > Send to be Viewed
- Actions > Send to be Filled
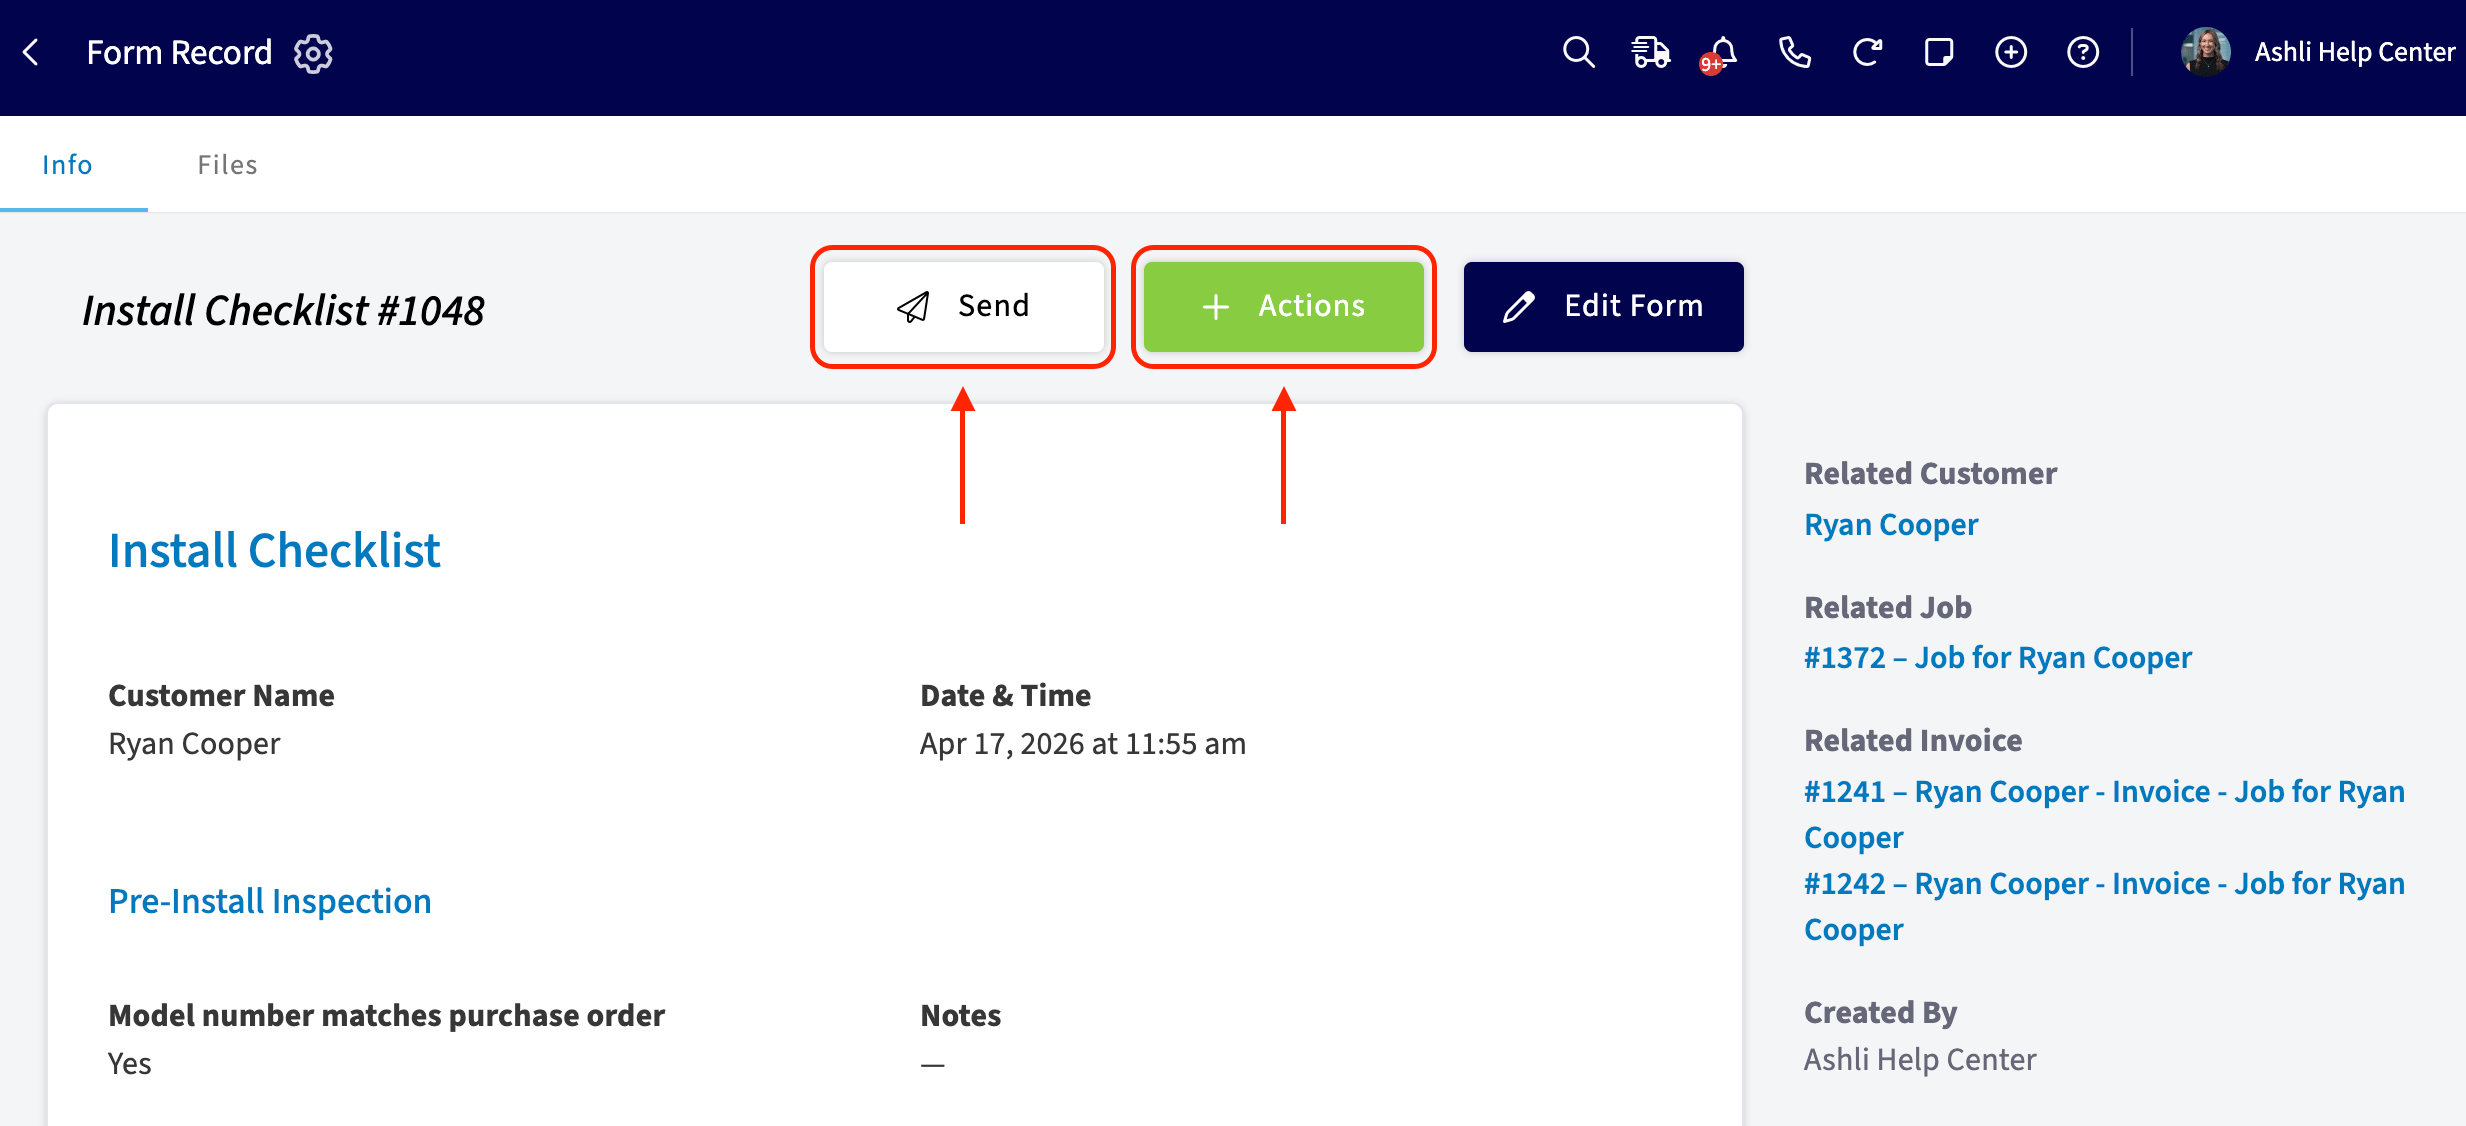
- Check the display options you want in the Display Settings panel beside the preview — Show Images in PDF, Show Files Summary at end of PDF, and Show Files.
-
Set Form Photo Size to Small, Medium, or Large.
- Select Next or Save PDF, depending on the path you used in step 3.
On mobile
-
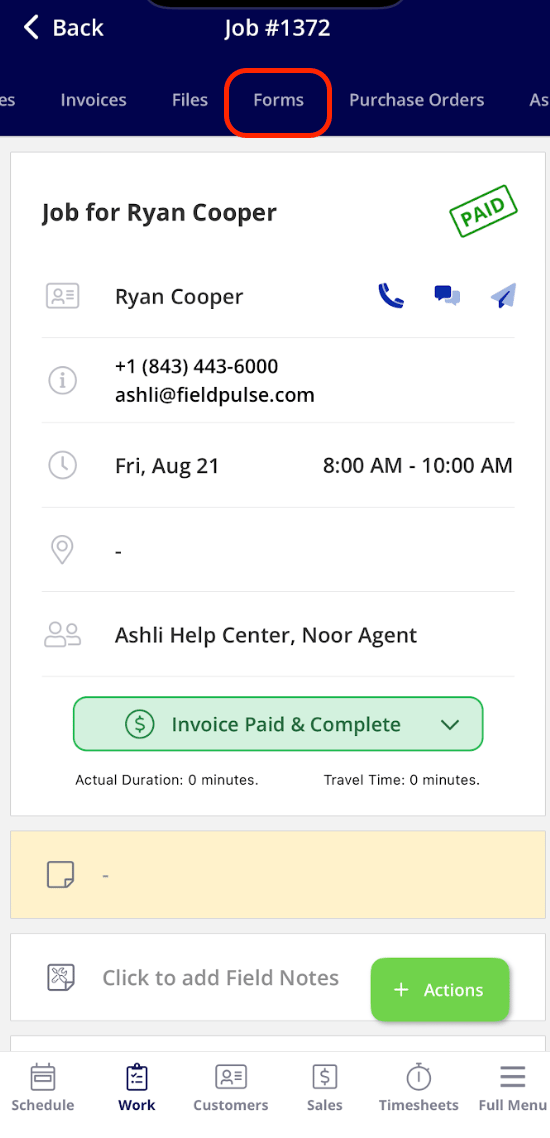
Open the record the custom form is attached to and select the Forms tab.
-
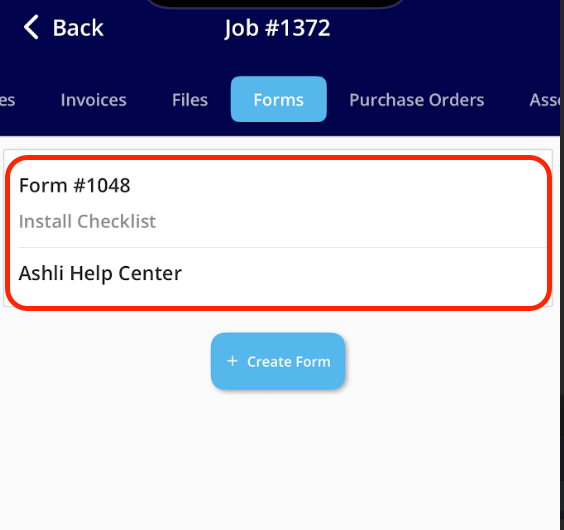
Select the completed custom form in the list.
-
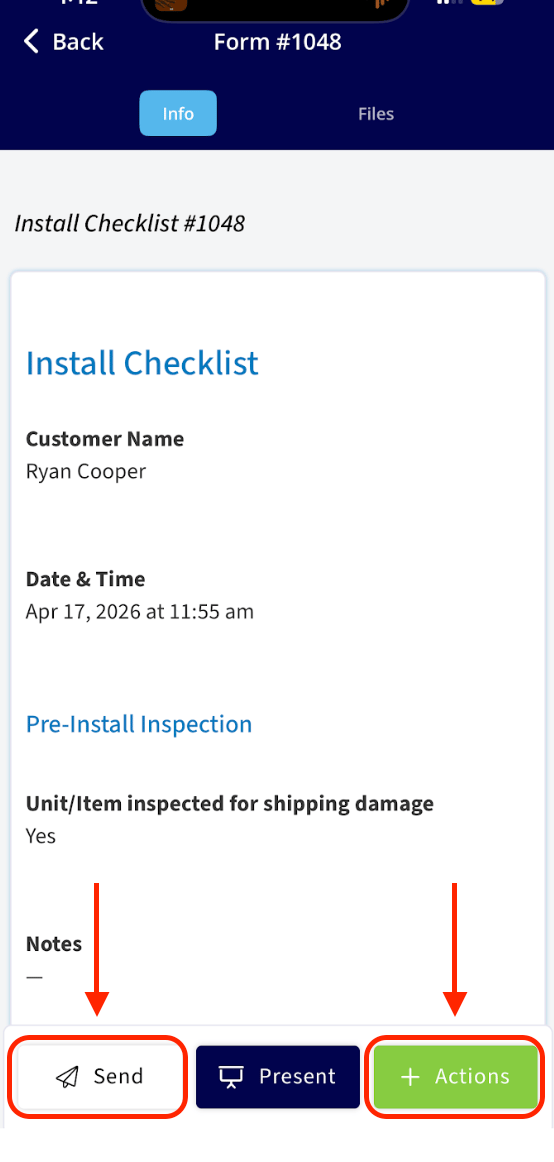
Select Send or Actions on the form record to open the PDF preview. Either button reaches the preview:
- Send > Send to be Viewed
- Send > Send to be Filled
- Actions > Generate PDF
- Actions > Send to be Viewed
- Actions > Send to be Filled
-
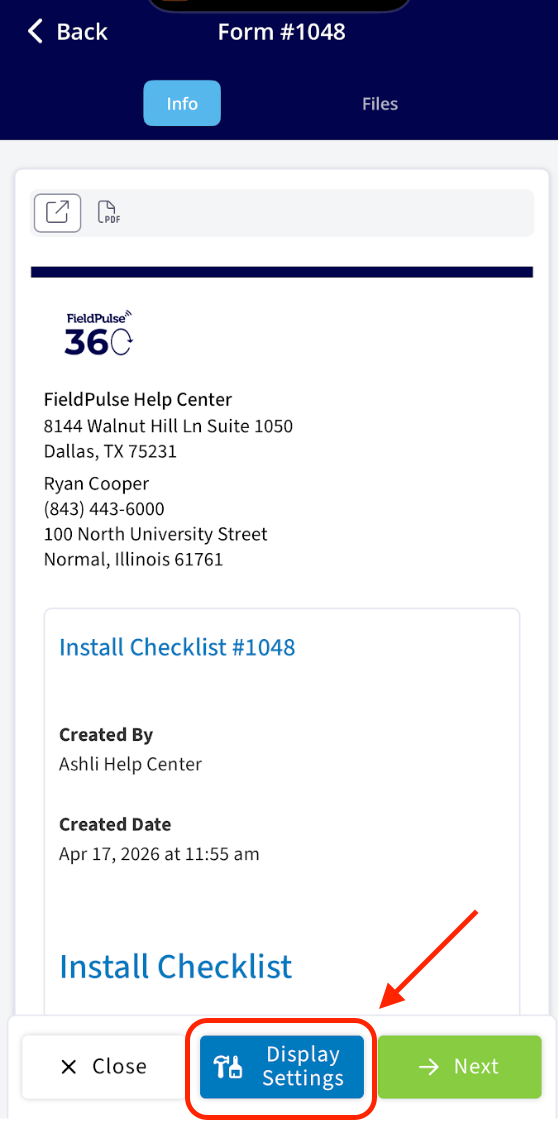
Select Display Settings at the bottom of the PDF preview.
-
Check the display options you want — Show Images in PDF, Show Files Summary at end of PDF, and Show Files.
-
Set Form Photo Size to Small, Medium, or Large.
- Select Next or Save PDF, depending on the path you used in step 3.
A short queue notice appears while the PDF is being generated. A large form with lots of photos takes a few extra seconds to build, which is normal.
What your customer sees
Each display option produces a different document. These examples show one option checked at a time.Show Images in PDF only
The photo appears in the body of the form, in the Images field where it was configured.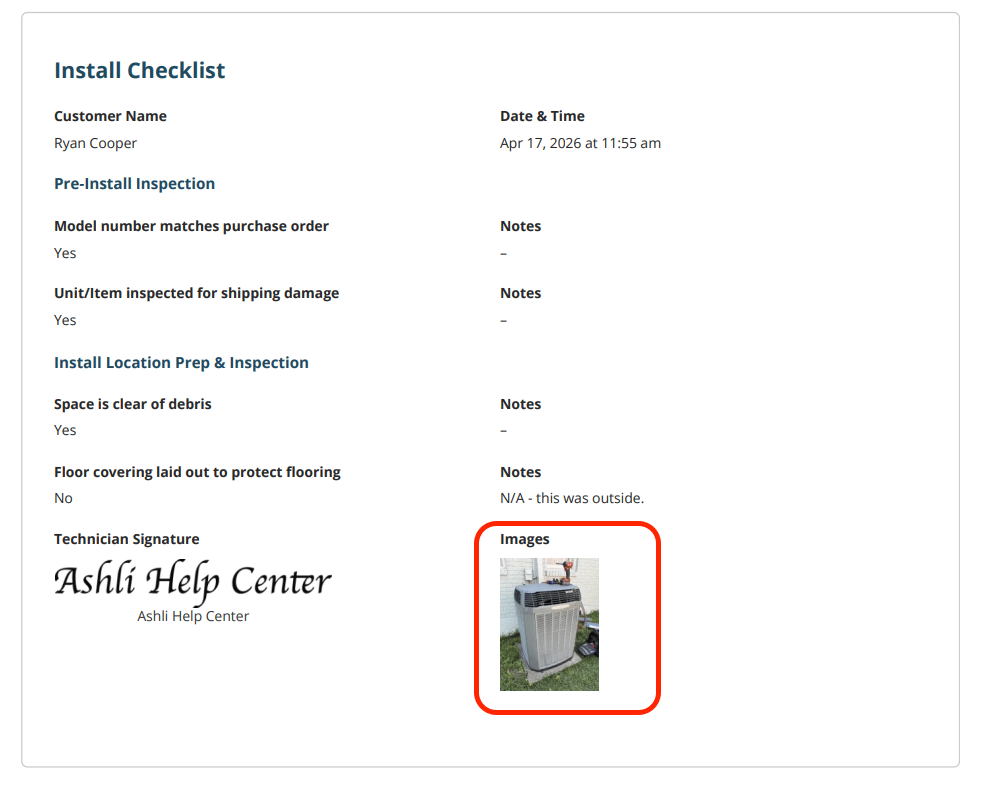
Show Files only
The PDF adds a Files section that displays the uploaded photo at full size.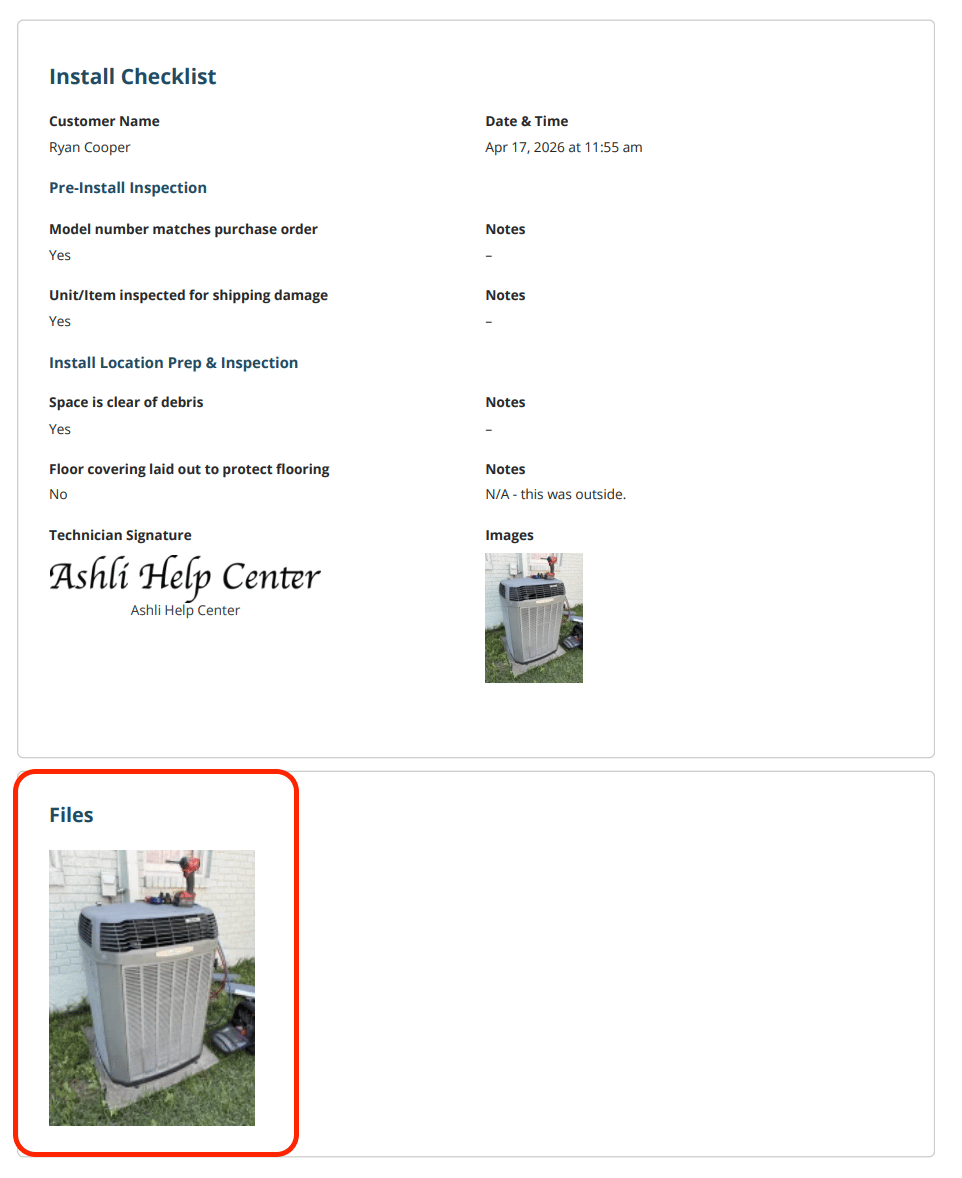
Show Files Summary at end of PDF only
The PDF ends with a Files Summary block holding a QR code, a count of the files uploaded to the report, and a link to open them.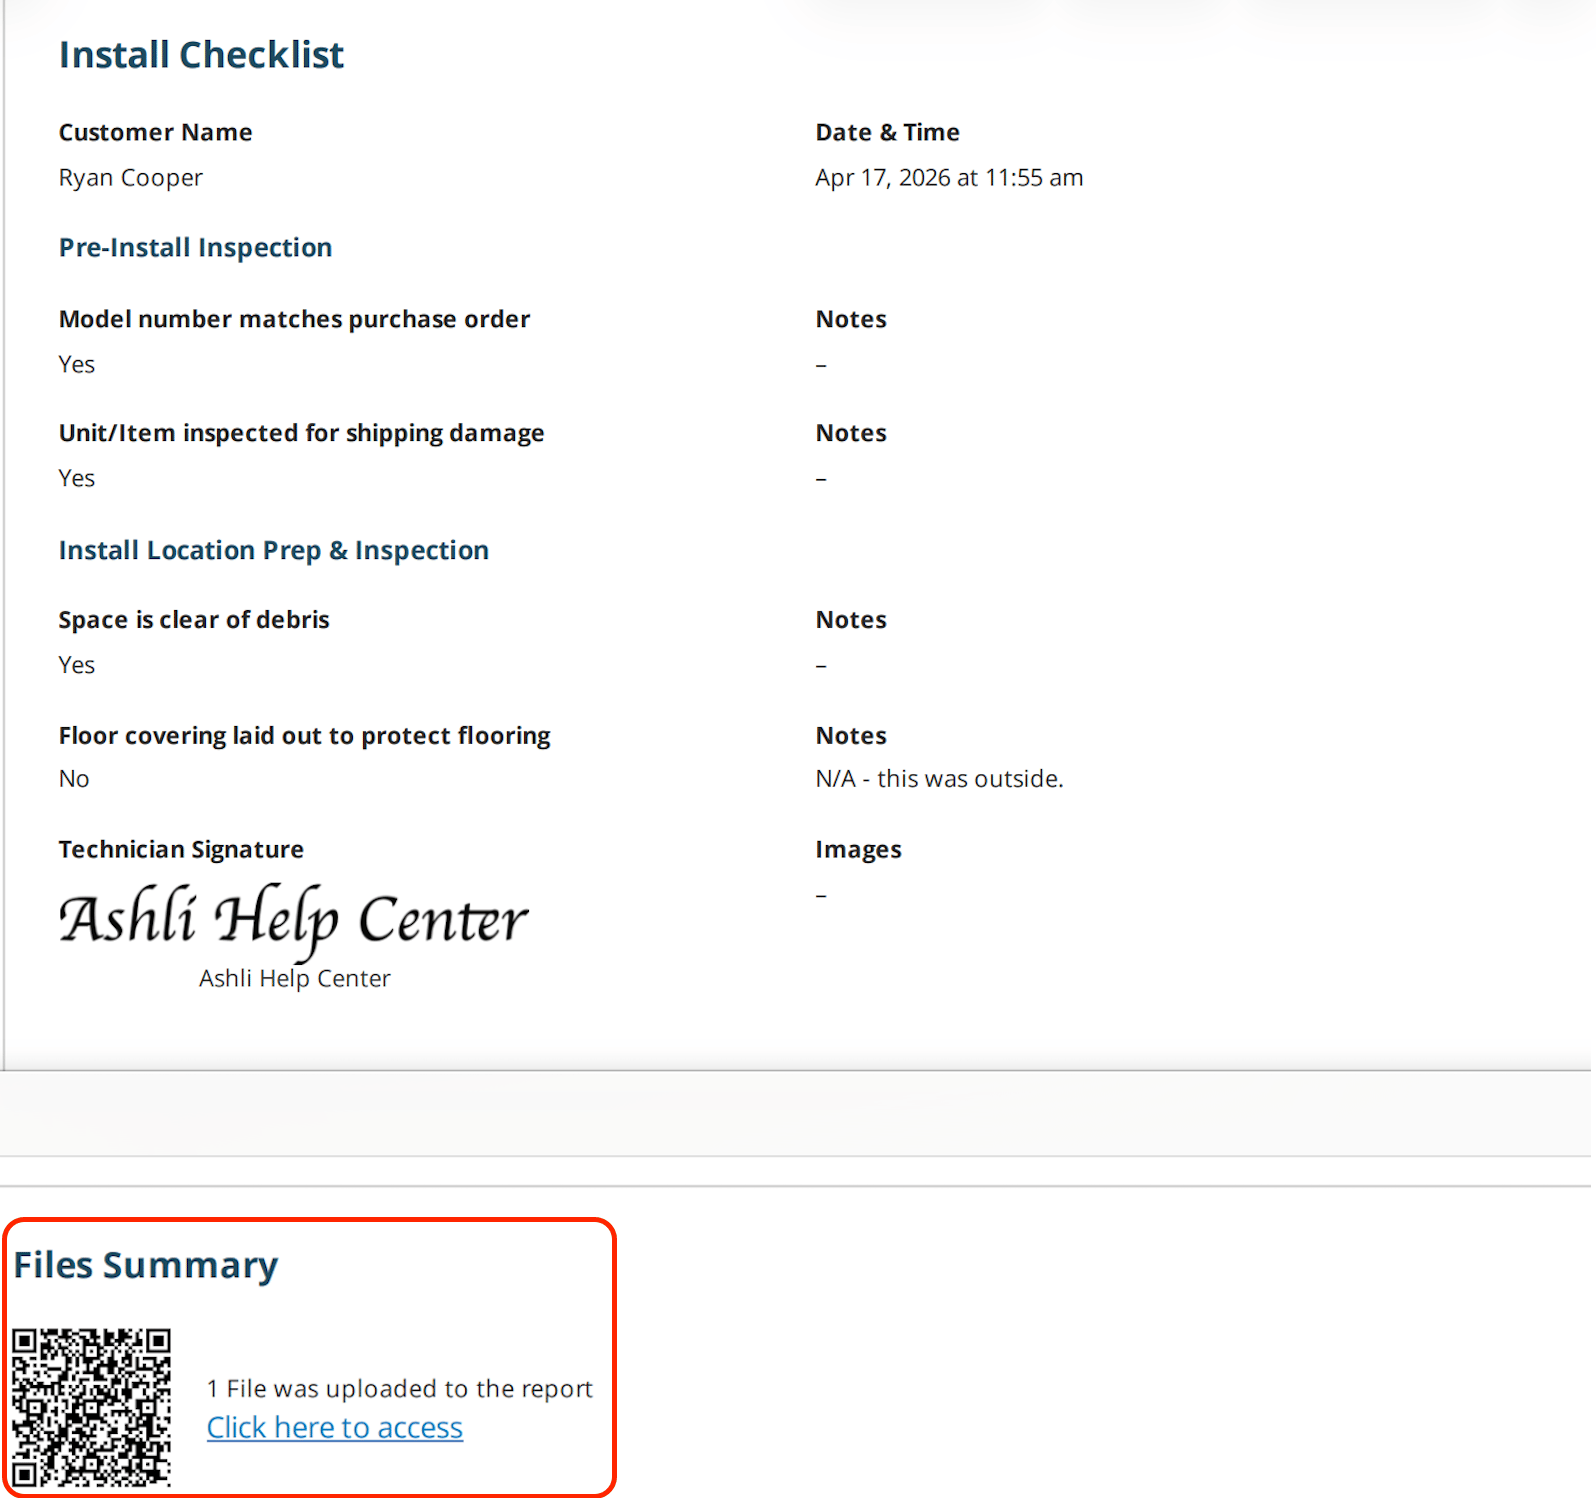
Show Files Summary at end of PDF puts no cap on how many files you add — recipients can view them all through the QR code and URL link displayed at the bottom of the PDF.
Still need help?
Reach the FieldPulse support team at support@fieldpulse.com or through the chat feature in the bottom-right corner of your screen.Related articles
- How to Create a Custom Form
- Custom Form Settings Details
- How to Use the PDF Form Filler
- How to Import and Export Custom Form Templates
- Custom Forms Overview