Company Settings
Let’s begin by setting up the basics of your FieldPulse account. Navigate to Company Settings in the left-side menu. (Note: Only admin users have access.)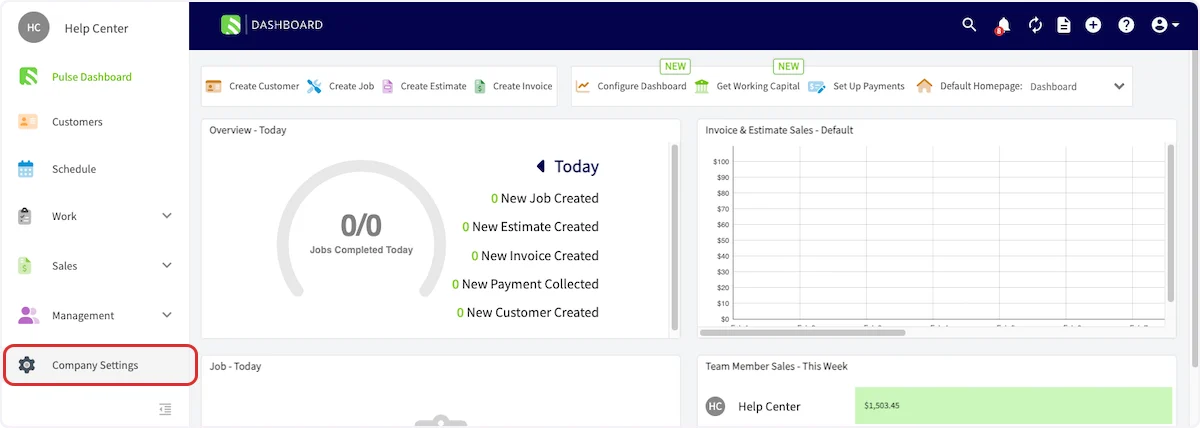
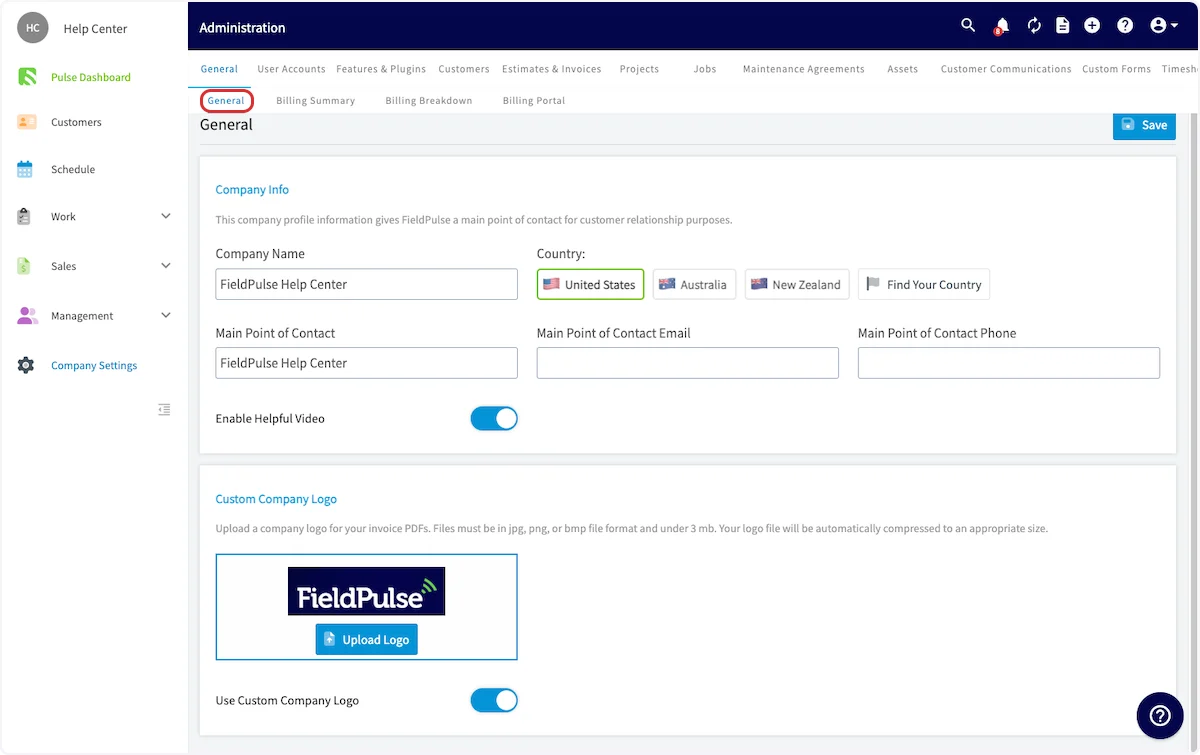
Company Information & Logo
- Add or edit your company name, contact information, and company logo.
User Accounts

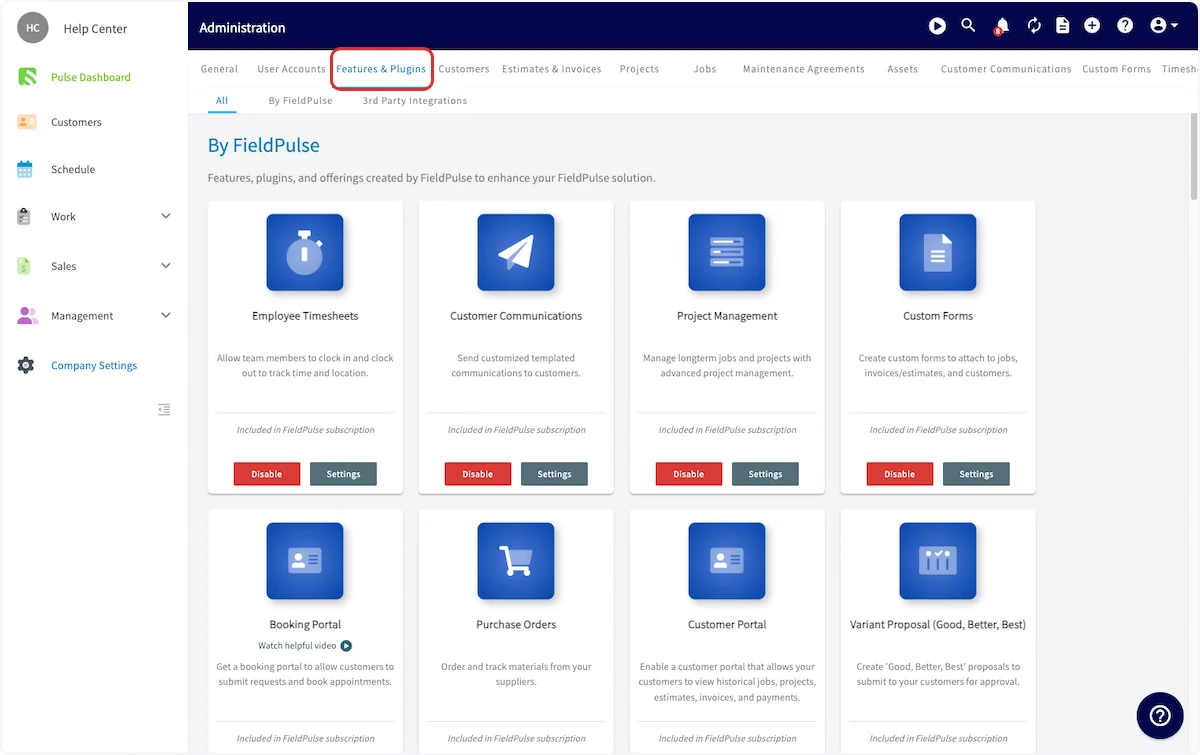
Features & Plugins
- This page allows you to select the features that you’d like to enable for your business. Simply click the Enable button under the features you want to add.
-
We’ve categorized our features and plugins by color:
- Blue: The blue icons are included in your base subscription package.
- Purple: The purple icons are are add-ons to your base subscription package.
- Our preferred partners and integrations fall below.
- To learn more about our features and plug-ins, our features and plug-ins overview.
”My Settings”
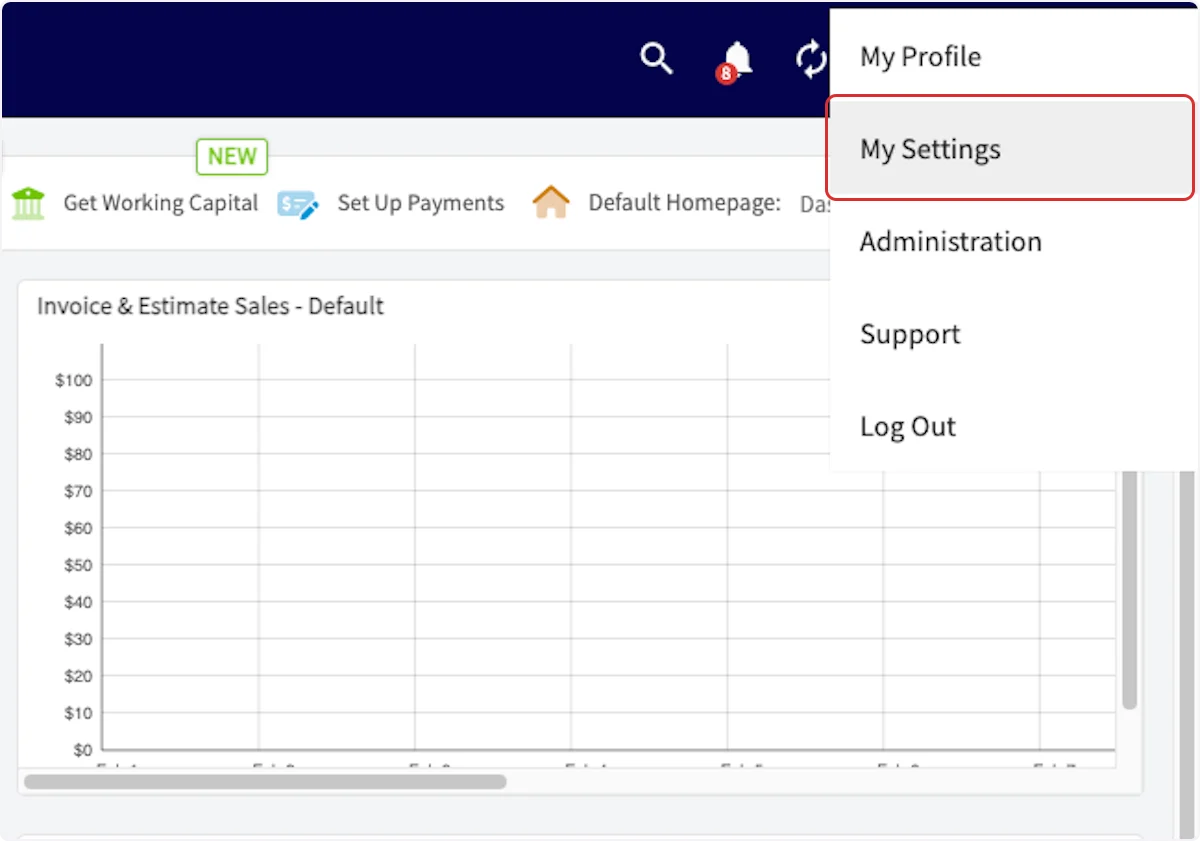
Finally, let’s set up your notification preferences. FieldPulse offers a few different ways to receive reminder and notifications. To set to your preferences, click on the icon on the top right corner of the web app, then click My Settings.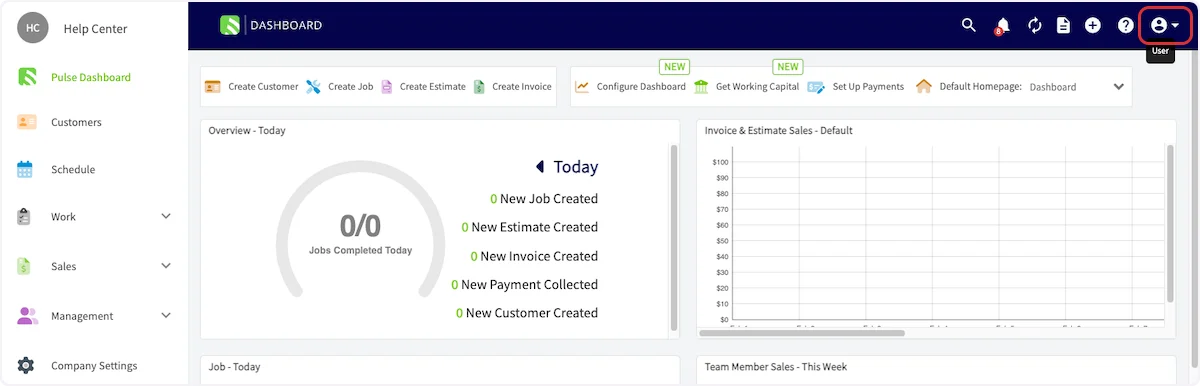
What You Should Set Up in This Section
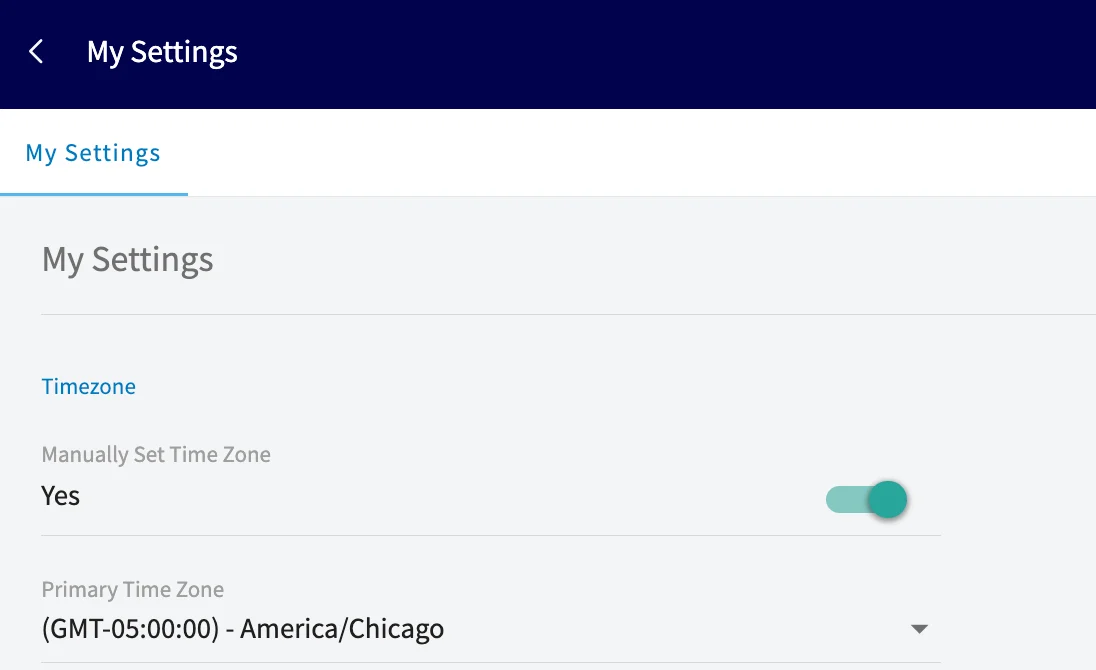
- Your Timezone: Set your business timezone so jobs are scheduled correctly and automated customer messages (triggers) go out at the right local time.
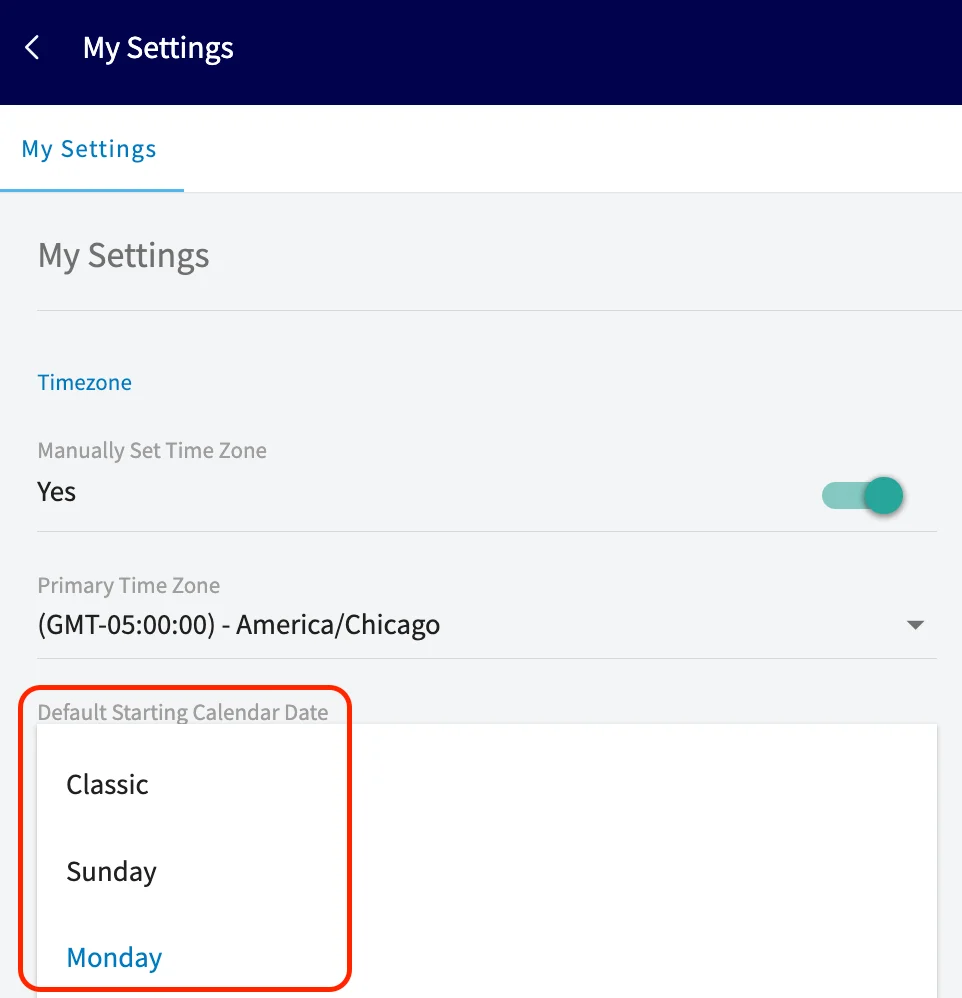
- Your Default Calendar Start Date: Choose Sunday or Monday as the first day of your workweek so your calendar and schedules match your preferred planning style.
- Consider Enabling Our Google Calendar Integration: Enable one-way sync to add FieldPulse Jobs and Site Visits to your Google Calendar. Only Jobs & Site Visits created after connecting and assigned to you will appear; events created in Google Calendar won’t sync back to FieldPulse.
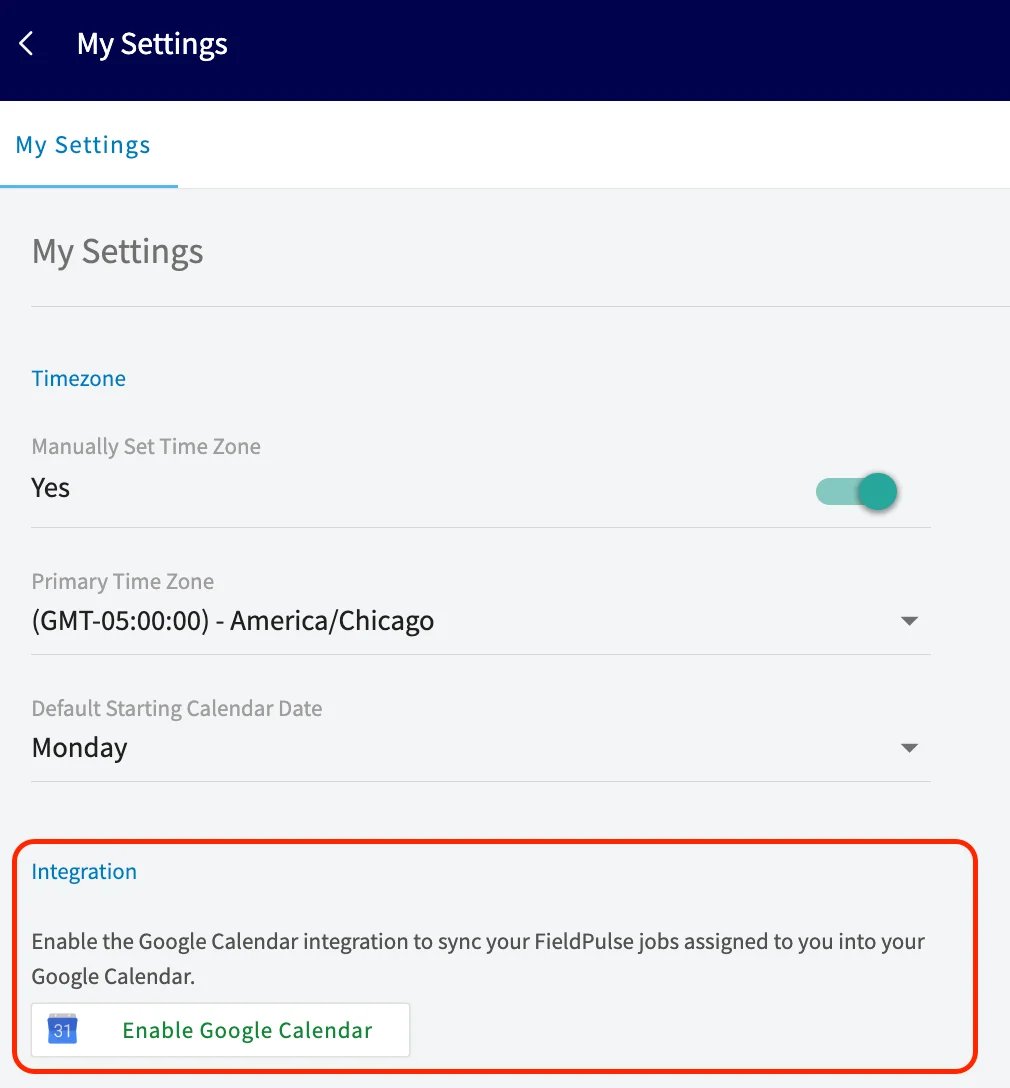
-
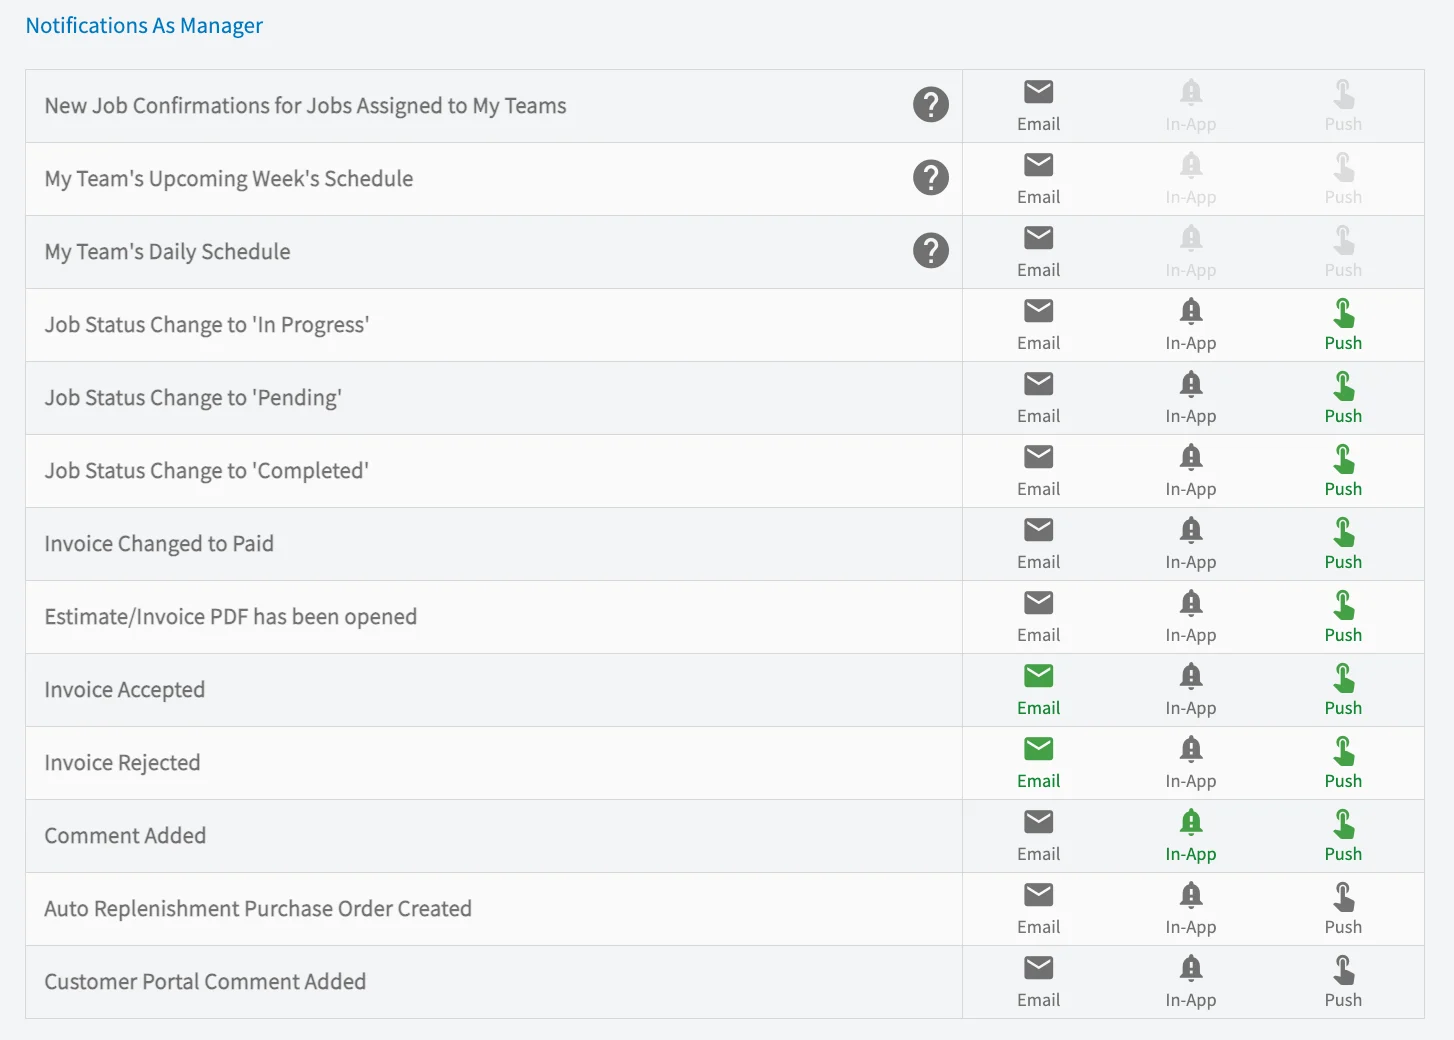
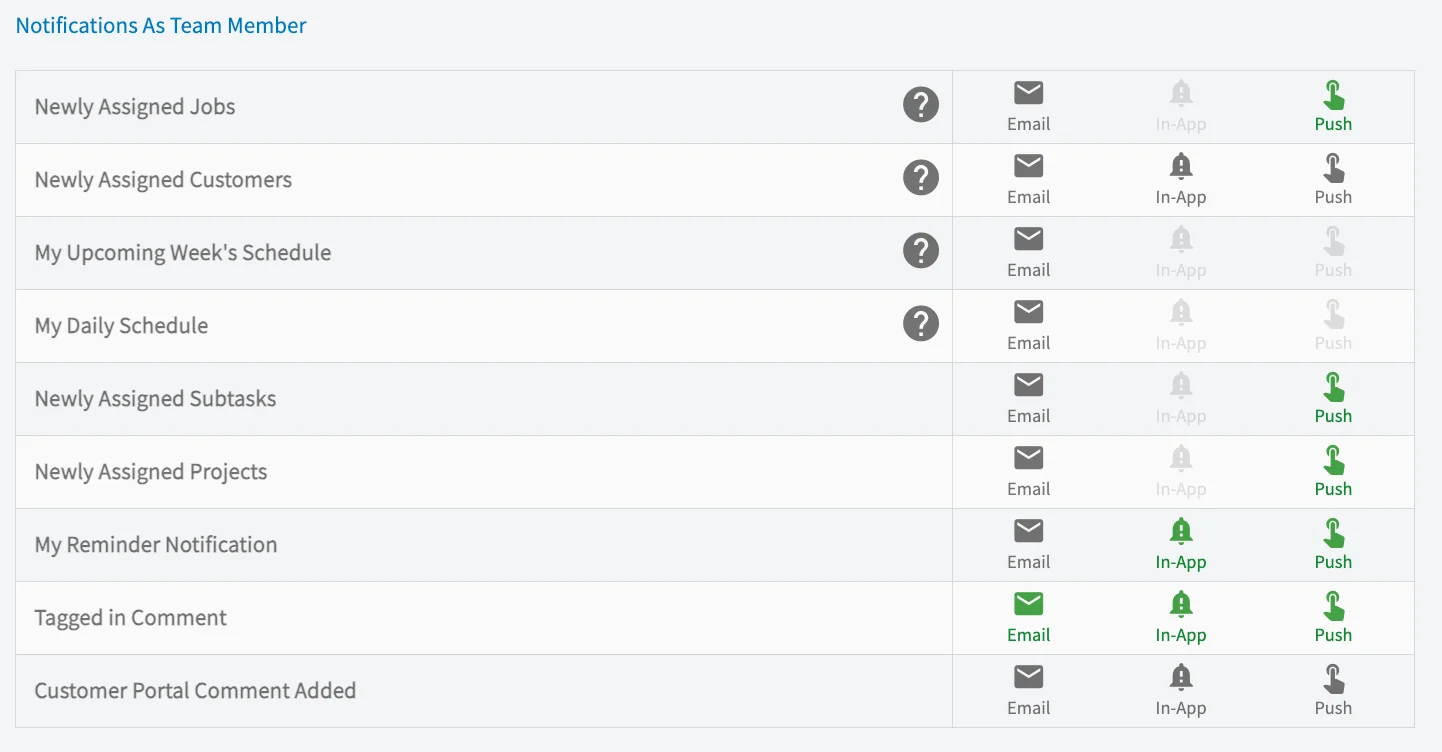
Your Notification Preferences: Choose how you receive FieldPulse alerts: Email, In‑App, or Push. Most notifications support all three delivery options.
- Notifications if you are a manager of a team:
- Notifications as a team member:
Have additional questions? Contact us at support@fieldpulse.com or use the chat feature in the bottom right corner of your screen.