
- iPhone or iPad users: Download from the Apple App Store.
- Android phone or tablet users: Download from the Google Play Store.
Your Access as a Limited Agent
As a Limited Agent, your access within the mobile app is different from managers or full-service agents. If you find certain features or information unavailable, it’s likely due to your specific permissions. Please reach out to your manager if you have any questions about your access.What You Can Do:
-
General App Use:
- Use the mobile app
- Be assigned to a team
- View your schedule
-
Use both general and job timesheets
- Ability to add notes to timesheets
-
Job Management:
- View customer names, locations, job details, dates, times, assigned team members, status, notes, and field notes on job records that you are assigned to
- View job files
- Upload files
What You Cannot Do:
- Change Job Status: You are not permitted to update the status of a job.
- Access Web App: You cannot use the computer-based version of FieldPulse.
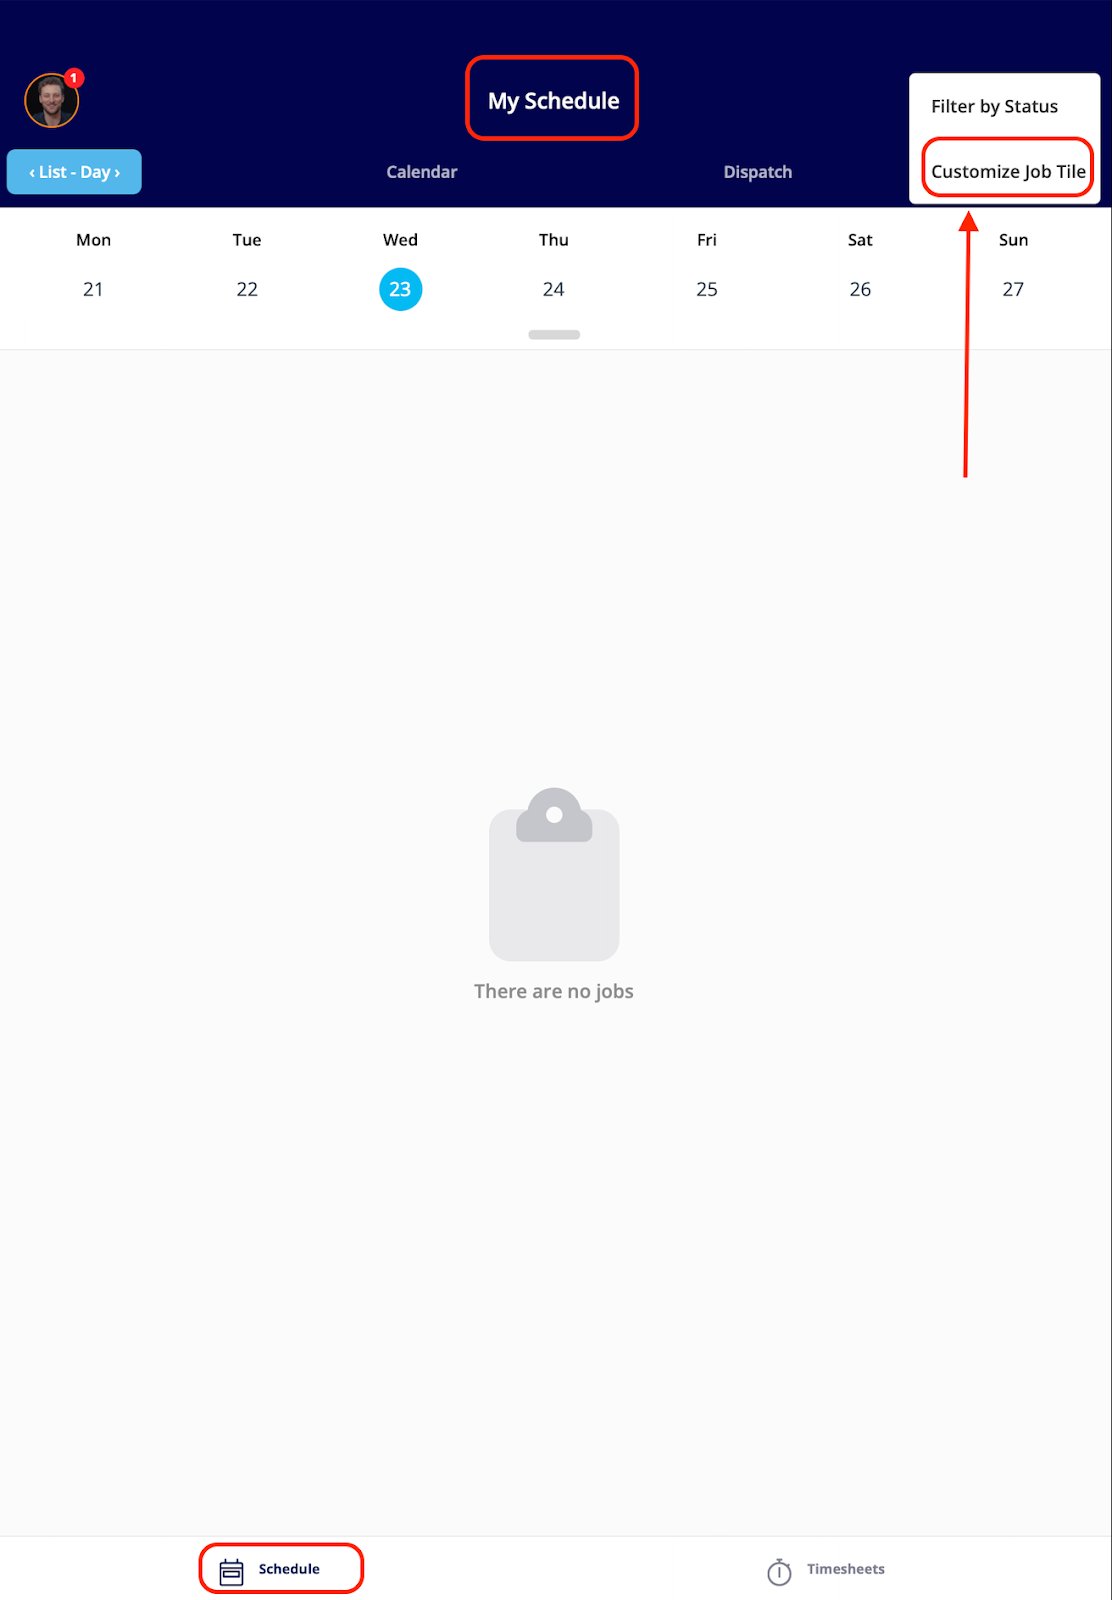
- Schedule Customization: You cannot customize your schedule view.
Mobile App Tour
Dashboard
Once you log in, you will see your schedule. Here, you can view any jobs that are assigned to you.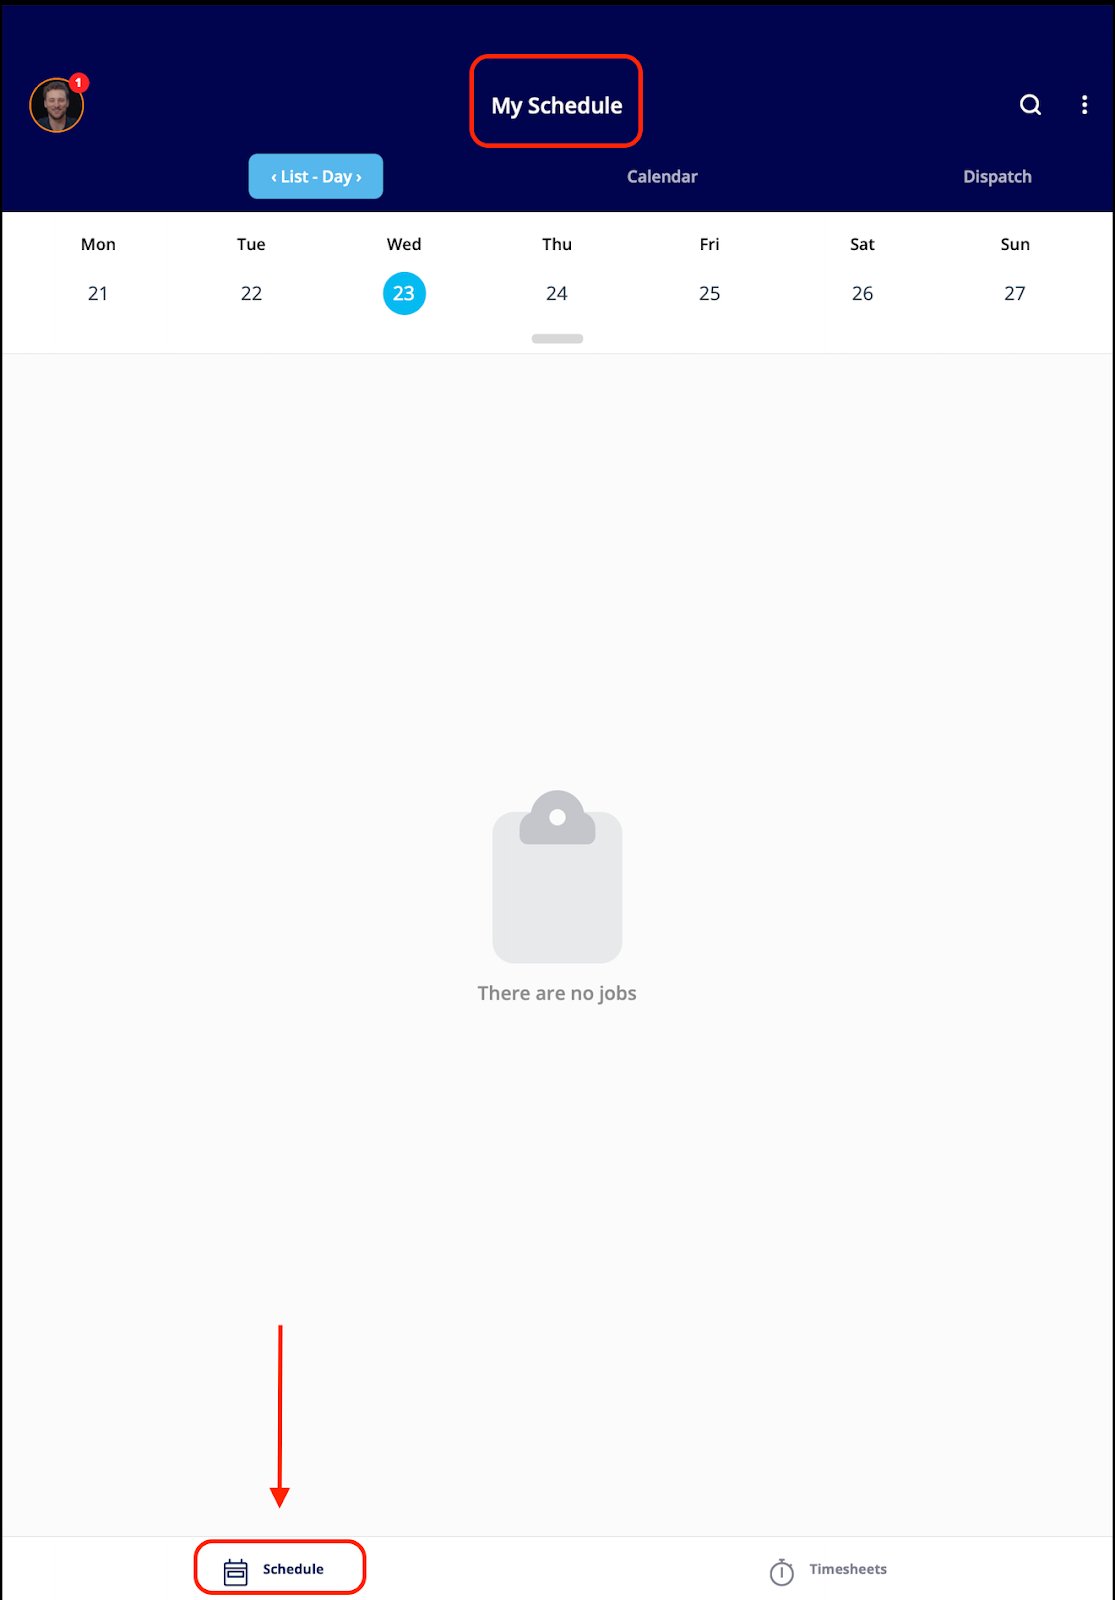
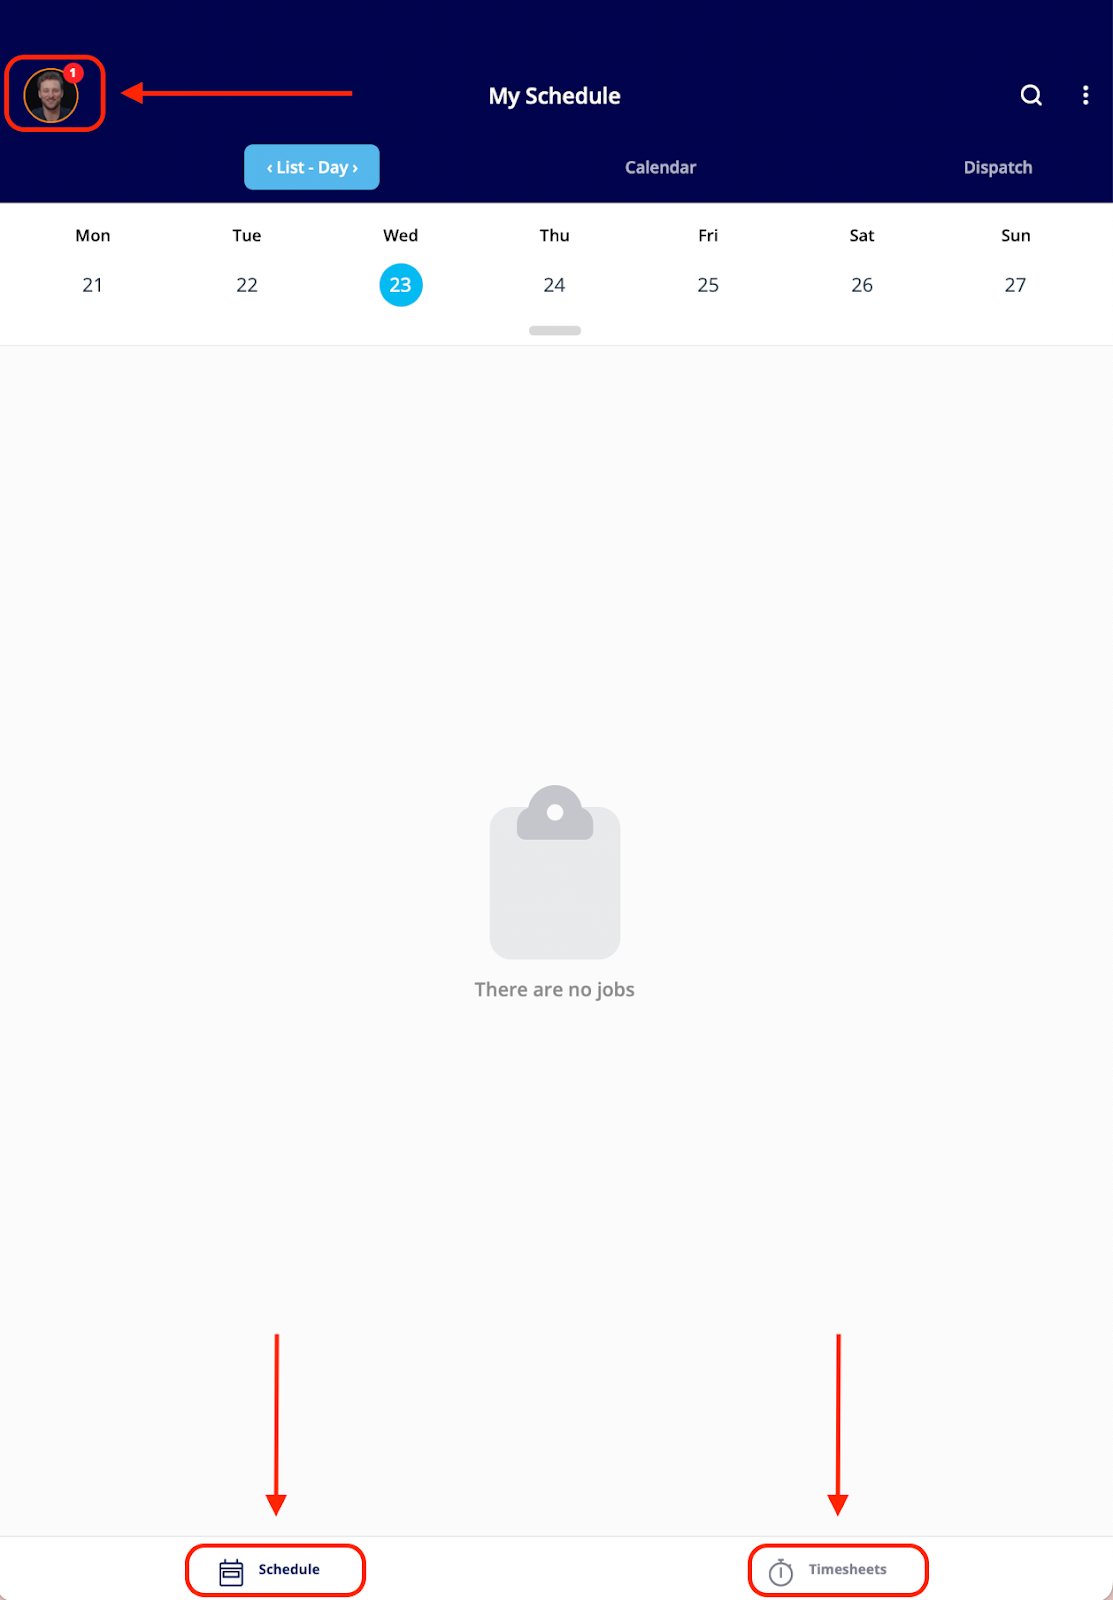
- You can edit your profile, view notifications/Reminders, or log out by clicking the round icon in the top left corner.
- You can see your jobs for the day.
- You can clock in and clock out.
Navigating Your Schedule
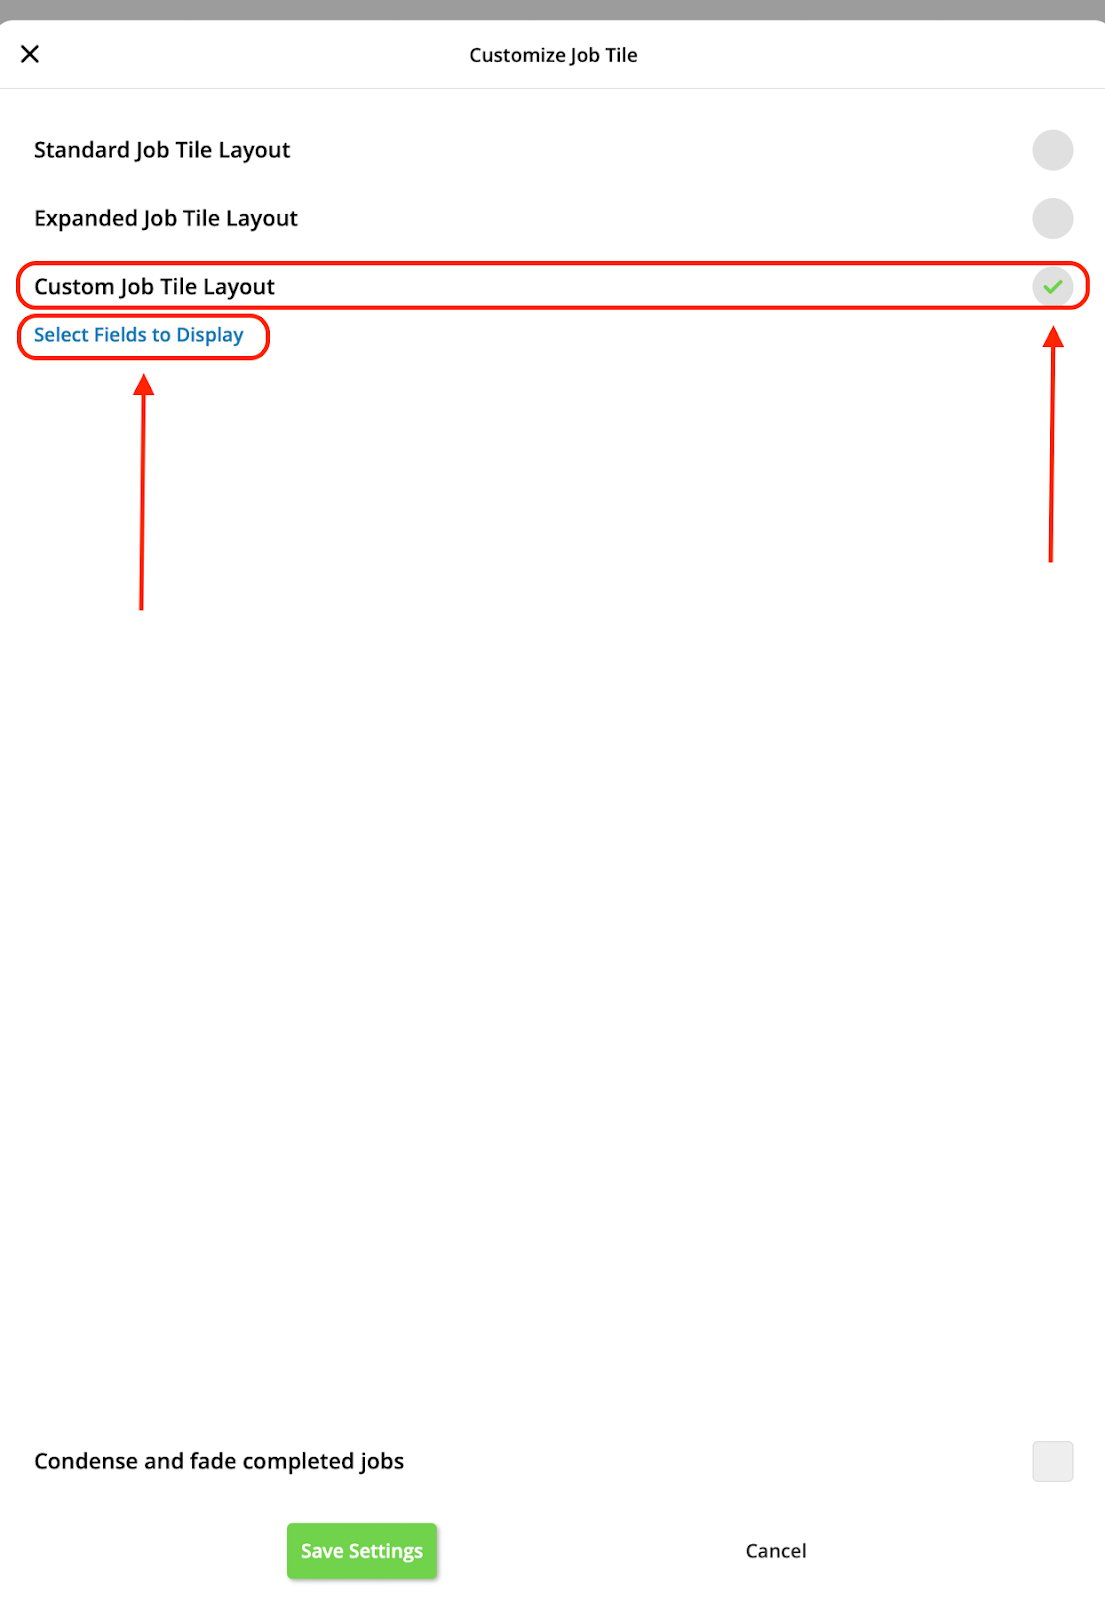
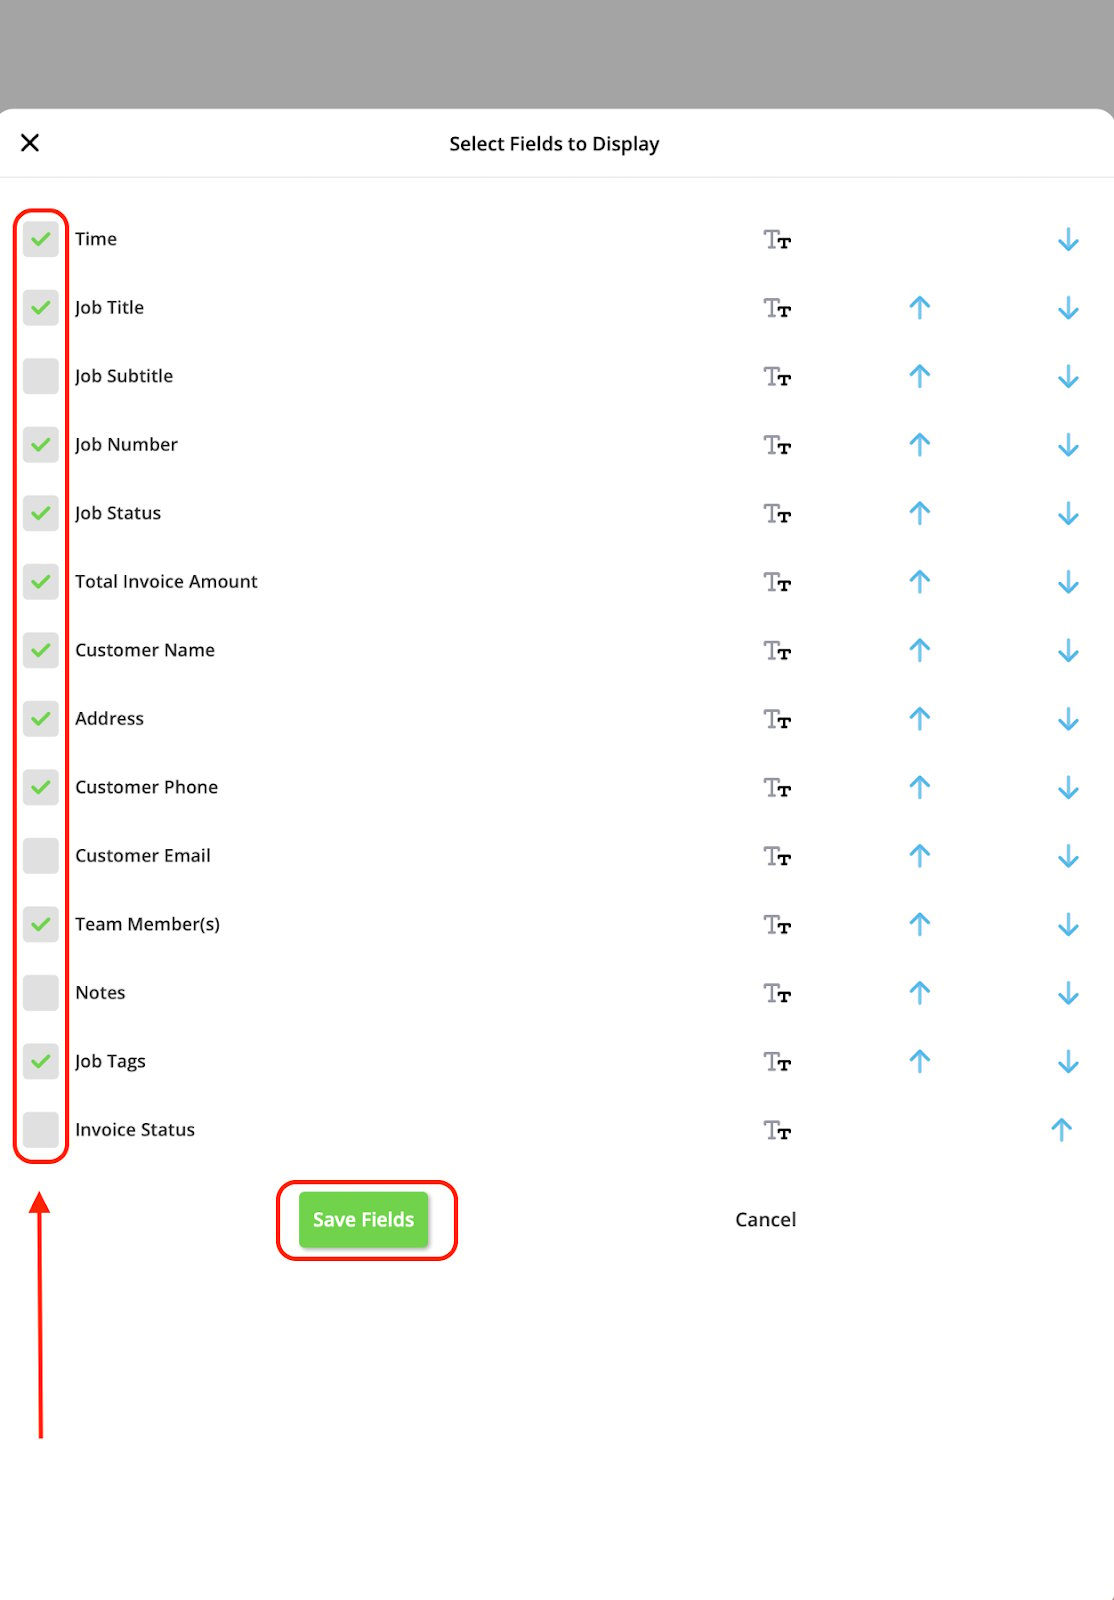
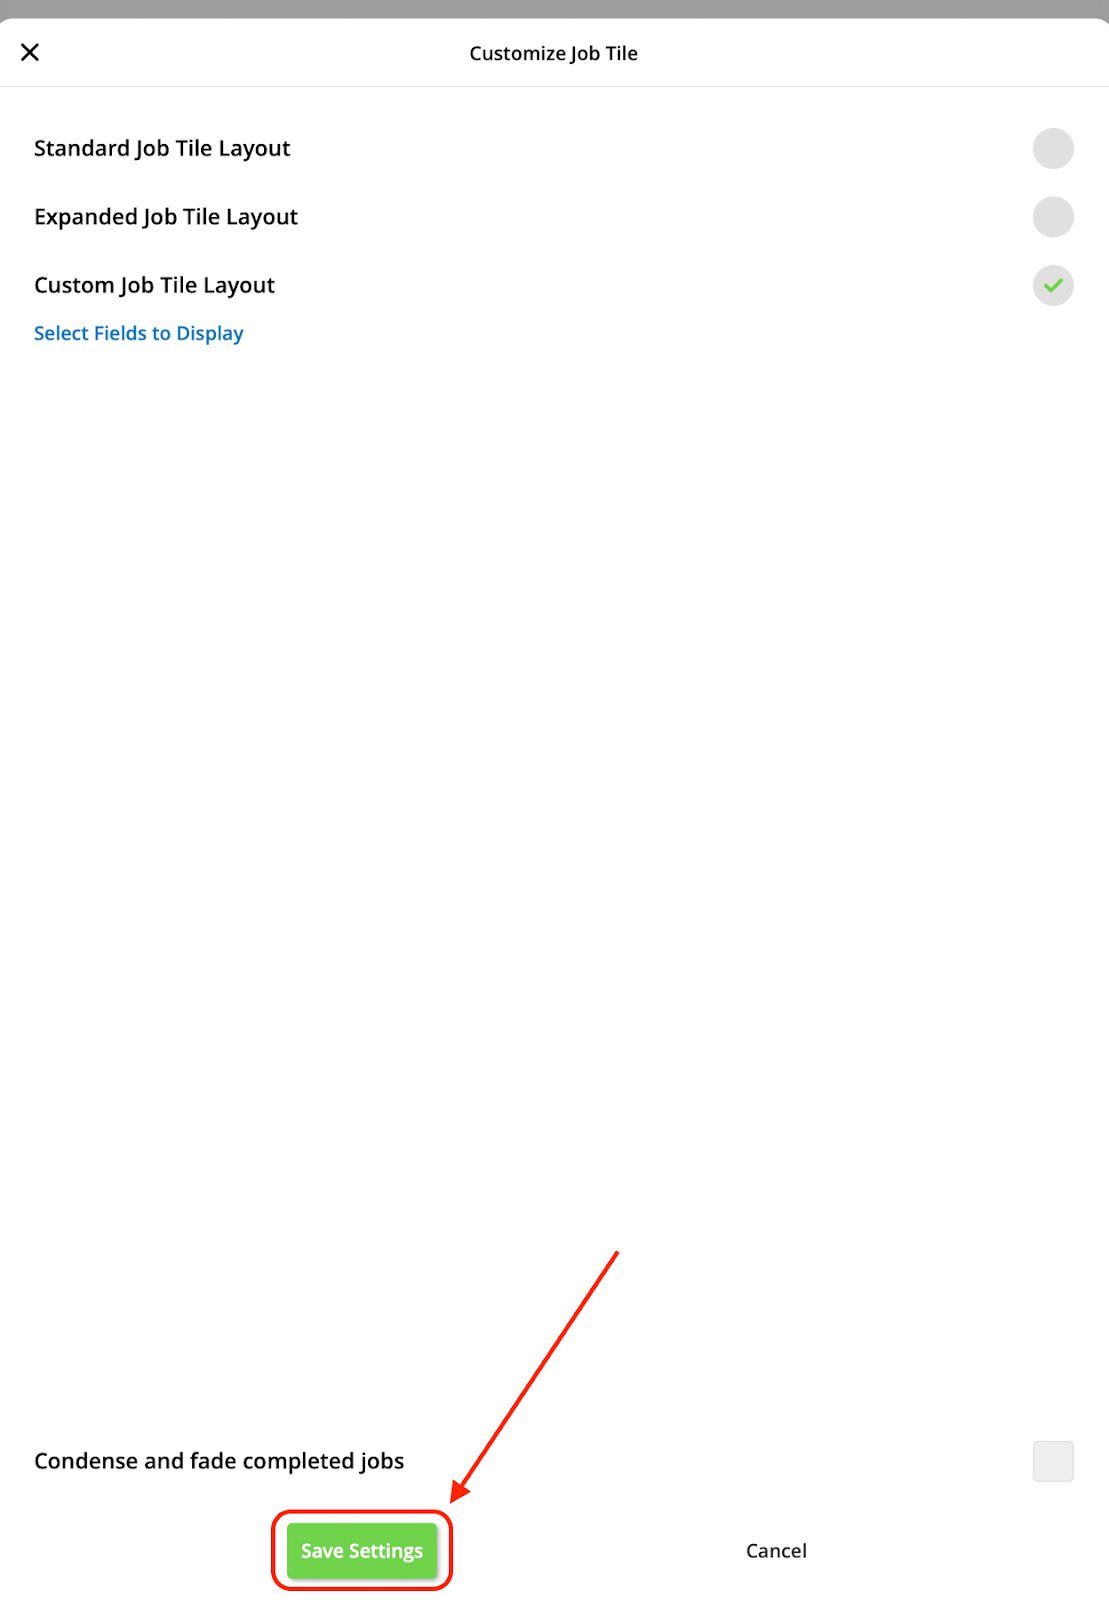
From the Schedule tab in the bottom left corner, you’ll see a list of your assigned jobs. We offer four different ways to view your schedule.List View
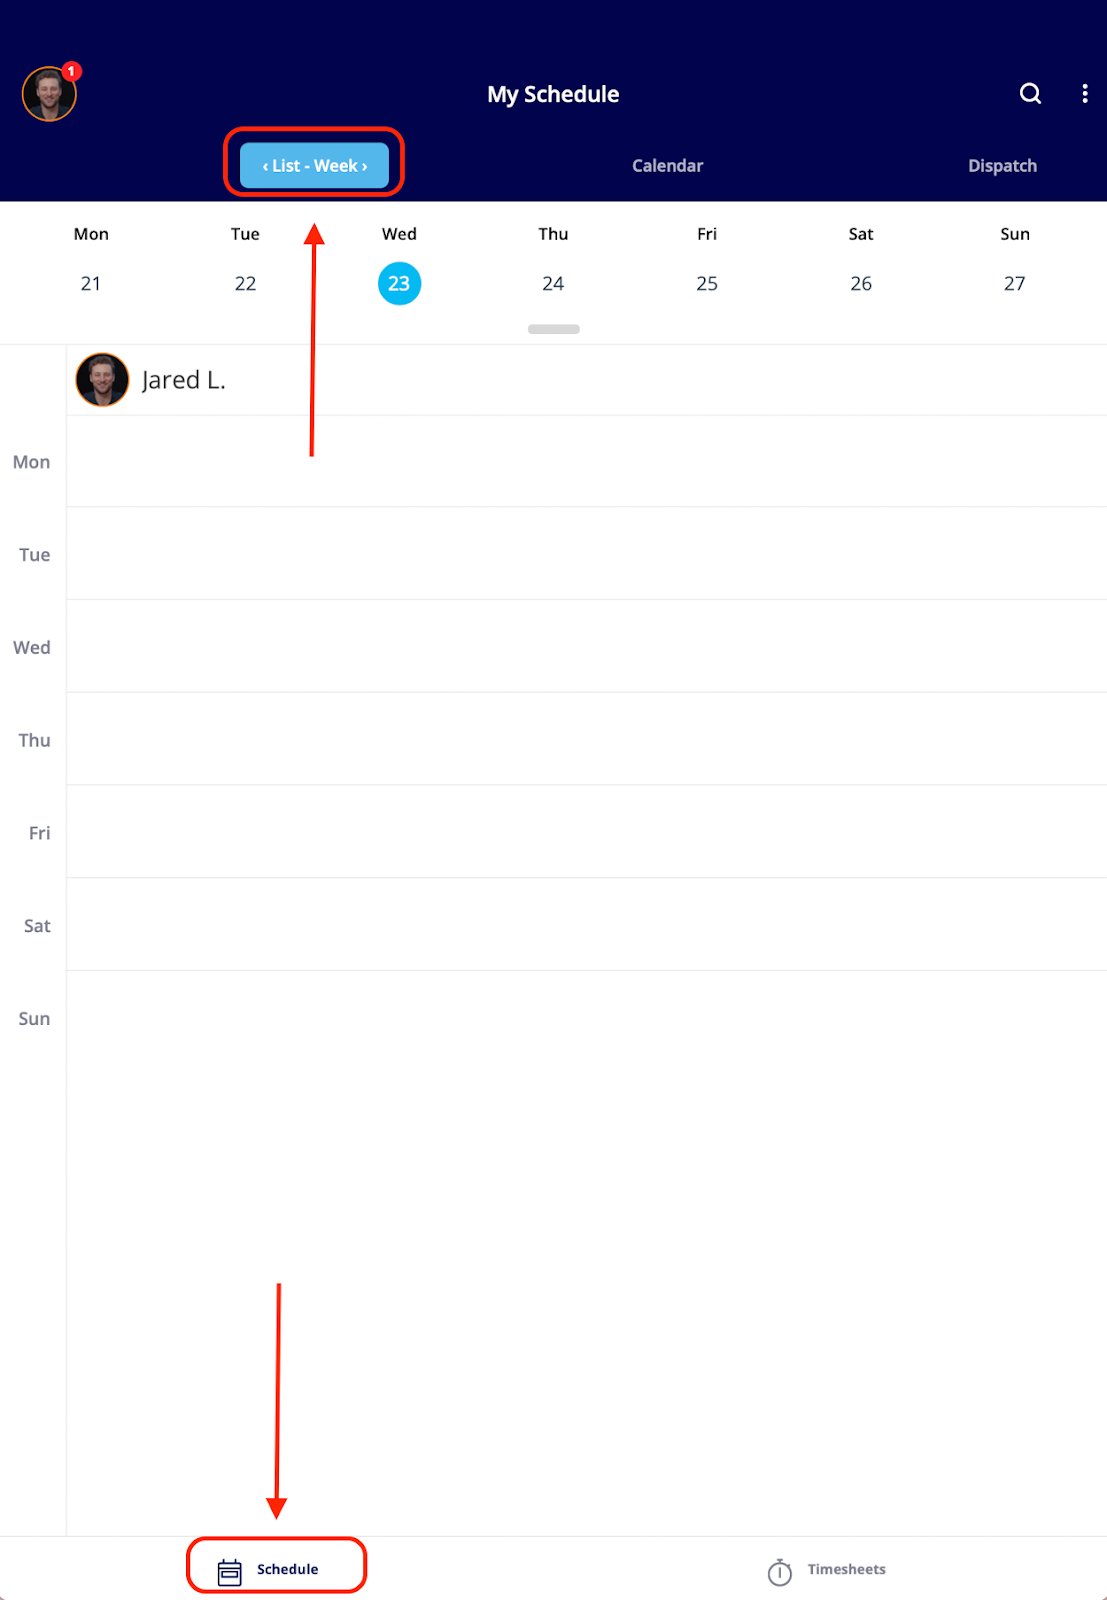
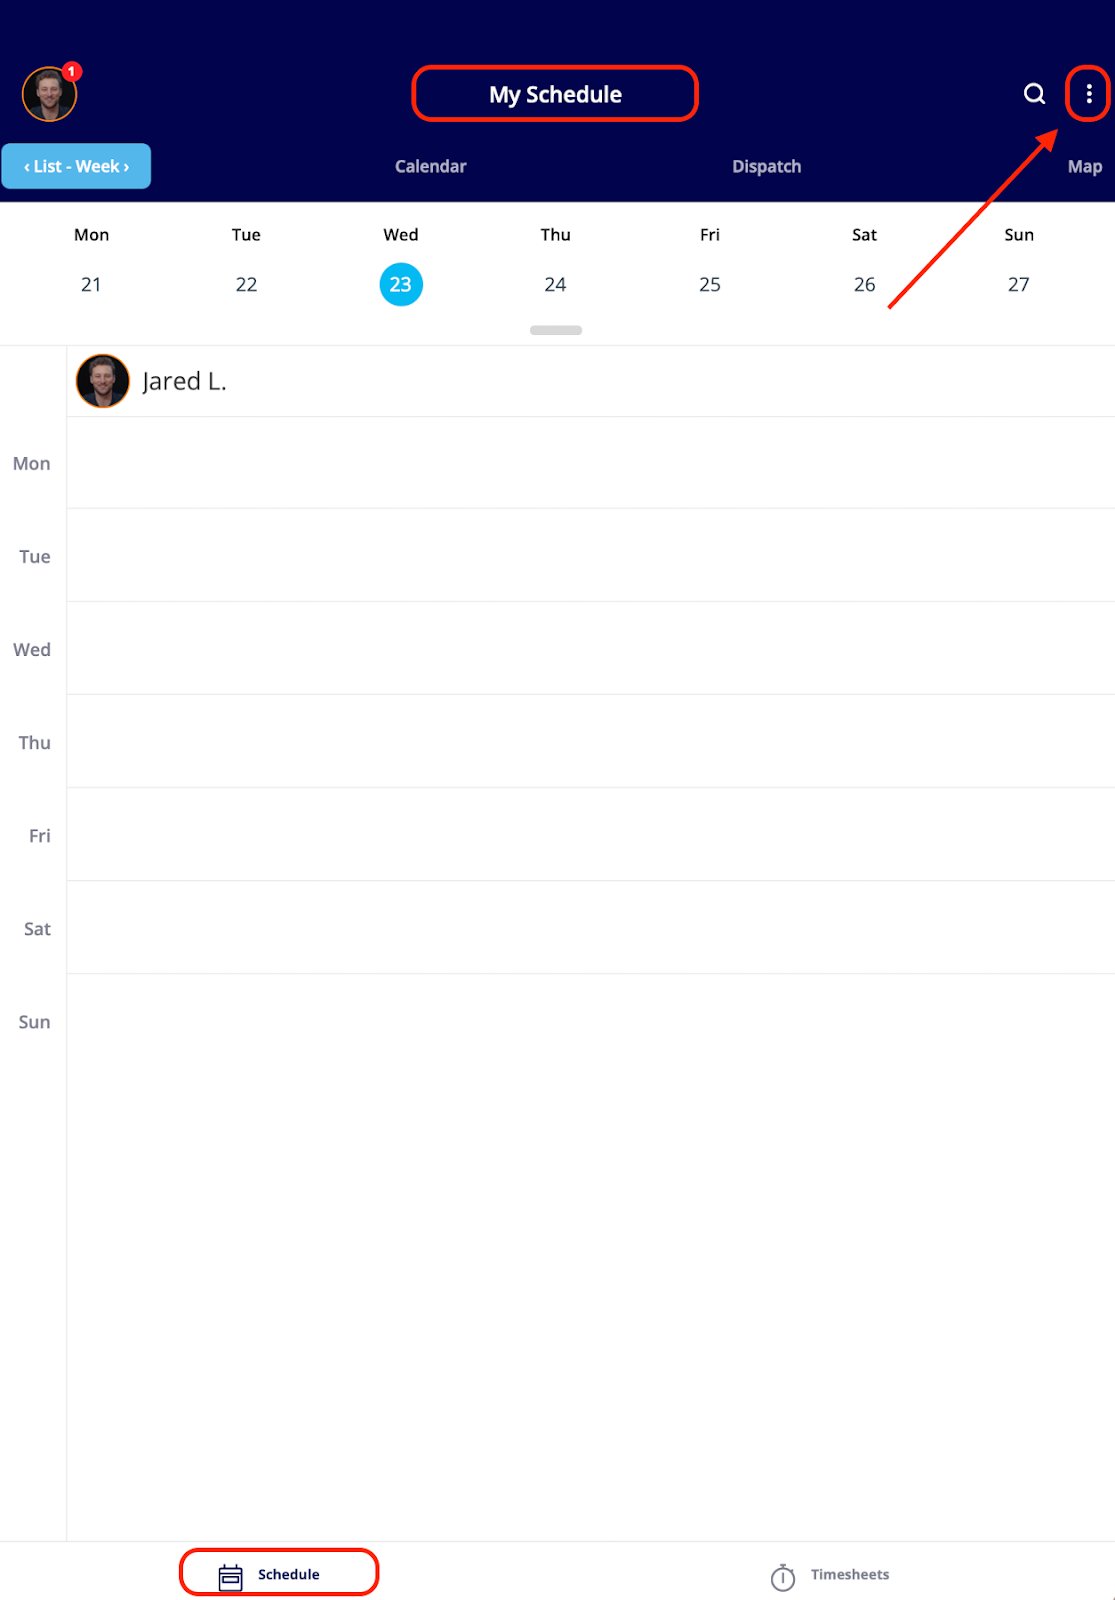
- This view displays your assigned jobs in a clear, organized list. You can easily sort your services by day, week, or month. Tapping on any job will reveal it’s full details, including customer information and options to clock in or our directly from that job.
Calendar View
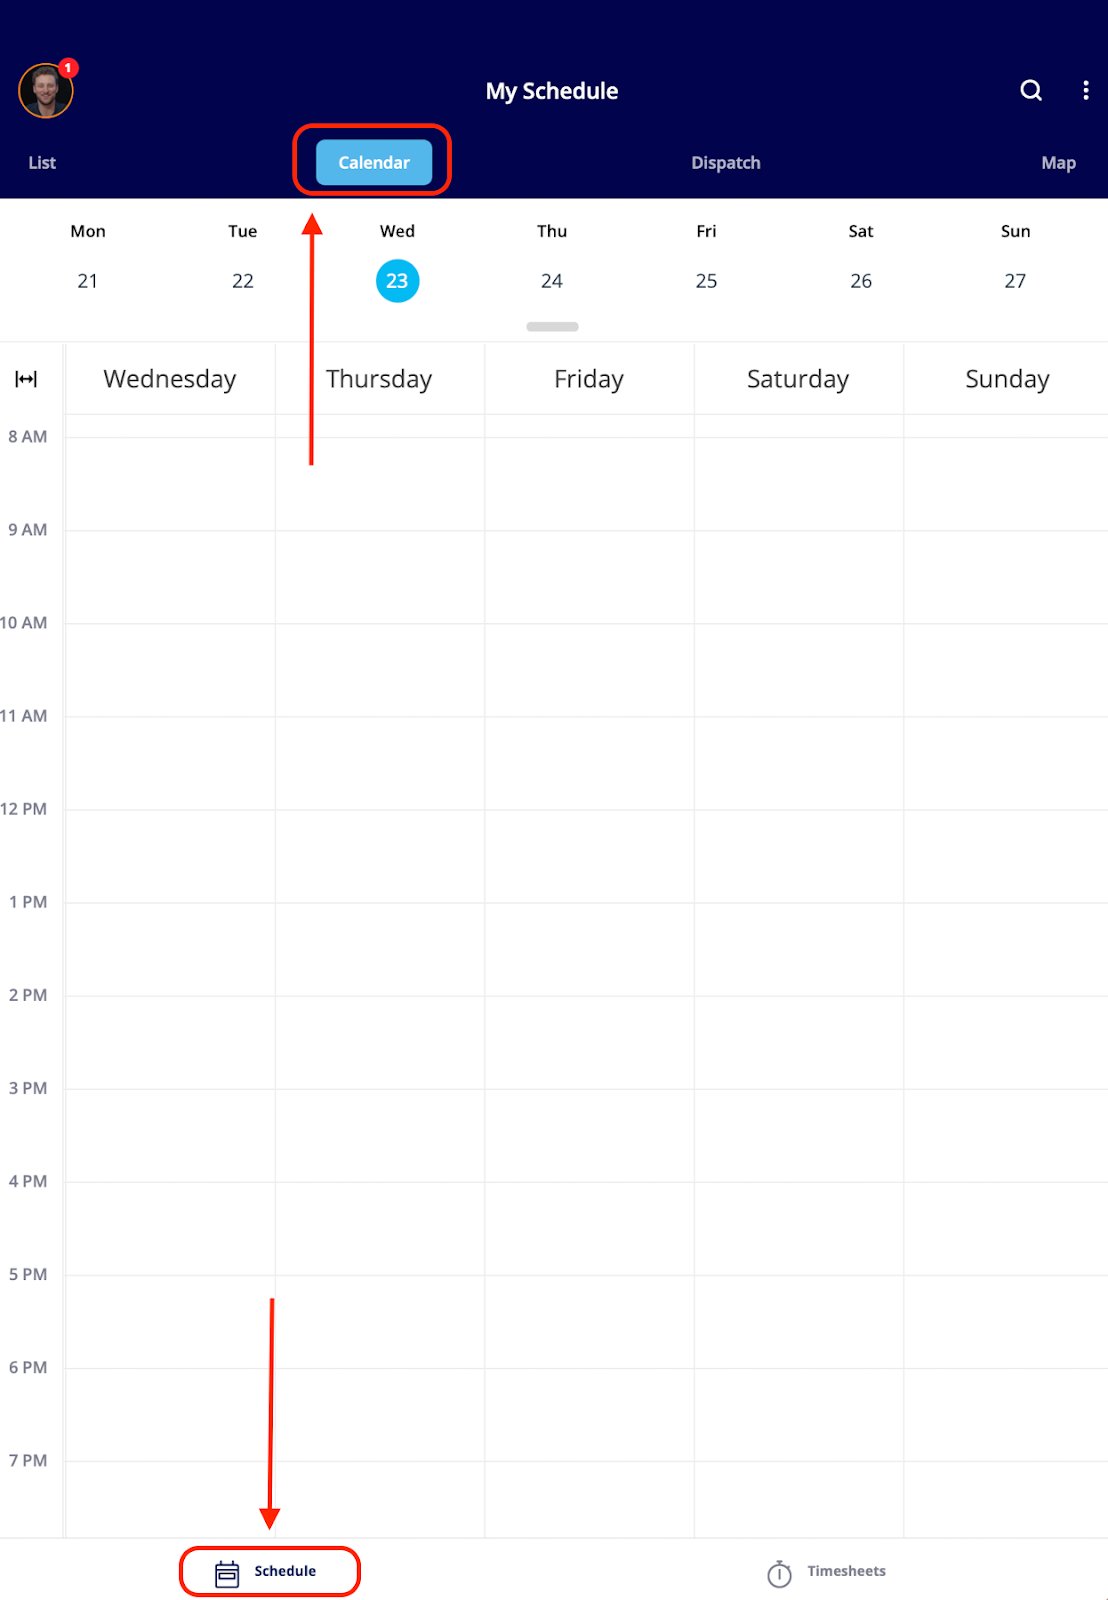
- The Calendar View presents your jobs in a weekly calendar format. Similar to the List View, you can tap on a job to access its details, customer information, and clock in/out options.
Dispatch View
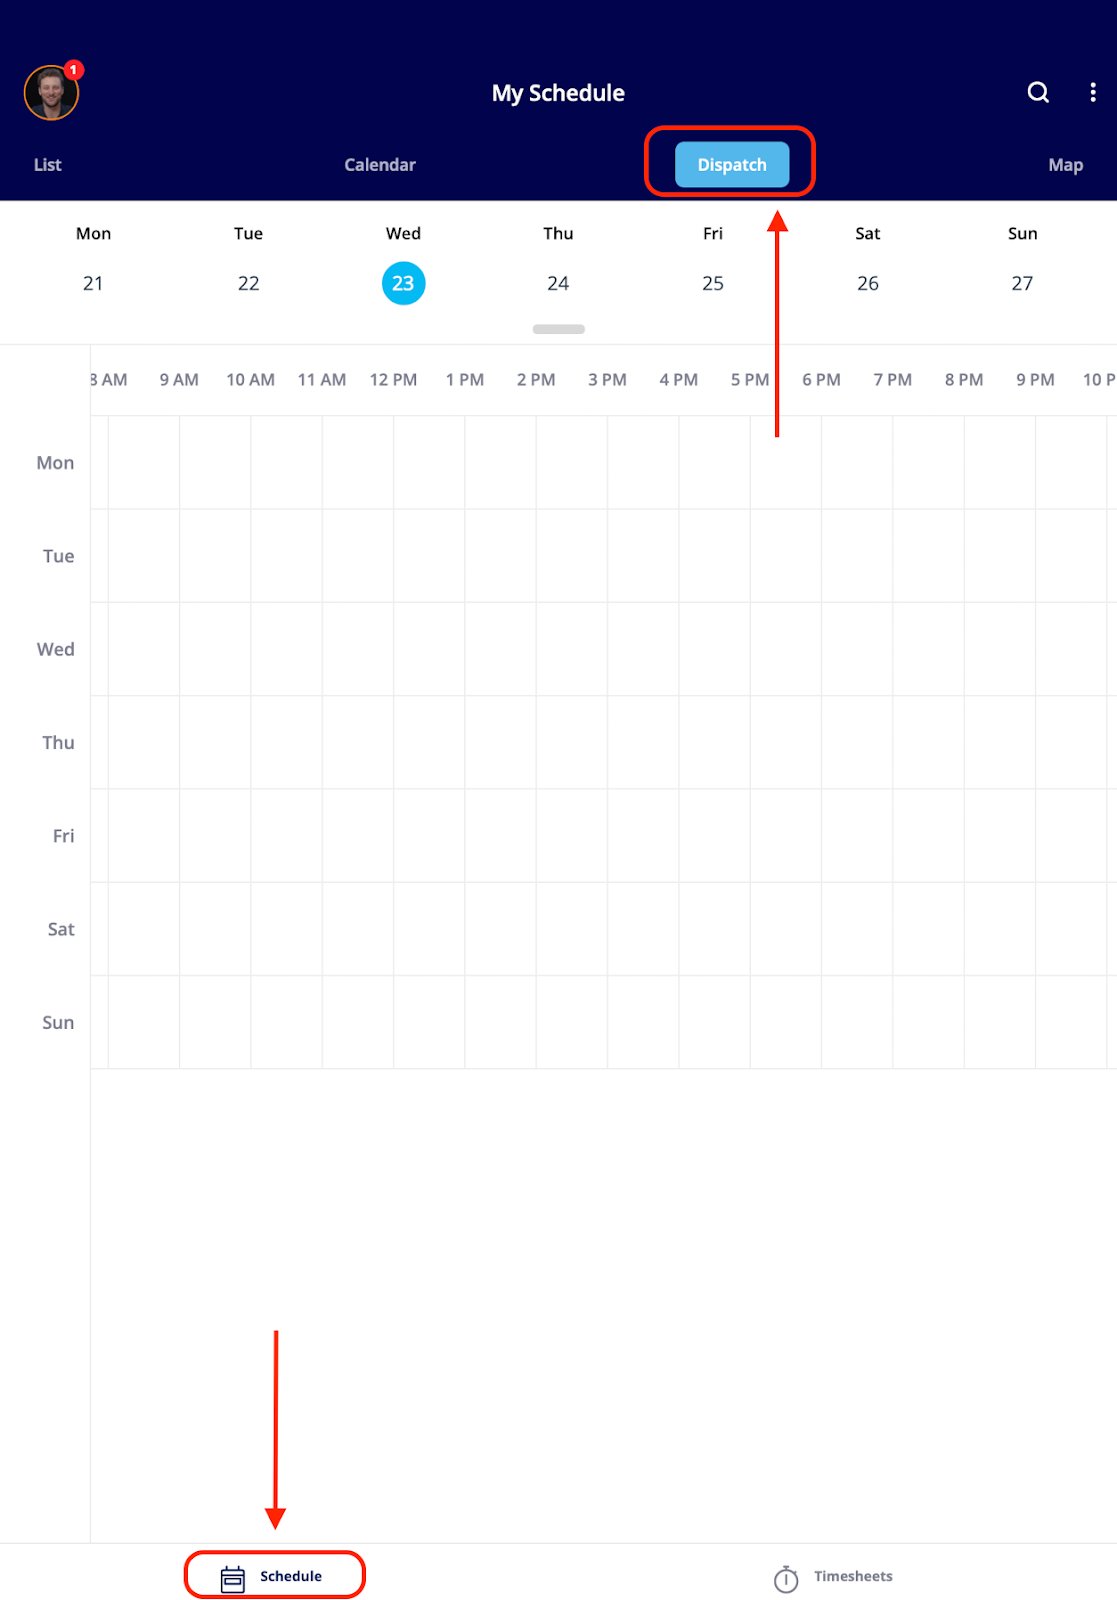
- The Dispatch View offers a visual way to see your schedule and job assignments throughout the week. It shows a clear timeline of when you are out in the field on jobs. You can easily tap on any listed job to access its full details, including customer information and options to clock in or out.
Map View
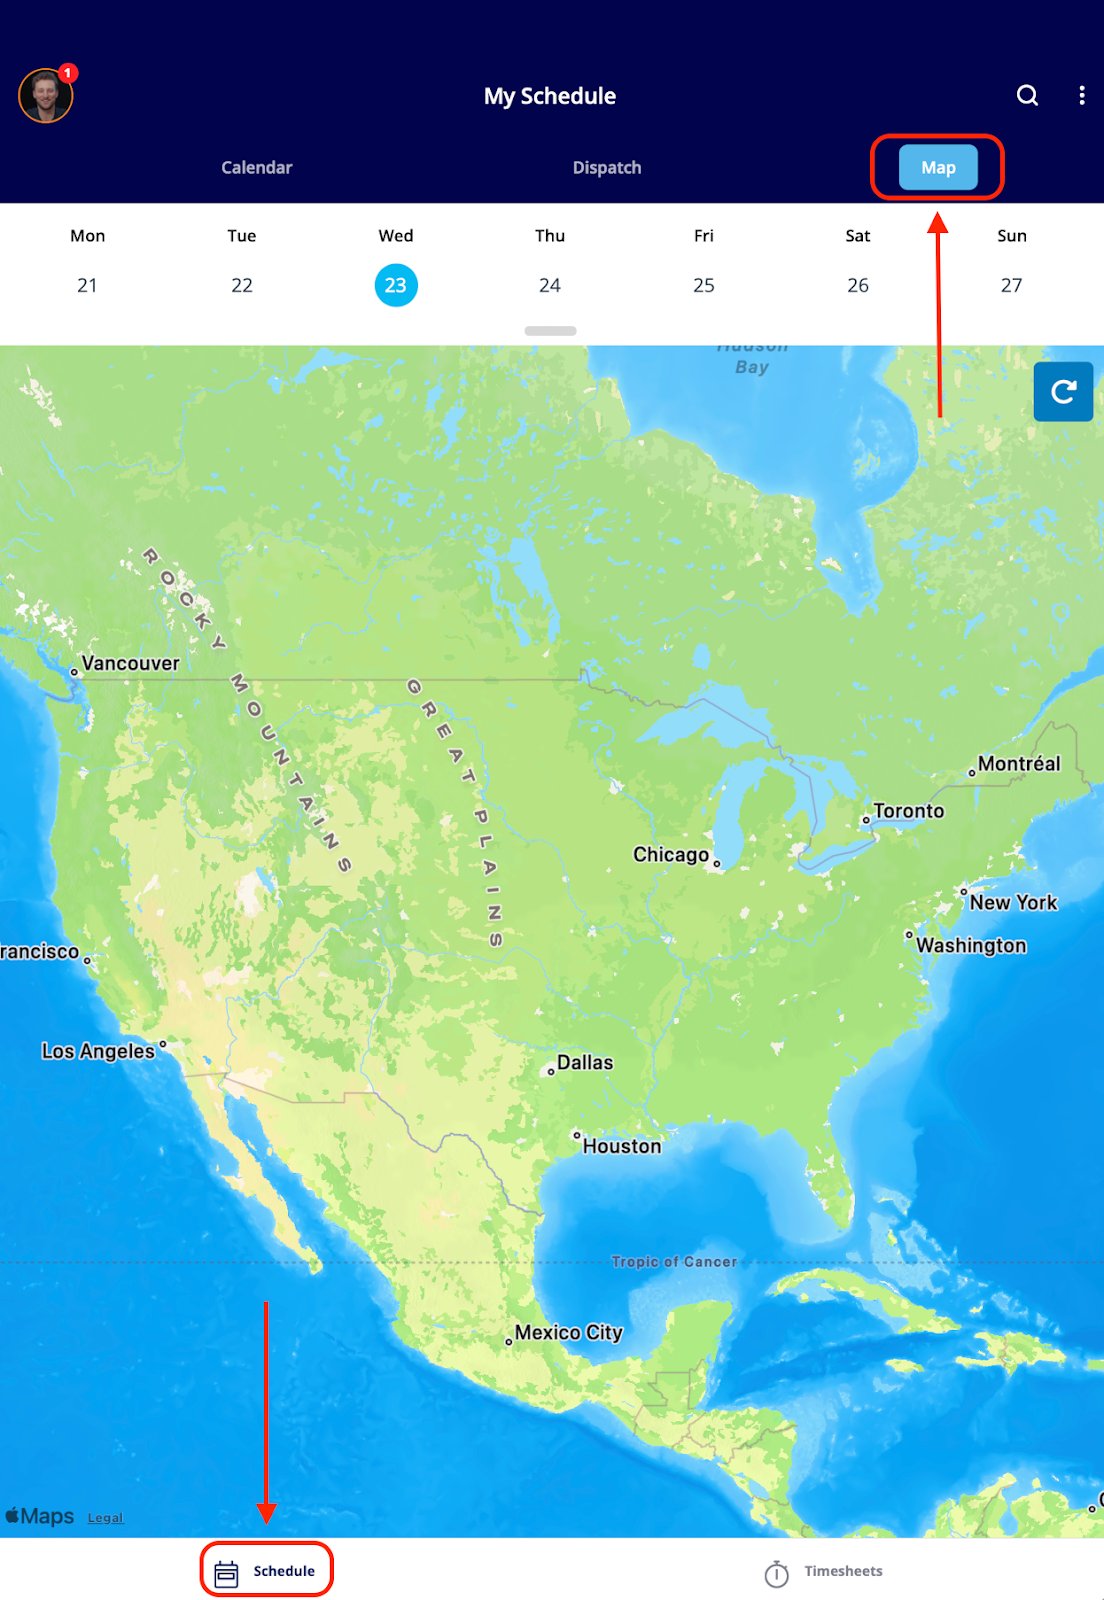
- The Map View plots your jobs directly on a map, offering a geographical overview. From here, you can tap on a job to view its details, including customer information and clock in/out options directly from that job.
Timesheets
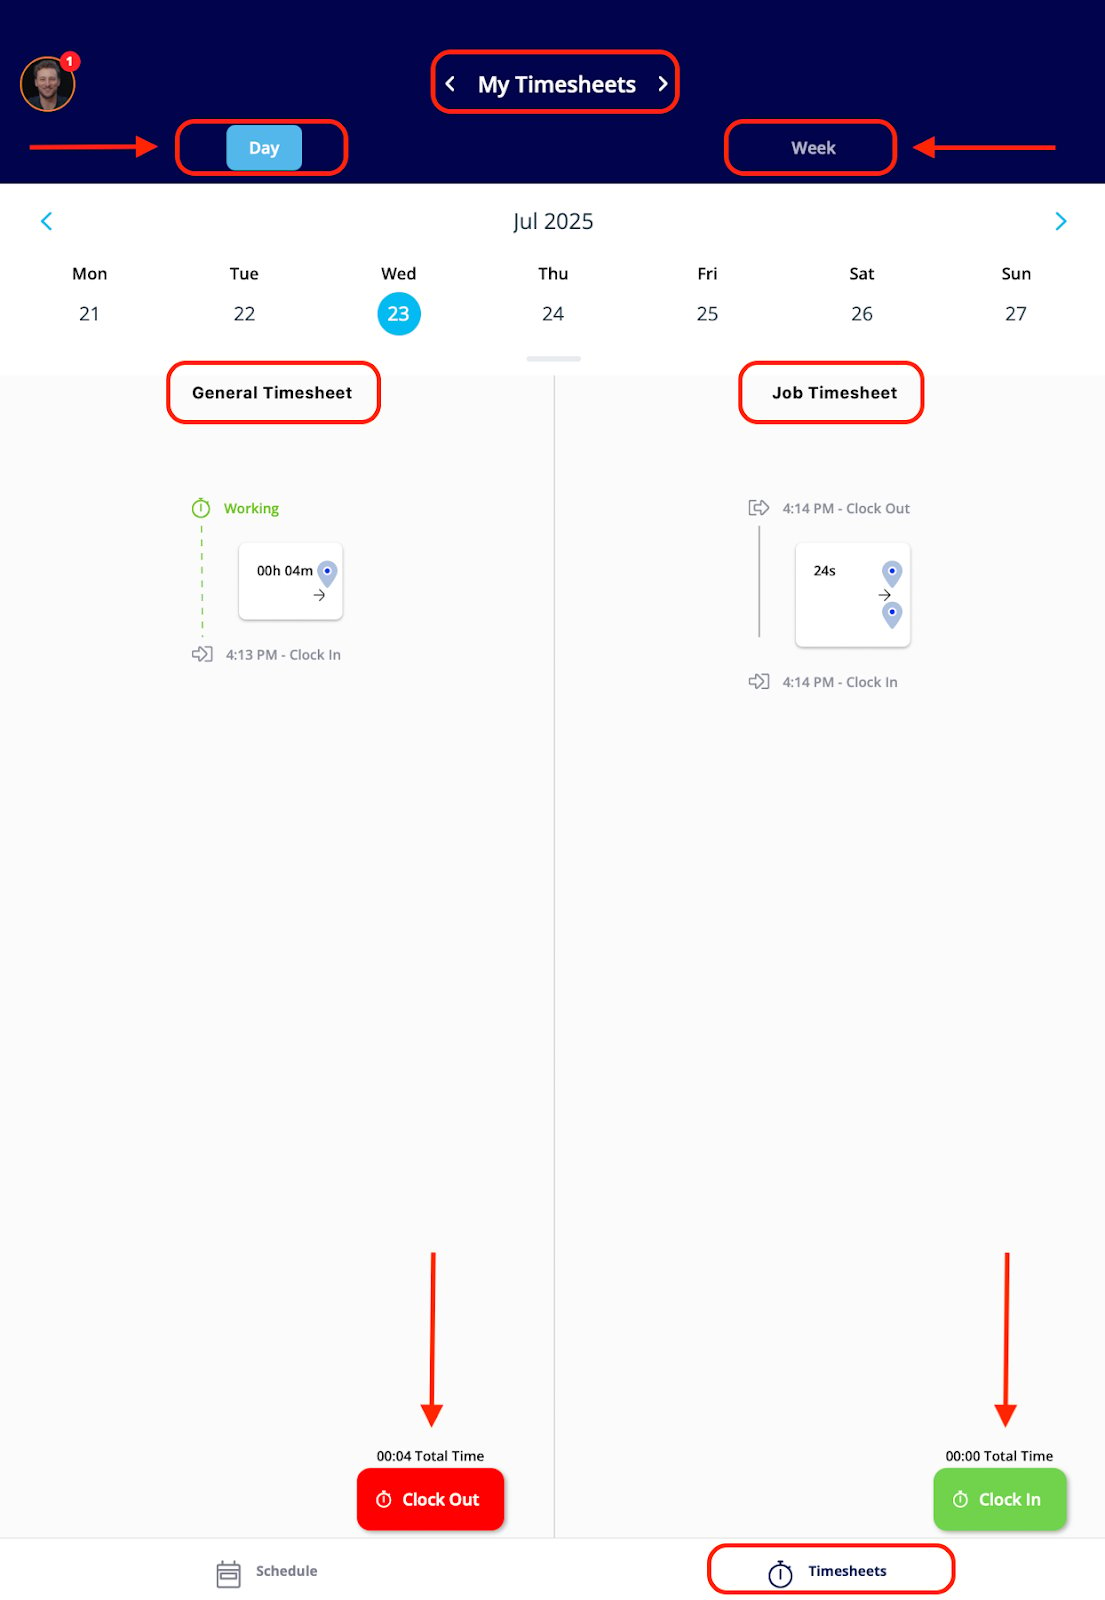
Under the Timesheets tab, you’ll find the functionality to clock in and out for the day. You can utilize both general and job-tracking timesheets. Here, you have the option to select Day or Week if you need to view or edit an entry.- General Timesheets are used to track your entire workday, logging your time from the moment you clock in until you clock out.
- Job Timesheets are for tracking the time you spend completing a particular job or service.
Have additional questions? Contact us at support@fieldpulse.com or use the chat feature in the bottom right corner of your screen.