
Welcome to FieldPulse
Whether you’re the owner, the office manager, or otherwise hold the keys to your company’s account, this page walks you through everything you need to get up and running: setting up your account, building your team, pricing your work, and running your first job from start to finish. Follow the steps in order and you’ll be fully set up by the end. Each step links to a deeper article if you want more detail, but you shouldn’t have to leave this page to get going.Most of these steps require Administrator access. If you can’t see Company Settings in your left-side menu, you may not be set up as an Admin yet — see Not Seeing the Admin Role? below.
Log In & Get Oriented
- Look for the welcome email with your login information.
- Download the FieldPulse mobile app: Apple or Android.
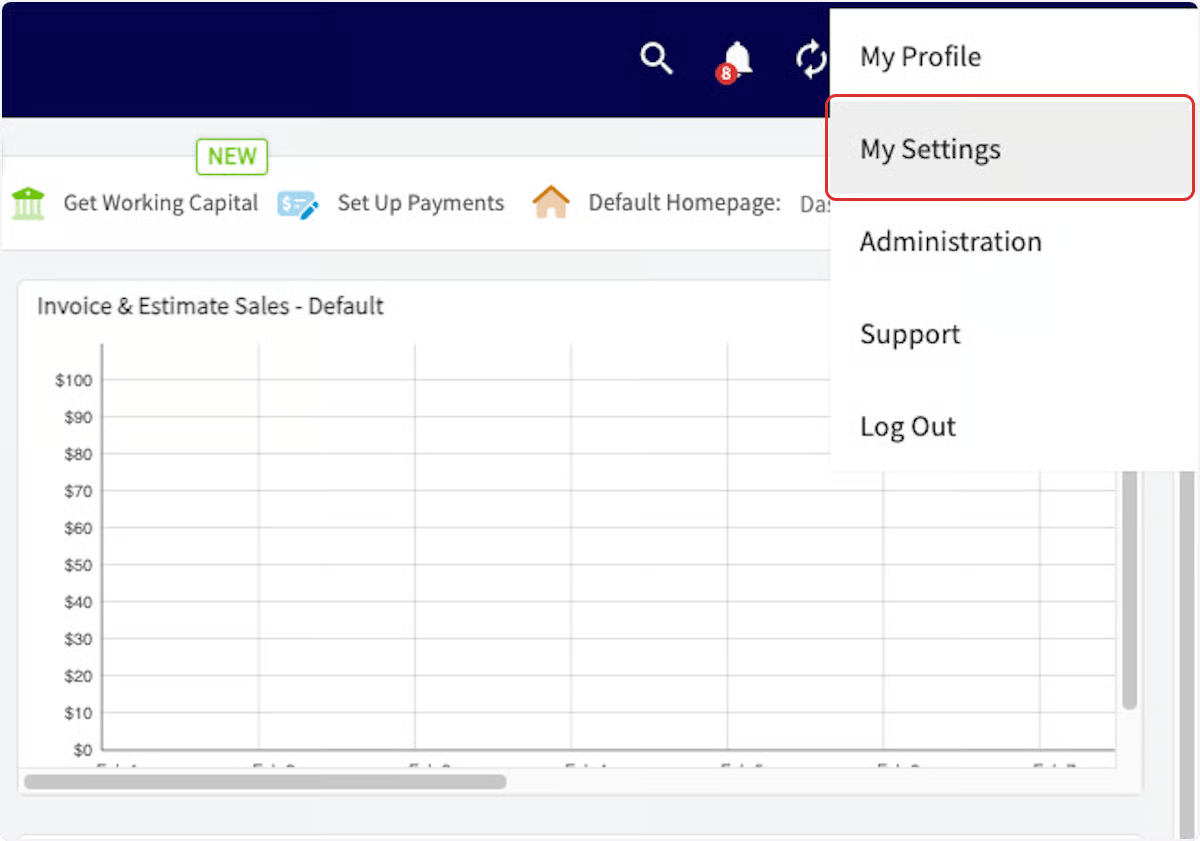
- Click the account icon in the top-right corner of the web app and select My Settings to set your timezone, default calendar start day, and notification preferences (Email, In-App, or Push).
Configure Company Settings
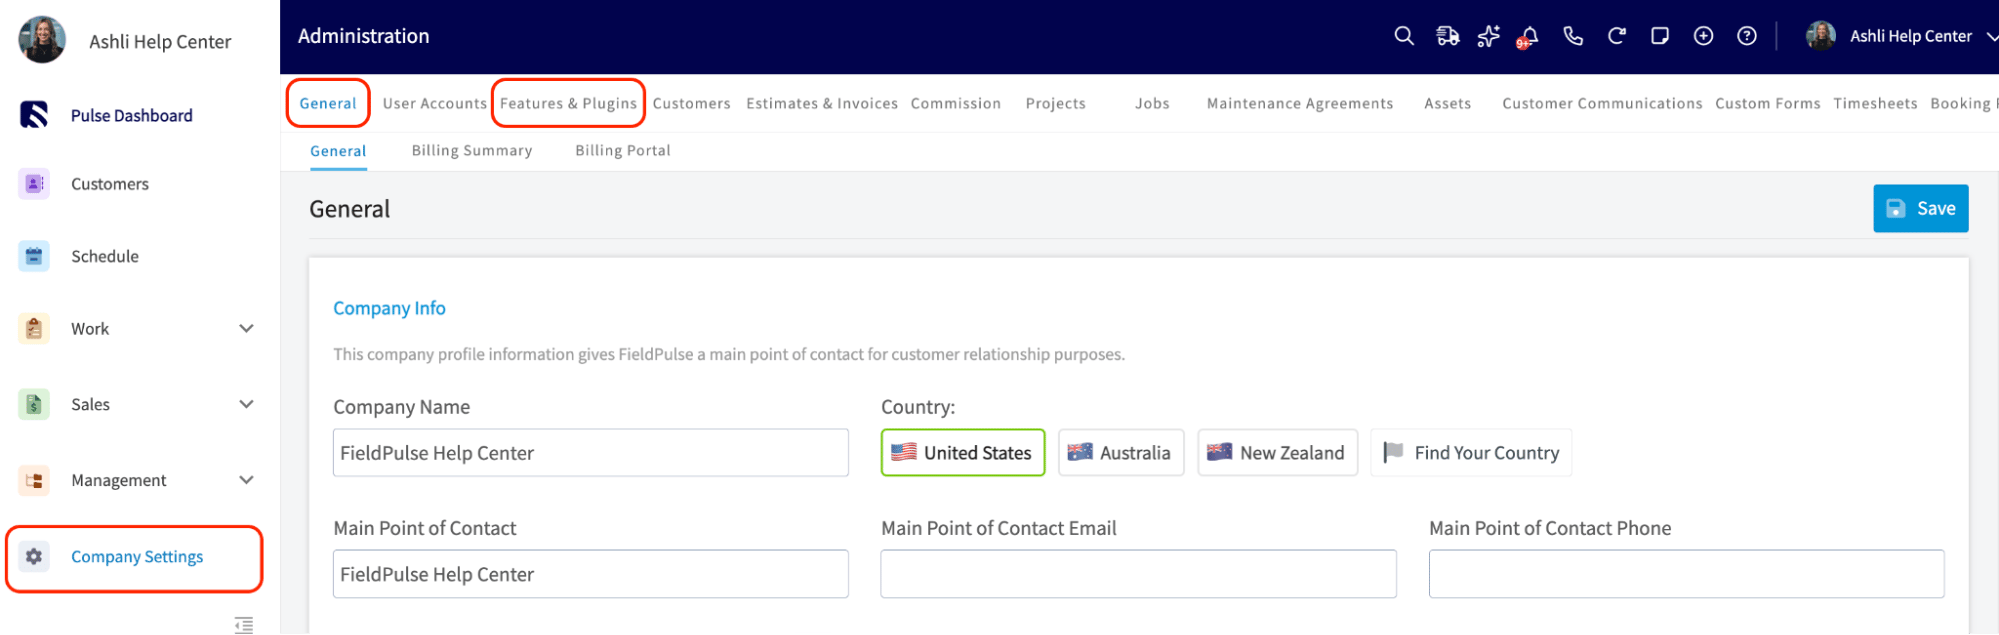
Navigate to Company Settings in the left-side menu (only Admins can see this).- Company Information & Logo: Add your company name, contact information, and logo.
- Features & Plugins: Browse this page and click Enable on anything you want to use. Features are color-coded: blue icons are included in your base subscription, purple icons are paid add-ons.
Build Your Team
Go to Company Settings > User Accounts > Edit Temp Users for each person you want to add. You’ll need their name, email, and a role.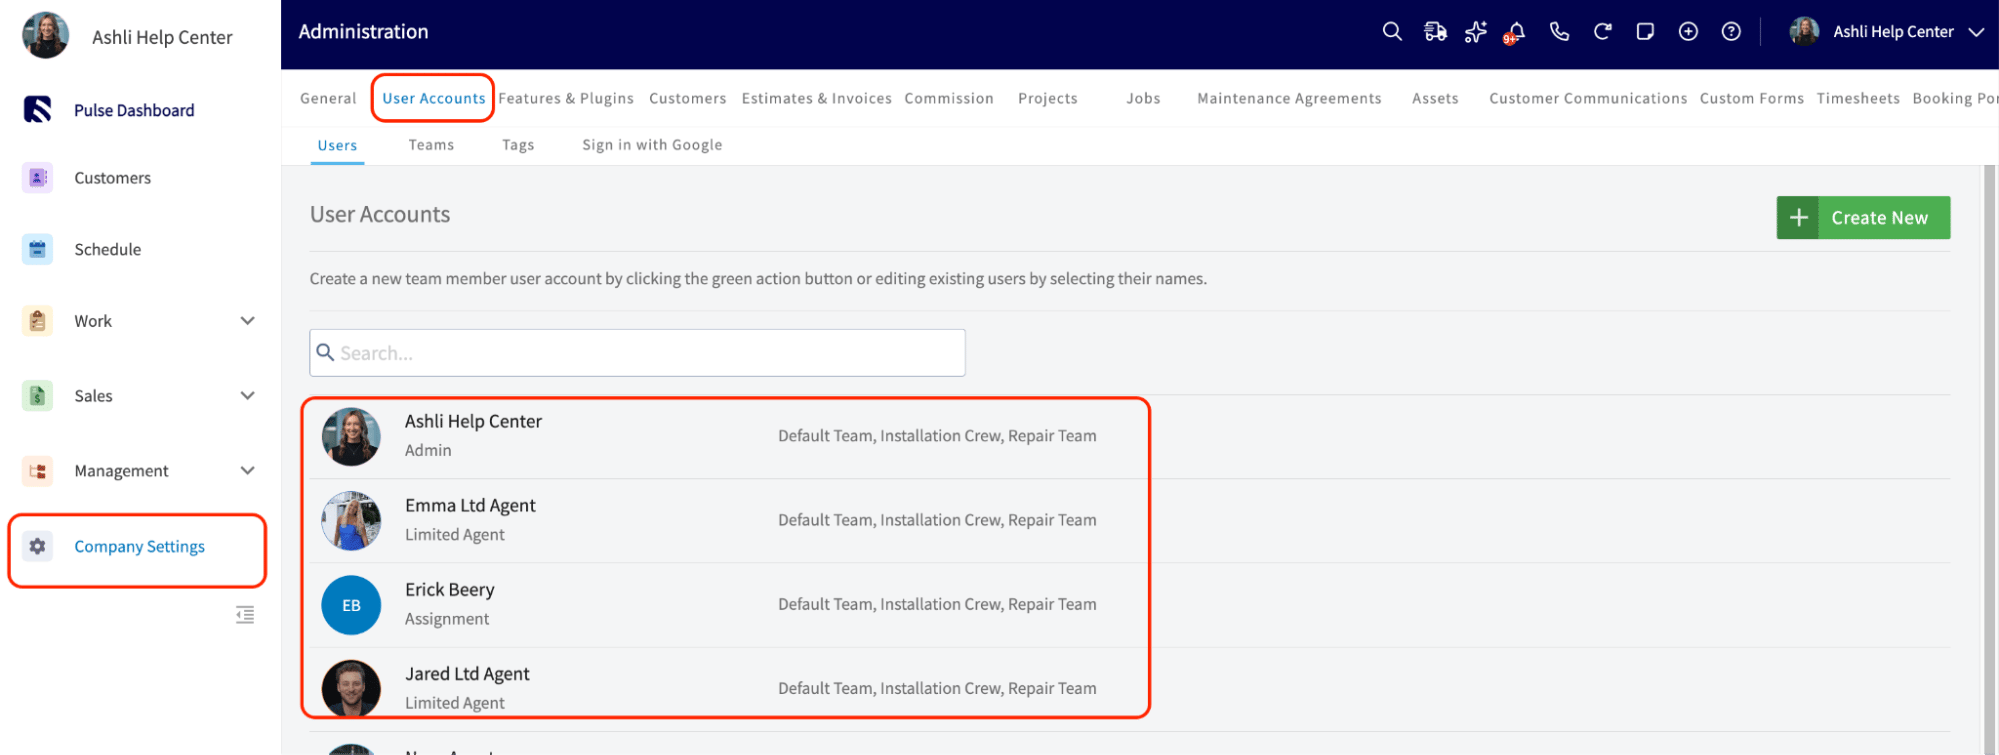
Not Seeing the Admin Role? Don’t see an Admin option in the Role dropdown? Select Team Manager first — a new field called Assign as Company Admin will appear next to it. Toggle that on to make the user an Admin.
Set Your Pricing
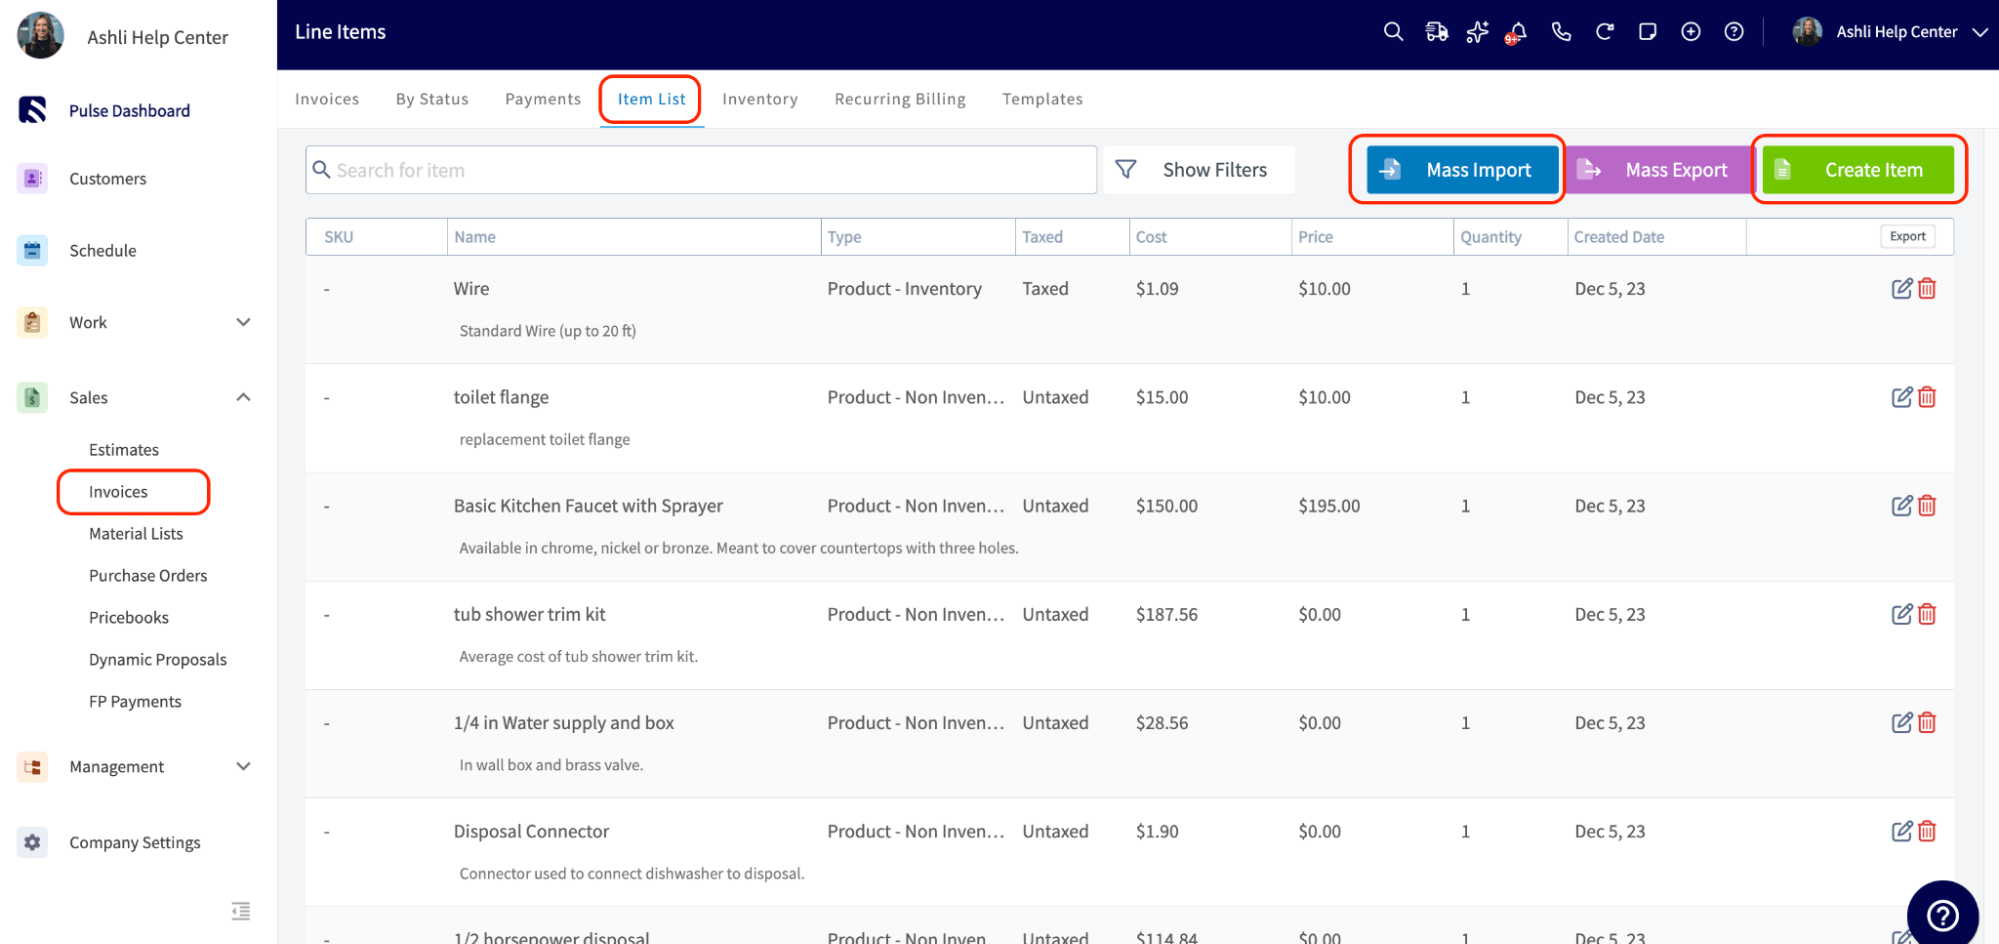
Every line item on an estimate or invoice comes from your Item List. Add yours one of three ways:- Manually — from Invoices > Item List > Create Item.
- Mass import — upload a spreadsheet of your services and products from Invoice > Item List > Mass Import.
- Accounting sync — connect QuickBooks and let your items sync over automatically. To connect to QuickBooks, reach out to FieldPulse support.
Connect Payments & Accounting
- Get paid faster: Enable FieldPulse Payments to collect card or ACH payments directly on an invoice, in person or by sending a payment link. Go to Company Settings > Features & Plugins > Enable FieldPulse Payments.
- Keep your books in sync: Connect QuickBooks Online, QuickBooks Desktop, or Xero so invoices, payments, and customers stay in sync without double entry. Reach out to our support team to get connected.
Add Customers & Book Your First Job
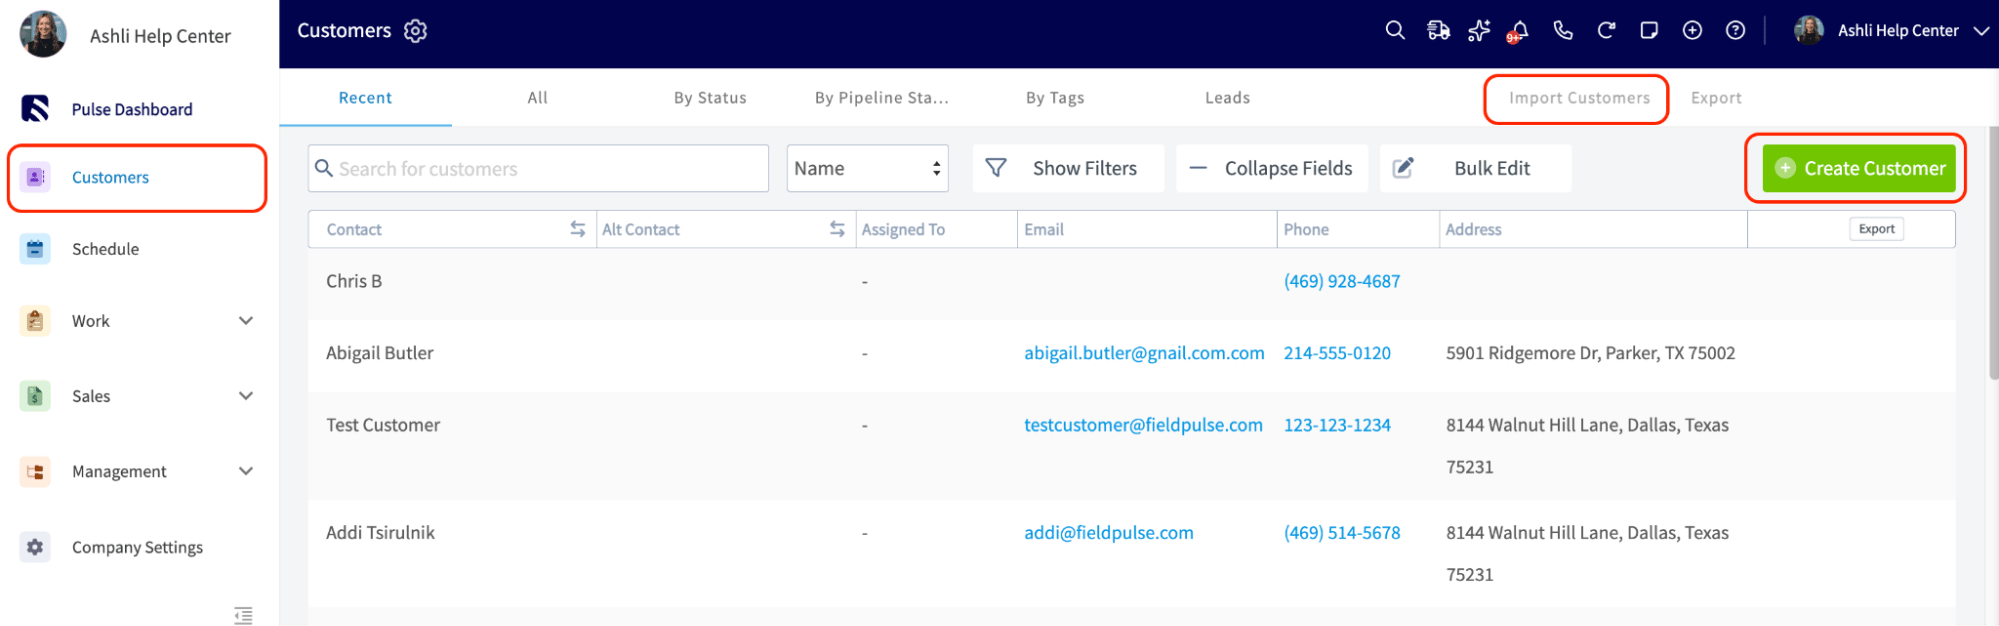
Add your customers one of three ways:- Manually — from Customers > Create Customer.
- Mass import — upload a spreadsheet of your Customers from Customers > Mass Import.
- Accounting sync — connect QuickBooks and let your Customers sync over automatically.
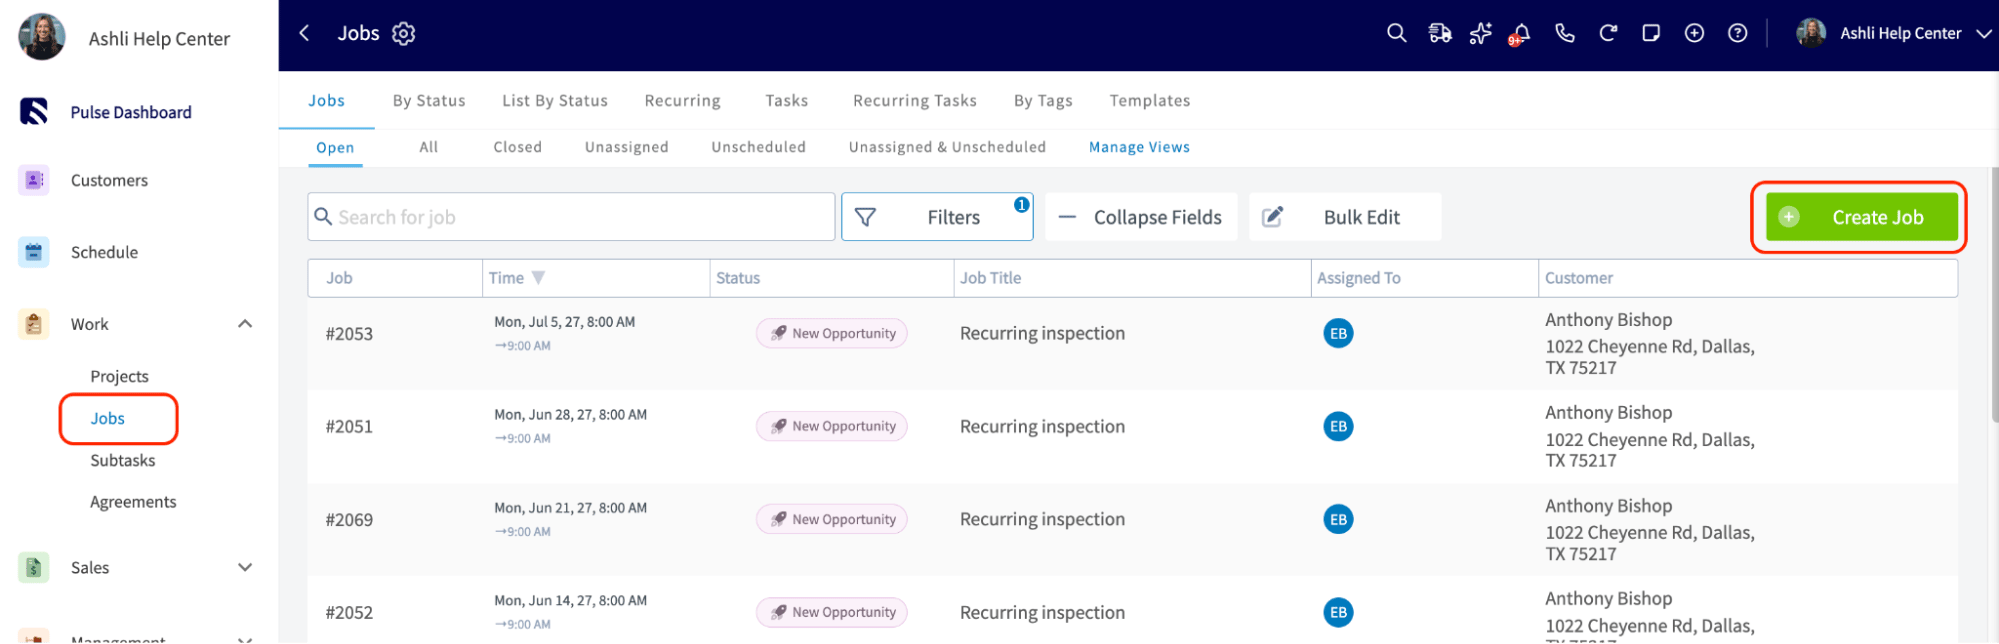
- Go to Jobs > Create Job and select or create the customer.
- Add a title, notes, and any relevant tags.
- Assign a user or team, then use Find Availability to see open slots across your team before picking a time.
- Save it — the job now shows up on the Schedule and the assigned technician’s calendar.
Bill It and Get Paid
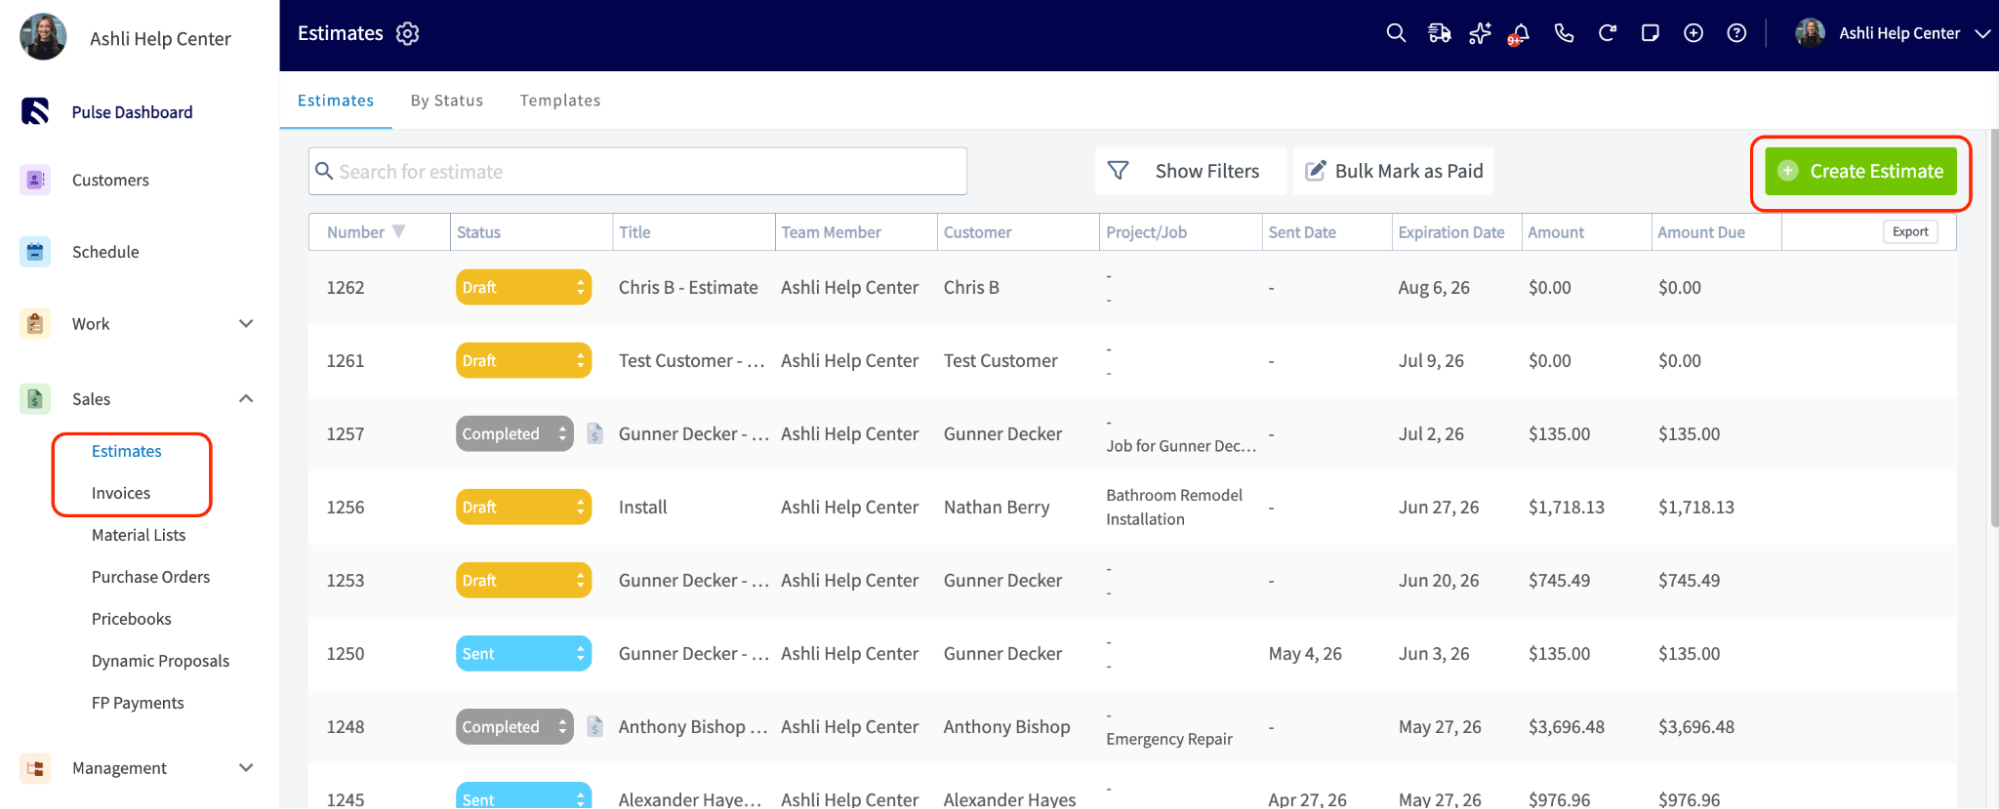
Once the work is done, create an Estimate or Invoice from the Customer record, the Job record, or the Estimates/Invoices tab. They all lead to the same record. Add your line items from the Item List, then:- Send an estimate first if the customer needs to approve pricing. Once accepted, convert it straight to an invoice.
- Finalize the invoice when you’re ready to bill, then collect payment via card/ACH (if using FieldPulse Payments), a payment request link, or by marking a cash/check payment manually. The invoice status updates to Paid automatically.
What’s Next
Once the basics are running, level up by using FieldPulse’s Reporting feature and keep learning through FieldPulse360, our live monthly training series.Reporting
See your dashboard, custom reports, and raw data exports.
FieldPulse360 Training
Join a live session or browse past recordings.
Migrating from another platform? Check our migration guides for step-by-step mapping from ServiceTitan, Jobber, Housecall Pro, FieldEdge, and Service Fusion.
Have additional questions? Contact us at support@fieldpulse.com or use the chat feature in the bottom right corner of your screen.