Who uses this: Admins configure ClearPath; technicians follow it in the field. Availability: Included with your FieldPulse subscription at no extra cost.FieldPulse is flexible, and that flexibility can leave a tech staring at the app wondering what to do next. That gap between the office’s plan and the tech’s next tap is a workflow breakdown — and it’s where jobs stall. ClearPath closes it by turning your Custom Status Workflows into guided, step-by-step instructions your team follows on one screen.
Overview
ClearPath lets you decide exactly what a technician sees and can do at each step of a job. You set the instructions, the buttons, and the on-screen details for every status, so the tech doesn’t hunt through the app to find the next move — and essential tasks like filling out forms, sending reminders, and documenting proof of work with photos stop slipping through the cracks. Setting it up pays off three ways:- Faster jobs. Everything the tech needs sits on one screen, so technicians complete jobs more quickly.
- Consistent service. Every technician you assign delivers the same standard of service — and that consistency shows in your customers’ experience.
- Easier onboarding. New techs follow the guardrails instead of learning the whole platform on day one.
Video walkthrough
Video walkthrough: ClearPath overview and Status Action Flow configuration
How it works
ClearPath is built from a few parts that stack together: a Custom Status Workflow is the blueprint, Status Action Flows add the steps, and Status Instructions, Action Buttons, and Widgets fill in what the tech reads, taps, and sees at each status. Focus View is the screen your technicians work from.Custom Status Workflows
A Custom Status Workflow defines the high-level statuses common to one type of work you perform — an installation, for example. The workflow is the foundational blueprint: Status Action Flows build on it to spell out the exact actions and instructions for each status. Create an individual workflow for each type of service your business offers. If you’re new to workflows or want to improve an existing one, start with Workflow Design Overview, and borrow from the workflow blueprints for three common structures businesses use.
Status Action Flows
A Status Action Flow guides technicians through each status with clear, tailored actions specific to the job or service — as simple or as complex as you need. If your business offers several installation services, such as water heater, sewer line, and faucet installations, create a separate Status Action Flow for each one: every flow uses the same Installation workflow as its blueprint, while carrying the forms, safety measures, and details that apply to that particular service. To build one, see Setting Up ClearPath Status Action Flows.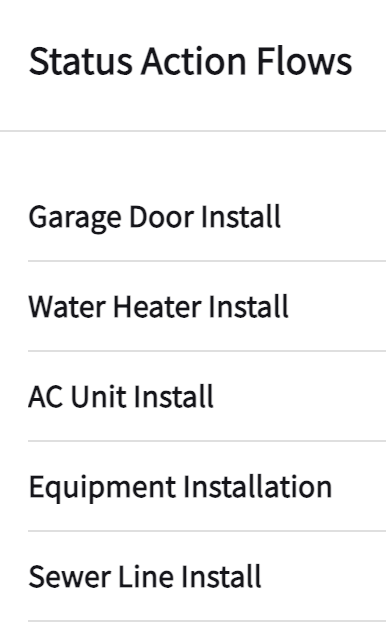
Status Instructions
Status Instructions are the written directions for a status — they outline exactly what you want your team to do during that step of the workflow, so every tech knows what’s expected.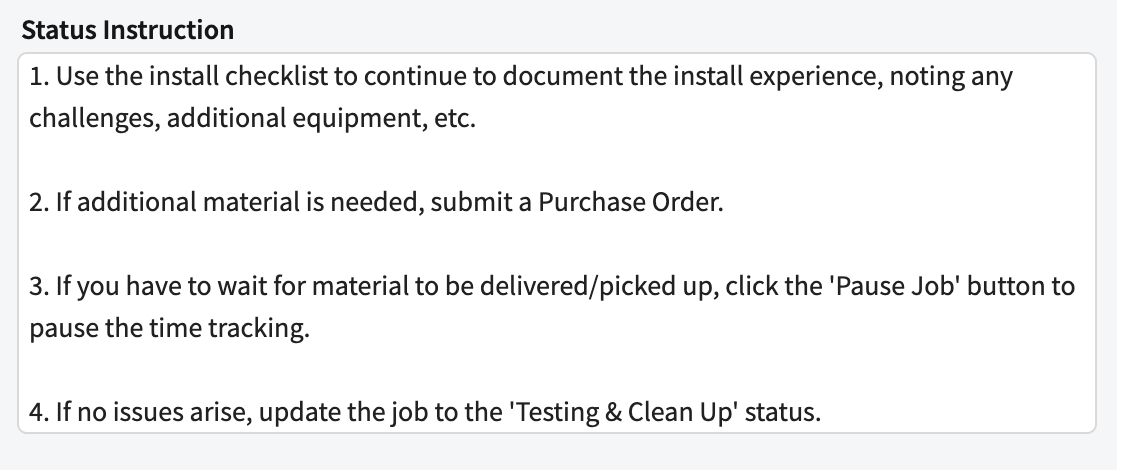
Action Buttons
Action Buttons are quick-tap buttons that let a technician complete a task without navigating through multiple screens. Add 0 to 10 custom-labeled buttons per status, drawn from 27 unique actions. Label each button in words your team uses — “Complete Install Checklist” instead of “Fill out Custom Form.”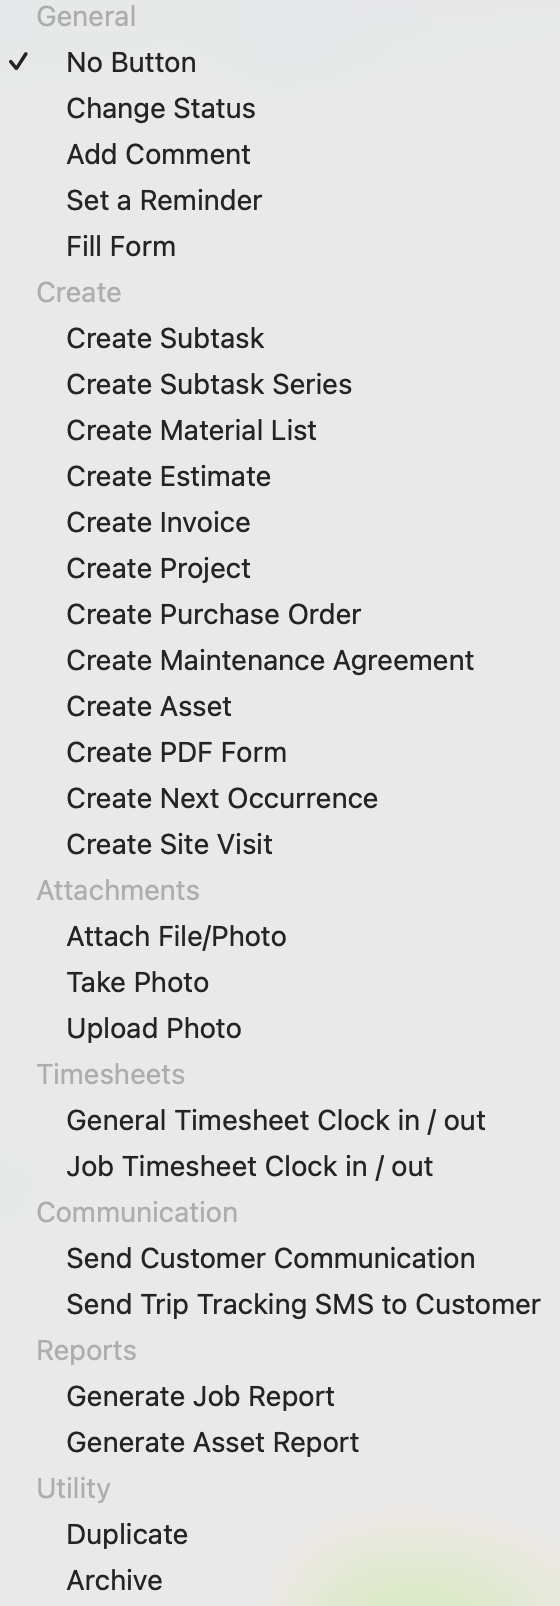
Focus View
Focus View is the customizable, mobile-first screen your technicians work from. Customize it to show only the information relevant to each status of each job — guardrails that keep every job at your standard of service, every time. For what a technician sees and does on a job, see How to Use ClearPath in the Field (Focus View).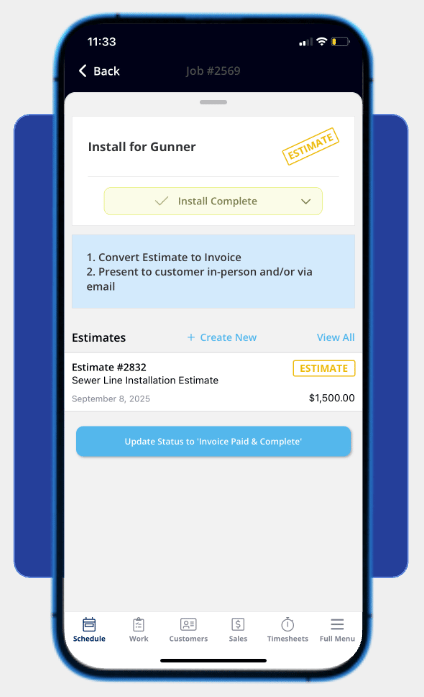
Video walkthrough: ClearPath mobile view setup tips and tricks
Widgets
Widgets display job details in an easy-to-read format, and unlike Action Buttons, widgets appear only on the Focus View screen. Up to 32 unique widgets are available, and you add, remove, and reorder them so your techs see everything they need and nothing they don’t. The ClearPath Widget Details lists every option.Action Buttons, Status Instructions, and Focus View can be used independently or in tandem with one another.
Adding a Status Action Flow to a job
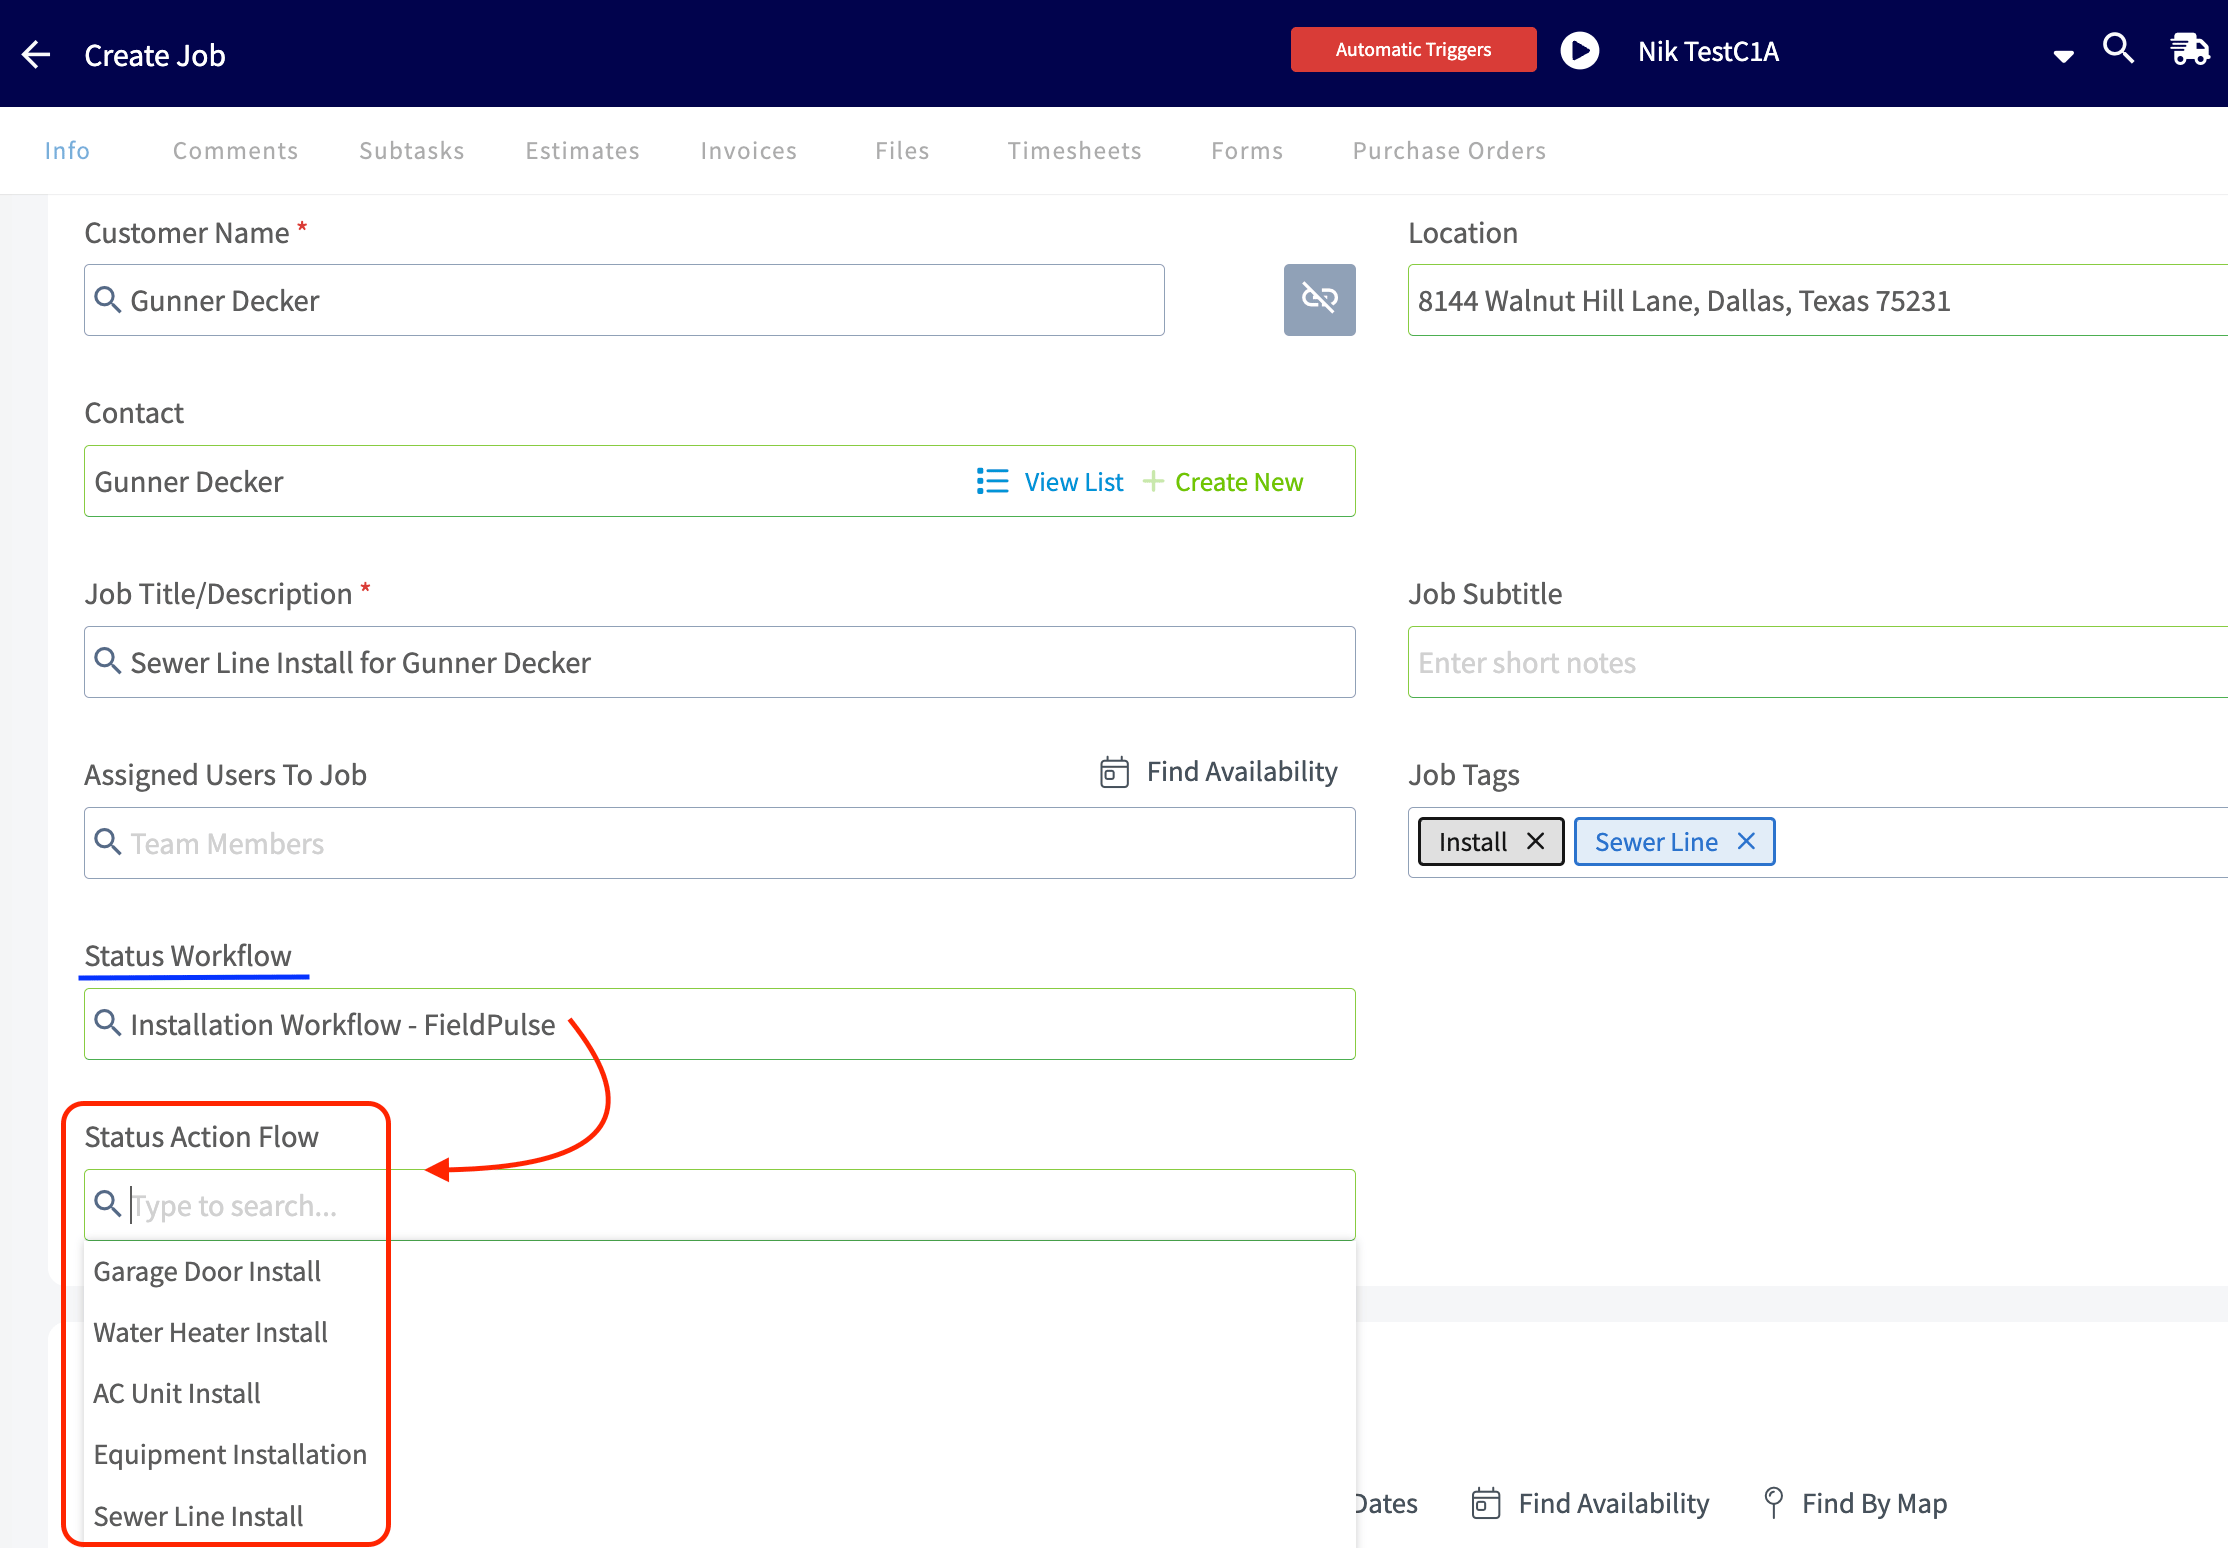
Once your Status Action Flows are configured, add them to job records and job templates. When you create a job or job template, select the Status Workflow first — the Status Action Flow field then appears, where you choose the flow that will guide your team through the job.Only the Status Action Flows associated with the Custom Status Workflow you selected are available in the dropdown menu for you to choose from.