
Who uses this: You create custom fields in the Custom Fields tab of Company Settings, and each field’s Field Visibility by Role setting controls whether Managers, Service Agent, or both see it. Availability: All regions.A customer custom field is a field you build yourself so your customer records can hold data the standard record does not already capture. You create each field once in Company Settings, choose the type of data it accepts, and decide who can see it — your team, and optionally your customers and suppliers.
Overview
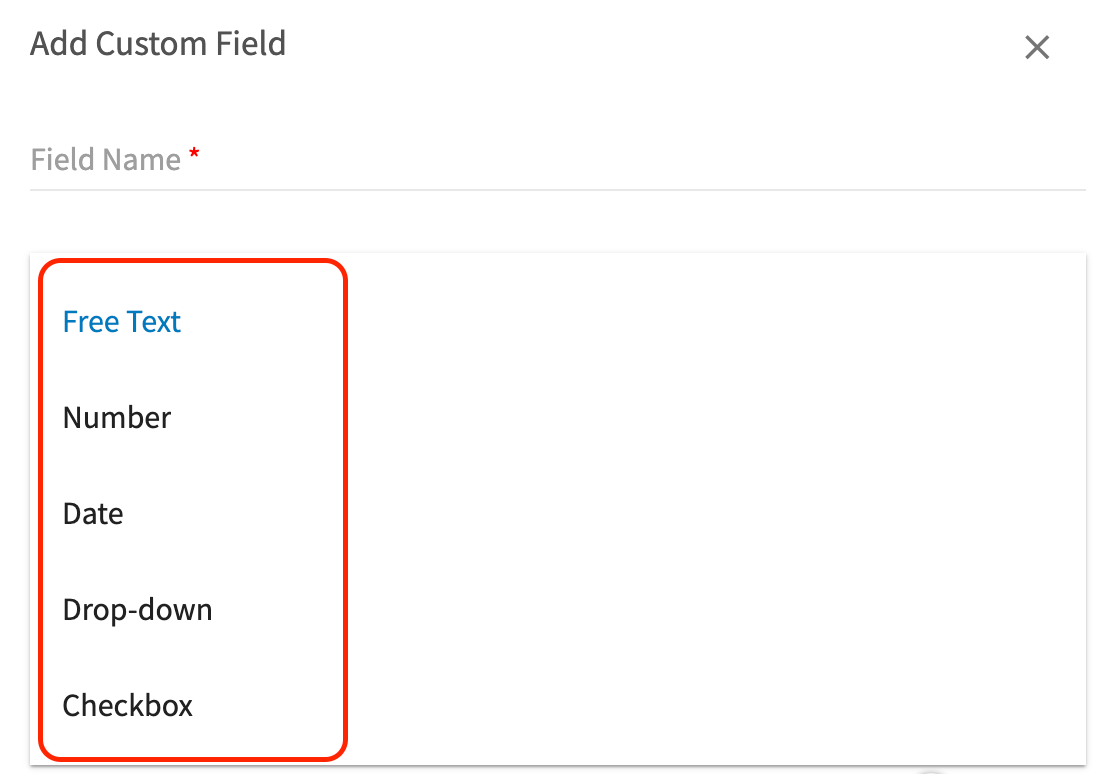
Custom fields let you store and display any data you want on your customer records. Common examples are a serial number, a filter size, a model number, or a lead source. You define each custom field once, and each field carries four decisions:- Type — the kind of data the field accepts, from free text through to a drop-down list of options you define.
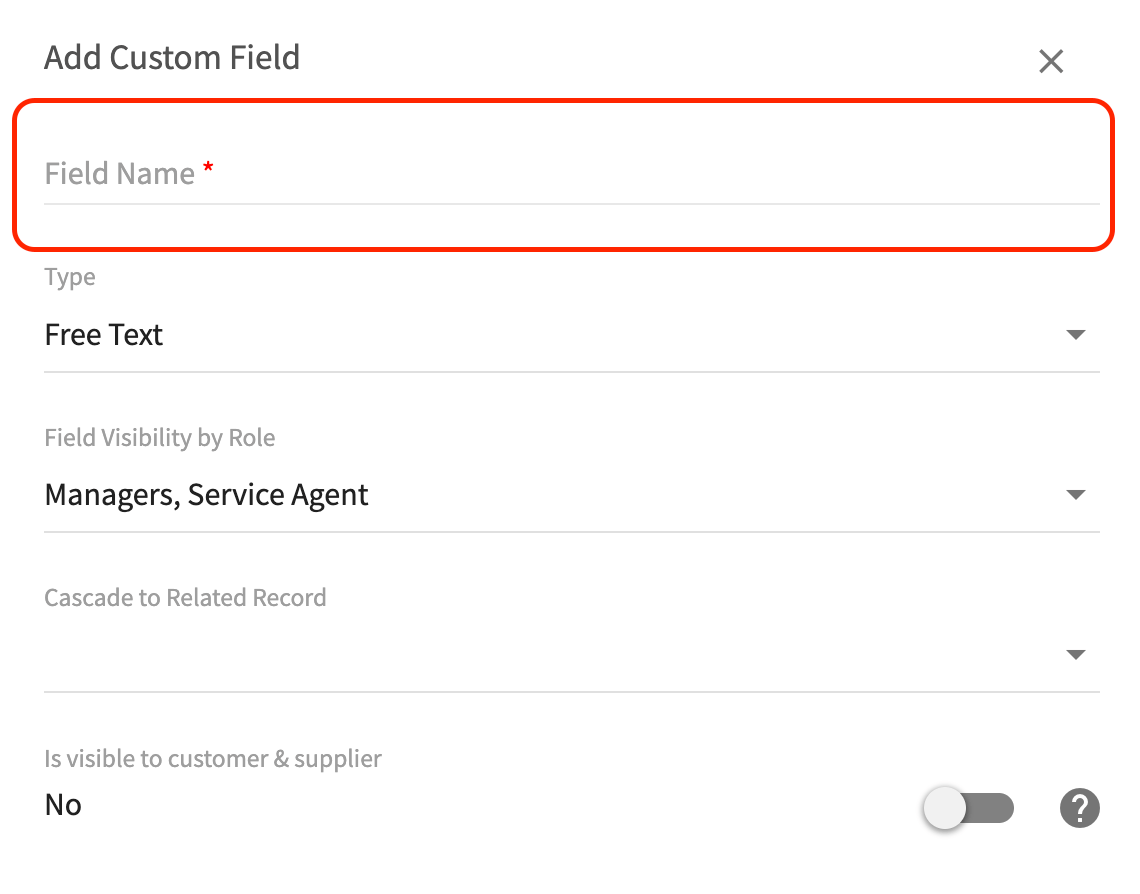
- Field Visibility by Role — which team members see the field on the customer record.
- Cascade to Related Record — the other FieldPulse records the field’s data is carried onto.
- Is visible to customer & supplier — whether external parties see the field on the documents they receive.
Video walkthrough
Video walkthrough: creating custom fields on customer records
Before you begin
- Decide which roles should see the field — Managers, Service Agent, or both. Every custom field carries its own role visibility.
- Decide whether the field’s data should cascade onto related records such as jobs, estimates, and invoices.
- Decide whether customers and suppliers should see the field on the PDFs and reports they receive.
- For a Drop-down field, write out the options you want and pick which one is the default before you start.
Step-by-step setup
Create the custom field
-
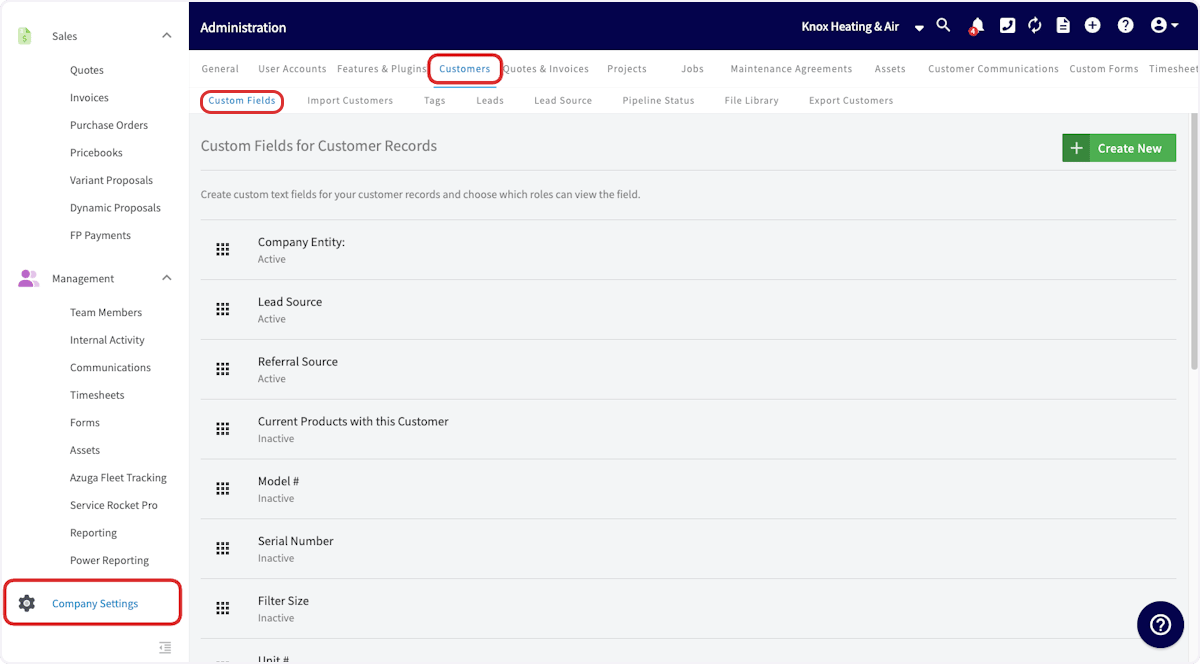
Go to Company Settings, select the Customers tab, then open the Custom Fields sub-tab.
-
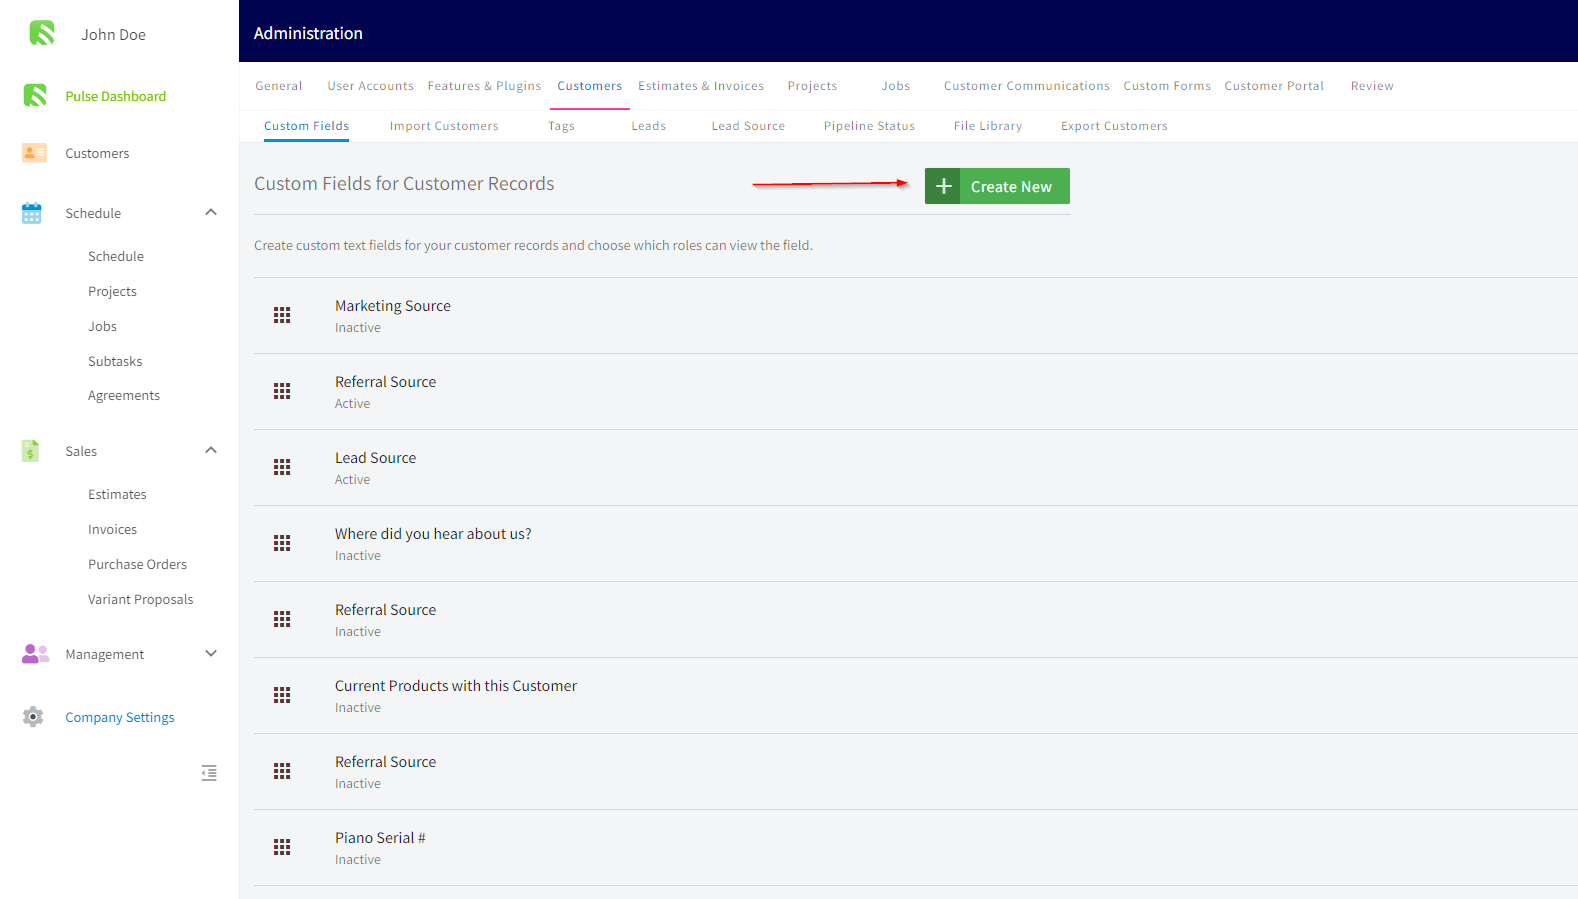
Select Create New.
-
In the Add Custom Field window, enter the Field Name.
-
Open the Type dropdown and choose the kind of data the field holds.
-
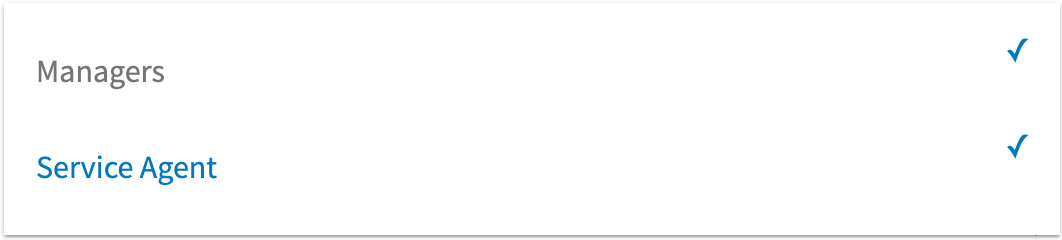
Open Field Visibility by Role and check Managers, Service Agent, or both.
-
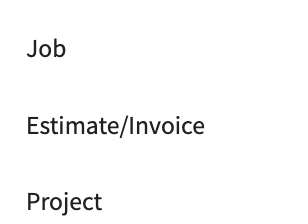
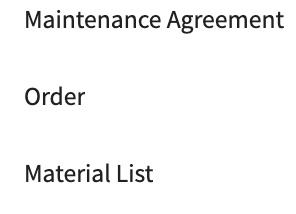
Open Cascade to Related Record and select the records the field’s data should also appear on.
- Set the Is visible to customer & supplier toggle on or off.
- Save the custom field.
Add options to a Drop-down field
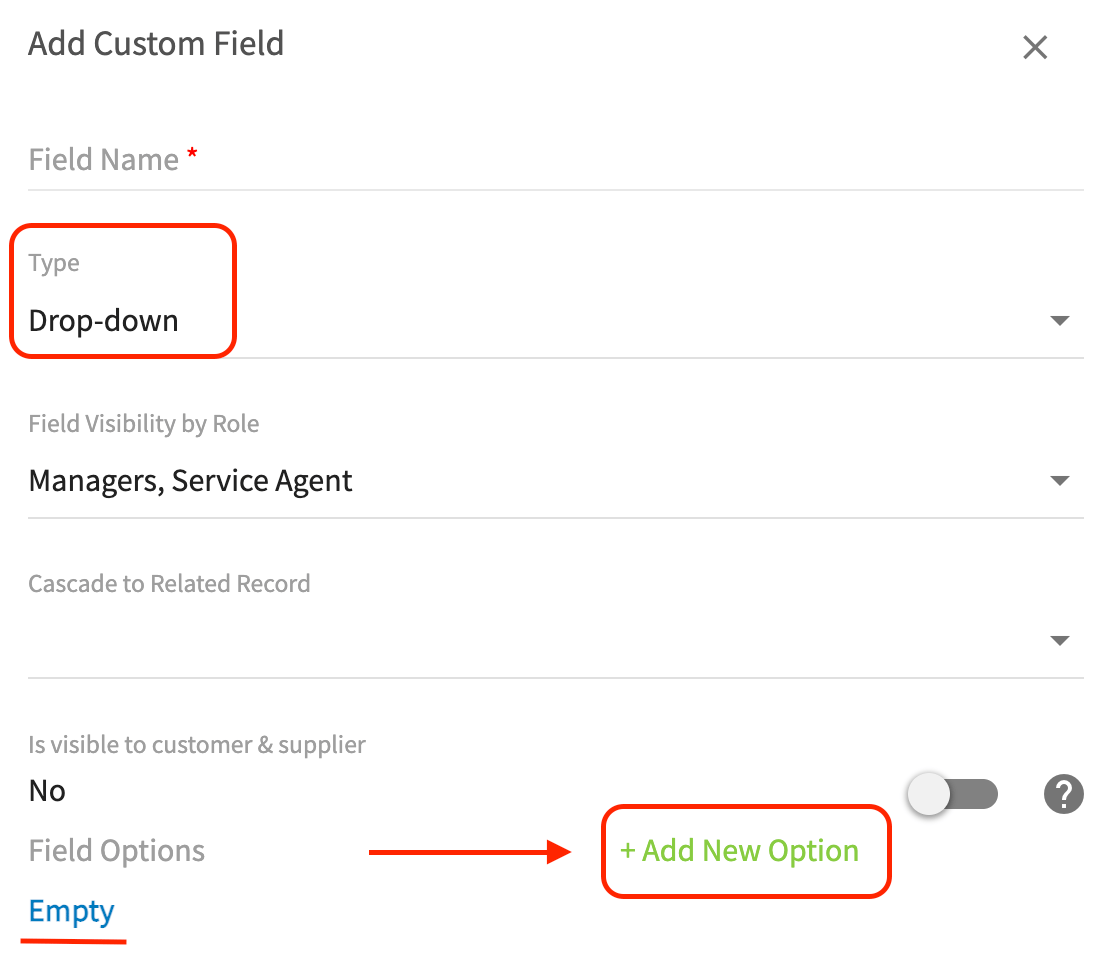
Choosing Drop-down as the Type adds a Field Options section to the bottom of the Add Custom Field window.-
Select + Add New Option.
-
Give the option a name, then select the save icon next to it.
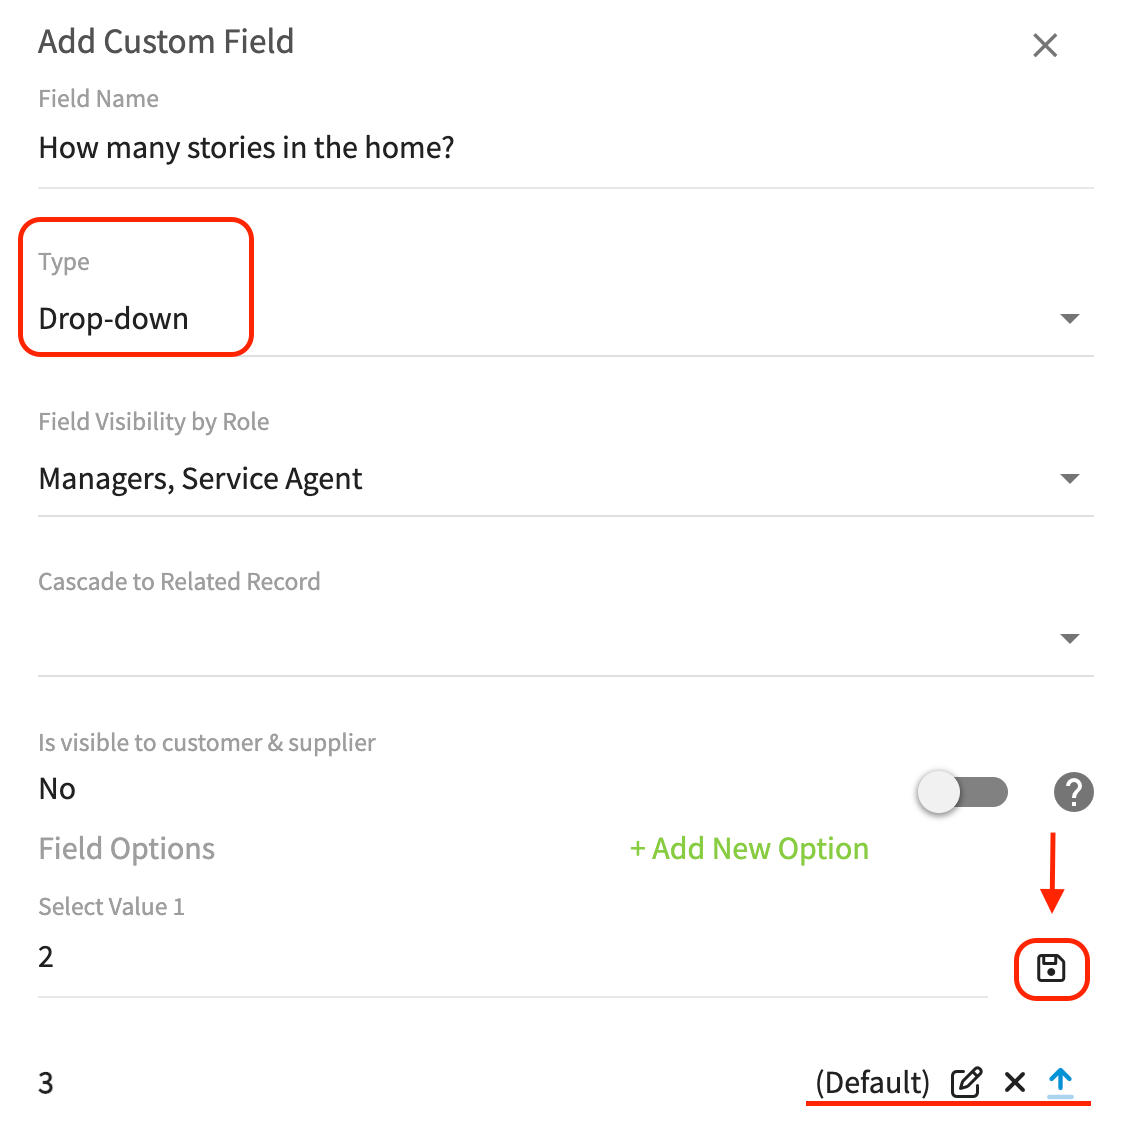
- Repeat for each option you want in the list.
- Choose which option is the Default. The default option appears in blue text and shows on the customer record until a user with permission edits it.
Where custom fields appear on customer records
Custom fields appear under the Additional Fields section when your team creates or edits a customer record, and each field uses the input control for its type — a text box, a number box, a date picker with a calendar icon, a toggle, or a drop-down list.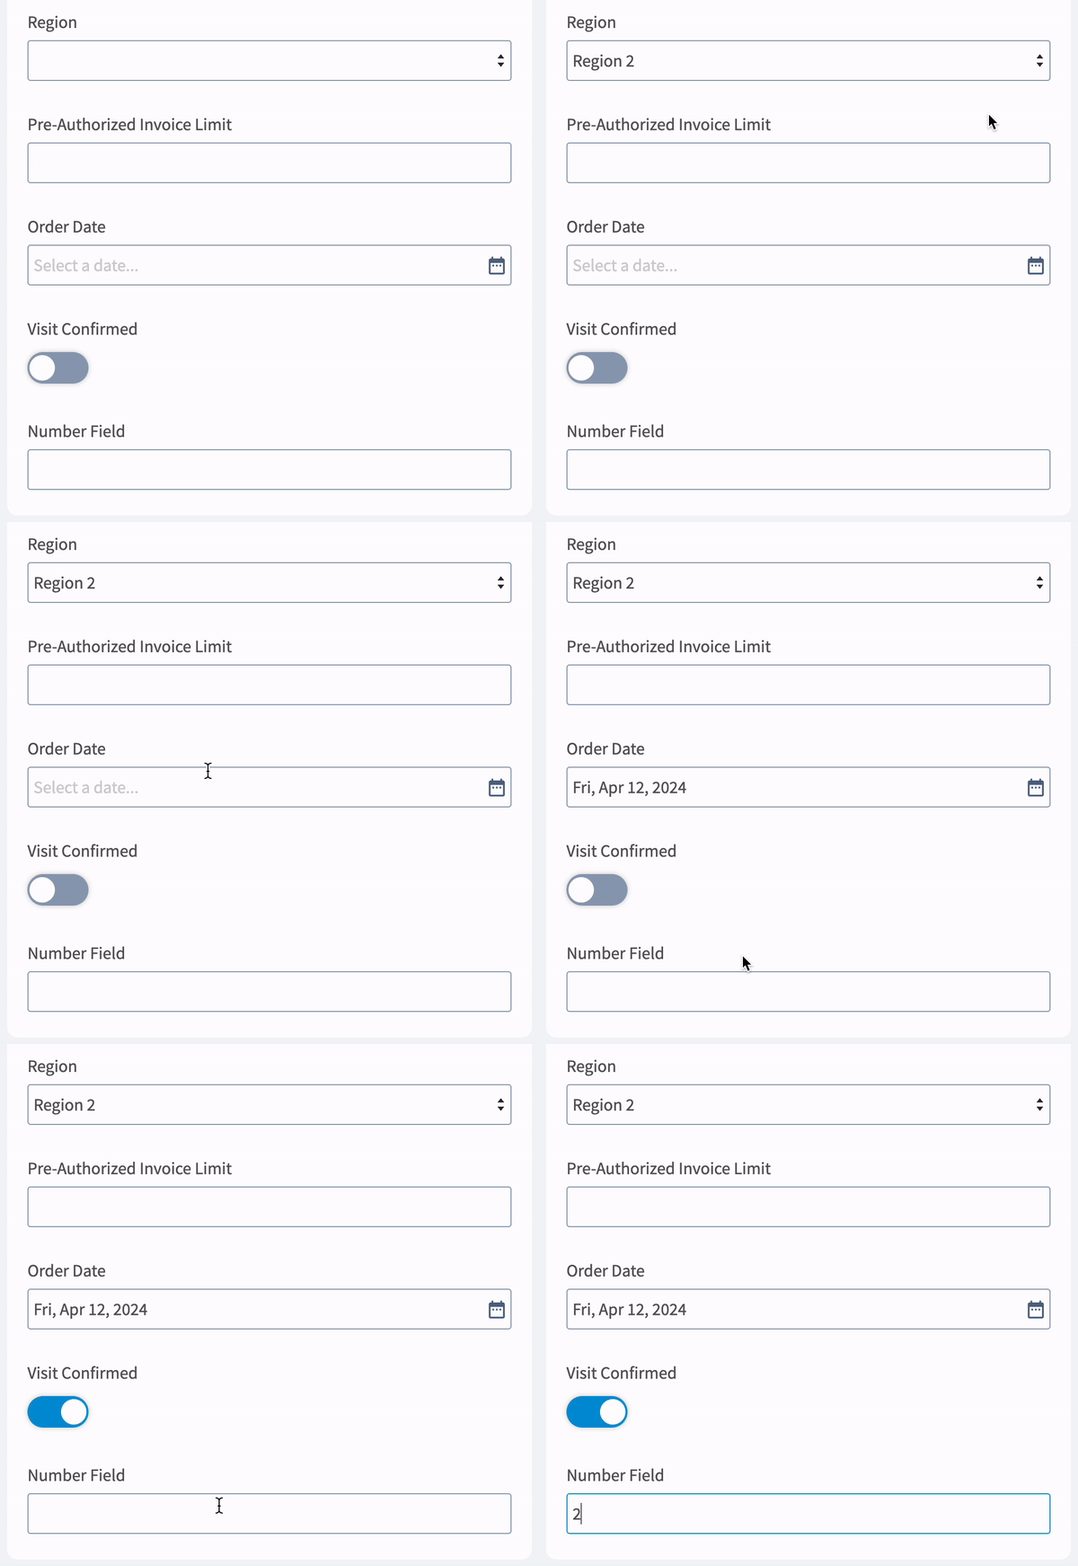
Mobile apps need a full re-sync before a newly created custom field appears, which sometimes means logging out and logging back in.