Who uses this: Anyone who creates or edits customer records in FieldPulse. Availability: All regions.A multi-location, multi-contact customer is one customer record that holds several contacts and several service addresses. Keeping them on one record means every point of contact for that customer stays in one place, and the right person is attached to the right address.
Overview
You can add more than one contact and more than one service address to a single customer record. On that record you can also attach specific contacts to specific addresses, star one address as the customer’s Main Location, and mark one contact as the primary contact for an address. When a job uses one of those addresses, FieldPulse fills in the connected contact automatically. Additional contacts and additional locations are a different setup from How to Create Related Customers, which links separate customer records together as a parent customer and its related customers. With additional contacts and locations, everything stays on one customer record.Video walkthrough
This video walks through multi-location and multi-contact customer records in FieldPulse.Watch the multi-location & multi-contact walkthrough
Before you begin
- Open the customer record you want to work on — either create a new customer or open an existing one. See How to Create a Customer for how to start a new record.
- Enter the Primary Contact details and the Address on the customer record first. The Additional Contact and Additional Location options sit below those fields.
Add an additional contact
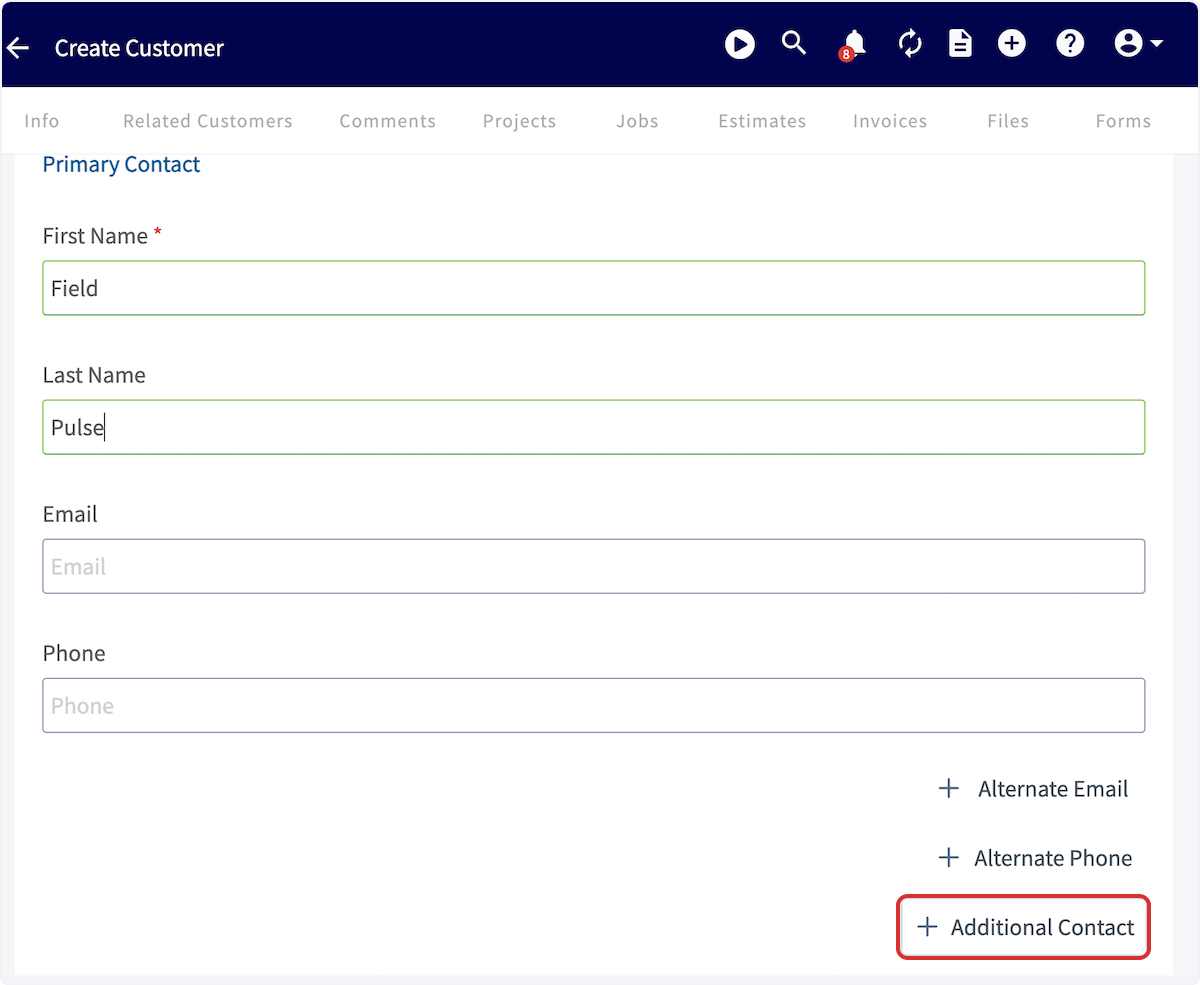
Add an additional contact when one customer has more than one person to reach.- Enter the Primary Contact details on the customer record.
-
Select Additional Contact.
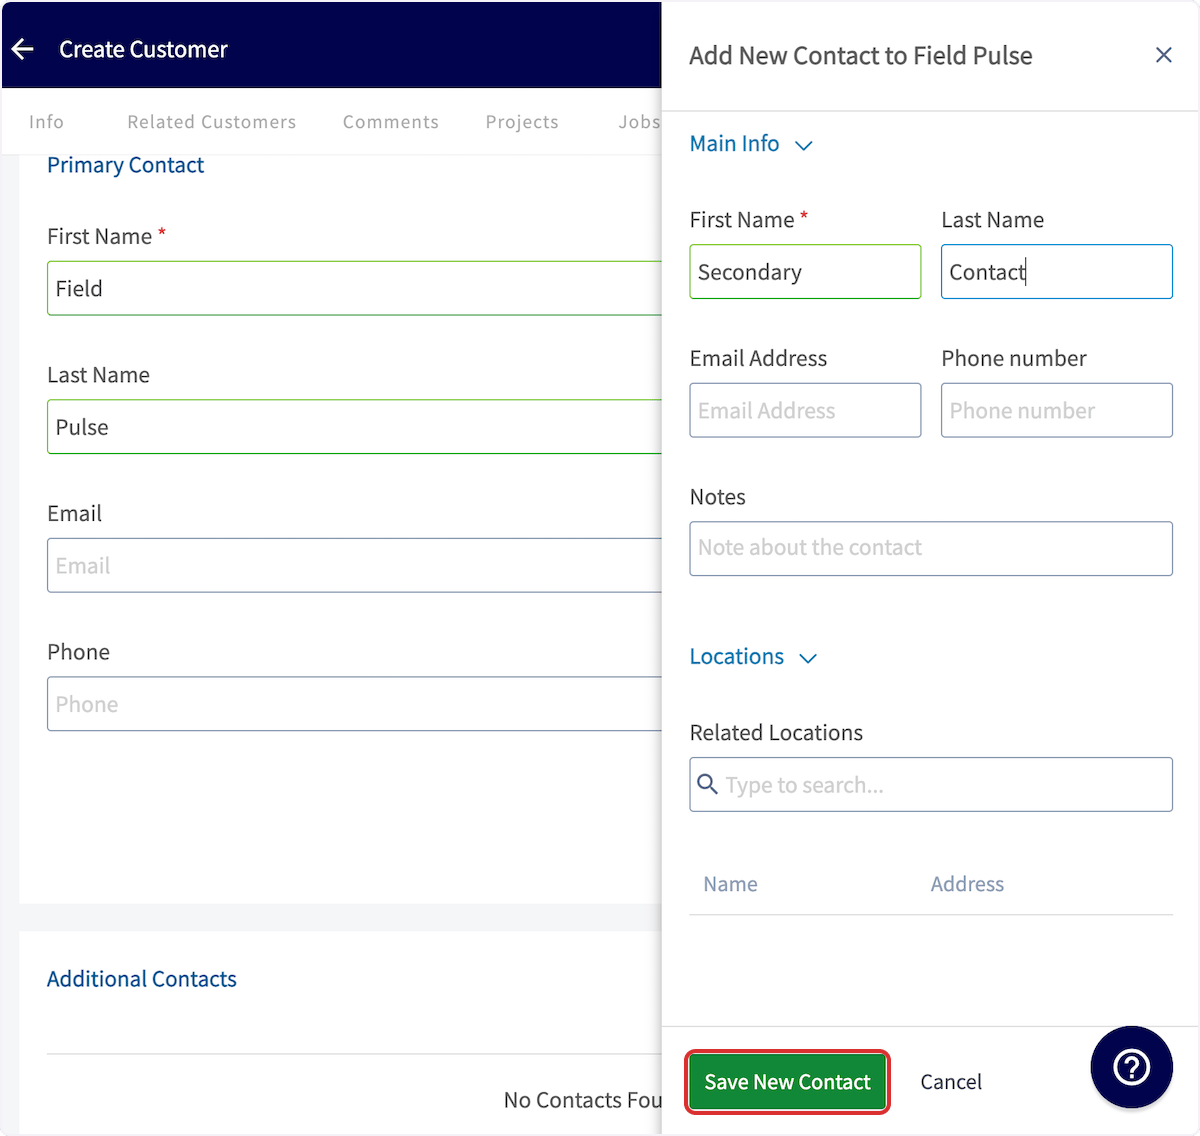
- Enter the new contact’s name, email address, phone number, and any notes in the Add New Contact panel.
- Select Save New Contact.
Add an additional location
Add an additional location when one customer has more than one service address.- Enter the primary Address on the customer record.
-
Select Additional Location.
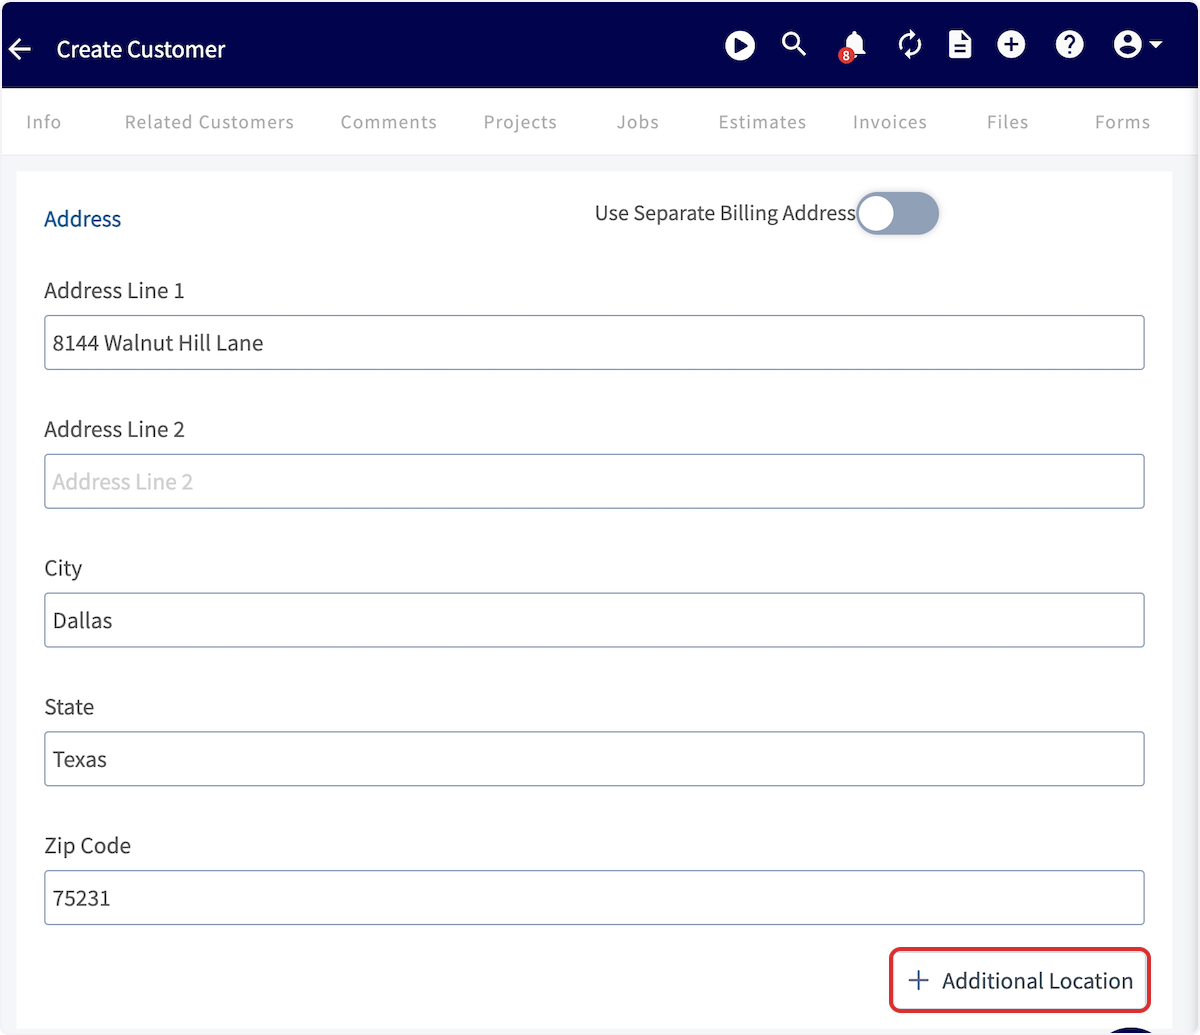
- Enter the address for the additional location and give it a Location Name.
- Select Save New Location.
Connect contacts to a location
The Related Contacts field attaches specific contacts to a location, so the right person is tied to the right address.-
On the location, search the Related Contacts field and select the contact you want to attach.
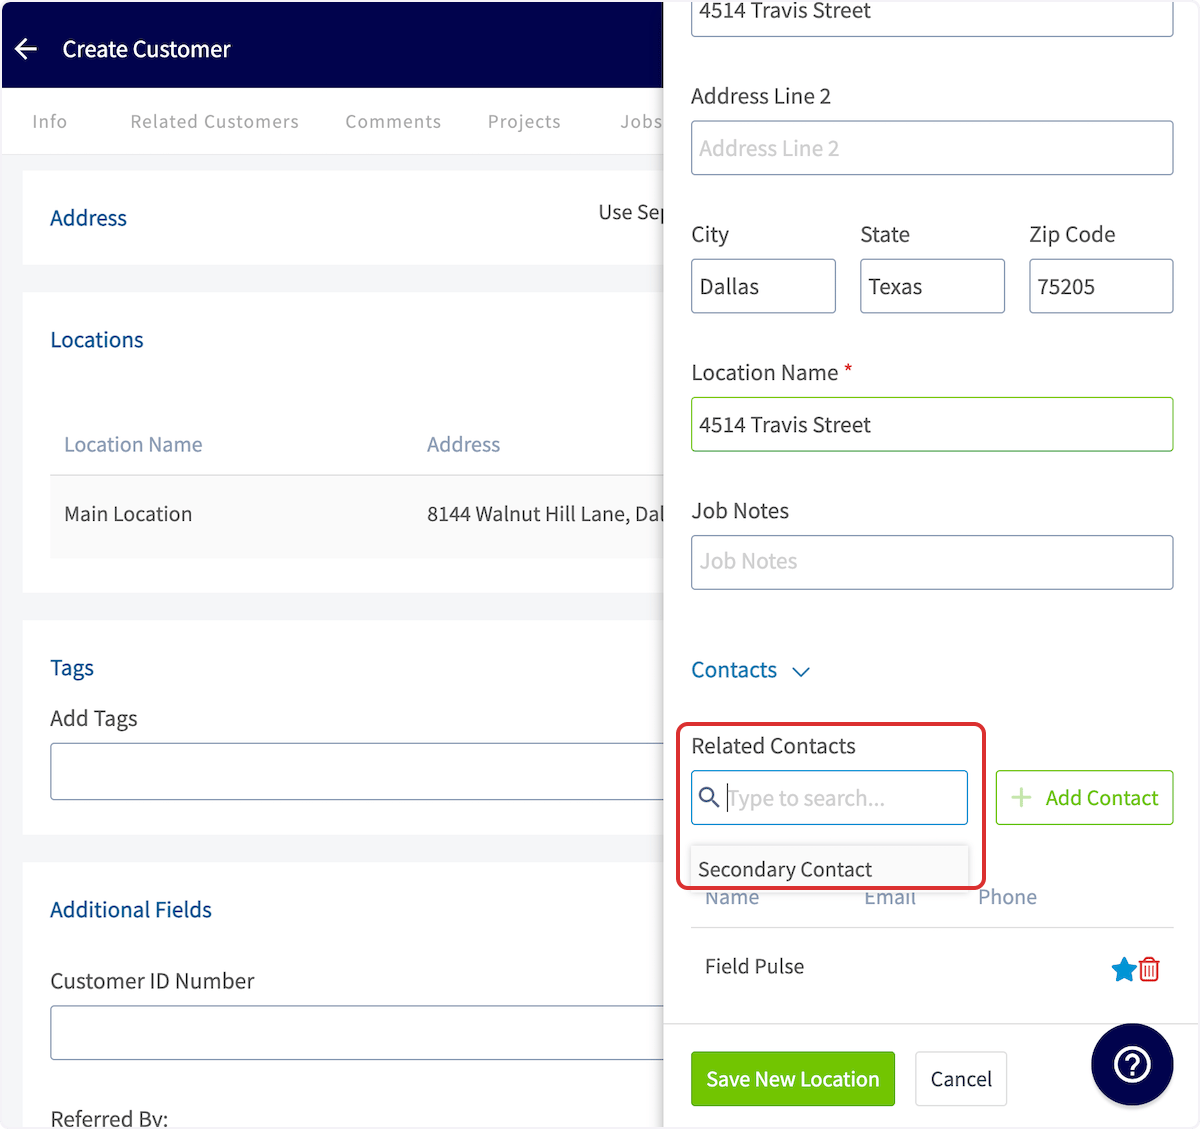
- Select the star icon beside a contact to make that contact the primary contact for this address.
- Select the trash icon beside a contact to remove that contact from this address.
- Select Save New Location.
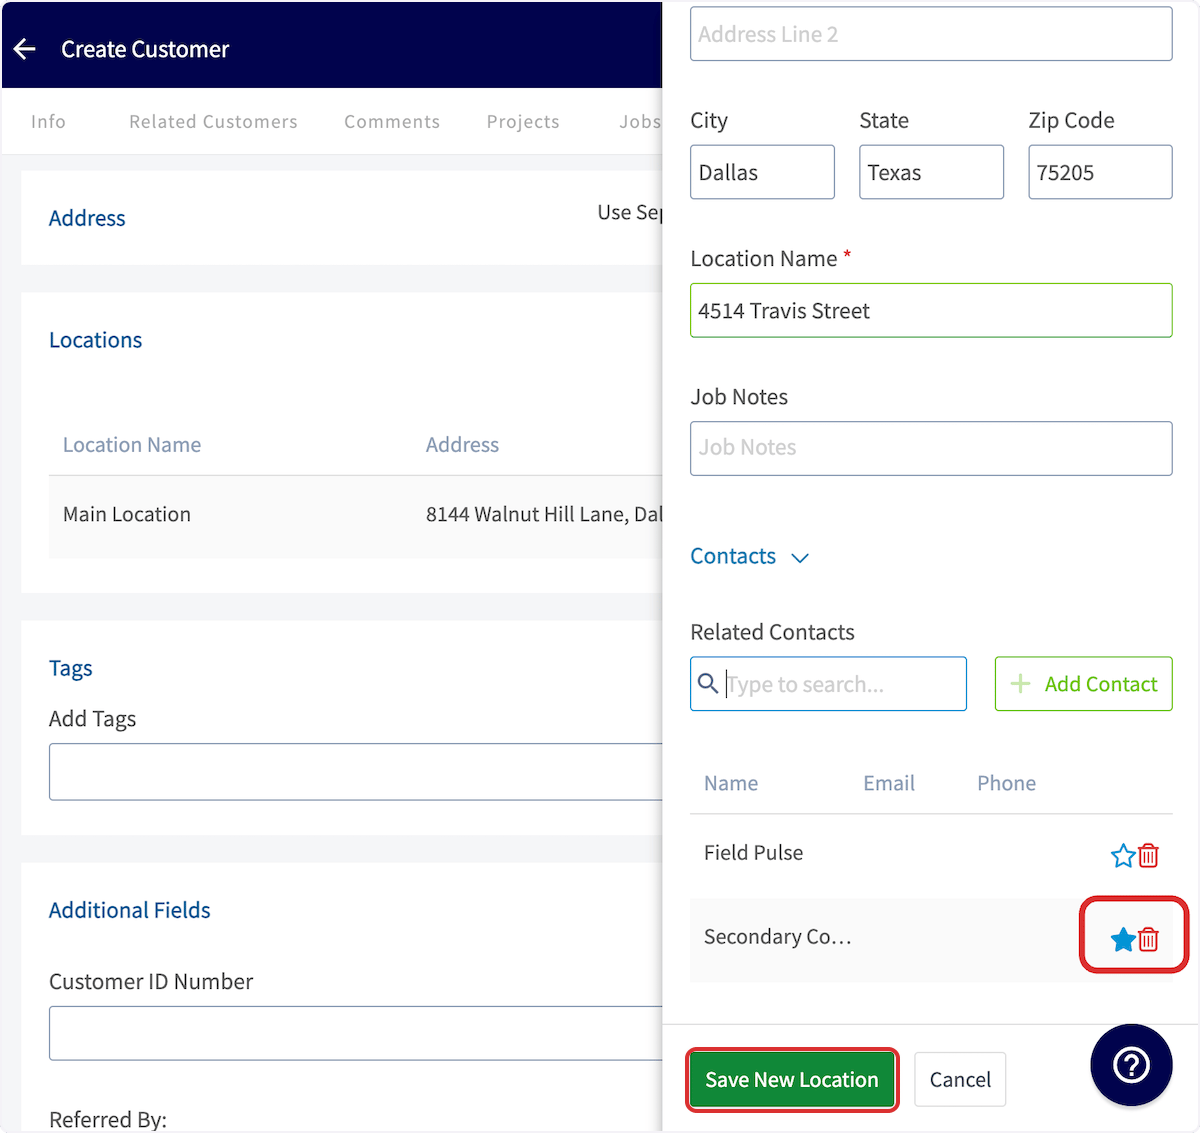
Set the main location
Starring a location sets it as that customer’s Main Location. Open the Locations section of the customer record in the web app or the mobile app and select the star icon beside the address you want as the main location. FieldPulse fills in the main location automatically on any Job, Project, Estimate, or Invoice record you create for that customer.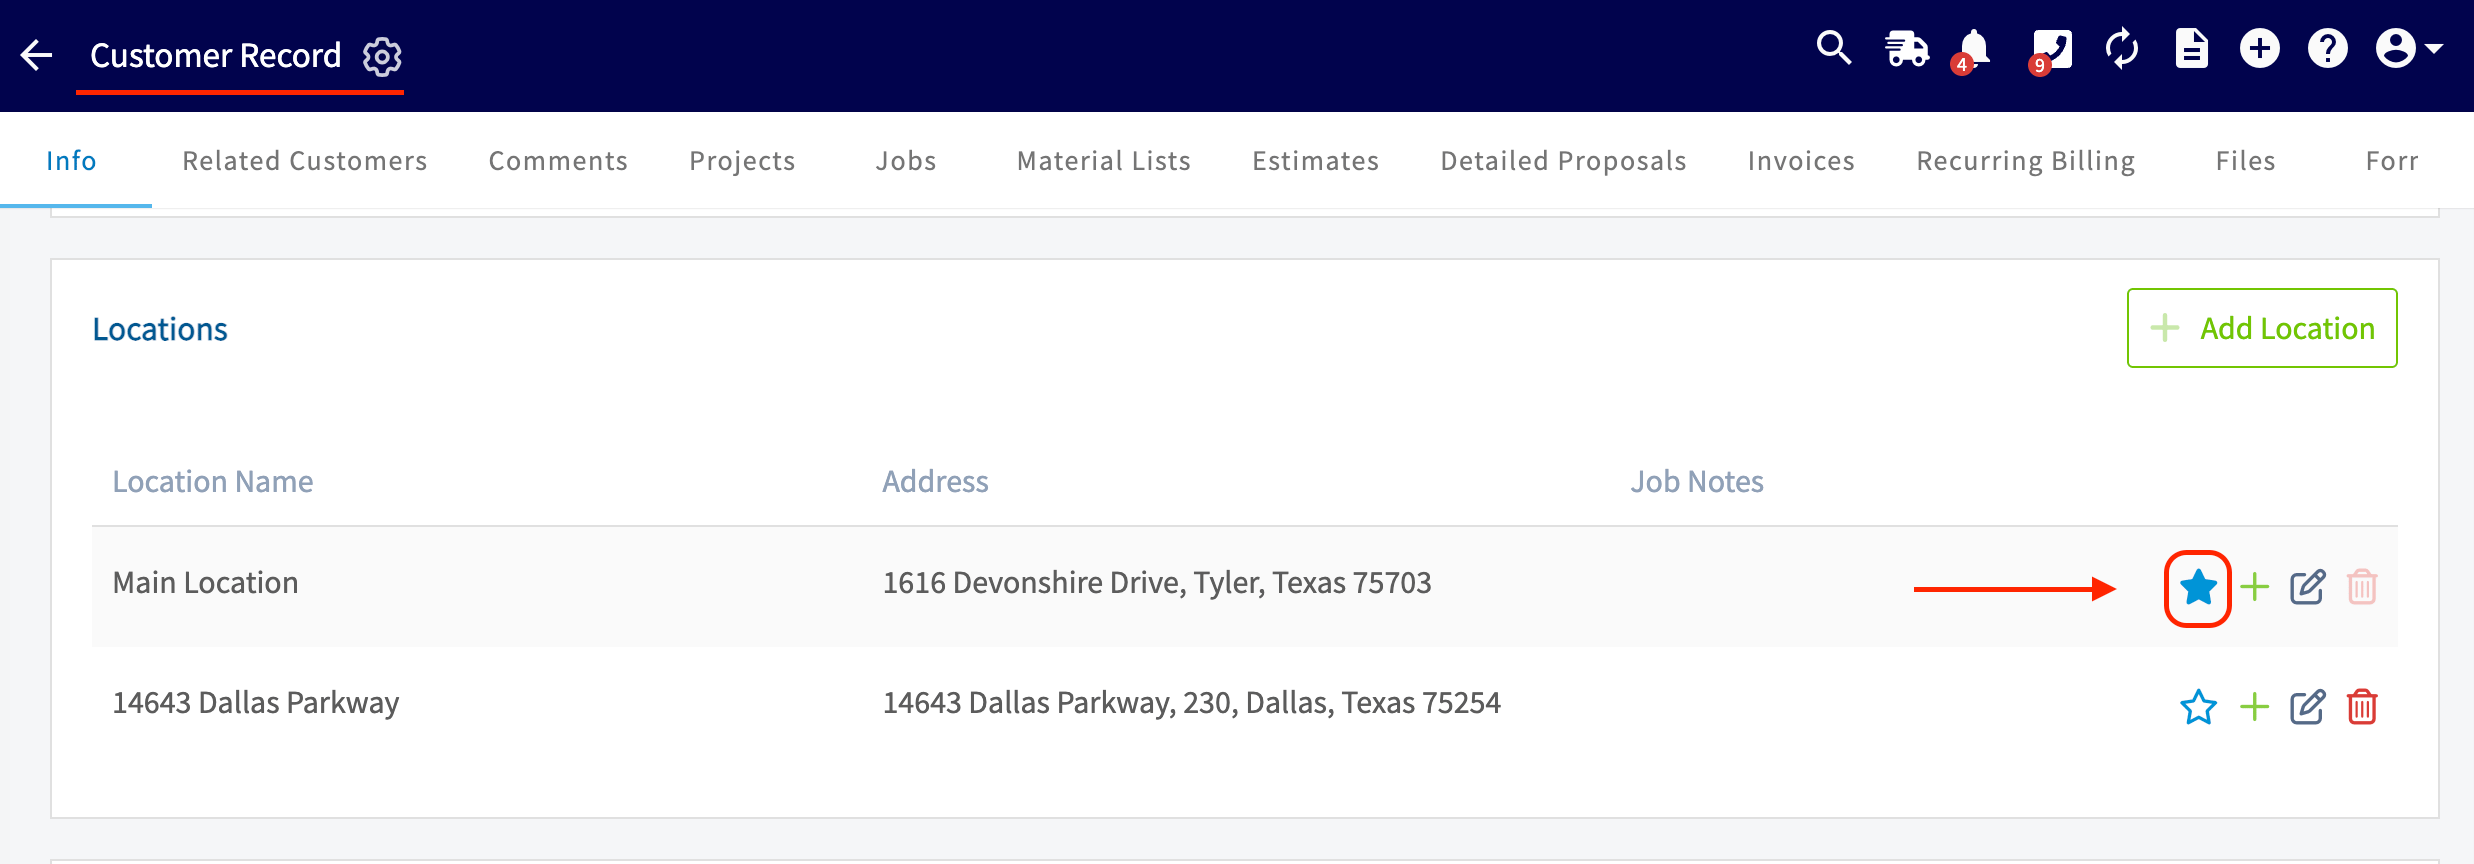
Import contacts and locations in bulk
Instead of adding contacts and locations one at a time, you can import them onto a customer record from a template.Import additional contacts
-
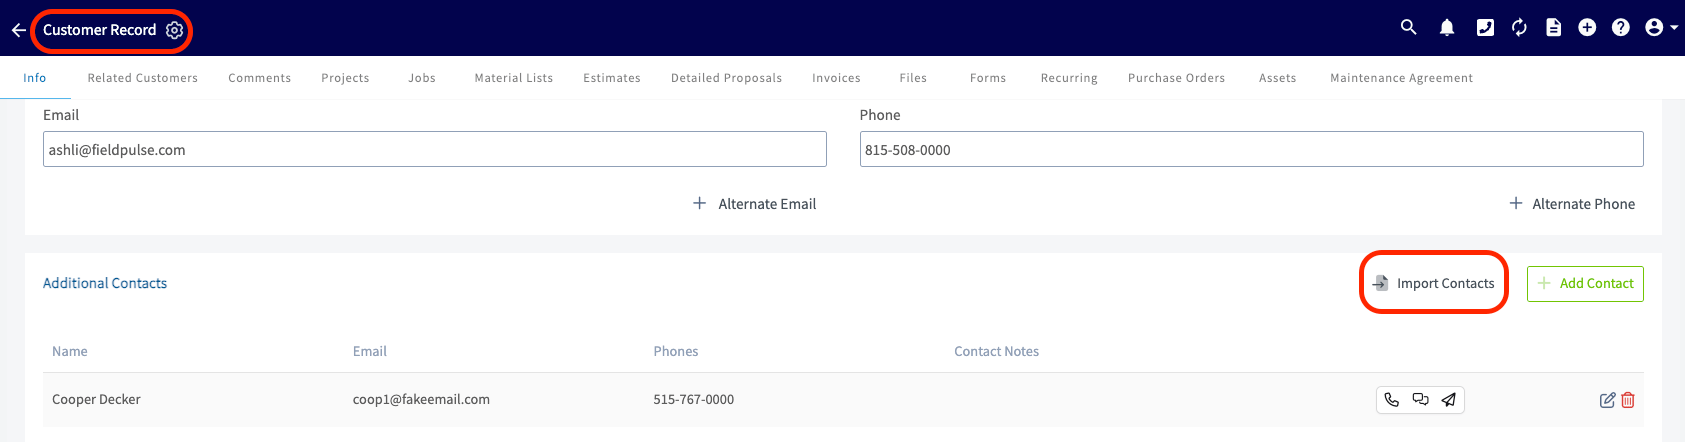
On the customer record, scroll to the Additional Contacts section and select Import Contacts.
-
In the Import Customer Contacts pop-up, select Download Template.

- Fill in the template without altering the structure of the form. If you don’t have Excel, fill the template in with Google Sheets — see How to Self-Import Data With Google Sheets.
- Select the blue Import button to upload the completed template.

Import additional locations
-
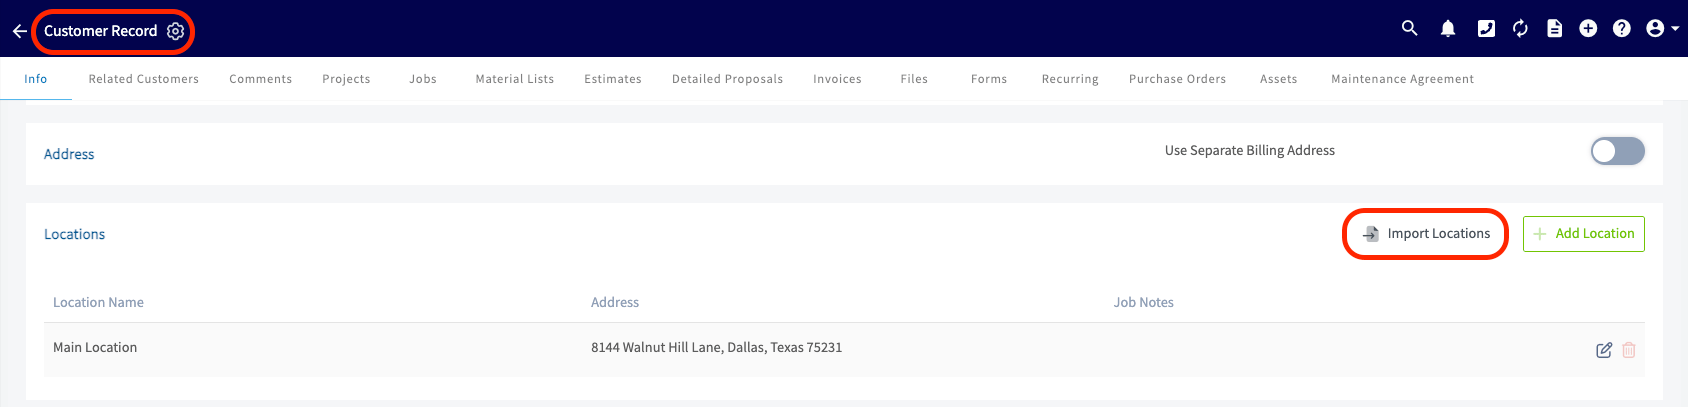
On the customer record, scroll to the Locations section and select Import Locations.
-
In the Import Customer Locations pop-up, select Download Template.

- Fill in the template without altering the structure of the form. If you don’t have Excel, fill the template in with Google Sheets — see How to Self-Import Data With Google Sheets.
- Select the blue Import button to upload the completed template.

How locations and contacts work on job records
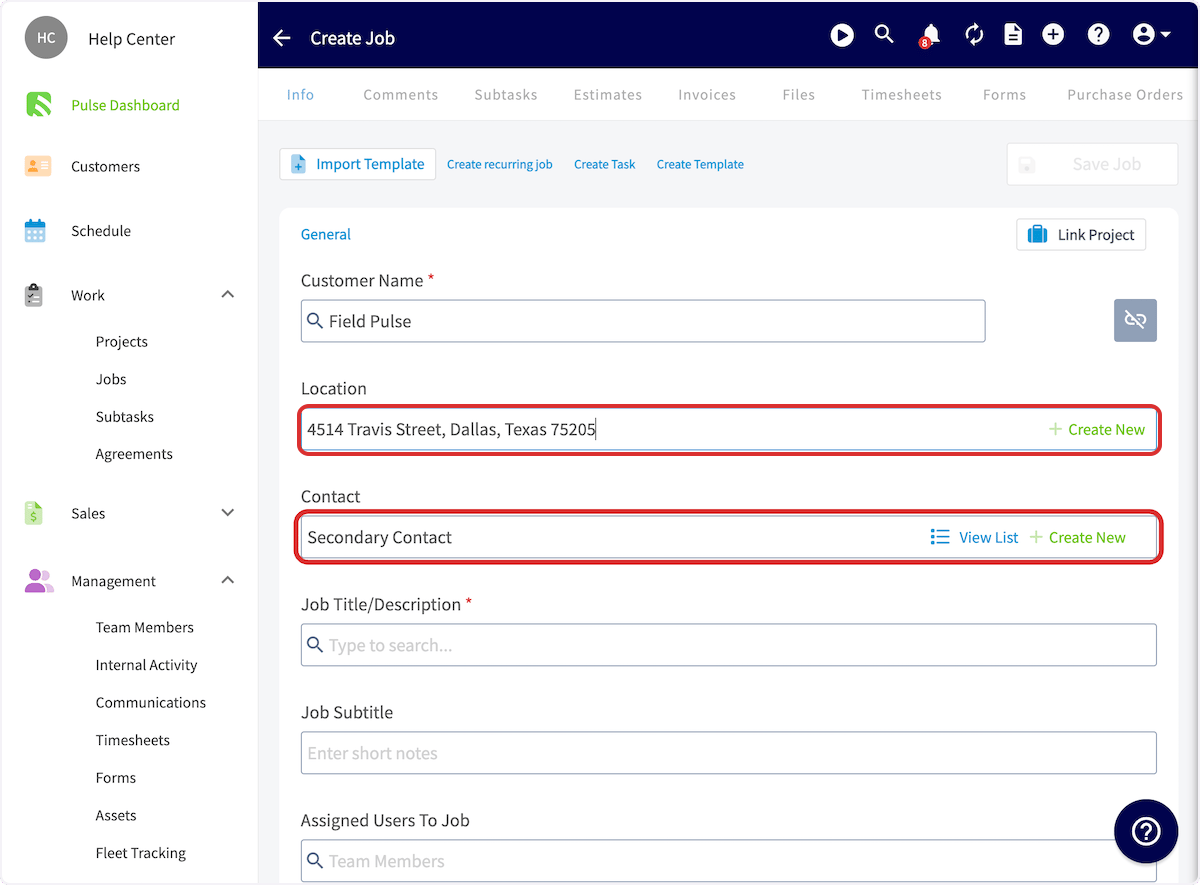
Changing the Location on a job record also changes the Contact field when that address has a connected contact. Select the Location field on the job, choose the applicable address, and FieldPulse updates the contact for you. For example, selecting the Travis Street address changes the contact from Field Pulse to Secondary Contact, because Secondary Contact is the related contact for that address on the customer record. When a job has a specific contact selected, all automatic customer communications are sent directly to that contact.