Who uses this: Admins see every recurring billing, and only Admins can open Company Settings to enable the feature. Team Managers have a configurable View Recurring Billing permission, Service Agents see recurring billings they created or that belong to customers they can view, and Limited Agents cannot view recurring billing. Availability: All regions.Recurring billing generates invoices on a schedule you set and requests or collects payment automatically, through the FieldPulse mobile or web app. FieldPulse built the feature for companies that regularly perform maintenance work, such as landscaping and pool maintenance. A recurring billing can stand on its own, attach to a recurring job, or attach to a maintenance agreement.
Overview
A recurring billing record ties one customer to one invoice schedule. You set how often invoices generate, which day of the month they land on, when they start, whether they send to the customer automatically, and how payment is handled. Recurring billing uses a Standard (“Pay-As-You-Go”) model — the system creates one invoice at a time, right on the day it is due. That behavior is the same whether the recurring billing is standalone, linked to a maintenance agreement, or created from a maintenance agreement.Example — monthly billing starting Jan 1, 2026:If auto-send is turned on, each invoice is also sent to the customer automatically as it generates.
- Jan 1, 2026 — the system generates Invoice #1.
- Feb 1, 2026 — the system generates Invoice #2.
- Mar 1, 2026 — the system generates Invoice #3.
Video walkthrough
Video walkthrough: setting up and using recurring billing
Before you begin
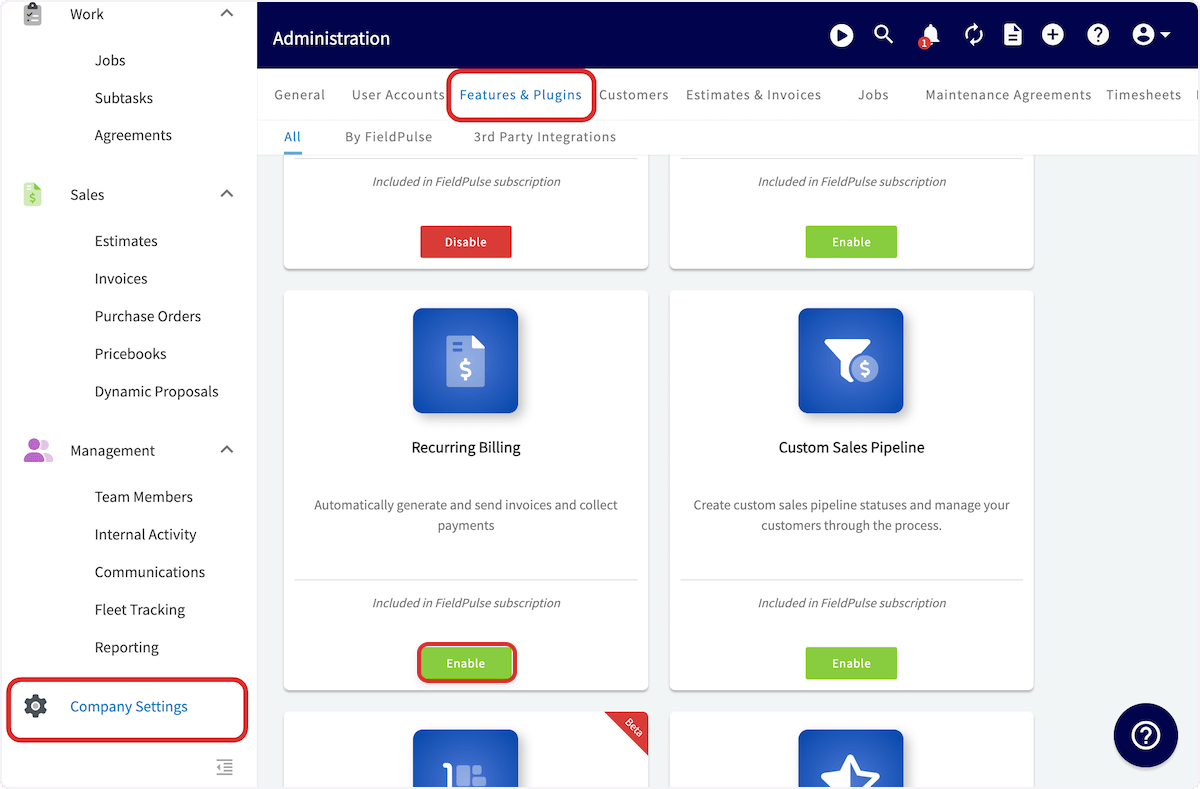
Recurring Billing is a feature you turn on before you can use it.- Select Company Settings.
- Open Features & Plugins.
- Find the Recurring Billing tile and select Enable.
Step-by-step setup
Create a recurring billing
-
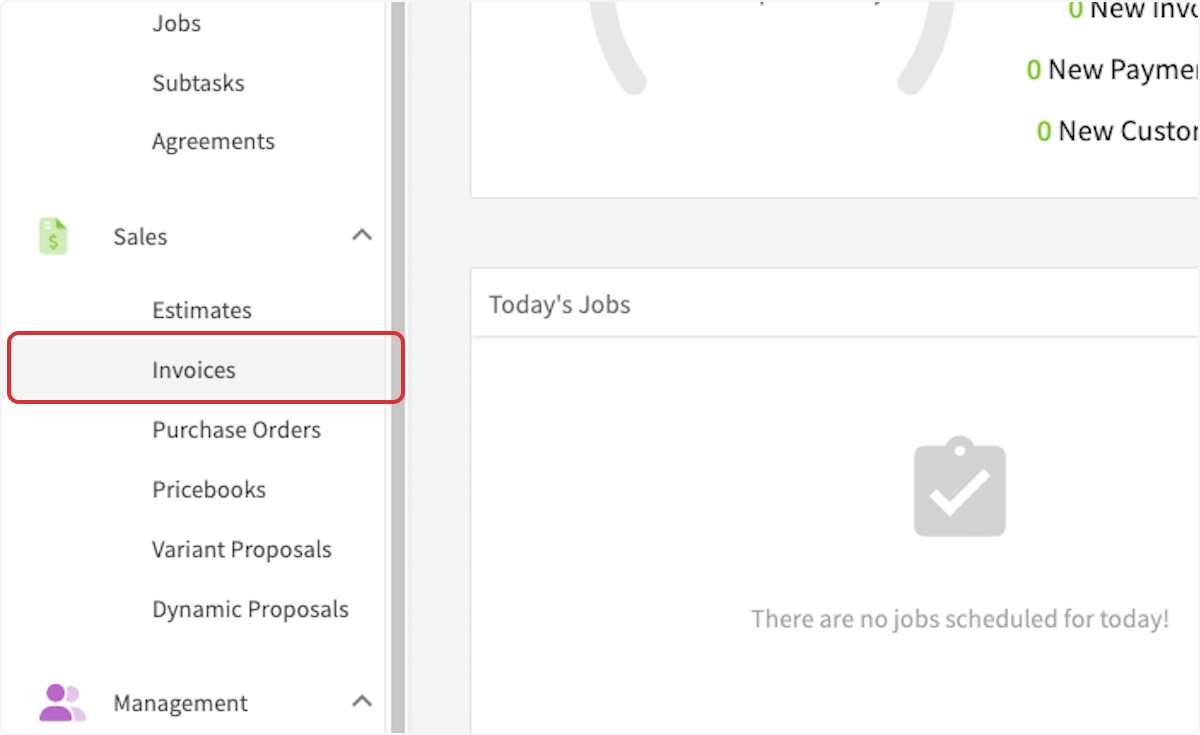
Select Invoices in the left menu.
-
Select Recurring Billing at the top of the screen.

-
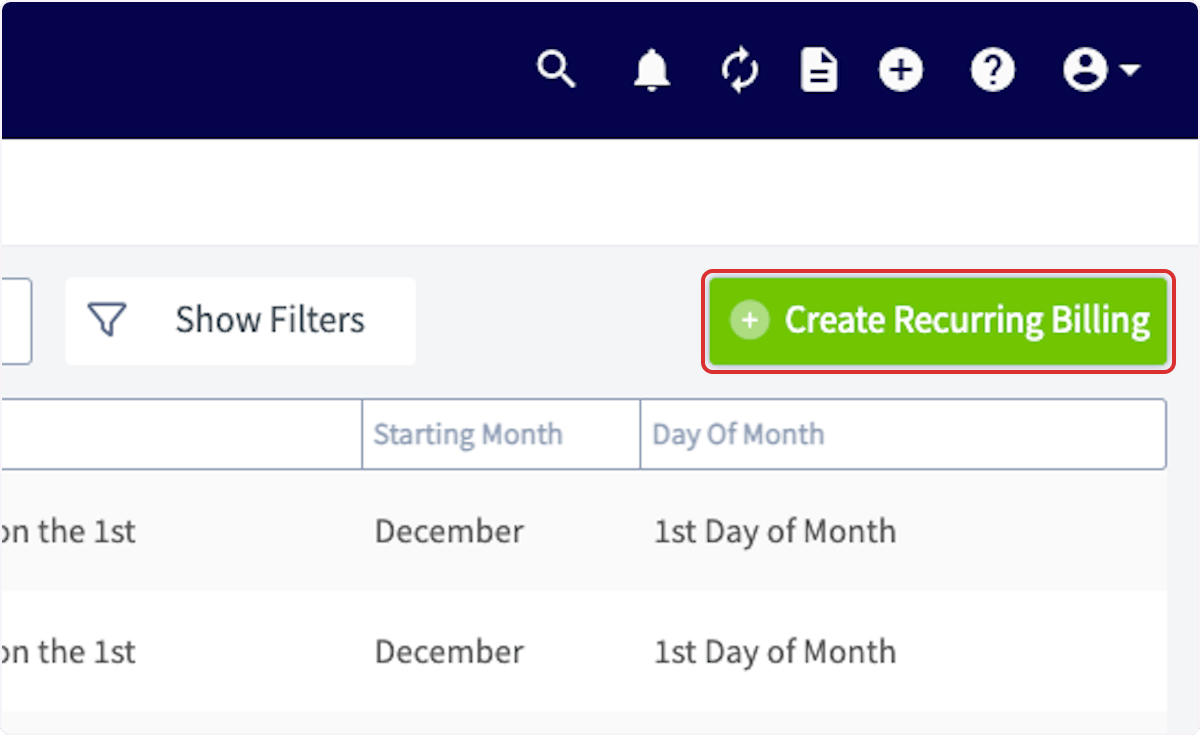
Select Create Recurring Billing.
-
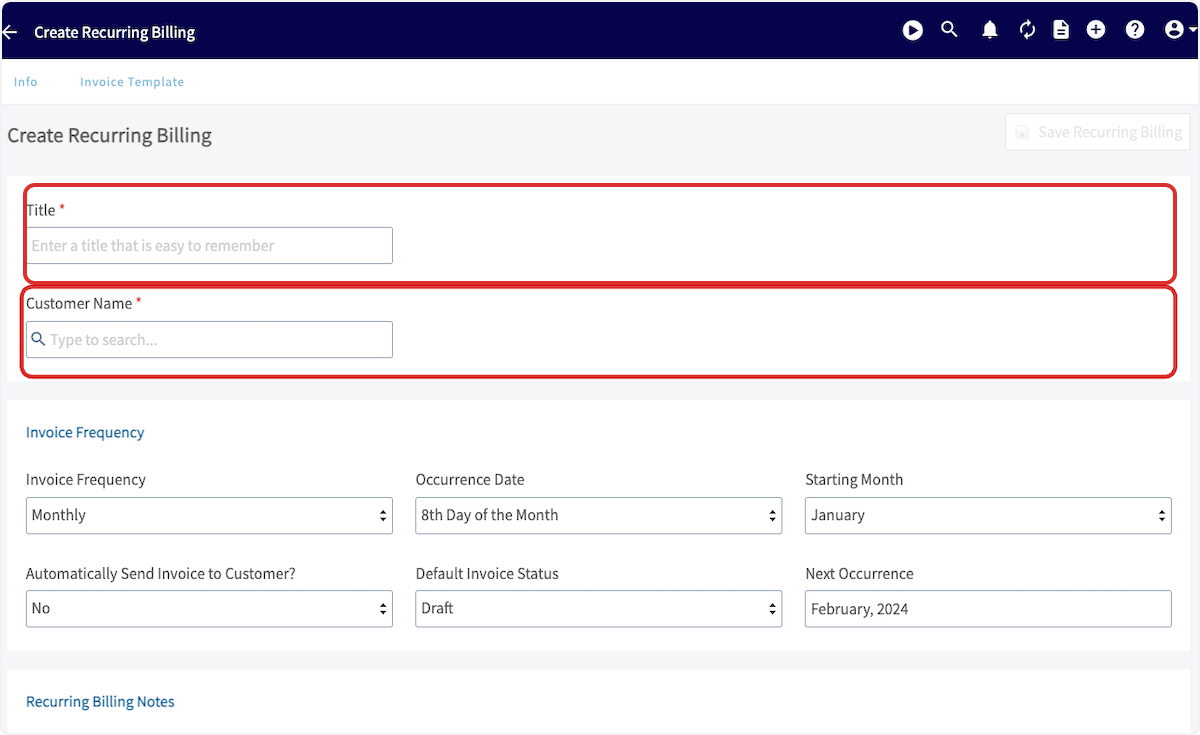
Enter a Title and search for a Customer Name. Both fields are required.
-
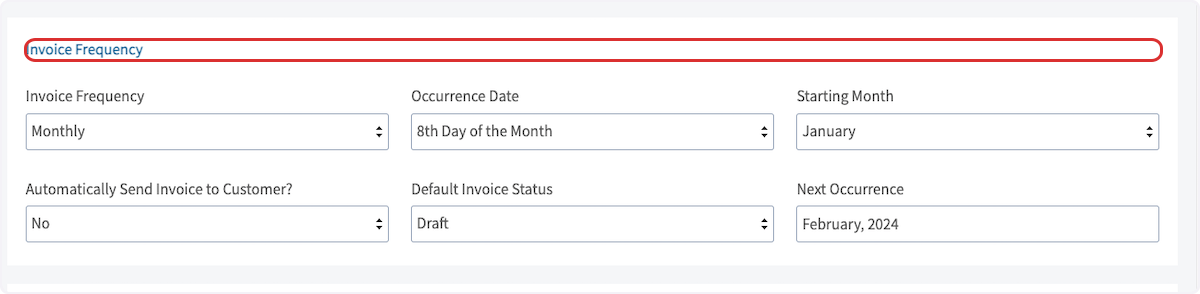
Set the schedule in the Invoice Frequency panel — frequency, occurrence date, starting month, auto-send, and default invoice status. See the settings reference below for what each field controls.
-
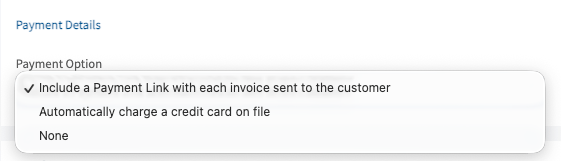
Under Payment Details, choose a Payment Option. The dropdown offers Include a Payment Link with each invoice sent to the customer, Automatically charge a credit card on file, and None.
-
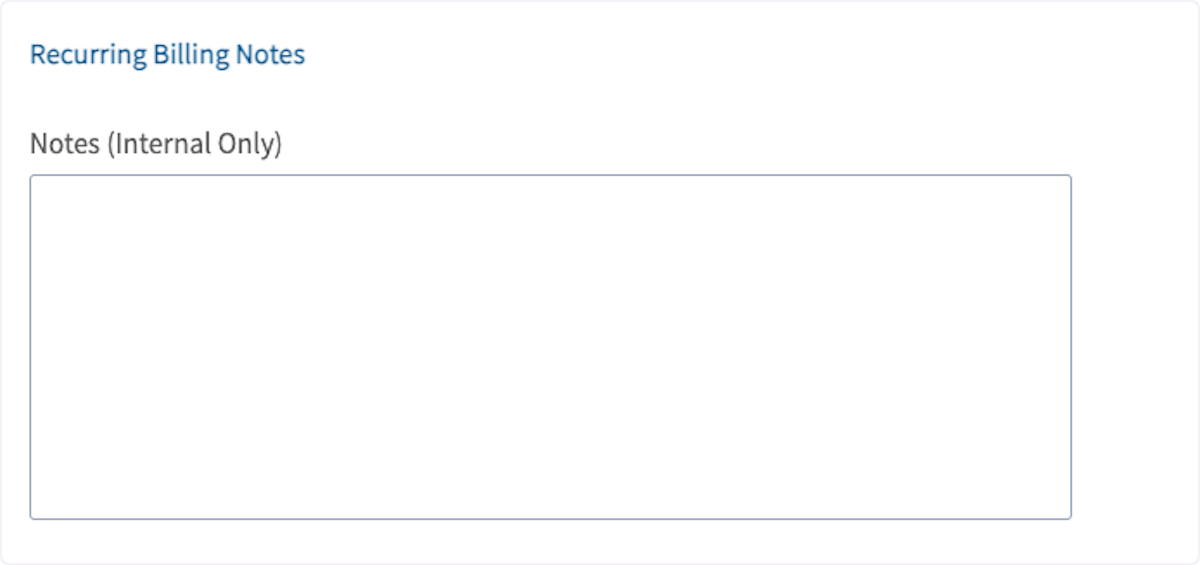
Add any internal notes in the Recurring Billing Notes panel. The Notes field is internal only.
-
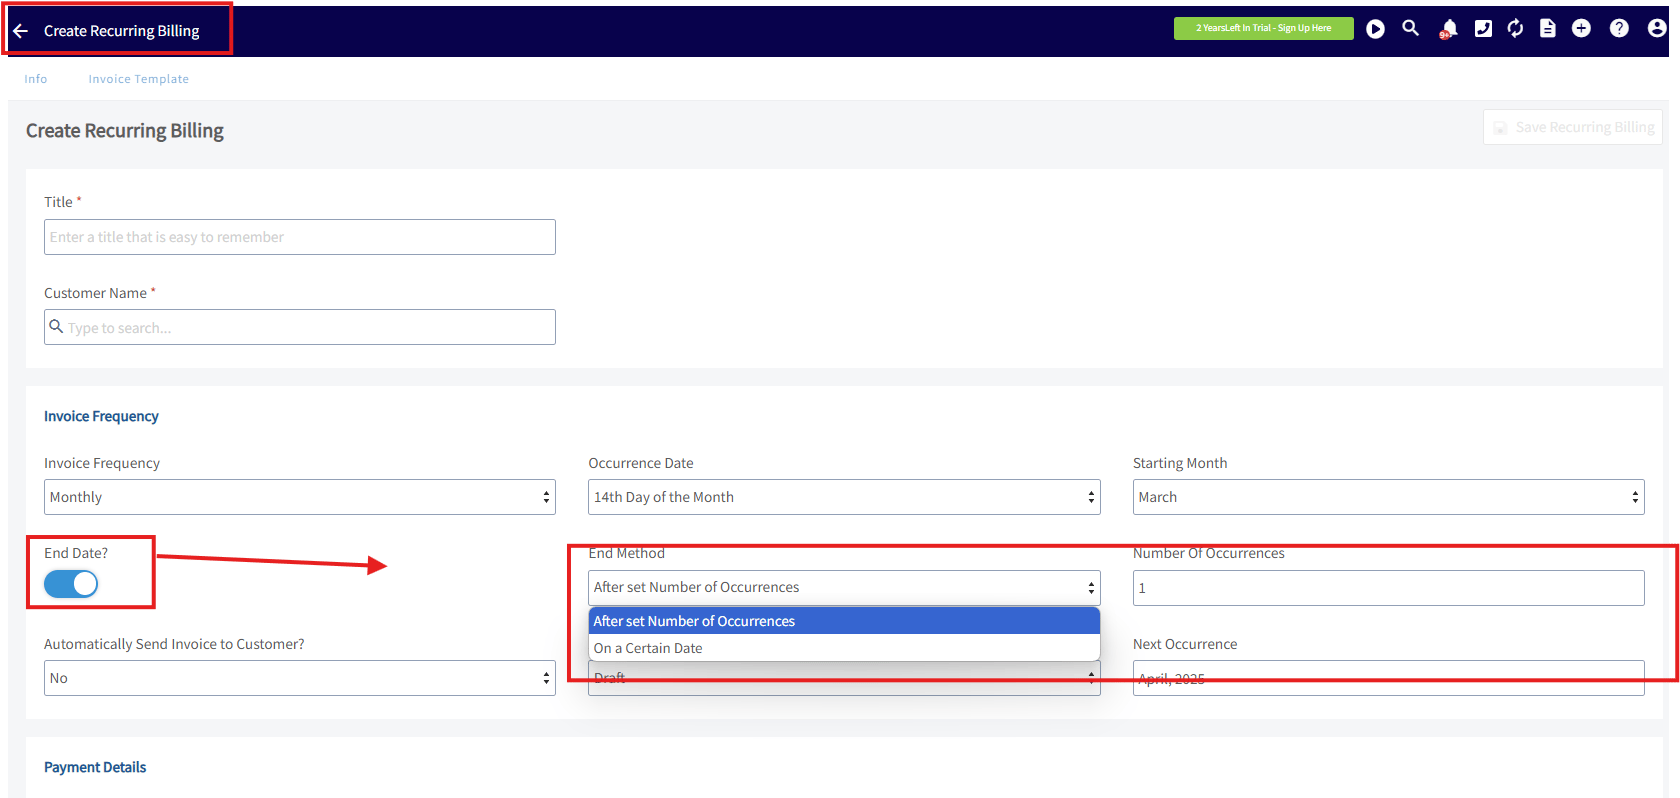
Toggle End Date? on if the recurring billing should stop on its own, then pick an End Method — After set Number of Occurrences or On a Certain Date — and fill in the matching Number Of Occurrences or date.
-
Scroll to the top of the screen and select Save Recurring Billing.

Records with a status of Completed cannot be edited.
Attach a recurring billing to a recurring job
-
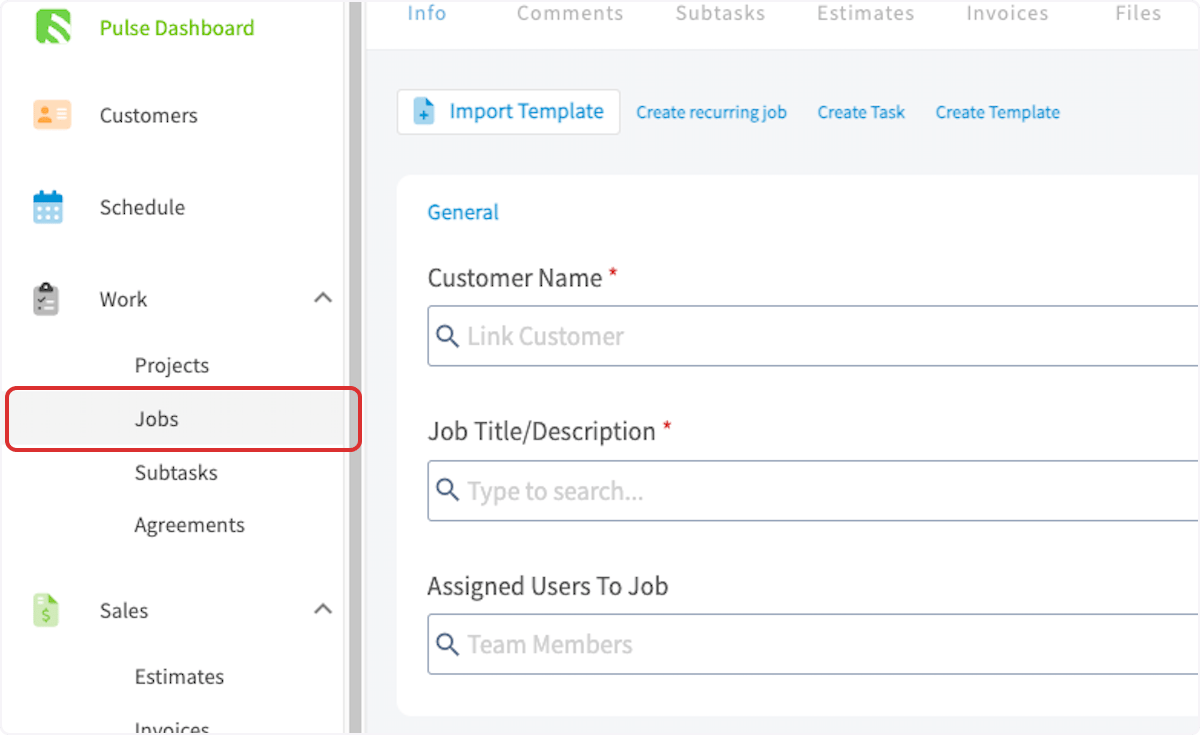
Go to Jobs and select Create Job.

-
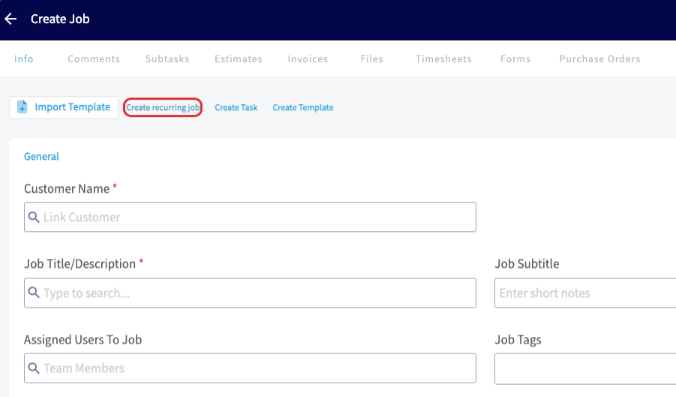
Select Create recurring job and complete the required fields.
-
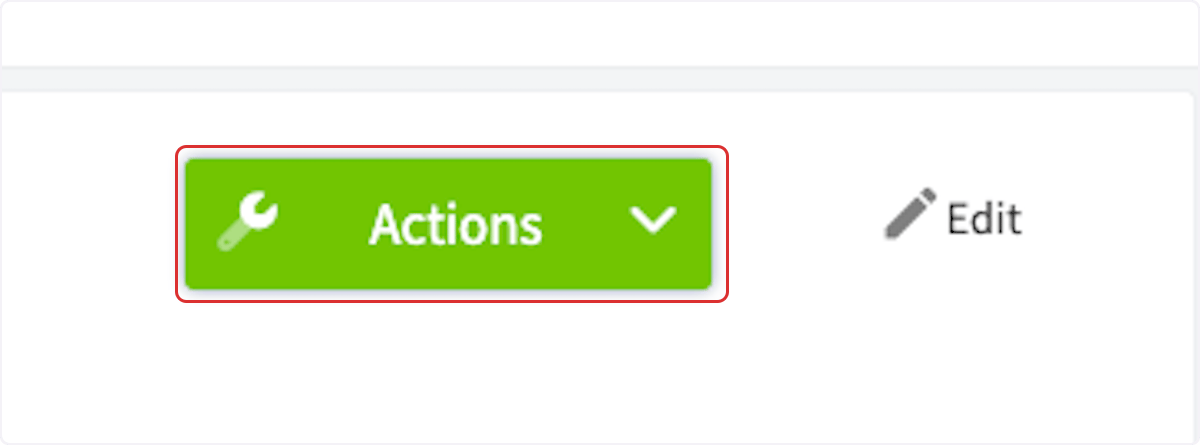
Save the recurring job, then select Actions on the recurring job record and select Create Recurring Billing.
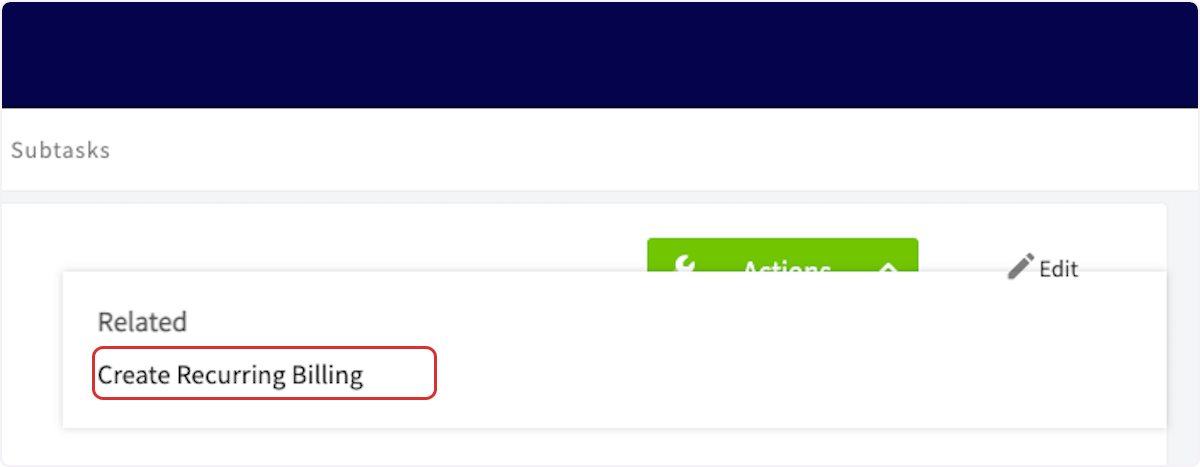
- Complete the recurring billing fields as described in Create a recurring billing above.
Attach a recurring billing to a maintenance agreement
-
Select Agreements in the left menu.
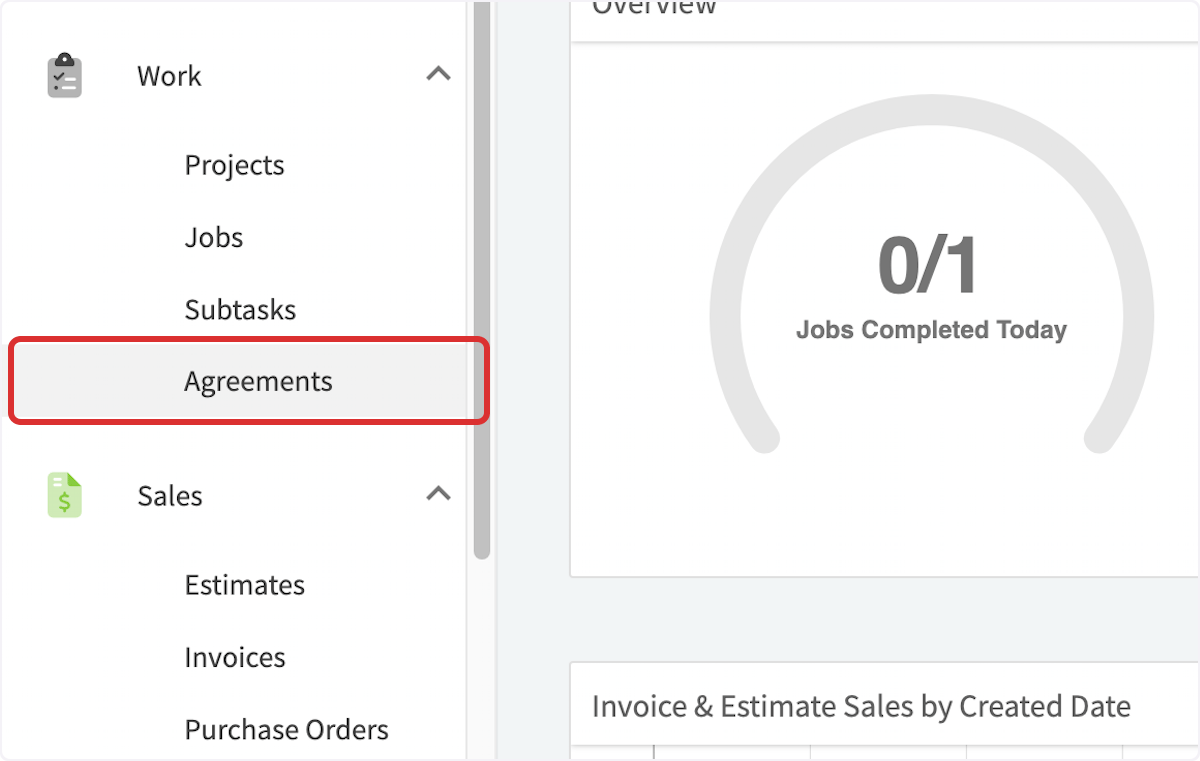
-
Select Create Agreement, or open an existing agreement.
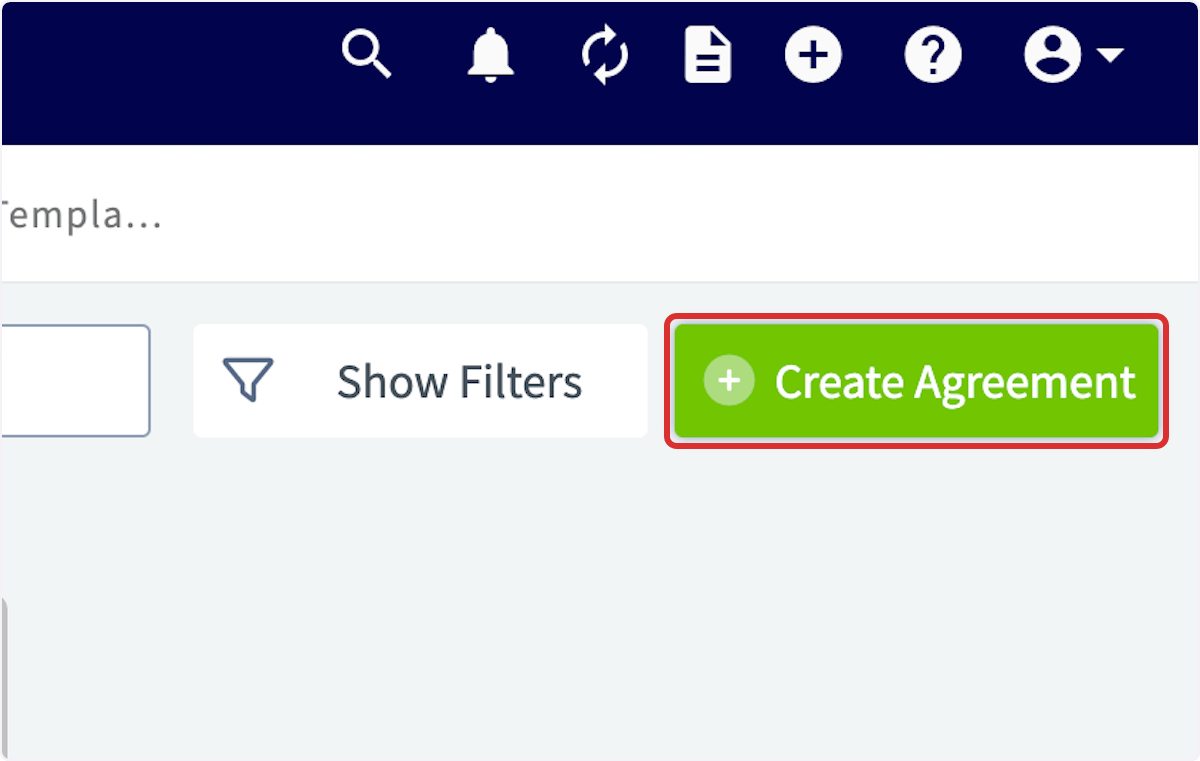
-
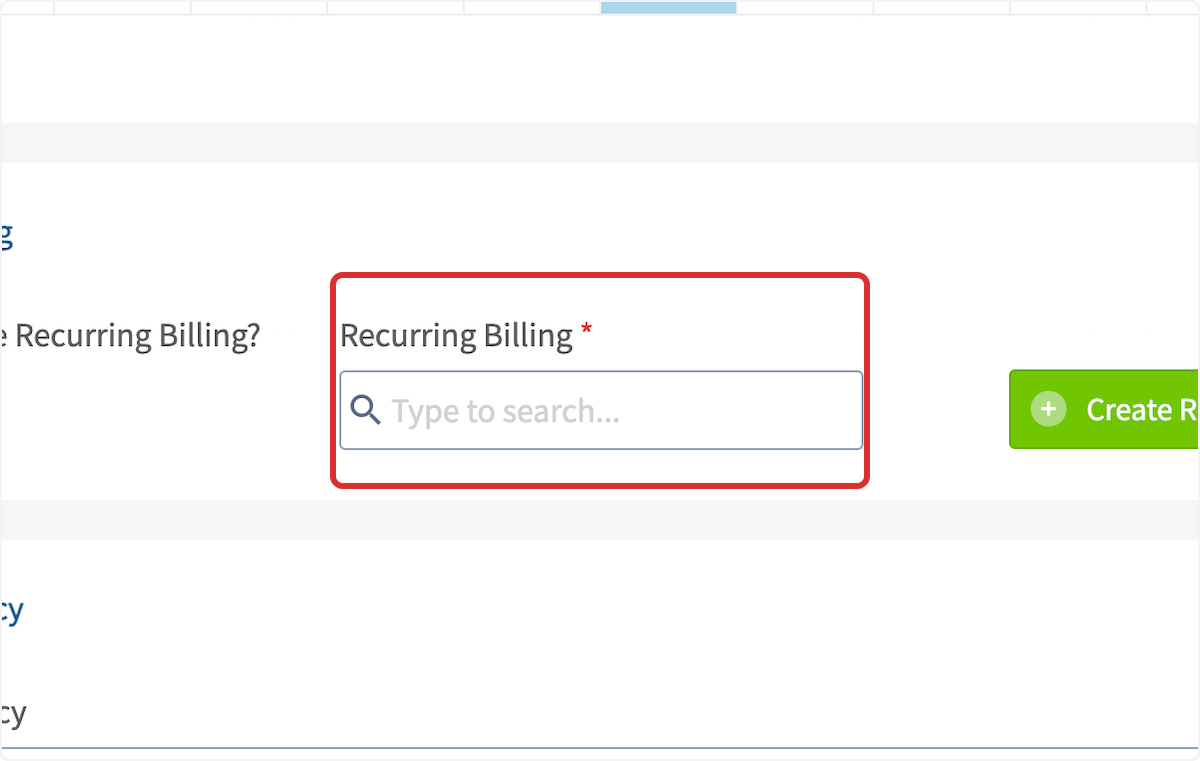
Enter a title for the agreement and link a customer, then scroll down to Attach or Create Recurring Billing? and toggle it on.
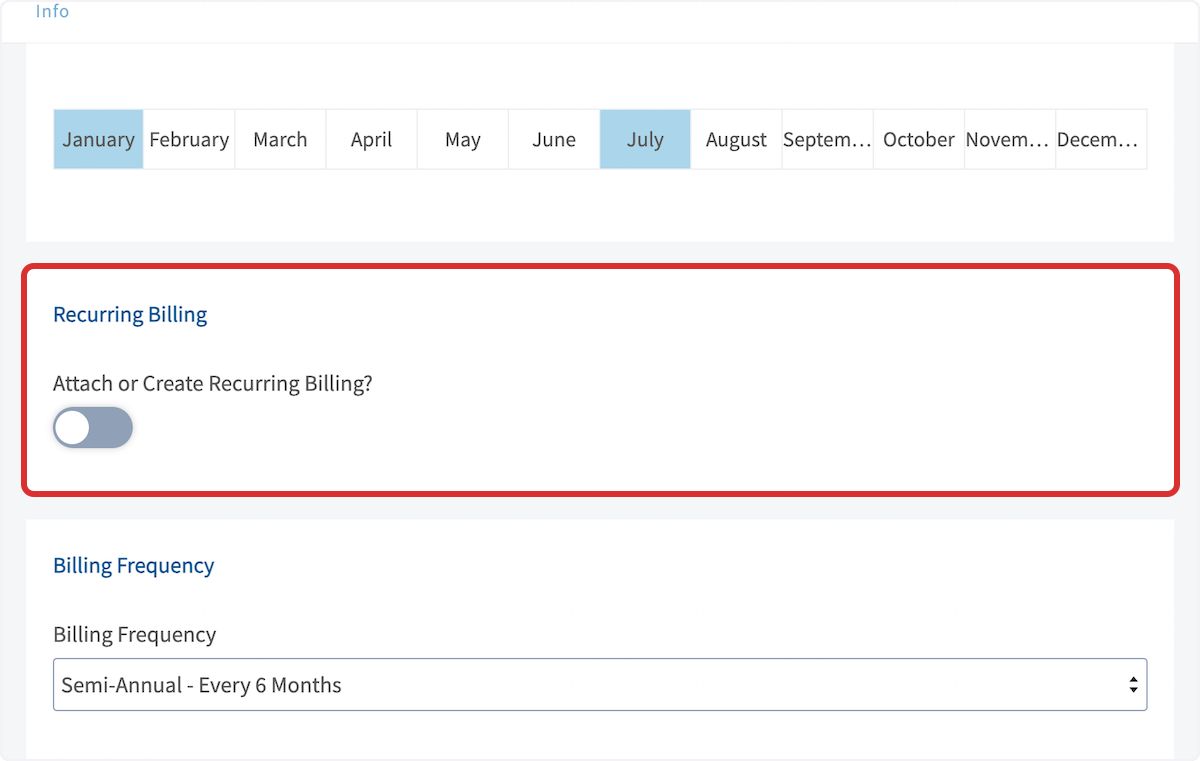
-
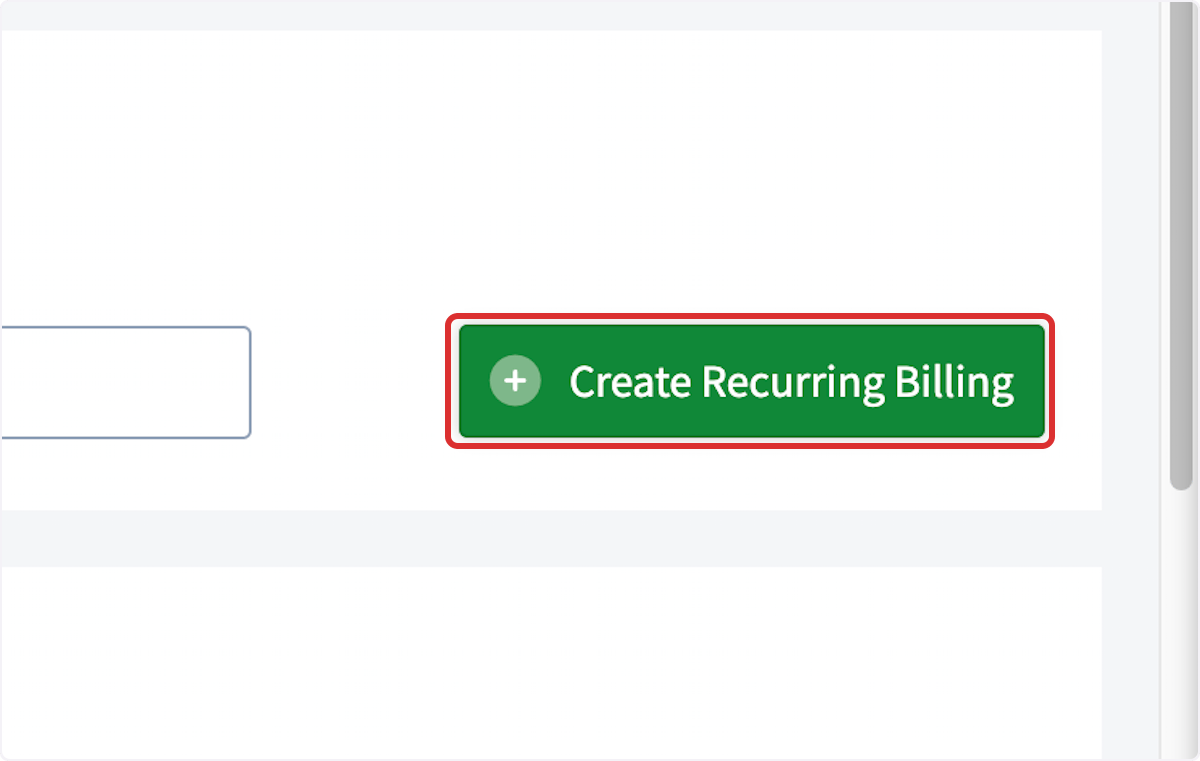
Search the Recurring Billing field to attach an existing recurring billing, or select Create Recurring Billing to build a new one.
- Complete the recurring billing fields, then save both the recurring billing and the maintenance agreement.
Settings reference
Set the schedule in the Invoice Frequency panel when you create a recurring billing.
The End Date? toggle and its End Method and Number Of Occurrences fields sit in the same Invoice Frequency panel.
Where to find your recurring billings
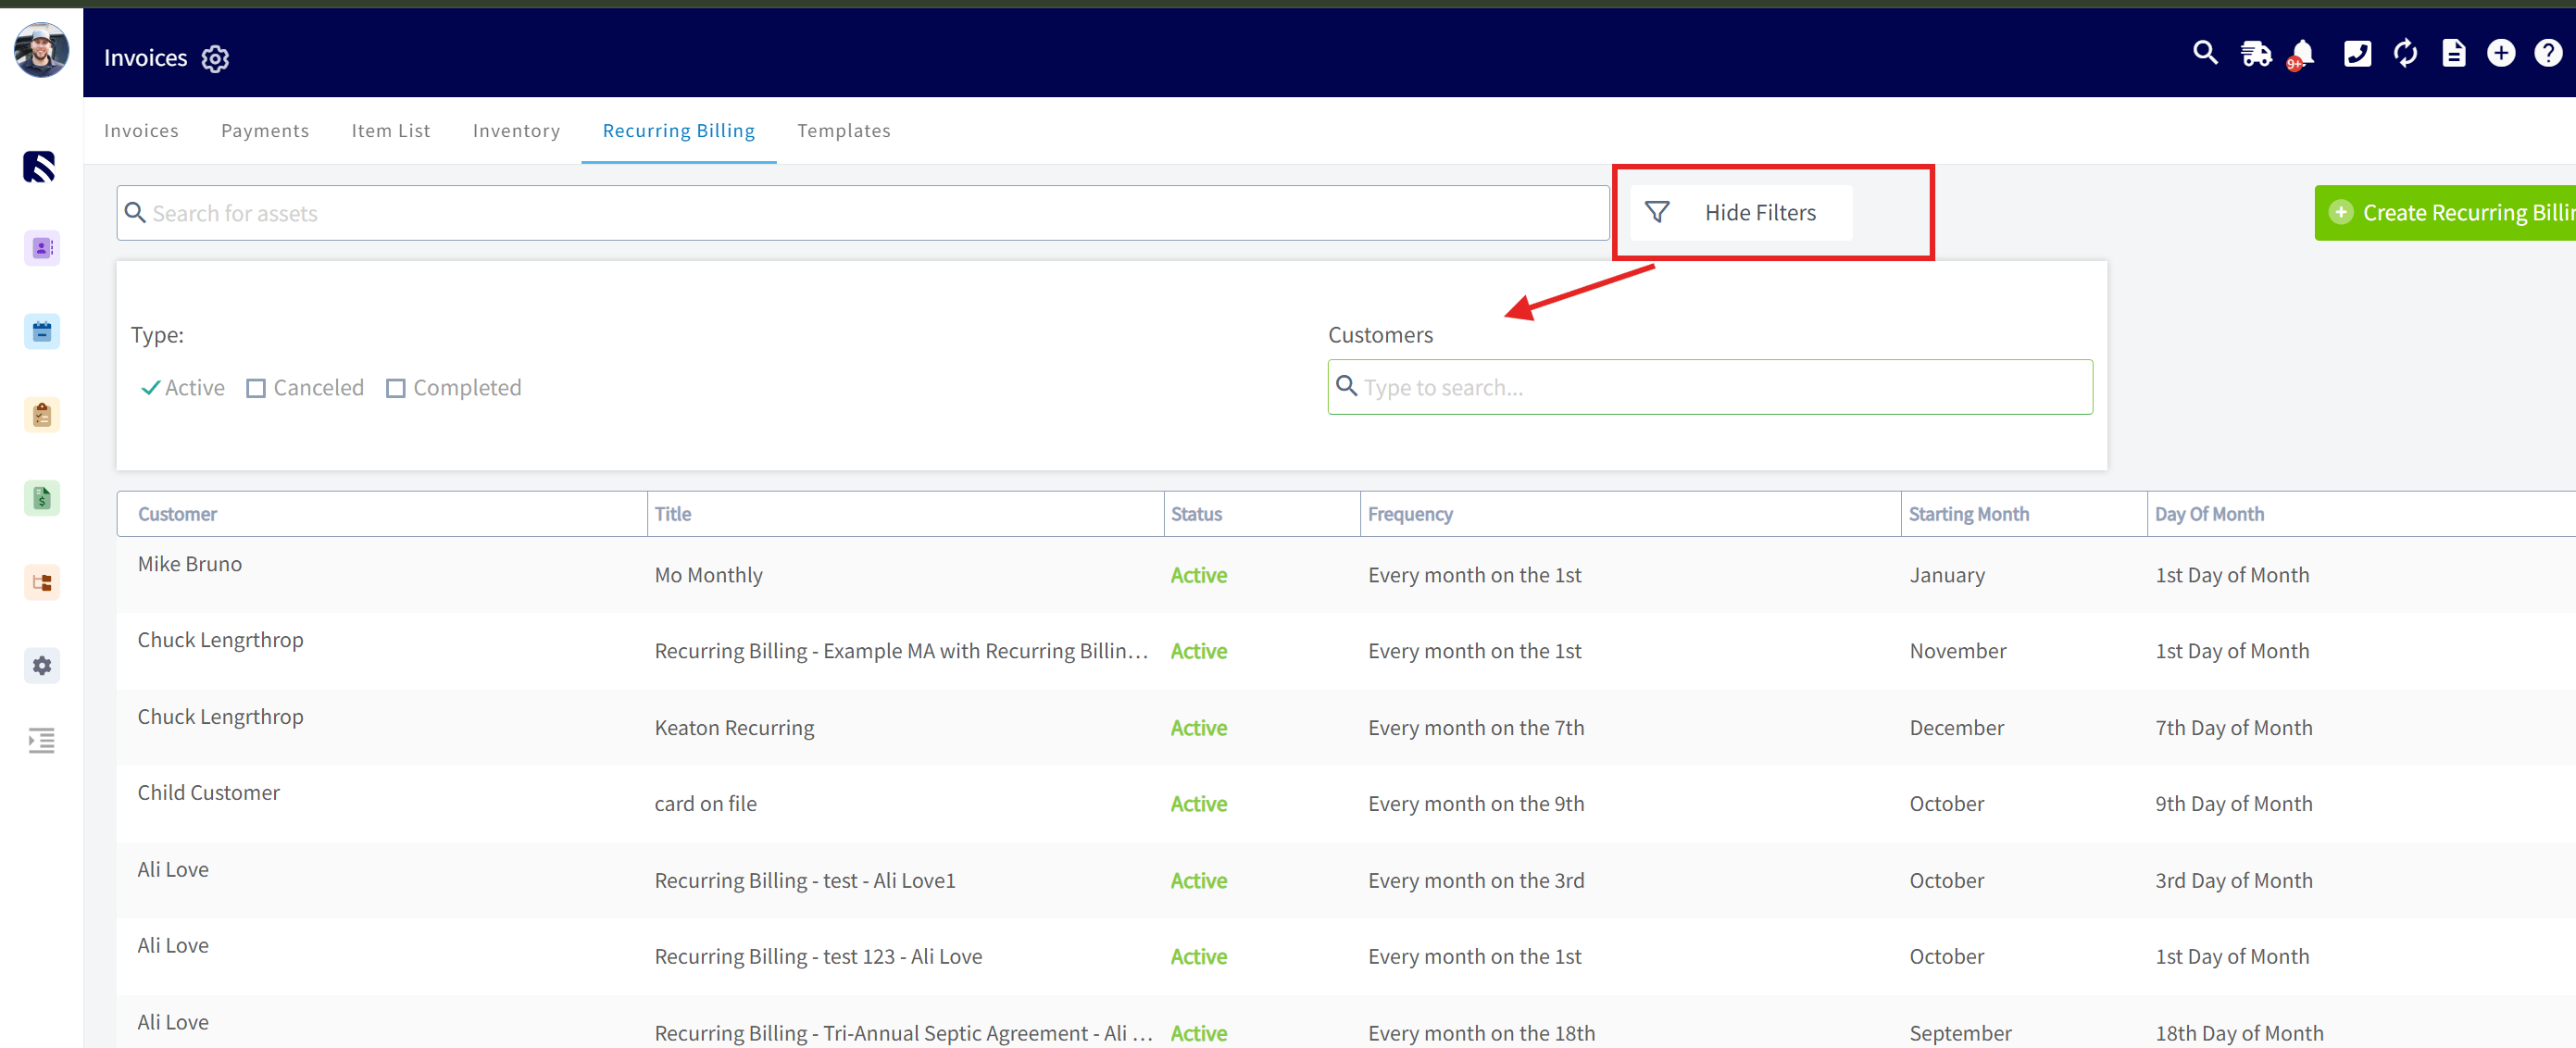
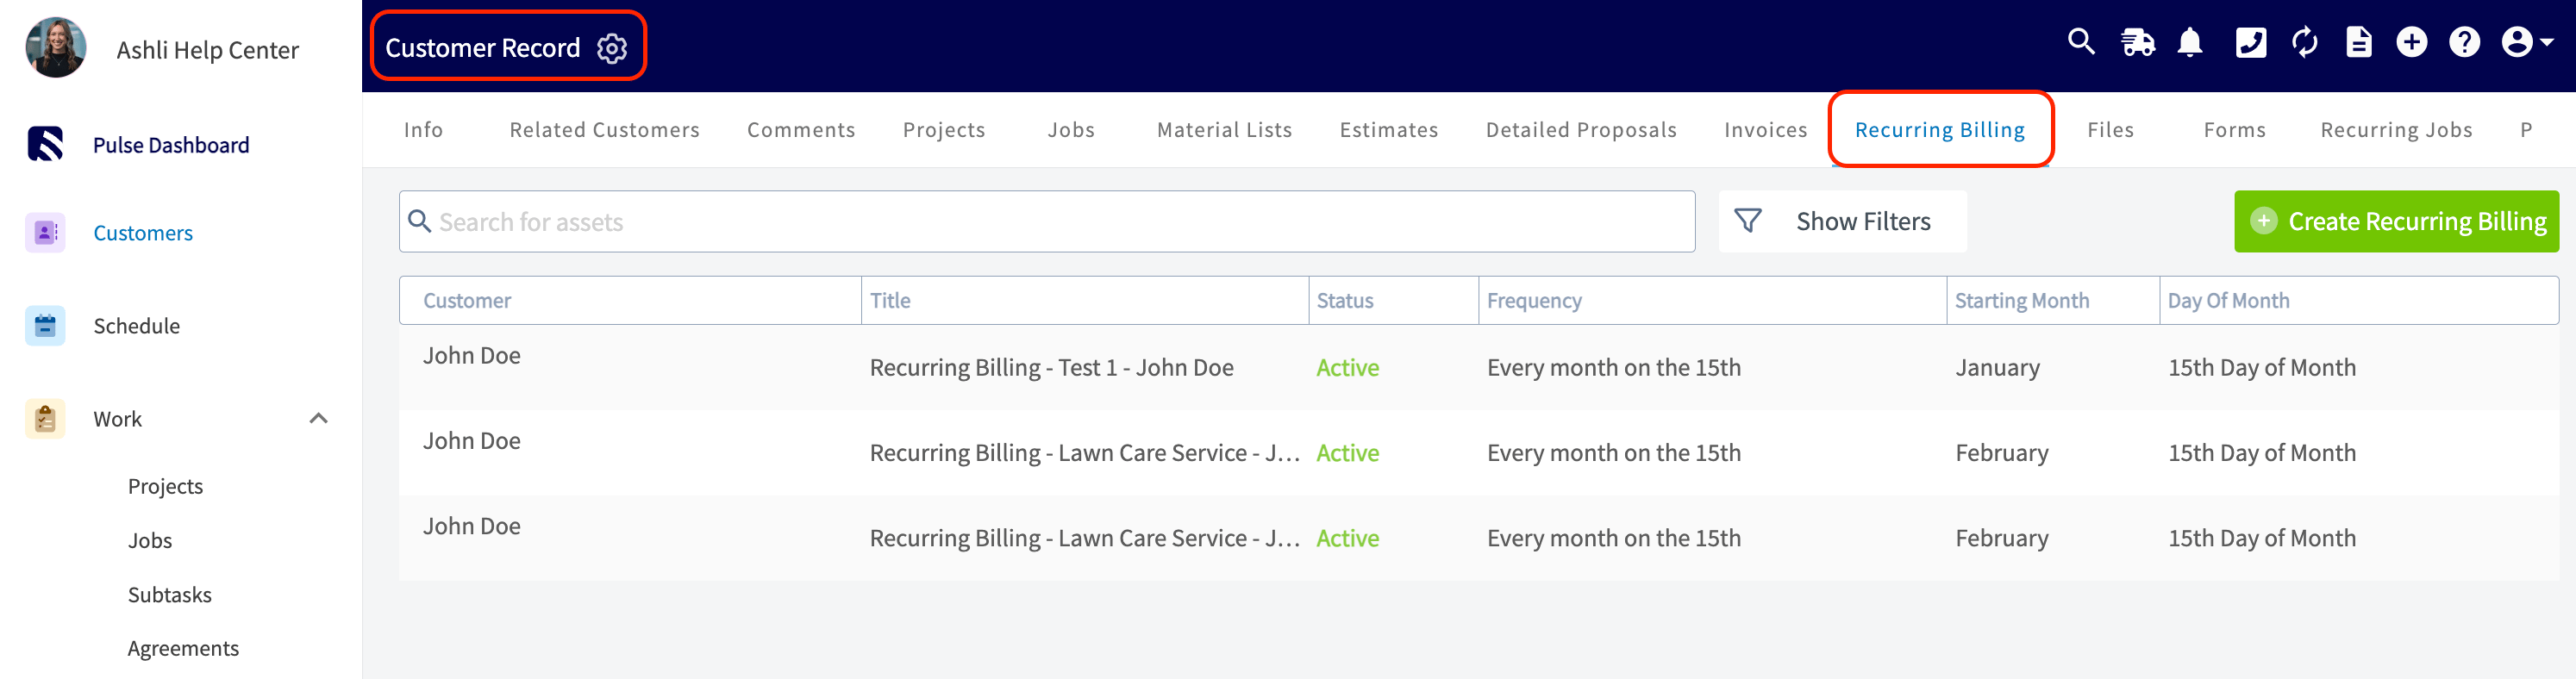
Recurring billings are listed in two places.- Open a Customer Record and select the Recurring Billing tab to see that customer’s recurring billings.
- Or go to Invoices > Recurring Billing for the full list, and use the Customers filter to locate one customer’s recurring billings without scrolling through the whole list or running a separate report. The same filter panel narrows the list by type — Active, Canceled, or Completed.