
Who uses this: Admins have full account access. Team Managers can create, edit, and view maintenance agreements, and Service Agents can create and view them. Availability: All regions · included in the FieldPulse subscription; Maintenance Agreements must be enabled in Company Settings > Features & Plugins.A maintenance agreement is the record that holds recurring service for one customer — the frequency, the jobs, the billing, the reminders, and the signed contract. You set the schedule once, and a twice-a-year tune-up no longer depends on someone remembering to put it on the calendar.
Overview
A maintenance agreement ties recurring service to a customer and, when you want, to a specific asset. On the agreement you set the service frequency, associate a job template and choose whether occurrences are created manually or automatically, attach recurring billing, turn on automatic email service reminders, and add internal and customer-facing notes. You can build agreements from the web app or the mobile app, and save the ones you sell often as templates.Before you begin
- Enable Maintenance Agreements on your account. Go to Company Settings, select Features & Plugins from the top menu, find Maintenance Agreements, and select Enable. See Features & Plugins Overview for more on the Features & Plugins page.
On web
Create the agreement
-
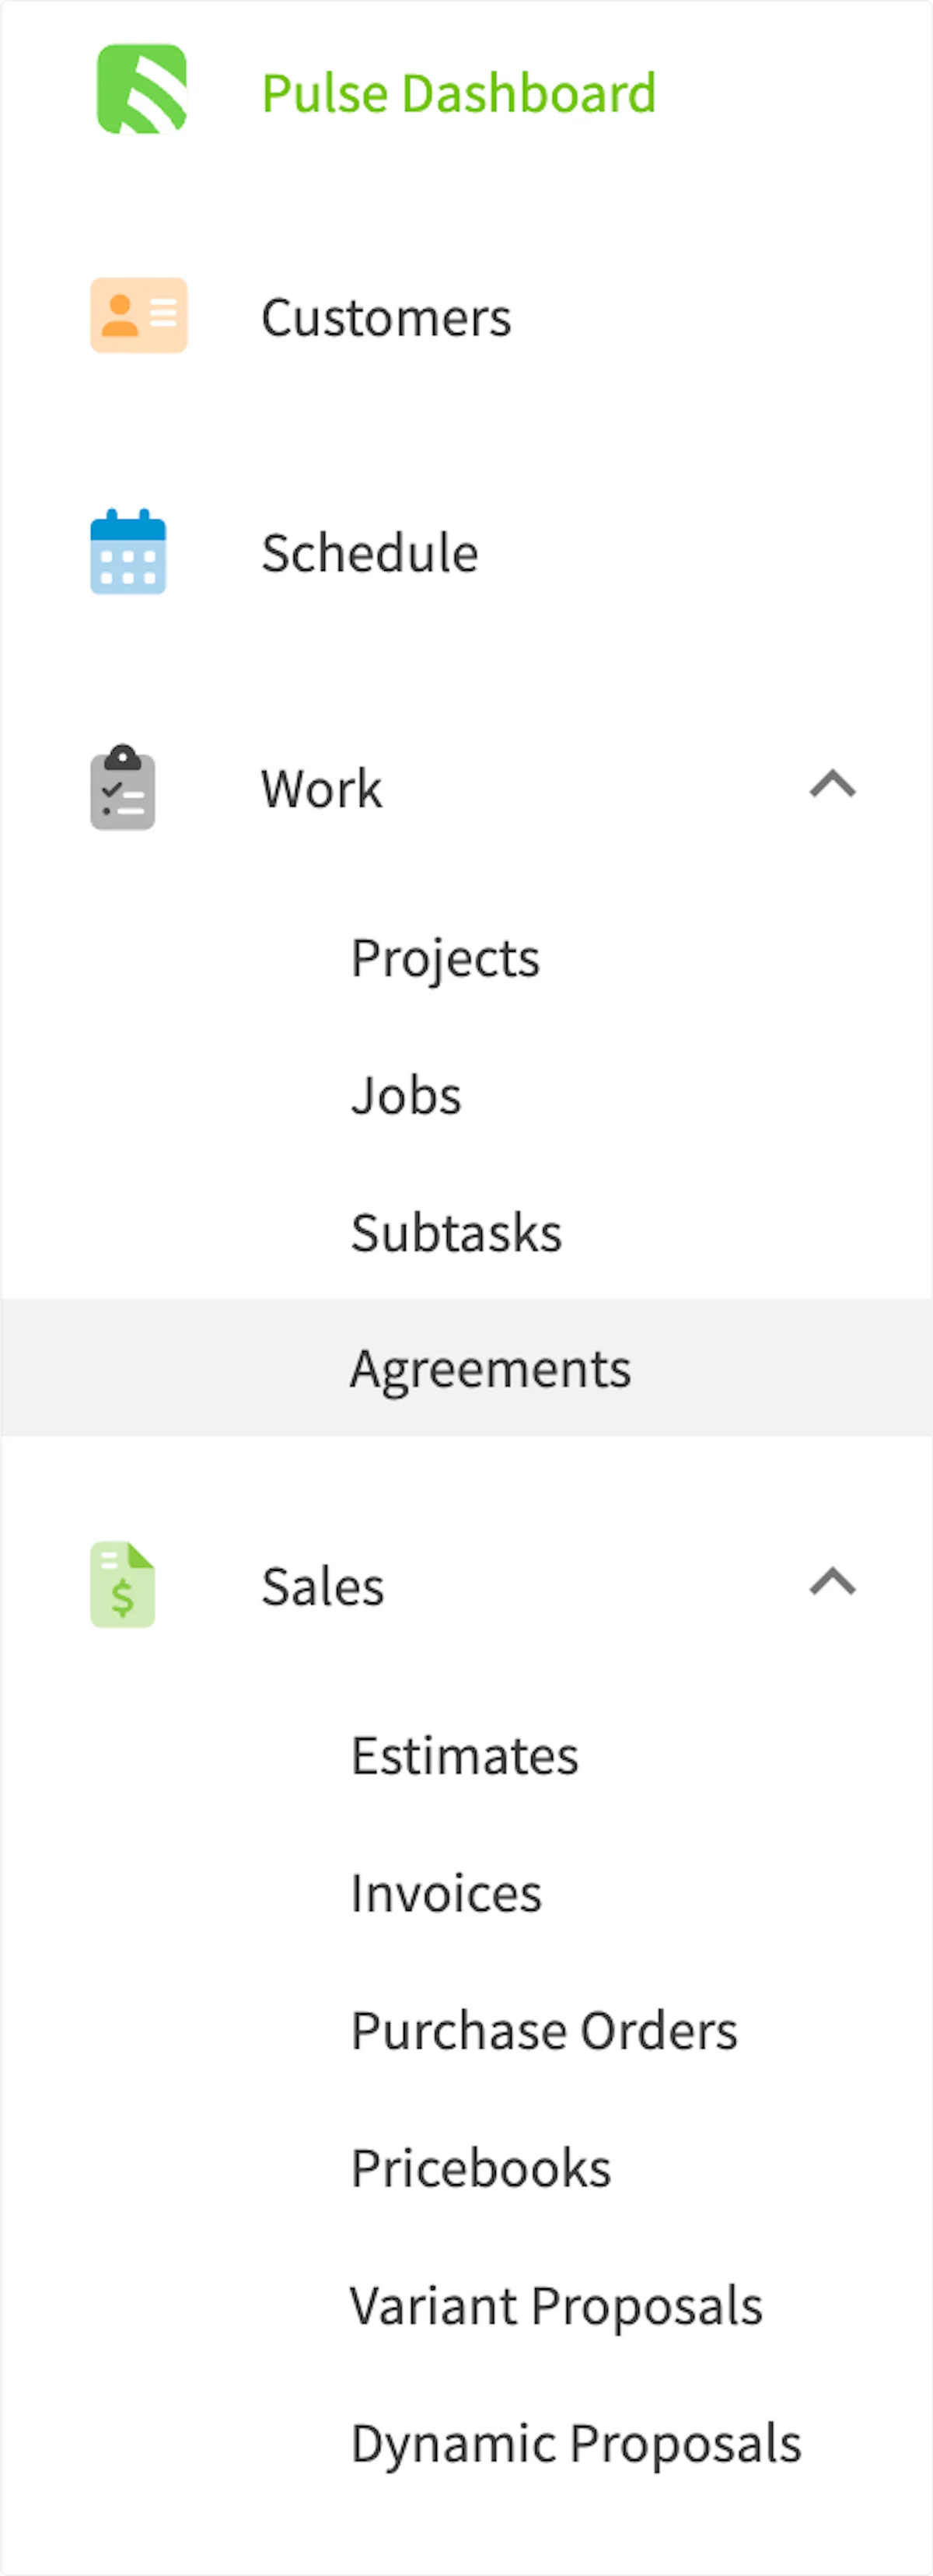
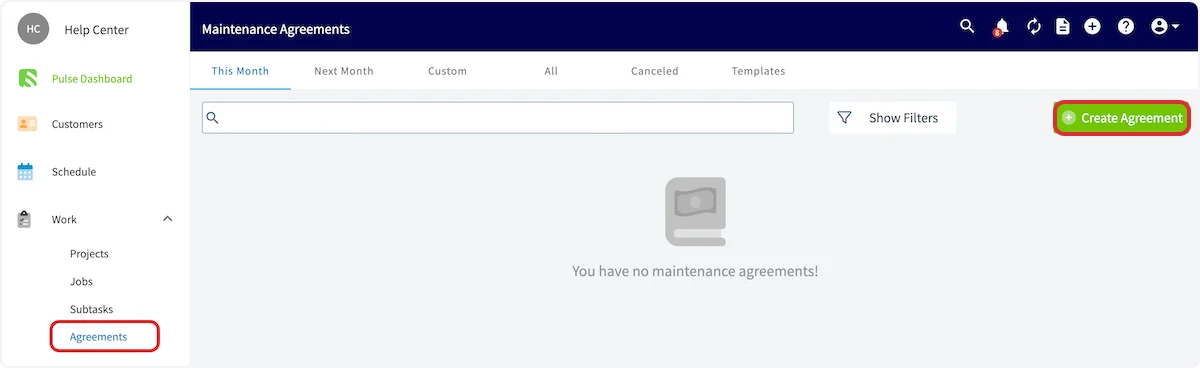
Select Agreements in the left-side menu.
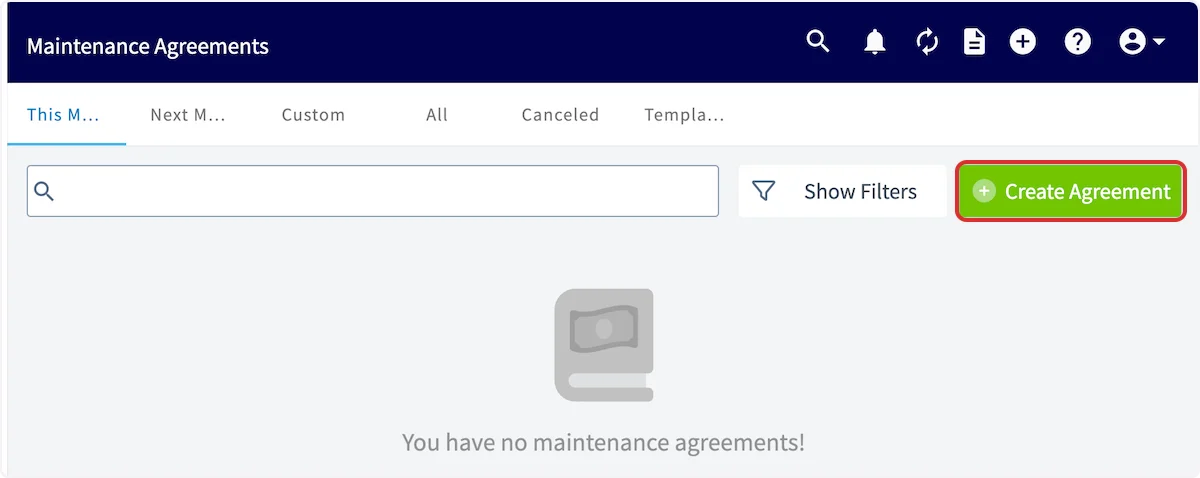
- Select Create Agreement. The tabs across the top of the Maintenance Agreements page — This Month, Next Month, Custom, All, Canceled, and Templates — sort the agreements you already have.
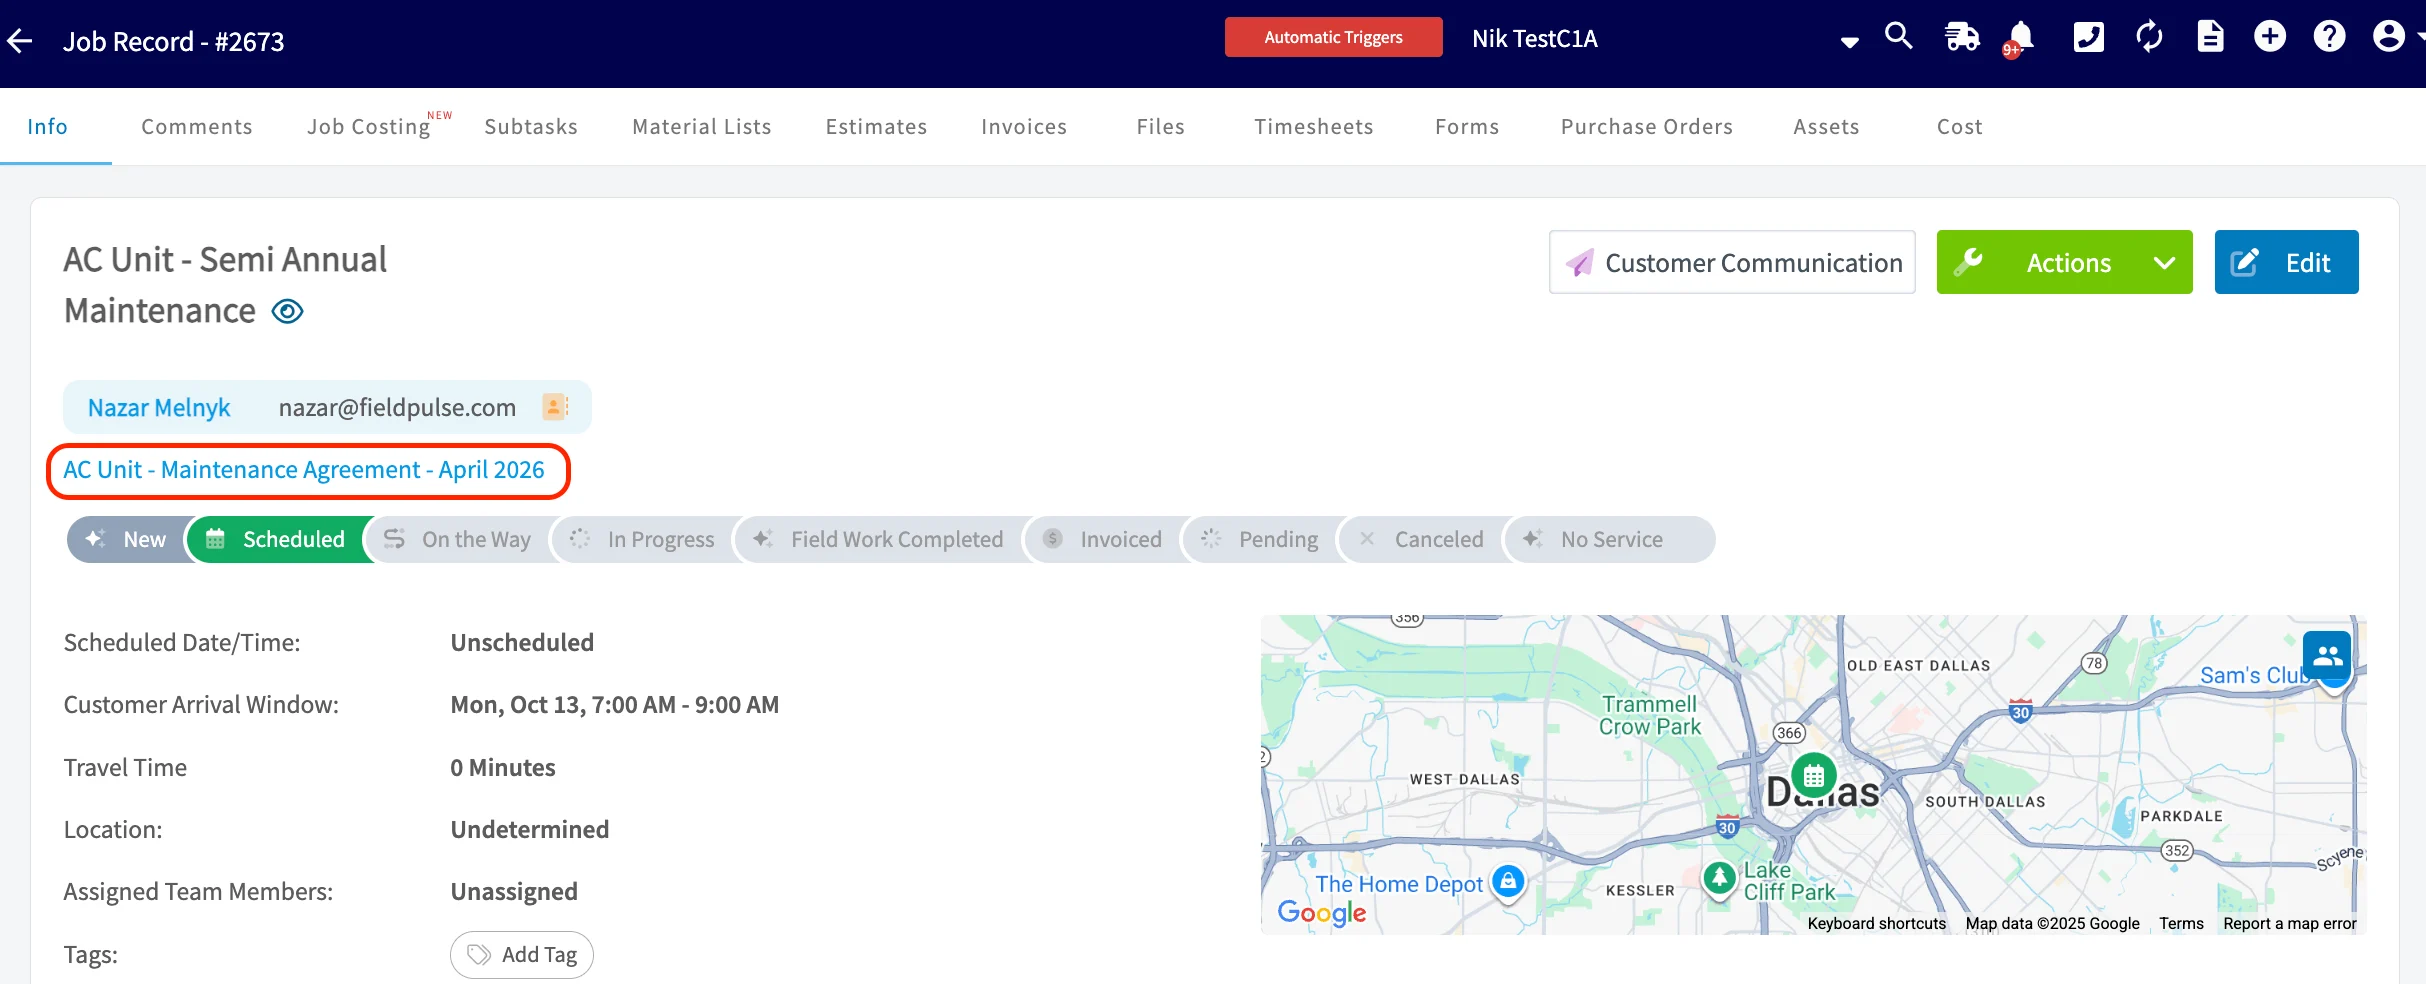
You can also create a maintenance agreement directly from the Parent Job. That link lets you quickly identify the job where the agreement was originally sold or installed.
General information
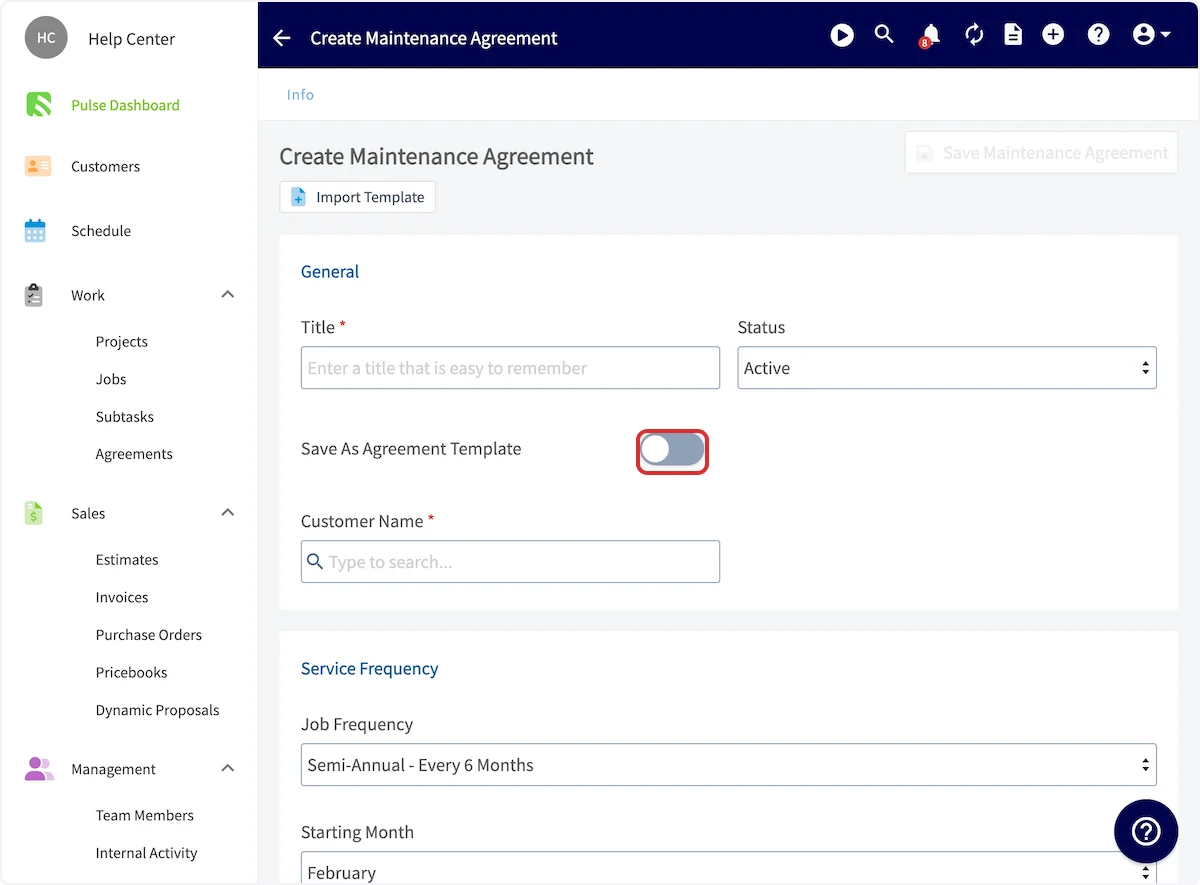
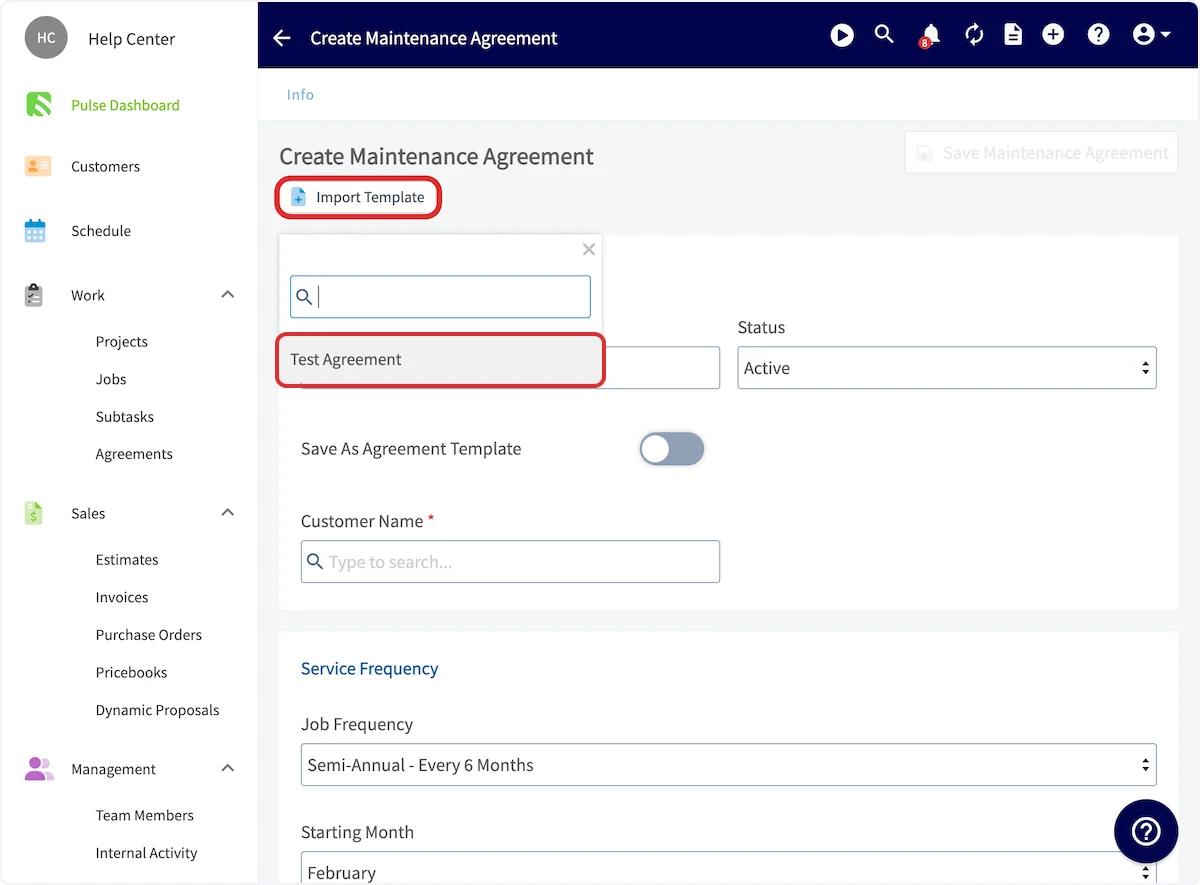
Add a Title, set the Status, and link a Customer Name. If you expect to build similar agreements many times, turn on Save As Agreement Template so you can reuse this one later with Import Template.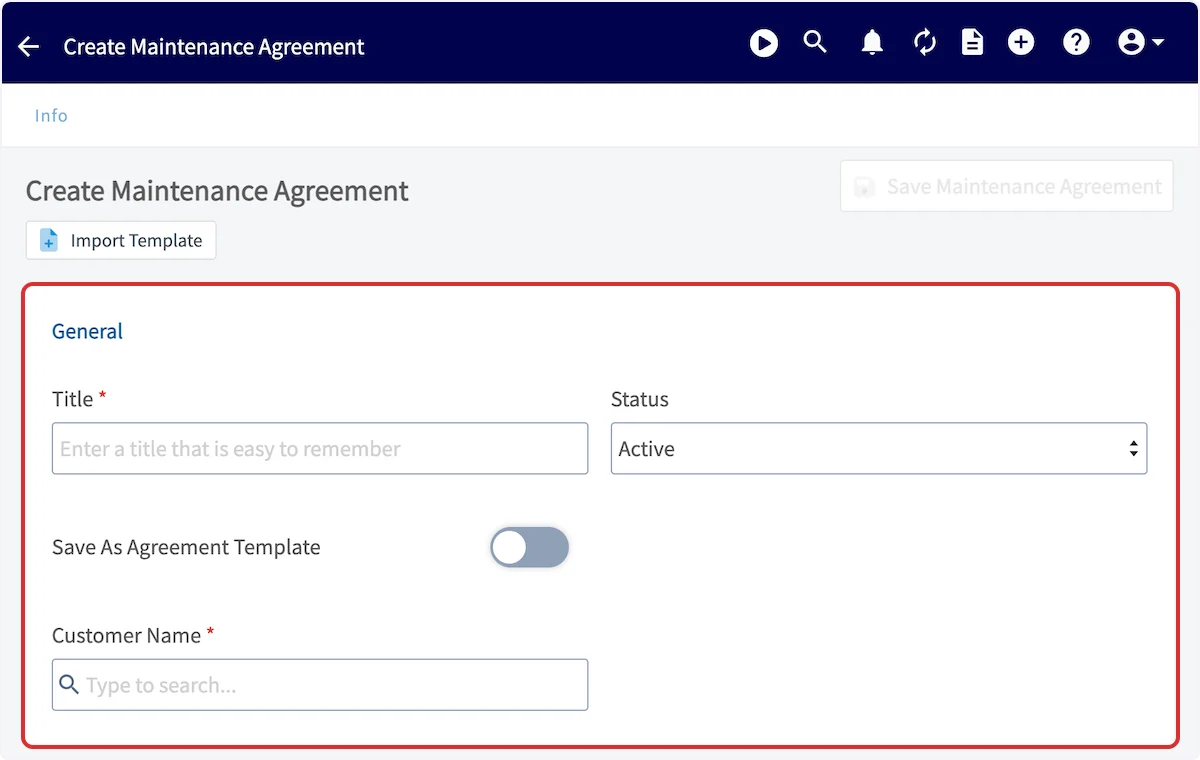
Service frequency
Select the Job Frequency, then the Starting Month and Starting Year for the service. If the agreement has an end date, turn on End Date? and identify the ending month and year. The calendar at the bottom of the section highlights the months that will have service.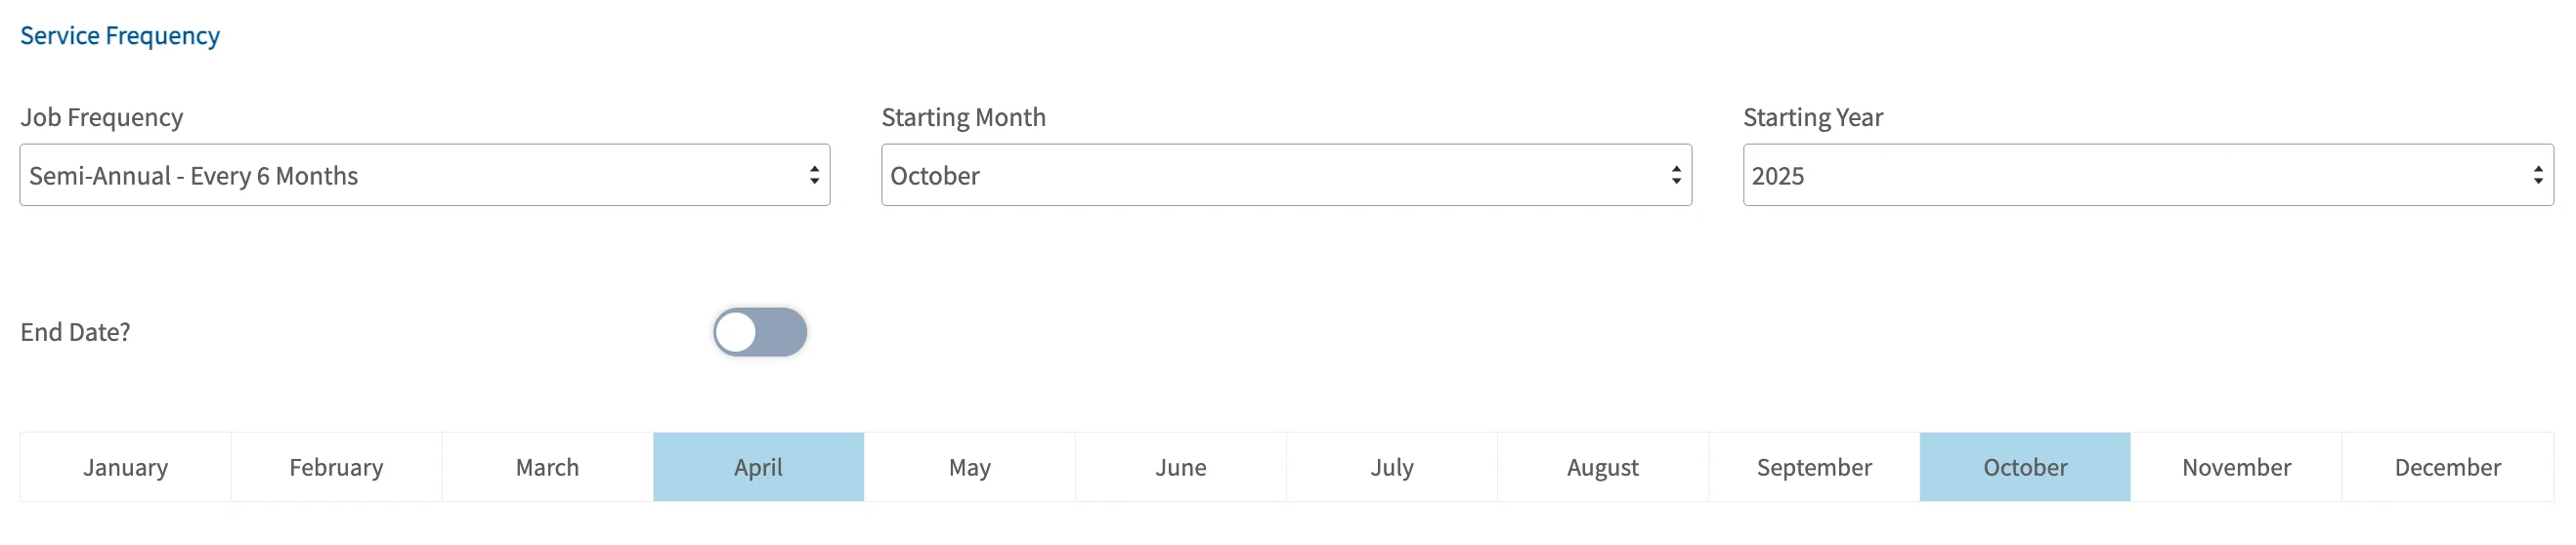
Occurrence creation
Associate a job template with each maintenance agreement occurrence. Turn on Set Maintenance Agreement Job Template, then search for an existing template under Search Job Templates or select Create Template to build one from this screen. For how templates are built, see Setting Up Job Templates. After you select a template, the Job Creation Method dropdown appears with two options:- Manual — every job associated with this maintenance agreement is created by hand from the maintenance agreement’s Jobs tab.
-
Automatic — jobs are auto-created from the selected template, maintaining a rolling basis of 12 months of future occurrences. These jobs are left unscheduled by default. You can schedule them from:
- The maintenance agreement’s Jobs tab.
- The Job List (filter for unscheduled).
- The hourglass scheduling tool on the Schedule tab.

Recurring billing
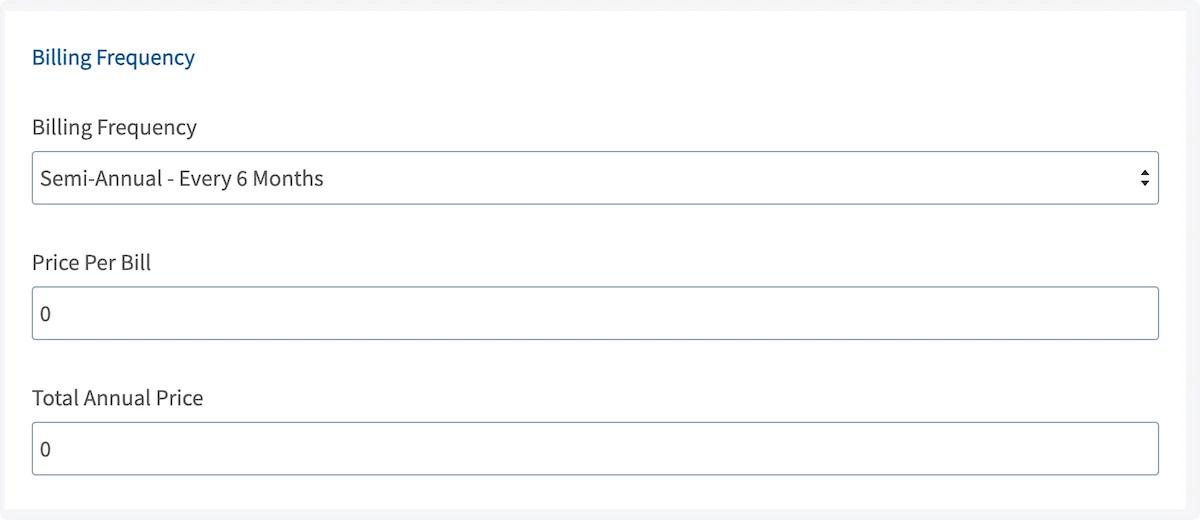
To bill this agreement on a recurring basis, turn on Attach or Create Recurring Billing?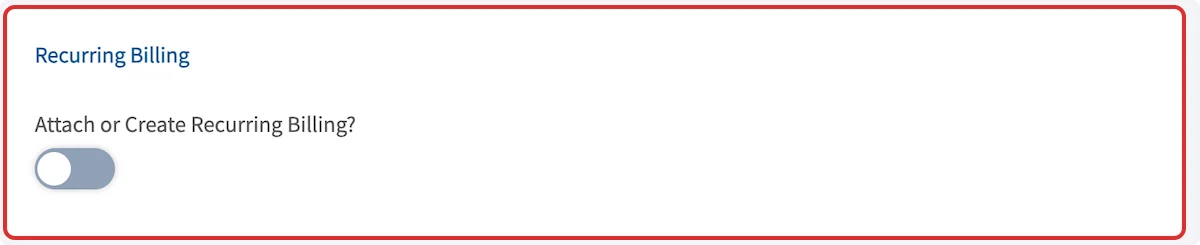
Automatic reminders
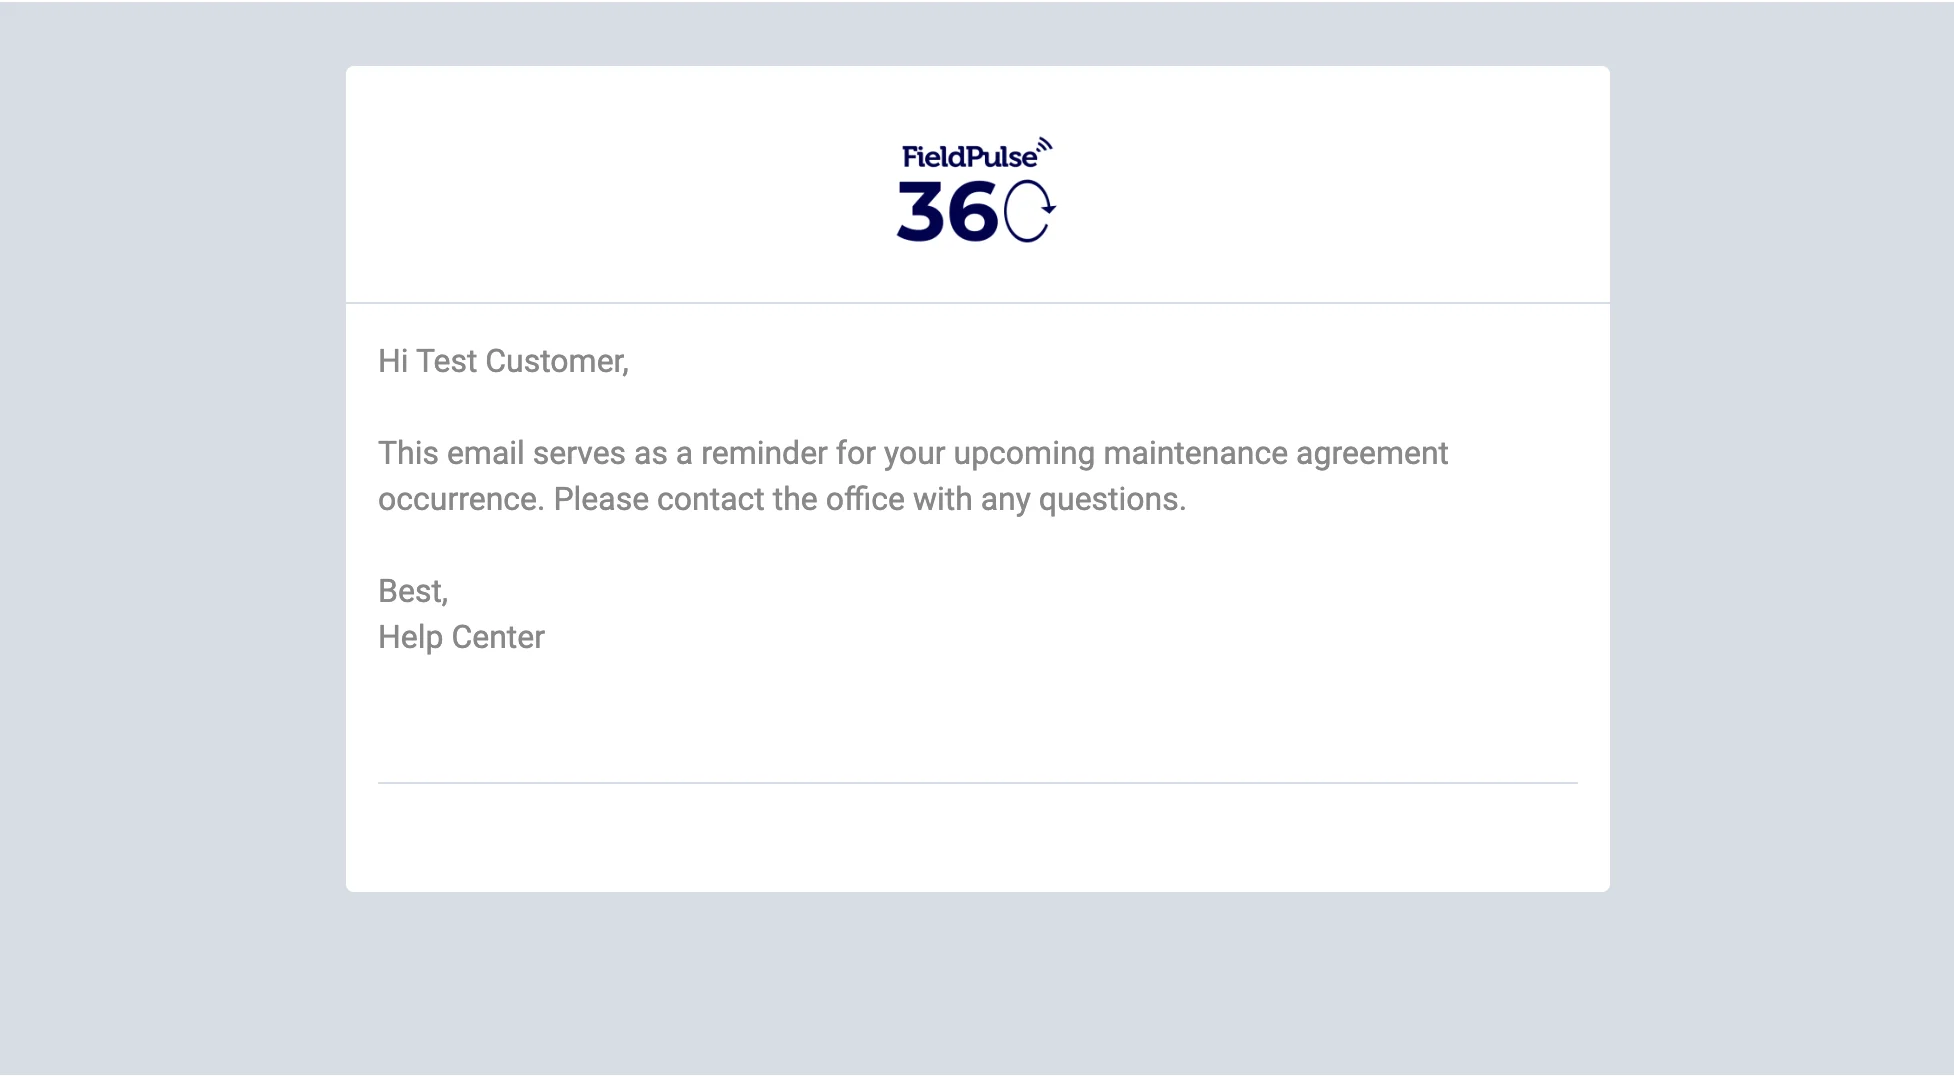
FieldPulse can send automatic email service reminders to customers and team members. Choose your preference from the Automatically Send Email Service Reminder dropdown.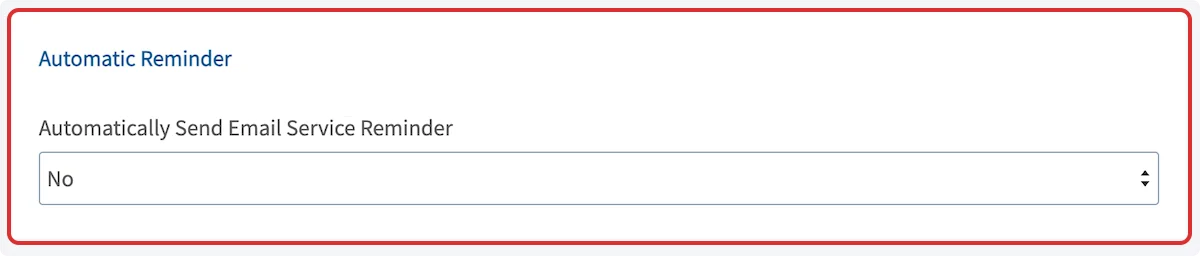
Notes
Agreement Notes (Internal Only) are internal records — your customers will not see them. Job Notes (Automatically Inserts Into New Jobs) are inserted into new job records — your customers will see them.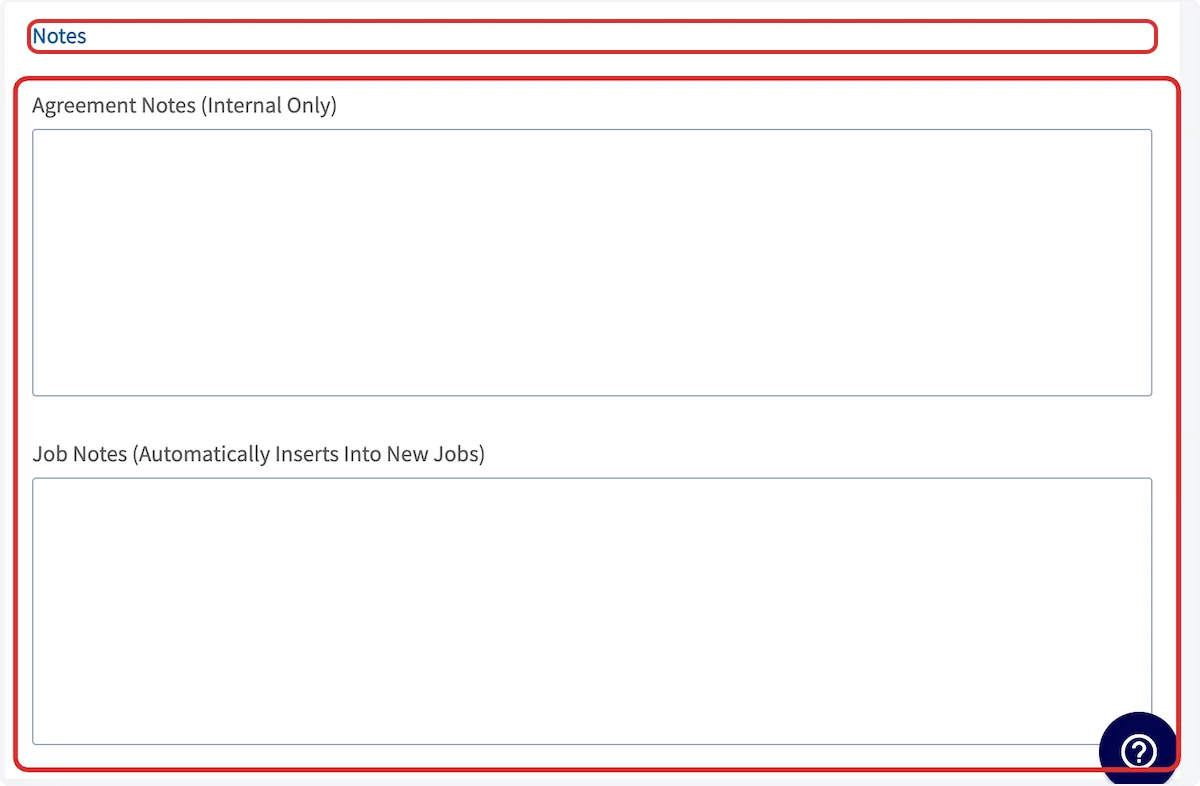
Link assets to the agreement
The Assets section appears only after a customer has been linked to the agreement.
- To link an existing asset, select Select Asset. A panel opens on the right side of the screen with all assets belonging to the linked customer, where you can filter by location or view all of that customer’s assets. Select the asset or assets you want to link.
- To create and link a new asset, select Add Asset.
Save and reuse agreement templates
A saved template acts as a foundation for a new agreement — you insert it, then modify the details for the customer in front of you. To create an agreement template:-
Select Agreements in the left-side menu, then Create Agreement.
-
Before adding any information, turn on Save As Agreement Template.
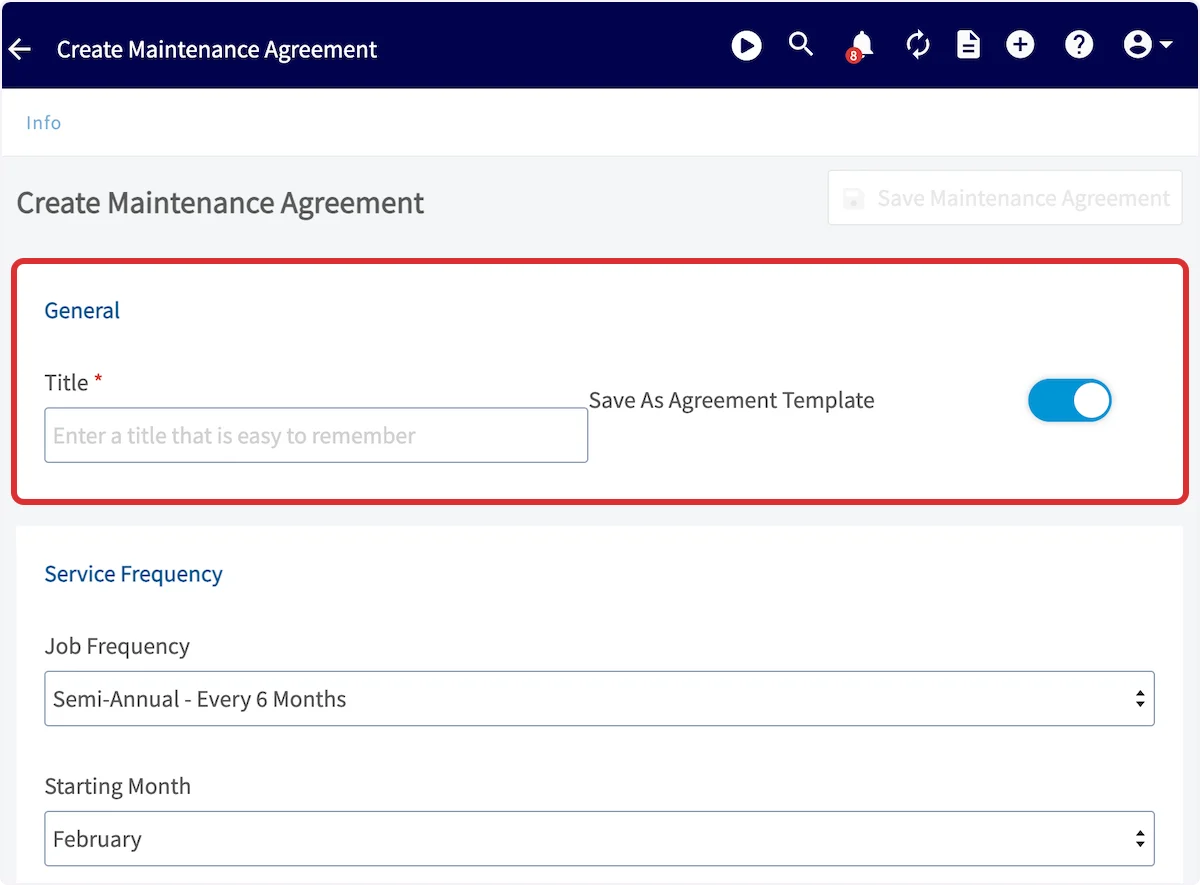
- Title the template, then enter all pertinent details — scheduling, billing, automatic reminders, and notes.
- Select Save Maintenance Agreement.
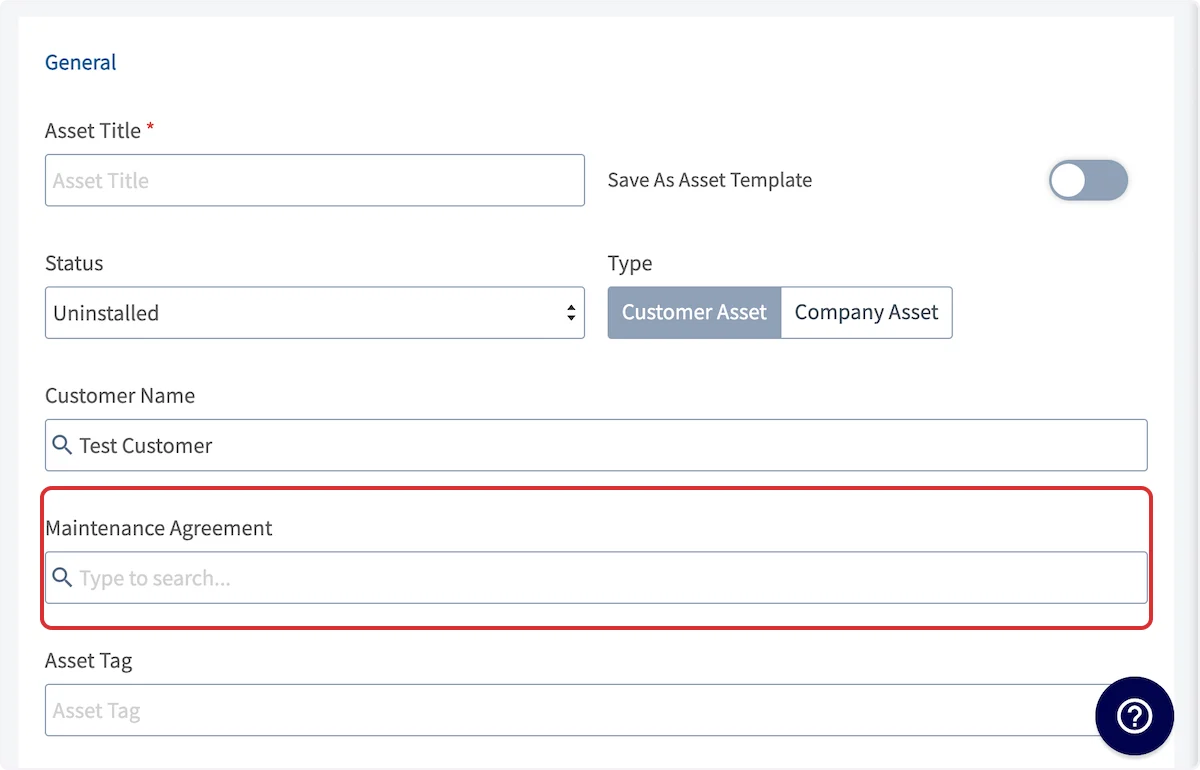
Attach an agreement to an asset
Select Assets from the left-side menu, then select Create Asset.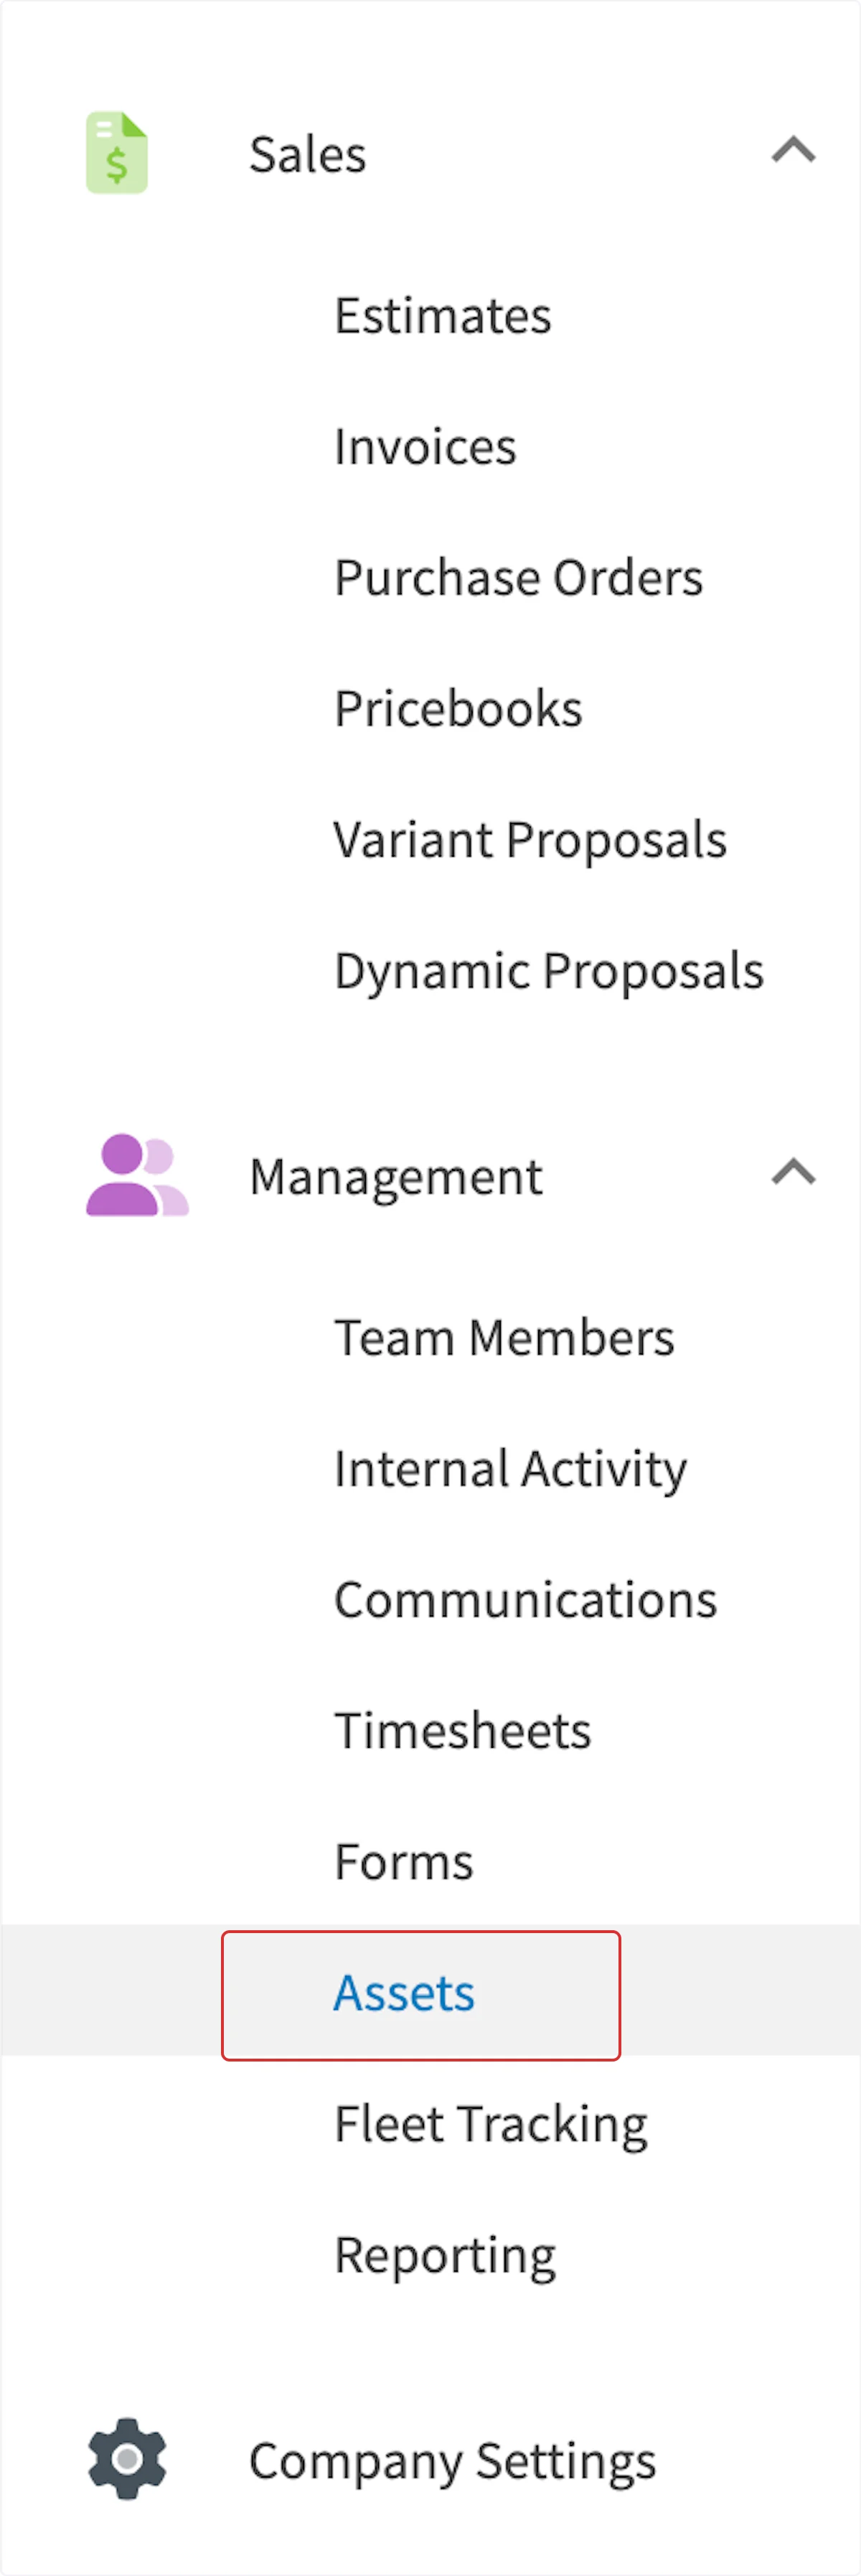


Unlink an asset from an agreement
Open the maintenance agreement record and select the Assets tab. On the far right of the linked asset, select the unlink option. A pop-up asks whether you want to unlink the asset from all existing and future maintenance agreement occurrences, or only from future occurrences.
Send a contract for signature
- Create the maintenance agreement.
-
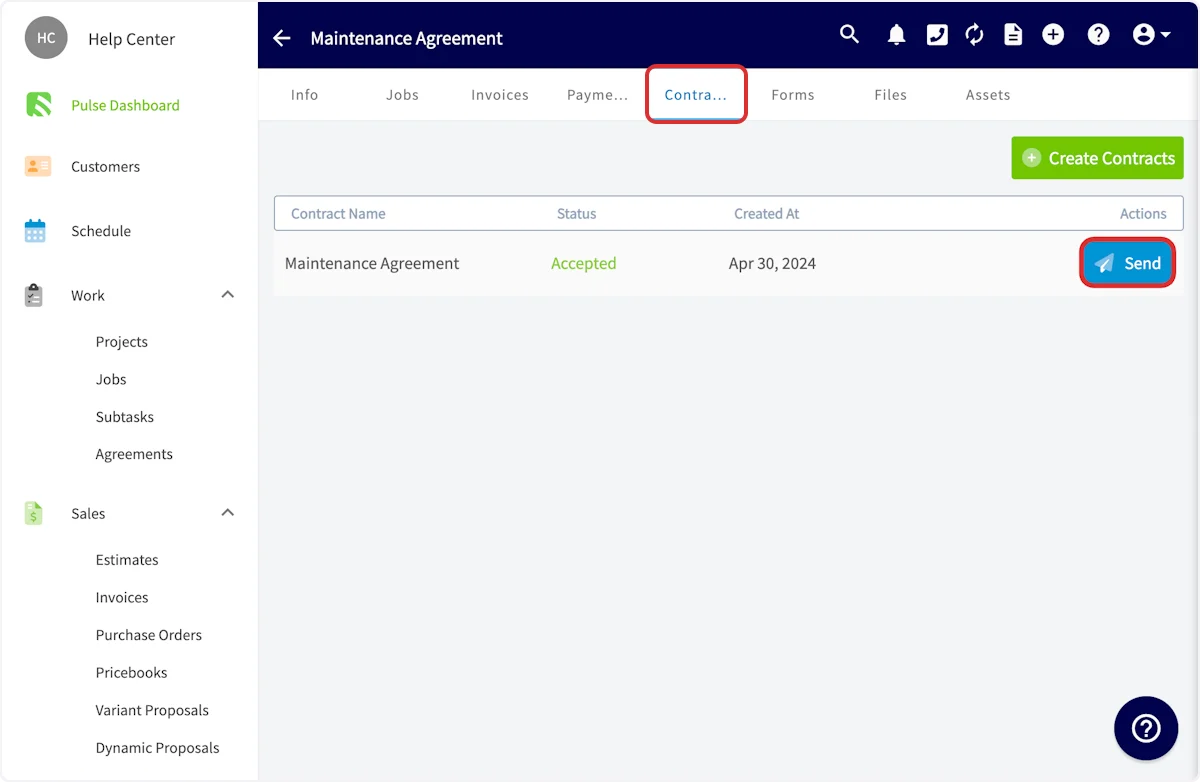
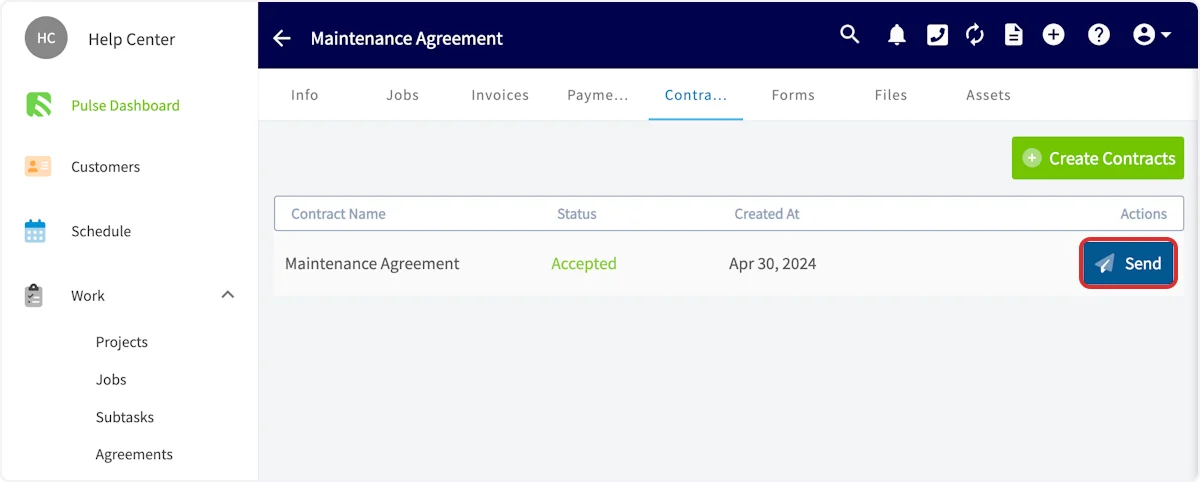
Select Contracts in the top menu of the agreement record. From here you can create a contract, send a contract already attached to the maintenance agreement, and view the status of attached contracts.
-
After creating a contract, select Send to email it to the customer for acceptance.
-
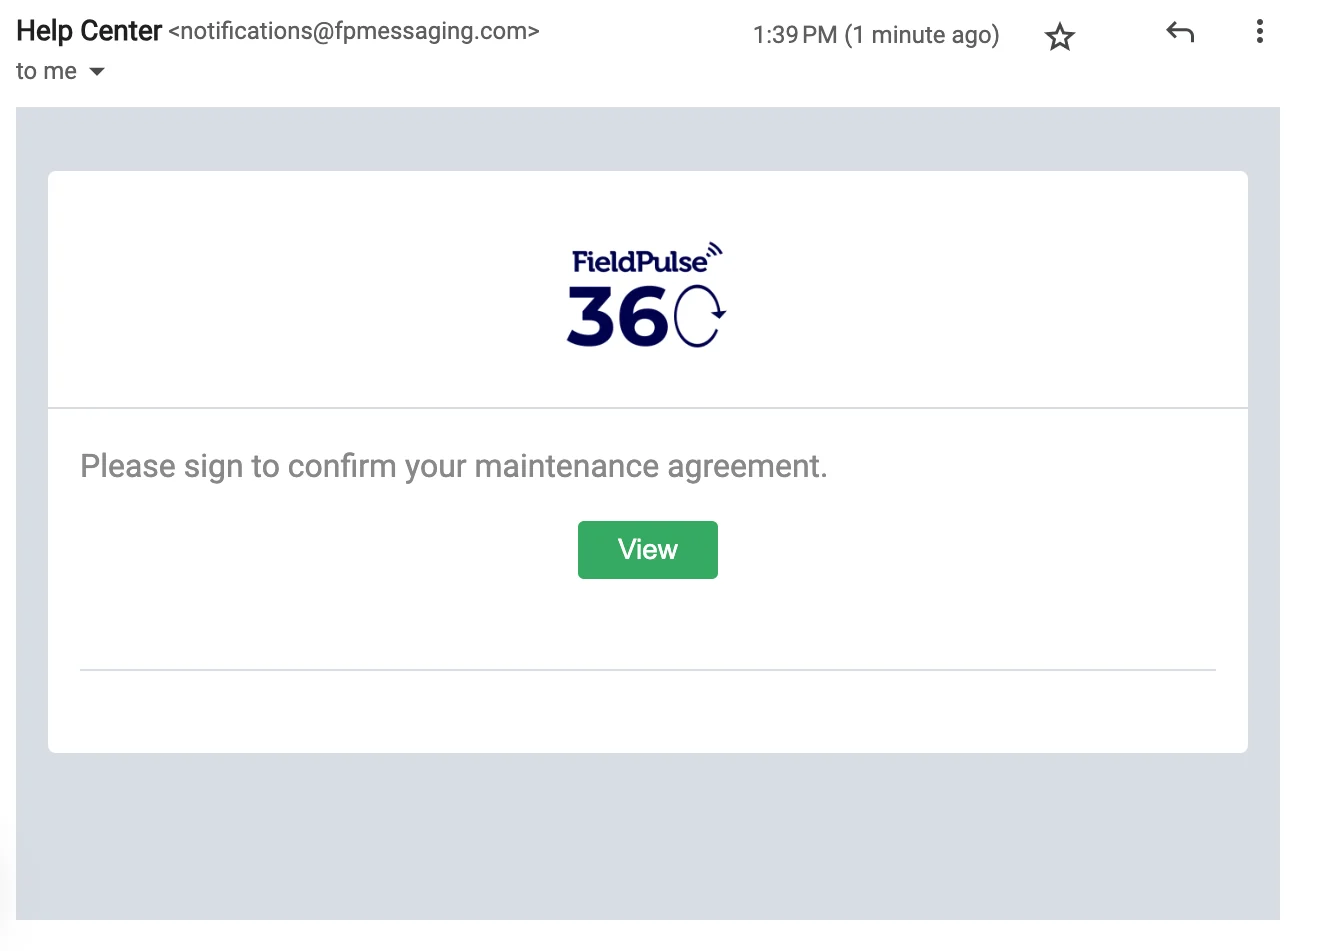
Your customer receives an email with your customized message, logo, and name.
-
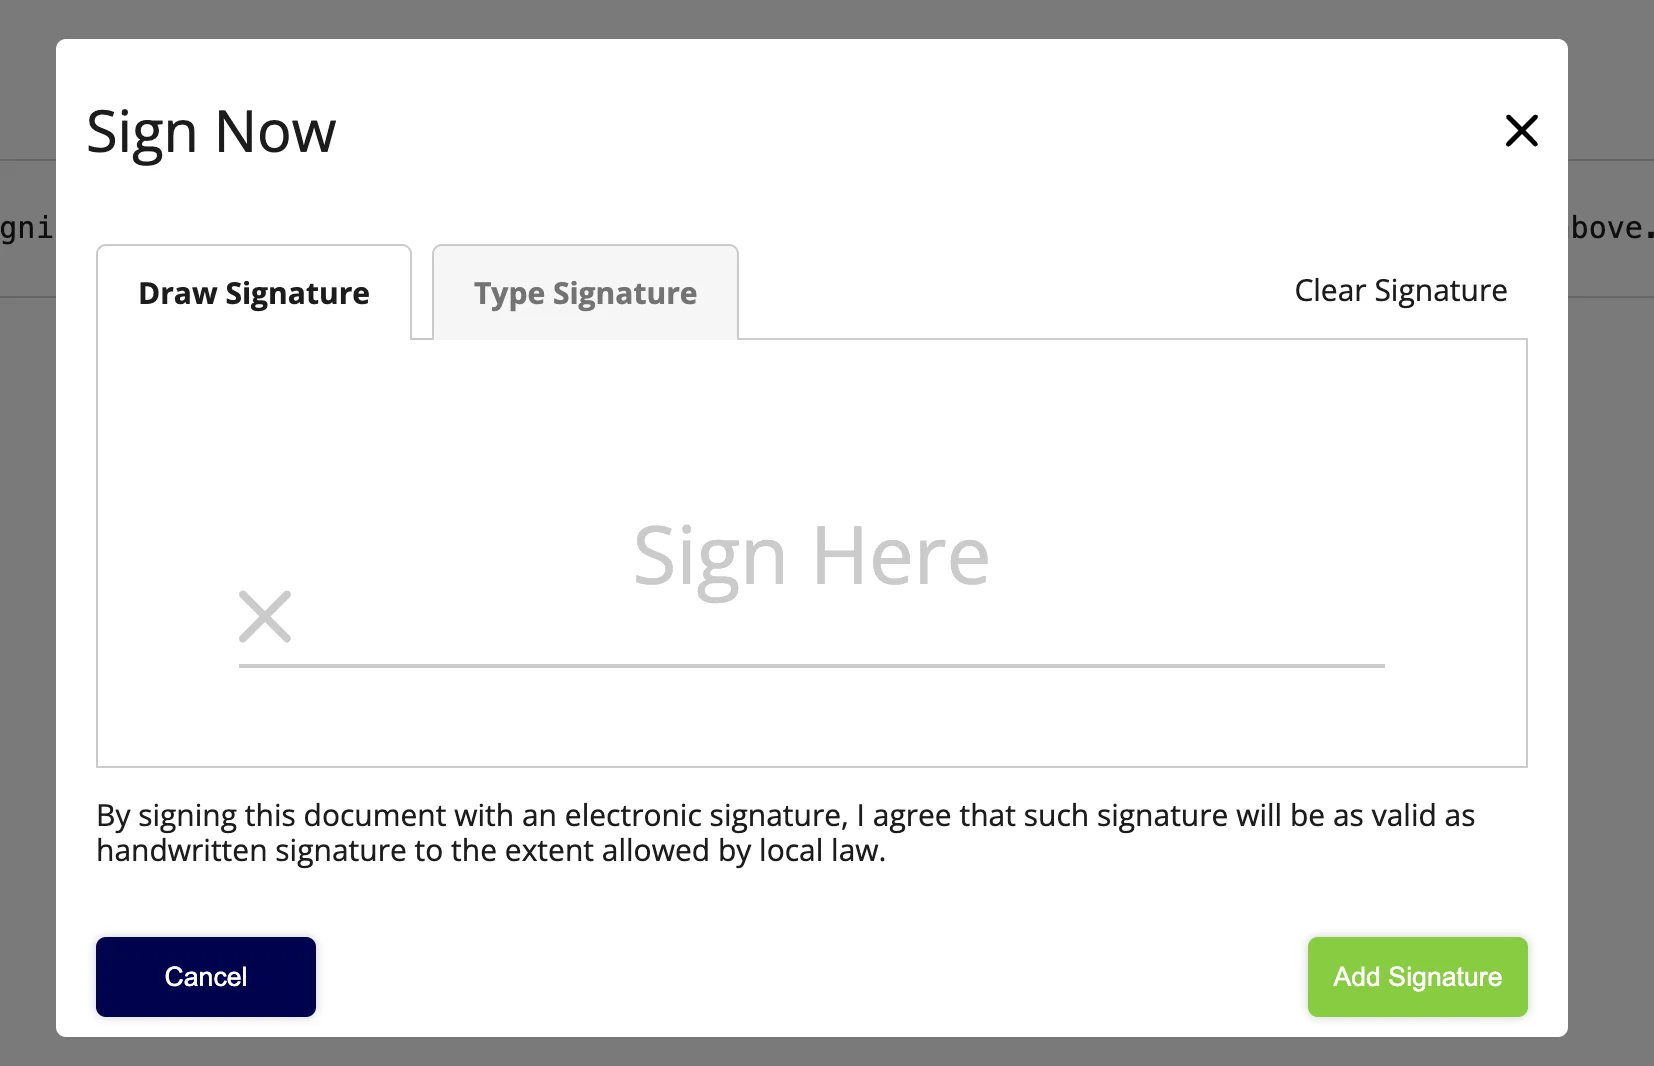
The customer views the contract and accepts it by providing an e-signature.
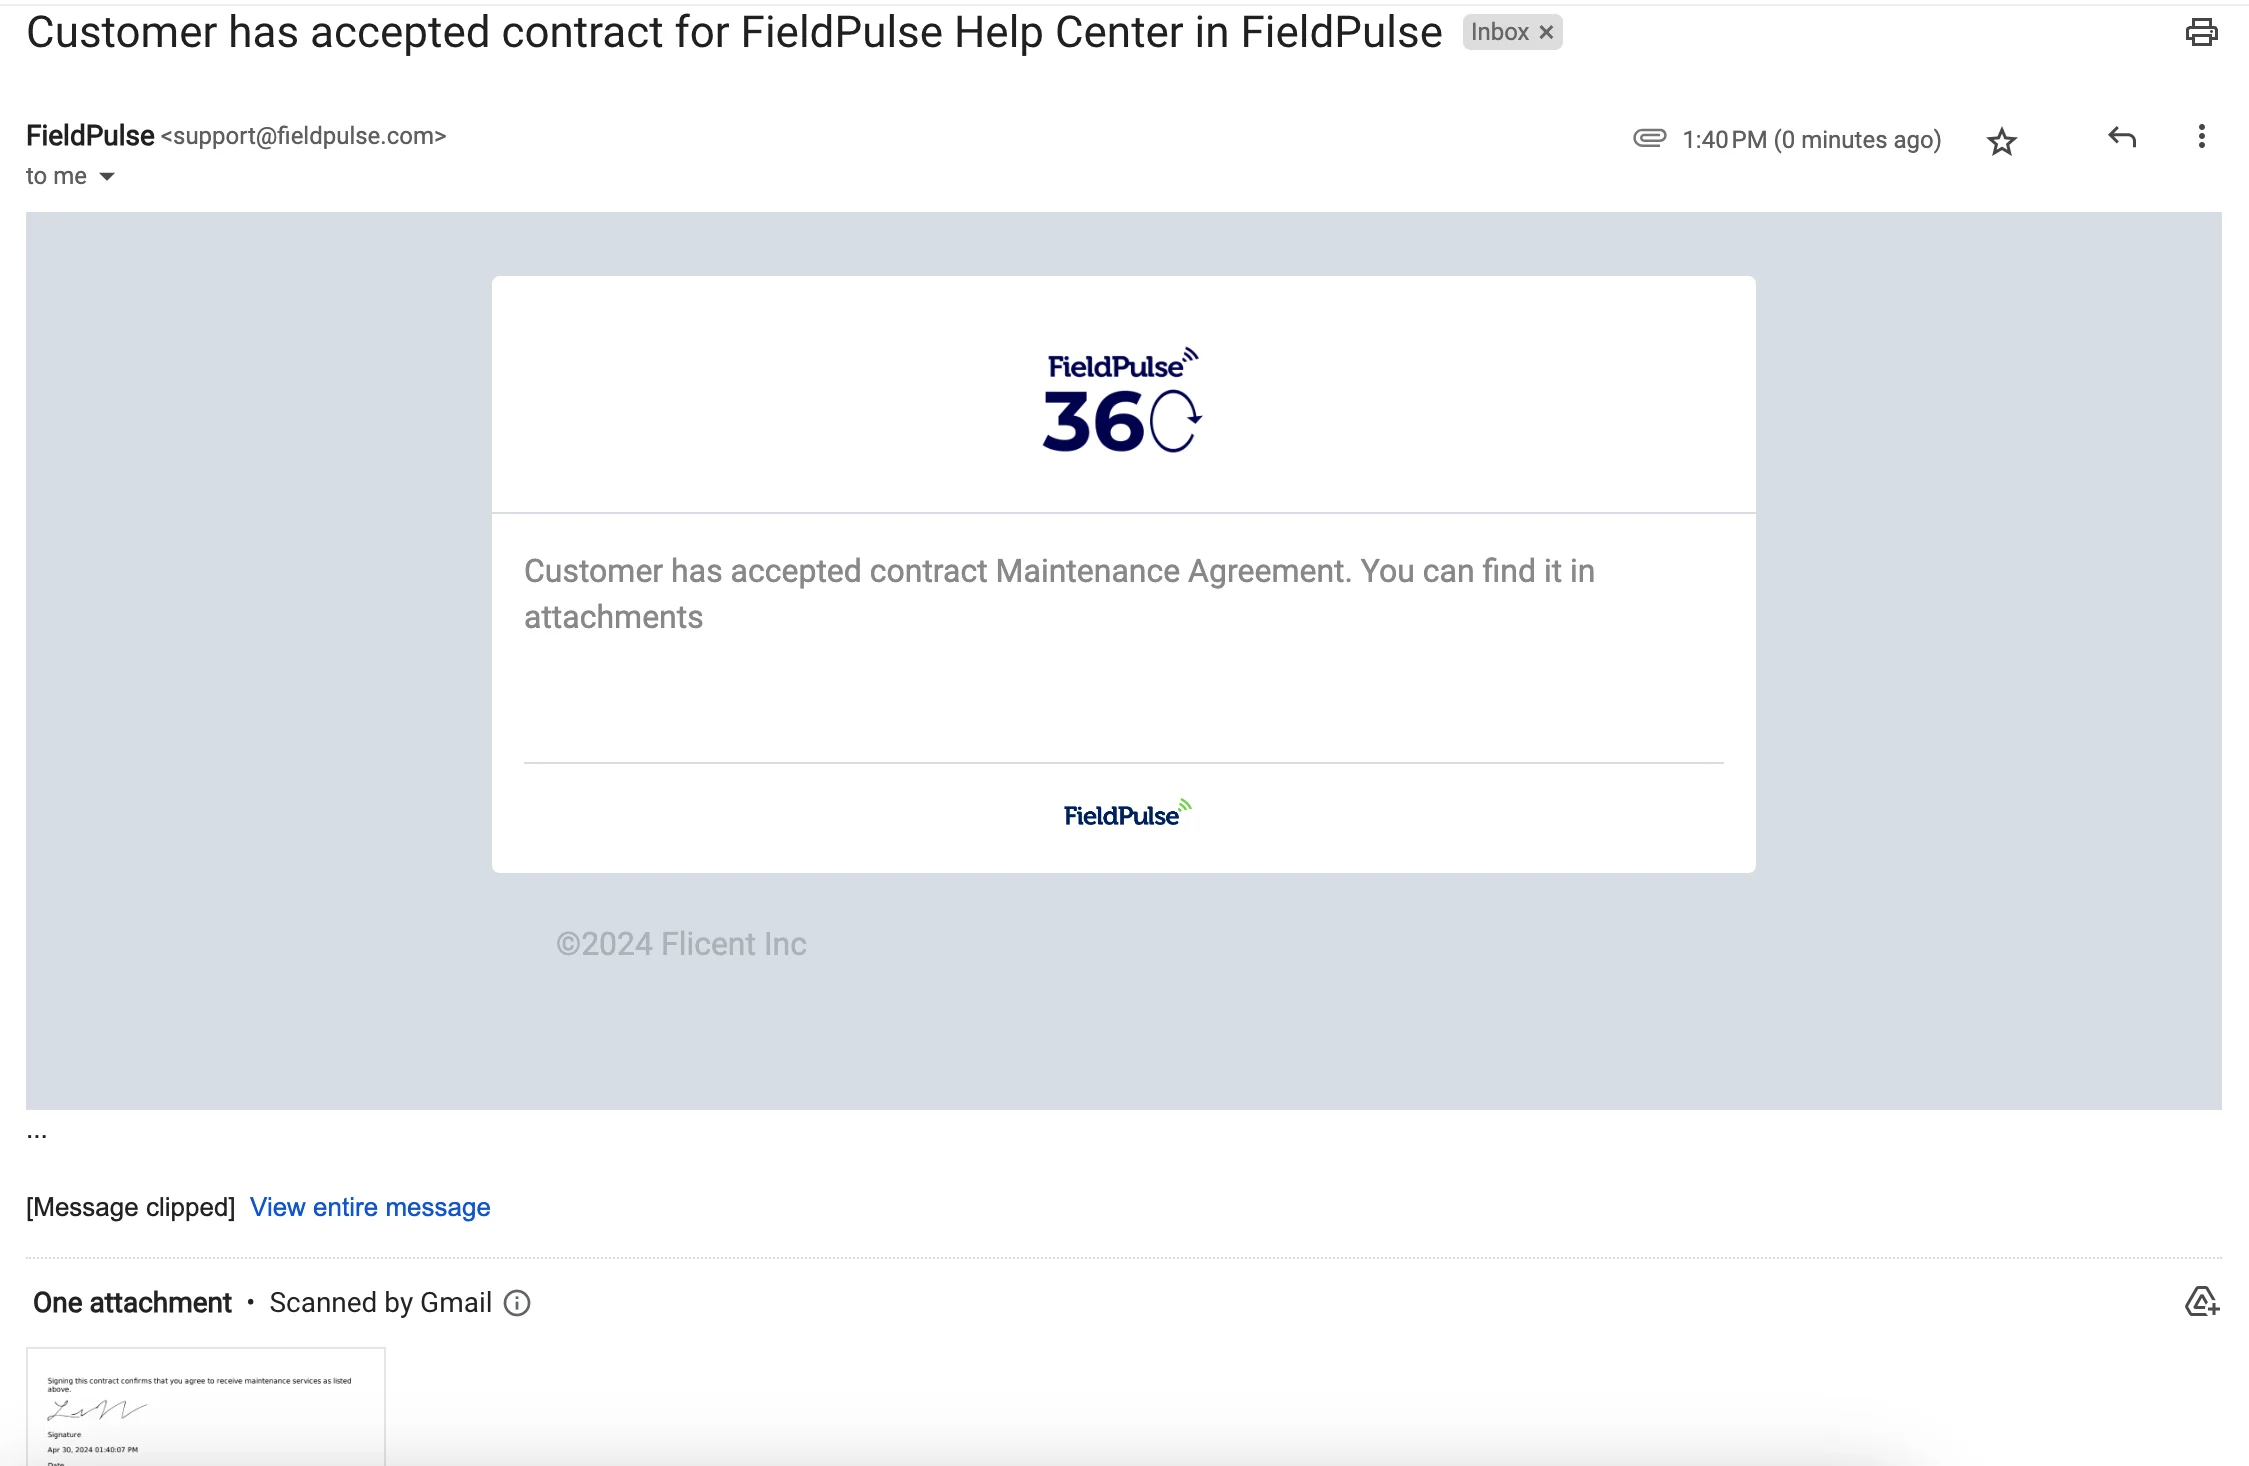
- Once the customer accepts the contract, you receive an email and can view the attached contract. The status of the contract is also updated on the maintenance agreement’s Contracts tab.
Schedule visits manually
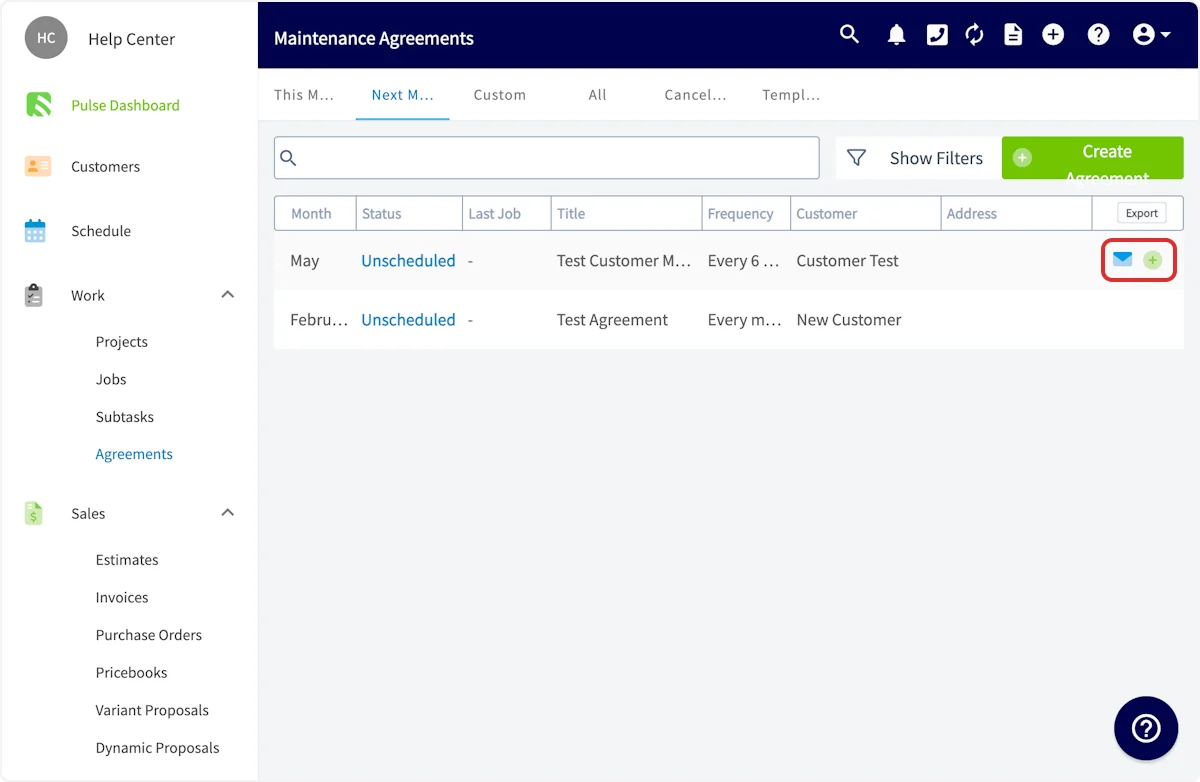
- Use the tabs at the top of the Maintenance Agreements page — This Month, Next Month, Custom, All, Canceled, and Templates — to sort your agreements and find the one you want to schedule a visit for.
-
Hover over the agreement and select the plus icon.
-
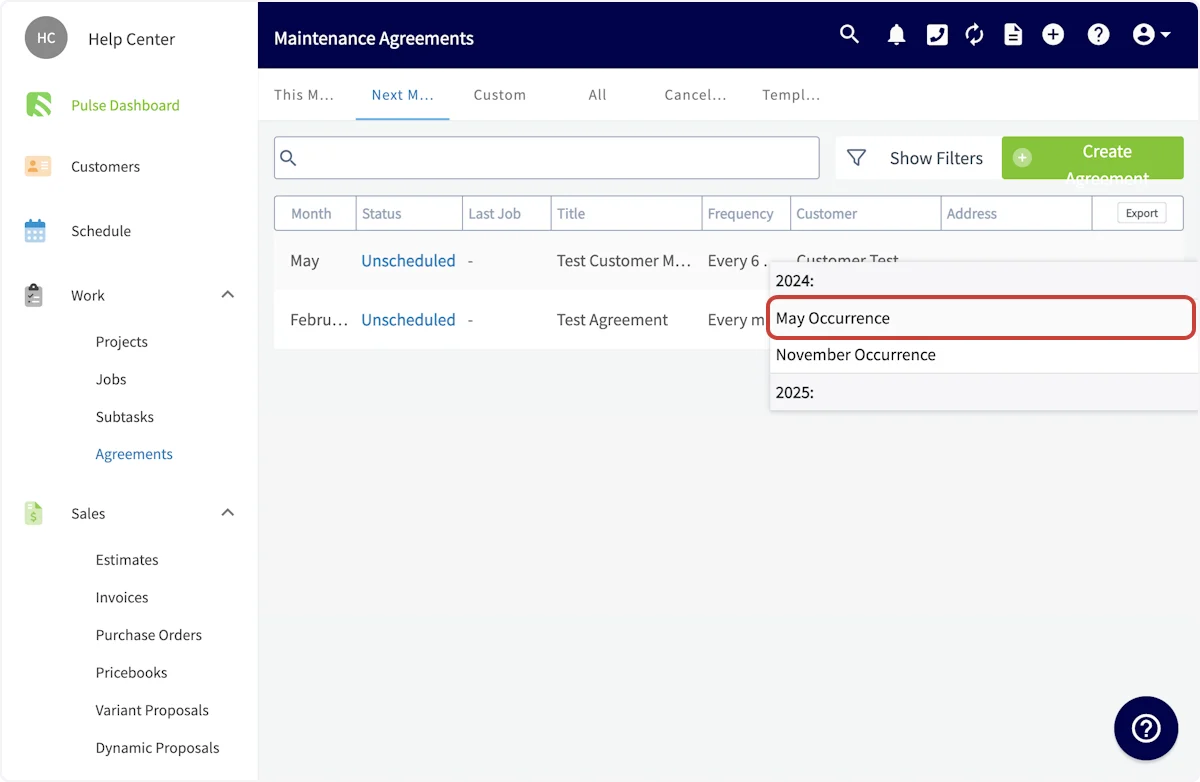
Select the upcoming occurrence you want to schedule a job for.
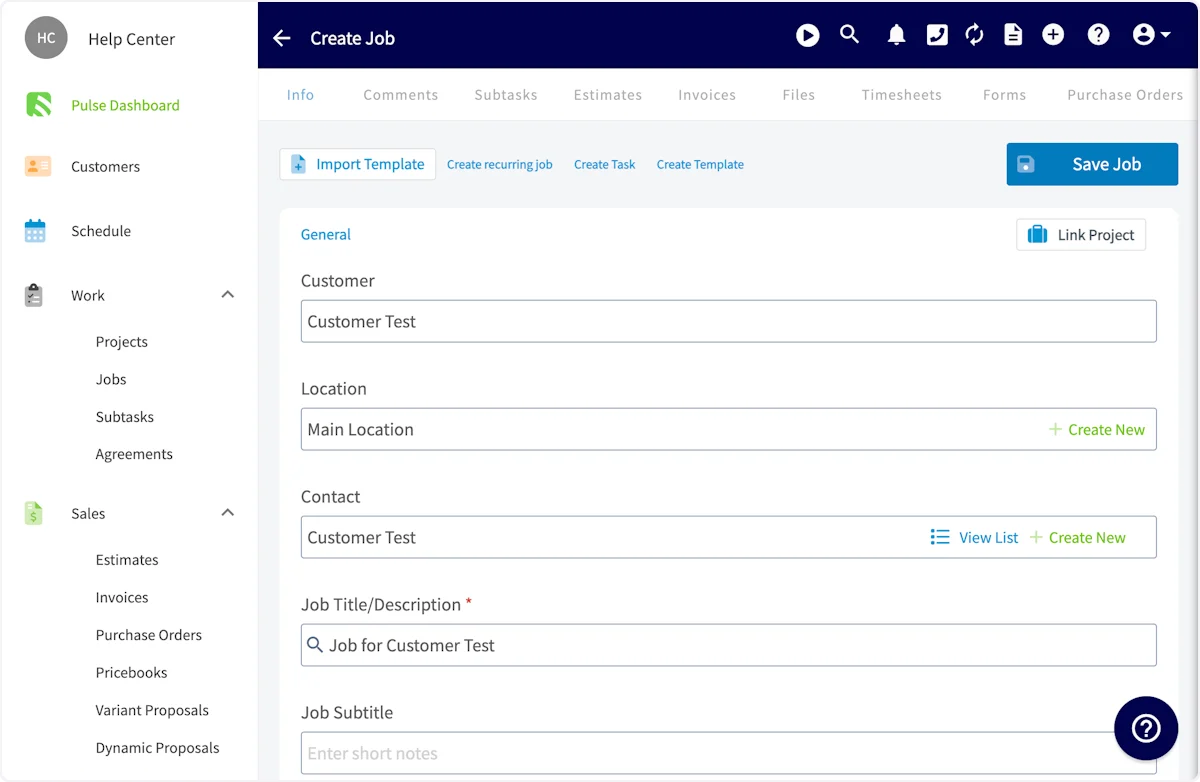
- A job record is auto-populated with your customer’s name and details. Fill in any additional information, including date, time, and notes, then select Save Job.
Schedule automatically created jobs
If you selected Automatic in the Job Creation Method dropdown, FieldPulse creates every job record associated with the maintenance agreement and leaves those jobs unscheduled, so you decide when they fit best into your schedule. On the Schedule tab, select the hourglass icon. A window appears toward the left side of your screen. Select the filter icon, then filter for jobs associated with your maintenance agreements.
Filter active and archived agreements
The Active/Archived filter toggles between active and archived agreements. You can view archived agreements and restore them whenever you need them — select Restore on the agreement’s row. See How do I restore an archived record? for the steps. Cancelled agreements remain visible in both views, so you never lose track of a maintenance agreement after it has been cancelled, and the Status column distinguishes active from cancelled agreements at a glance.

Video walkthrough: Maintenance agreements in the web app
On mobile
Create an agreement
-
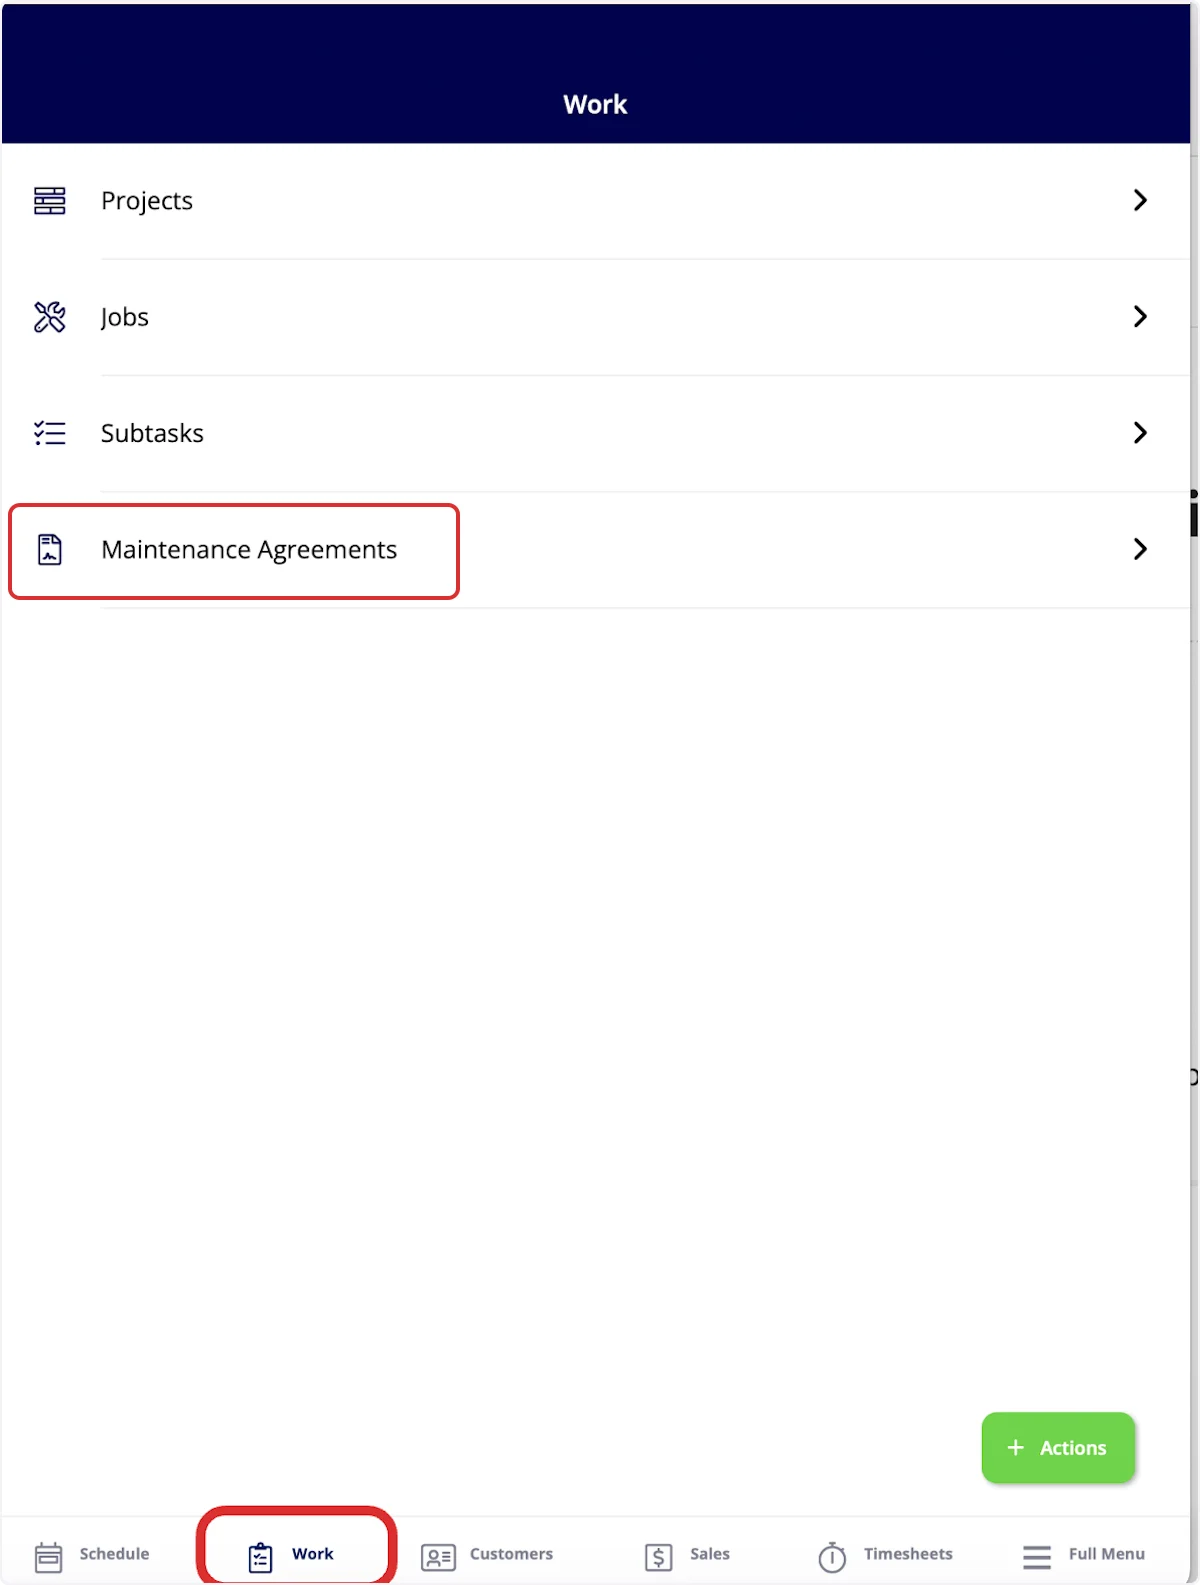
Select the Work tab in the bottom menu, then select Maintenance Agreements.
-
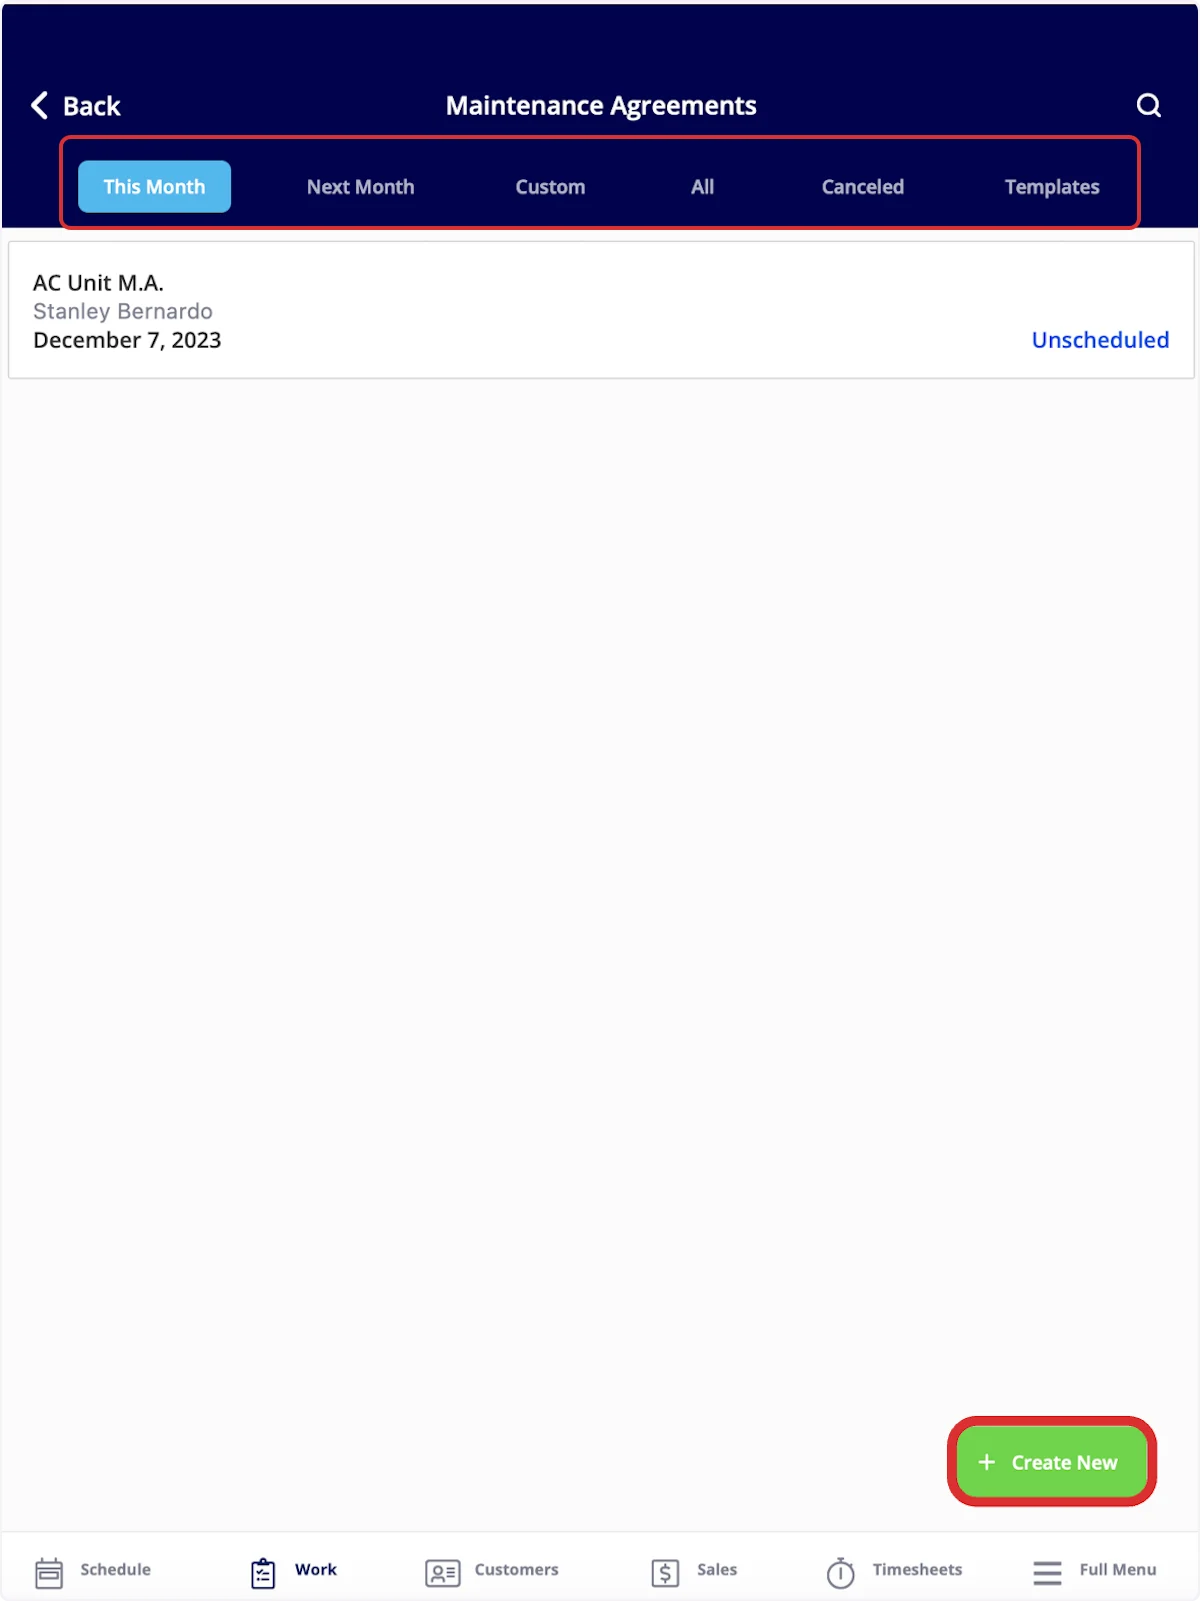
Sort your maintenance agreements using the bar at the top of the screen — This Month, Next Month, Custom, All, Canceled, and Templates. To build a new one, select Create New.
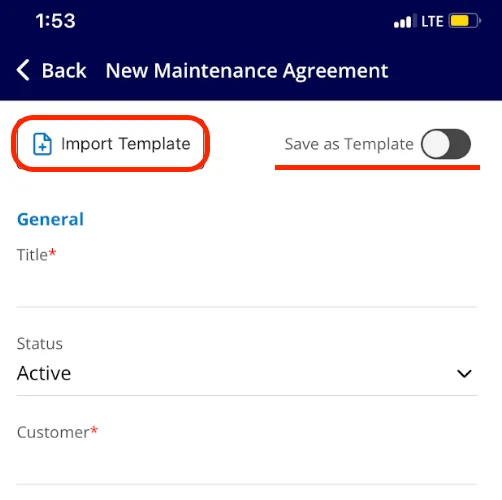
- Select Import Template to build the agreement from an existing template, or fill out the details to start from scratch. Turn on the Save as Template toggle if you want to reuse this agreement later. For what each field controls, see the On web steps above.
View a customer’s agreements
Select the Customers tab in the bottom menu, then open a customer. At the top of the customer record, select Maintenance Agreements. You can view and edit the existing maintenance agreements linked to this customer, and select Create Maintenance Agreement to add a new one.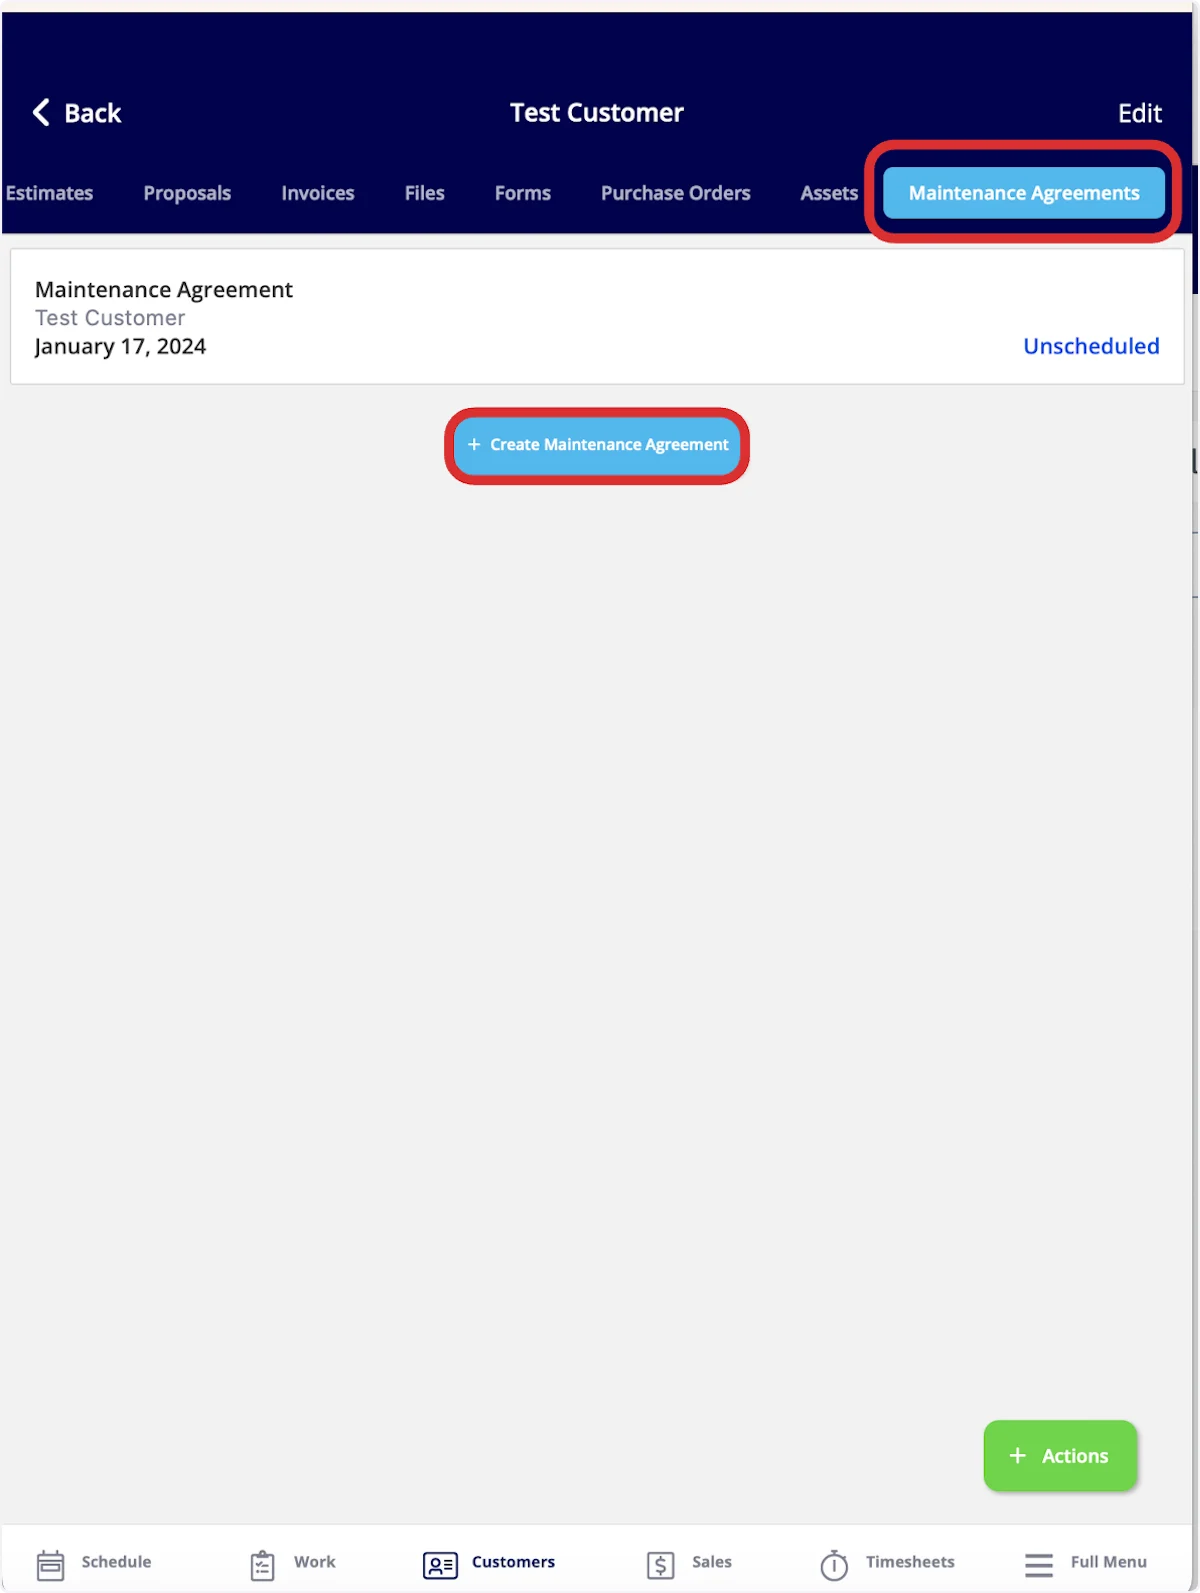
Video walkthrough: Maintenance agreements in the mobile app