Overview
Custom Form Settings is where you configure the core behavior of each custom form you create in FieldPulse. From here, you can name your form, adjust font sizes, control which records the form can be attached to, set user permissions, and define default email and SMS messaging. Getting these settings right before building your form ensures it works exactly the way your team needs it to.How to Access Form Settings
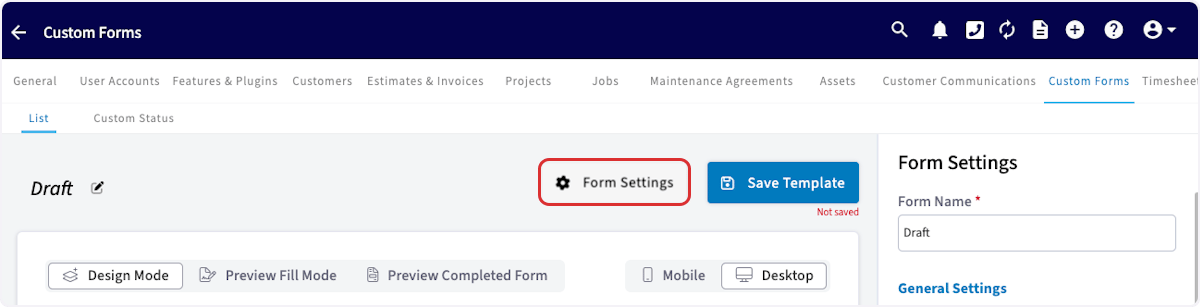
To access the settings for a custom form, navigate to Company Settings and select Custom Forms.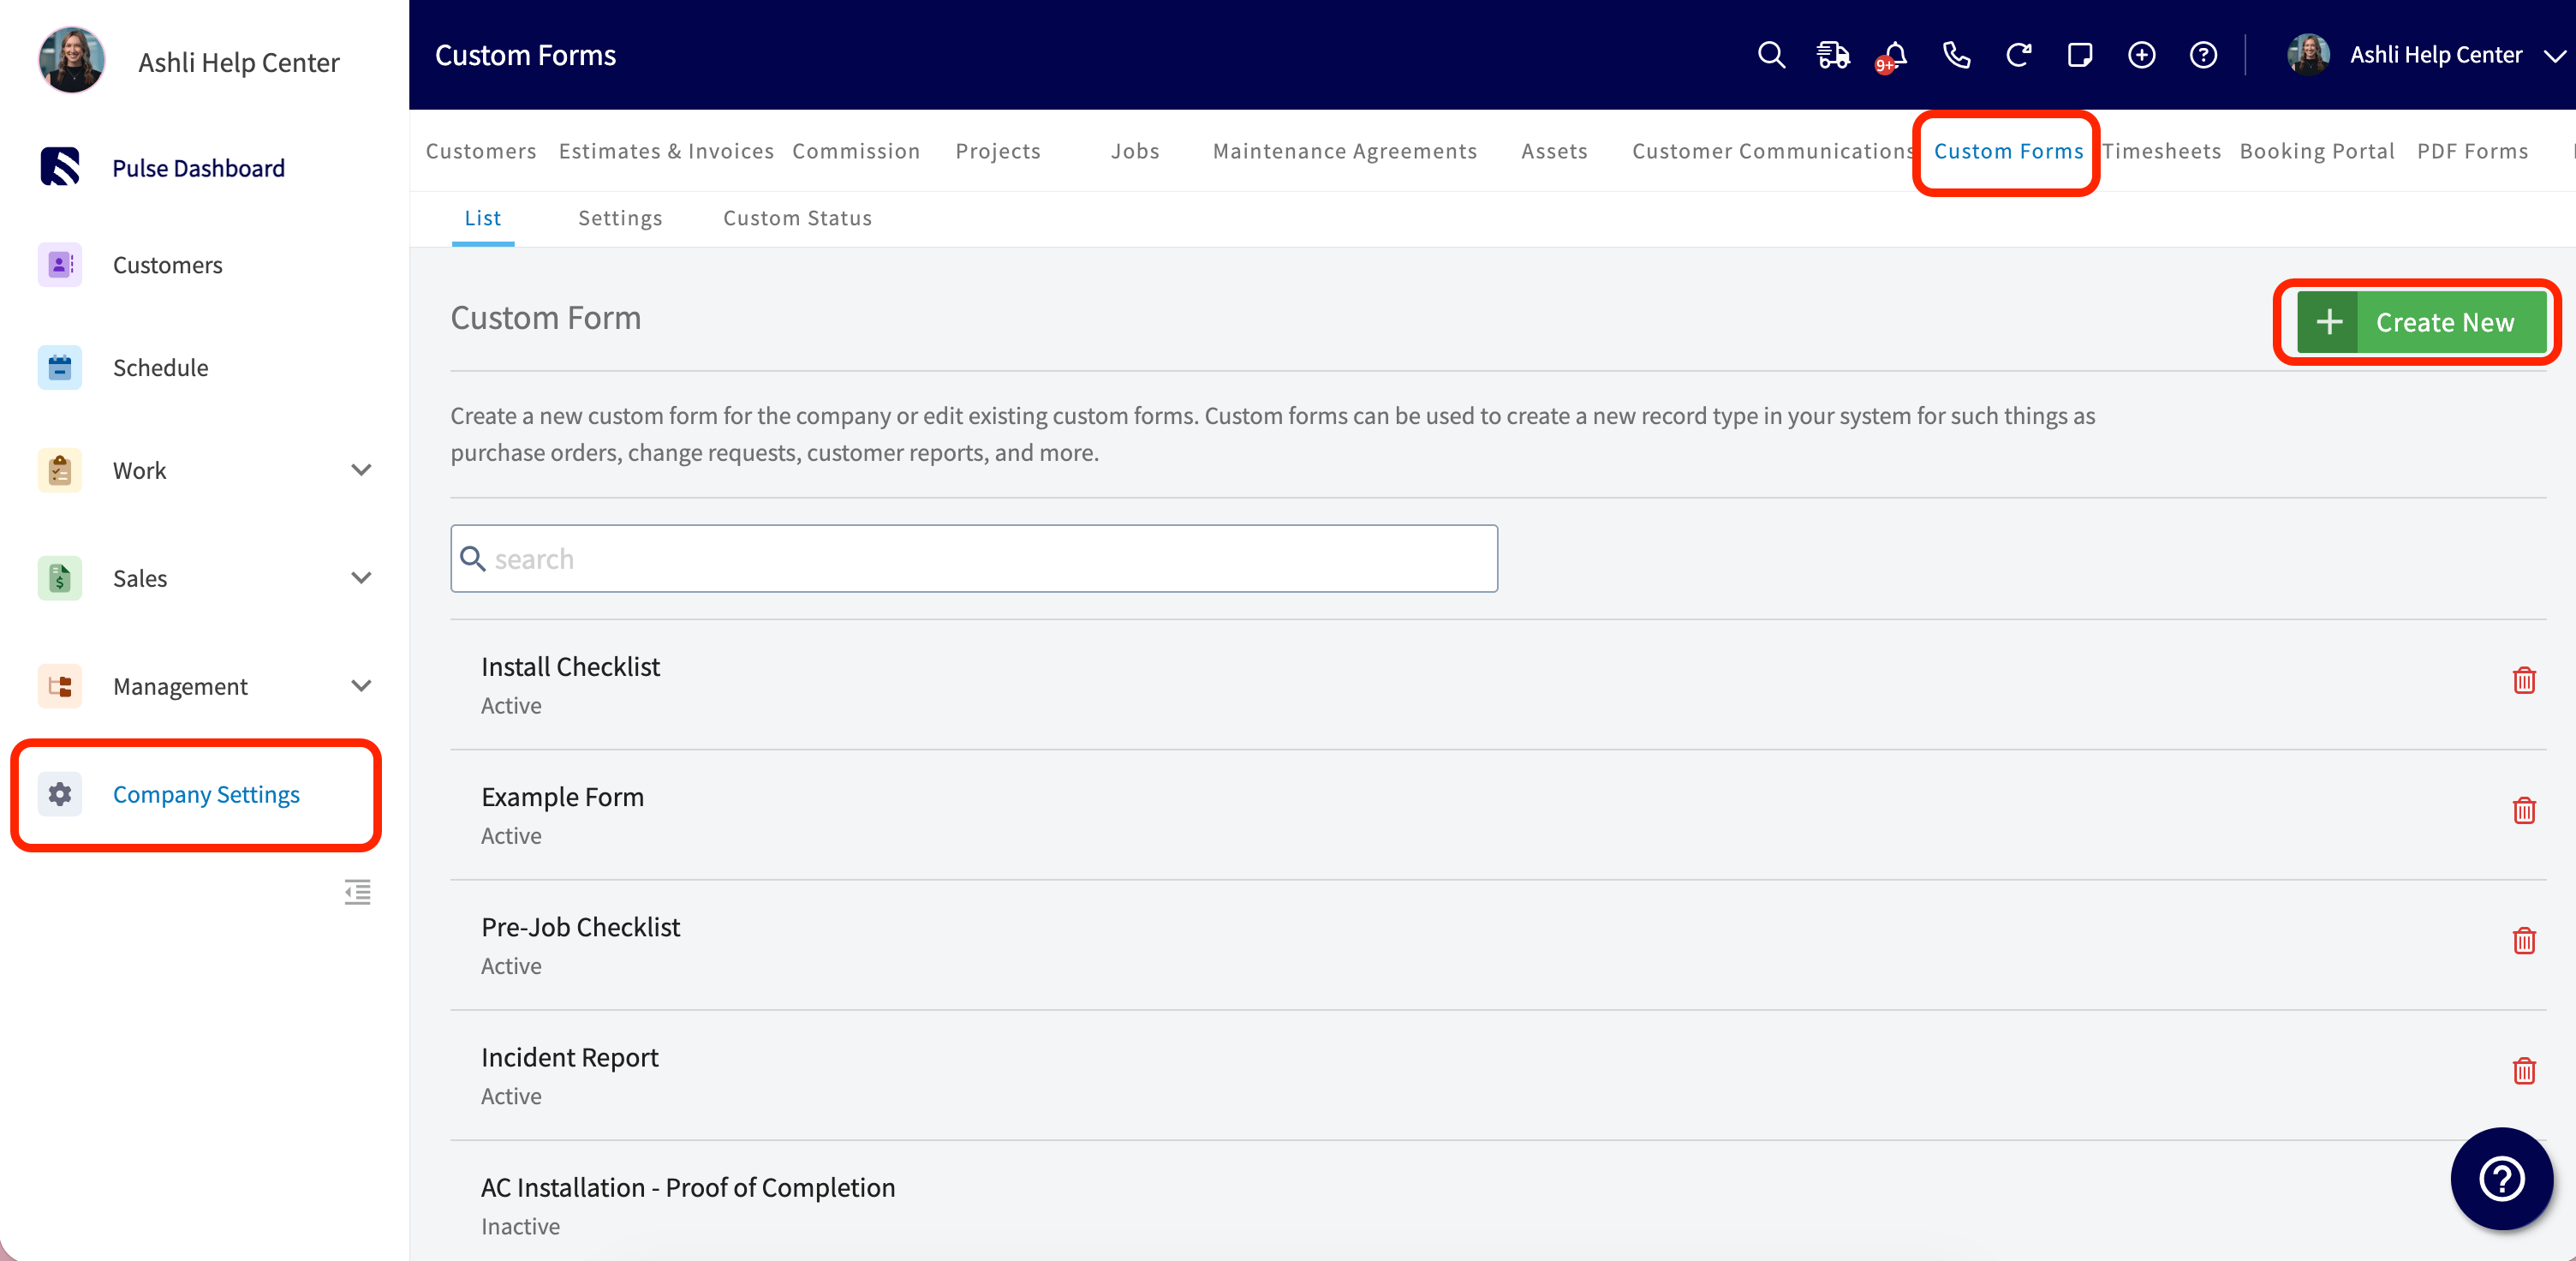
General Settings
Form Name
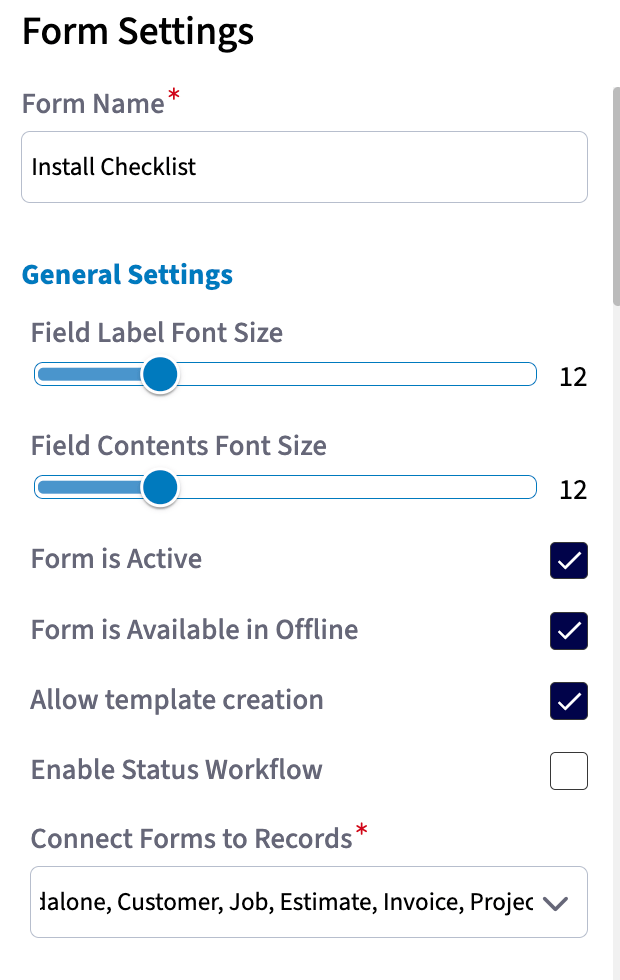
At the top of the Form Settings panel, enter a name for your form. This is the name that will appear throughout FieldPulse when attaching the form to records.Field Label Font Size
Set the font size for field labels on your form. Select any value between 8 and 24.Field Contents Font Size
Set the font size for the content entered inside form fields. Select any value between 8 and 24.Form is Active
Toggle this on to make the form available for use across FieldPulse. If toggled off, the form will not appear when creating new forms on records.Form is Available in Offline
Toggle this on to make this form template available when working in Offline Mode. Up to 20 form templates can be made available offline. Toggling this off will exclude the form from that offline pool.Allow Template Creation
Toggle this on to allow this form to be used as a template when creating future forms.Lock Dynamic Link once Completed or Signed
Control what happens to the form’s public link once every signature field on the form has been completed. When toggled On: as soon as all signatures on the form are collected, the form locks. Anyone visiting the public link sees a confirmation screen saying “Your submission has been sent! Download the PDF” and can no longer submit additional changes. When toggled Off: the public link stays open for additional submissions even after all required signatures are collected. Use this if you need more than one person to sign via the same link, or if edits may need to be made after signing.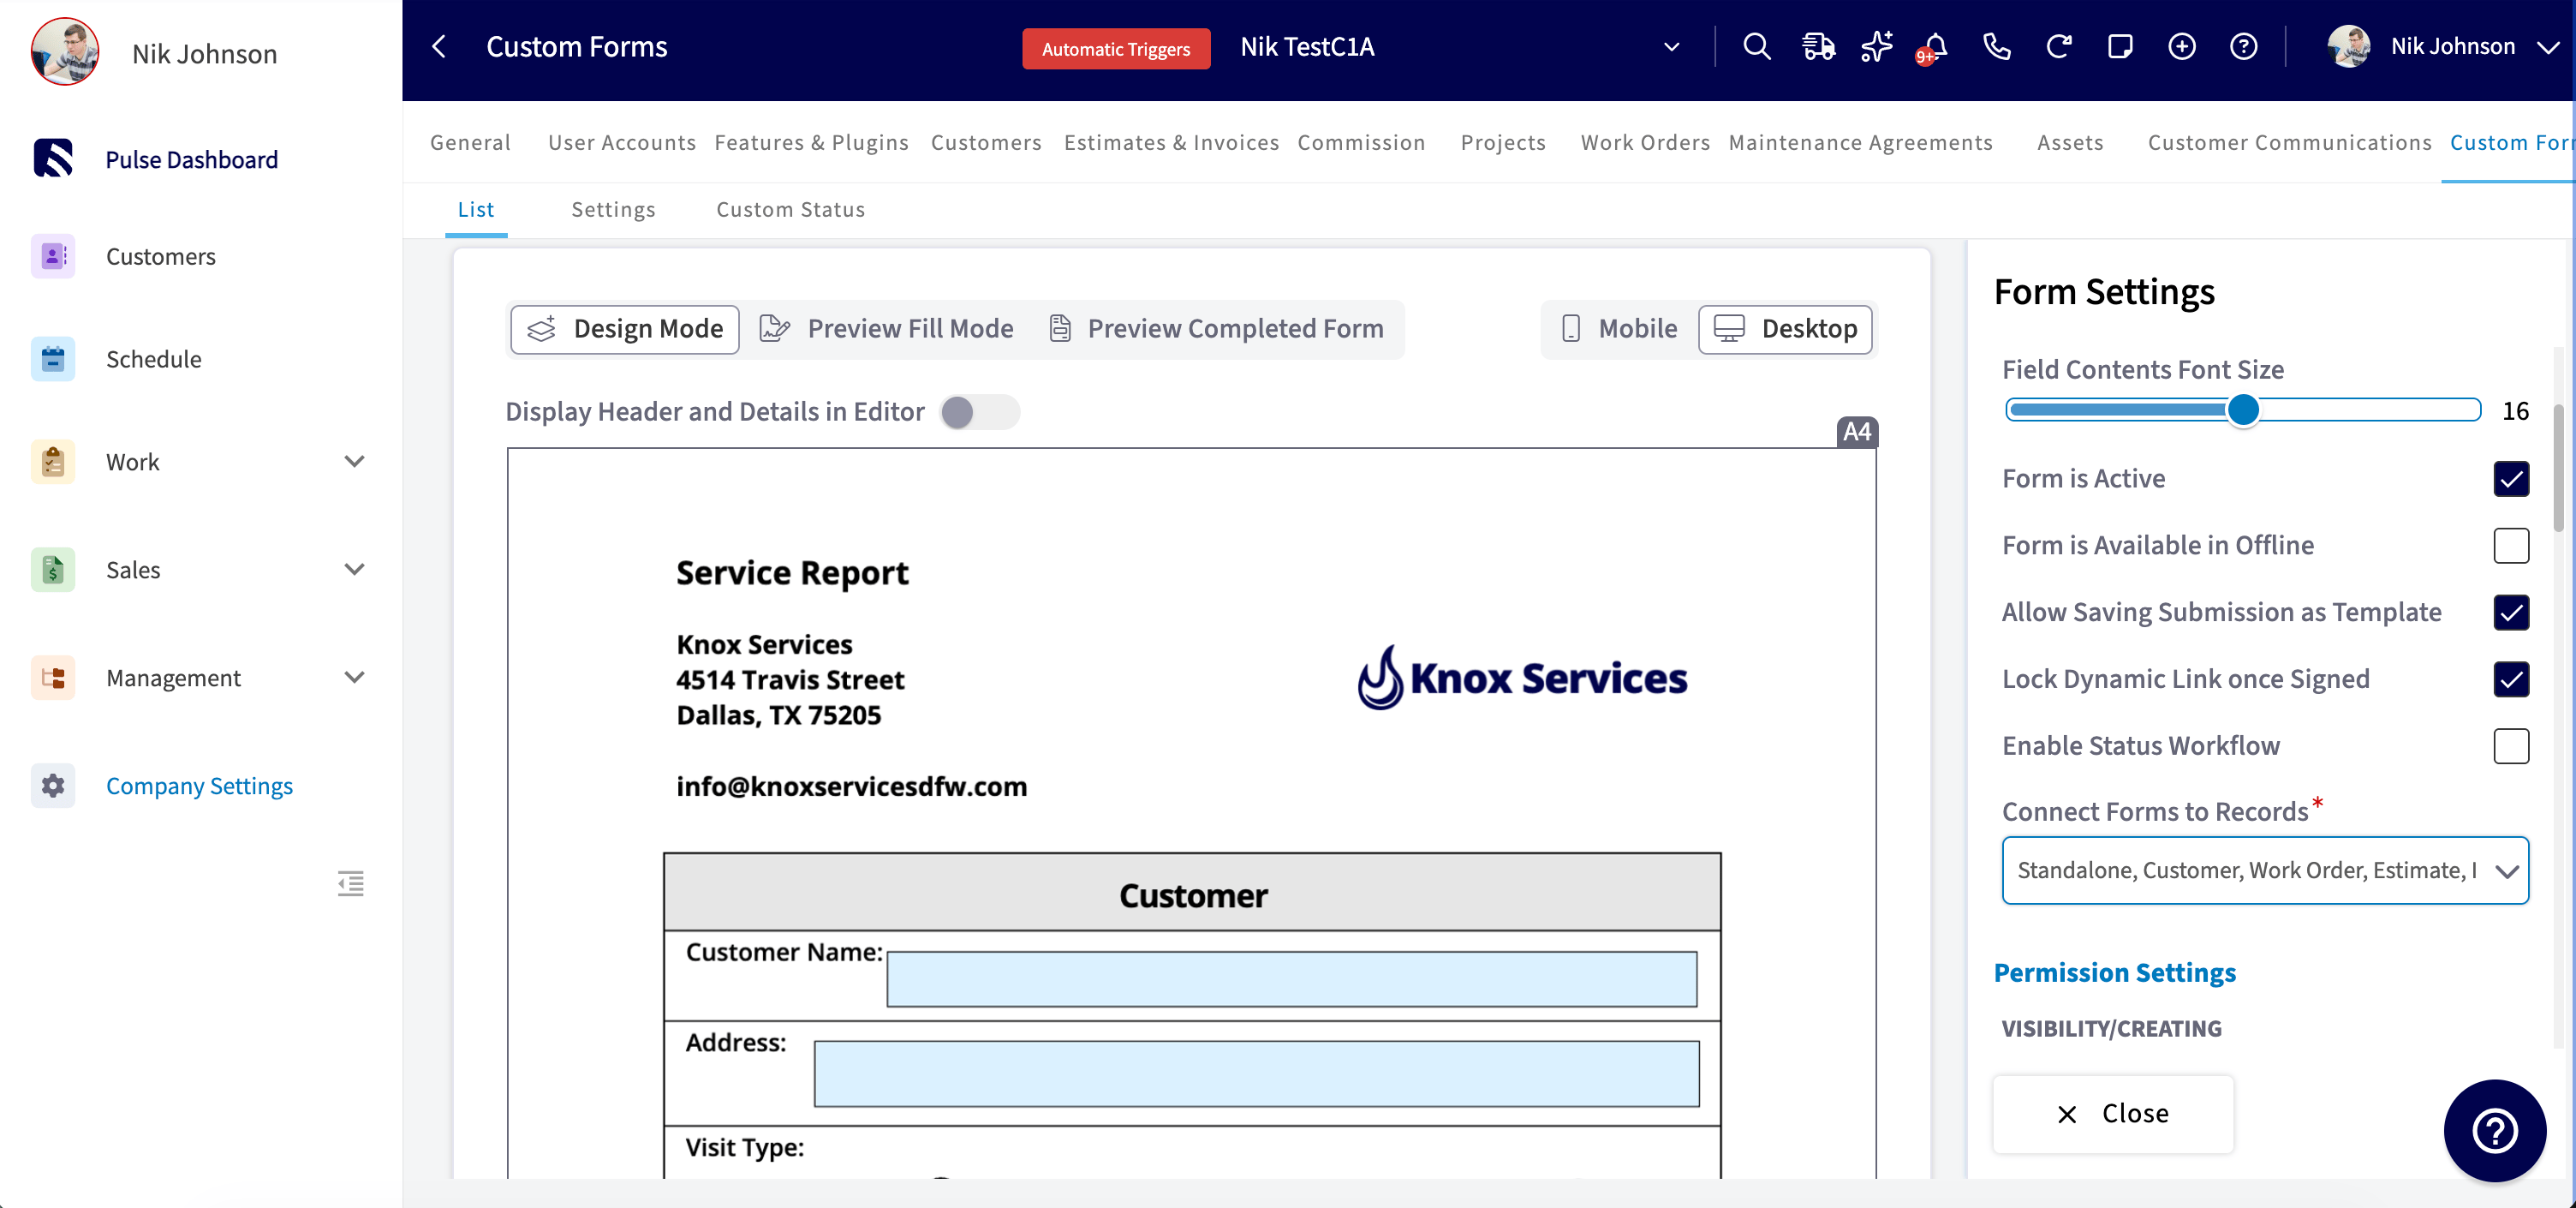
Custom Status Workflow
You can create your own Custom Status Workflows and assign them to the different forms you create within Custom Forms. Custom Status Workflows are an internal tool. You can utilize them to keep all of your forms organized by knowing the current status of them. For example, is the form you created new or has it been sent by the customer? All of these can be tracked by the Workflow Status that you create. To create a Custom Status Workflow, first head to Company Settings. Locate Custom Forms then click on Custom Status. From here, press Create Custom Status and begin creating a unique workflow specific to your Custom Form.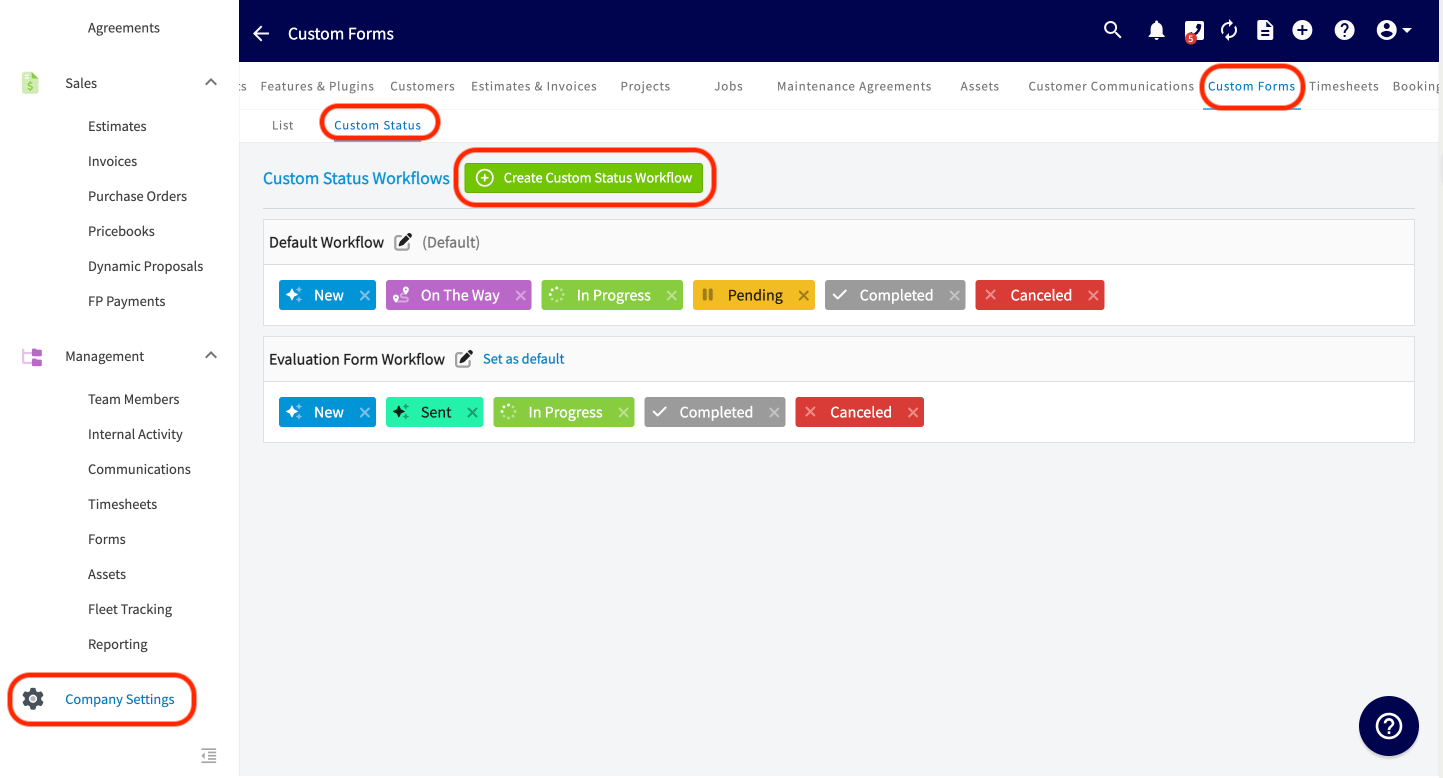
Connect Forms to Records
Use this setting to specify which record types this form can be attached to. The available record types are: Standalone, Customer, Job, Estimate, Invoice, Project, Maintenance Agreement, and Asset. Select every record type on which you want this form to be available. For example, if Job is selected, then within a job record you can navigate to Forms and then Create New. Here your Custom Form template (in this example titled: SAMPLE CUSTOM FORM) is available for use. If it was NOT selected, that individual form template would NOT be available to use.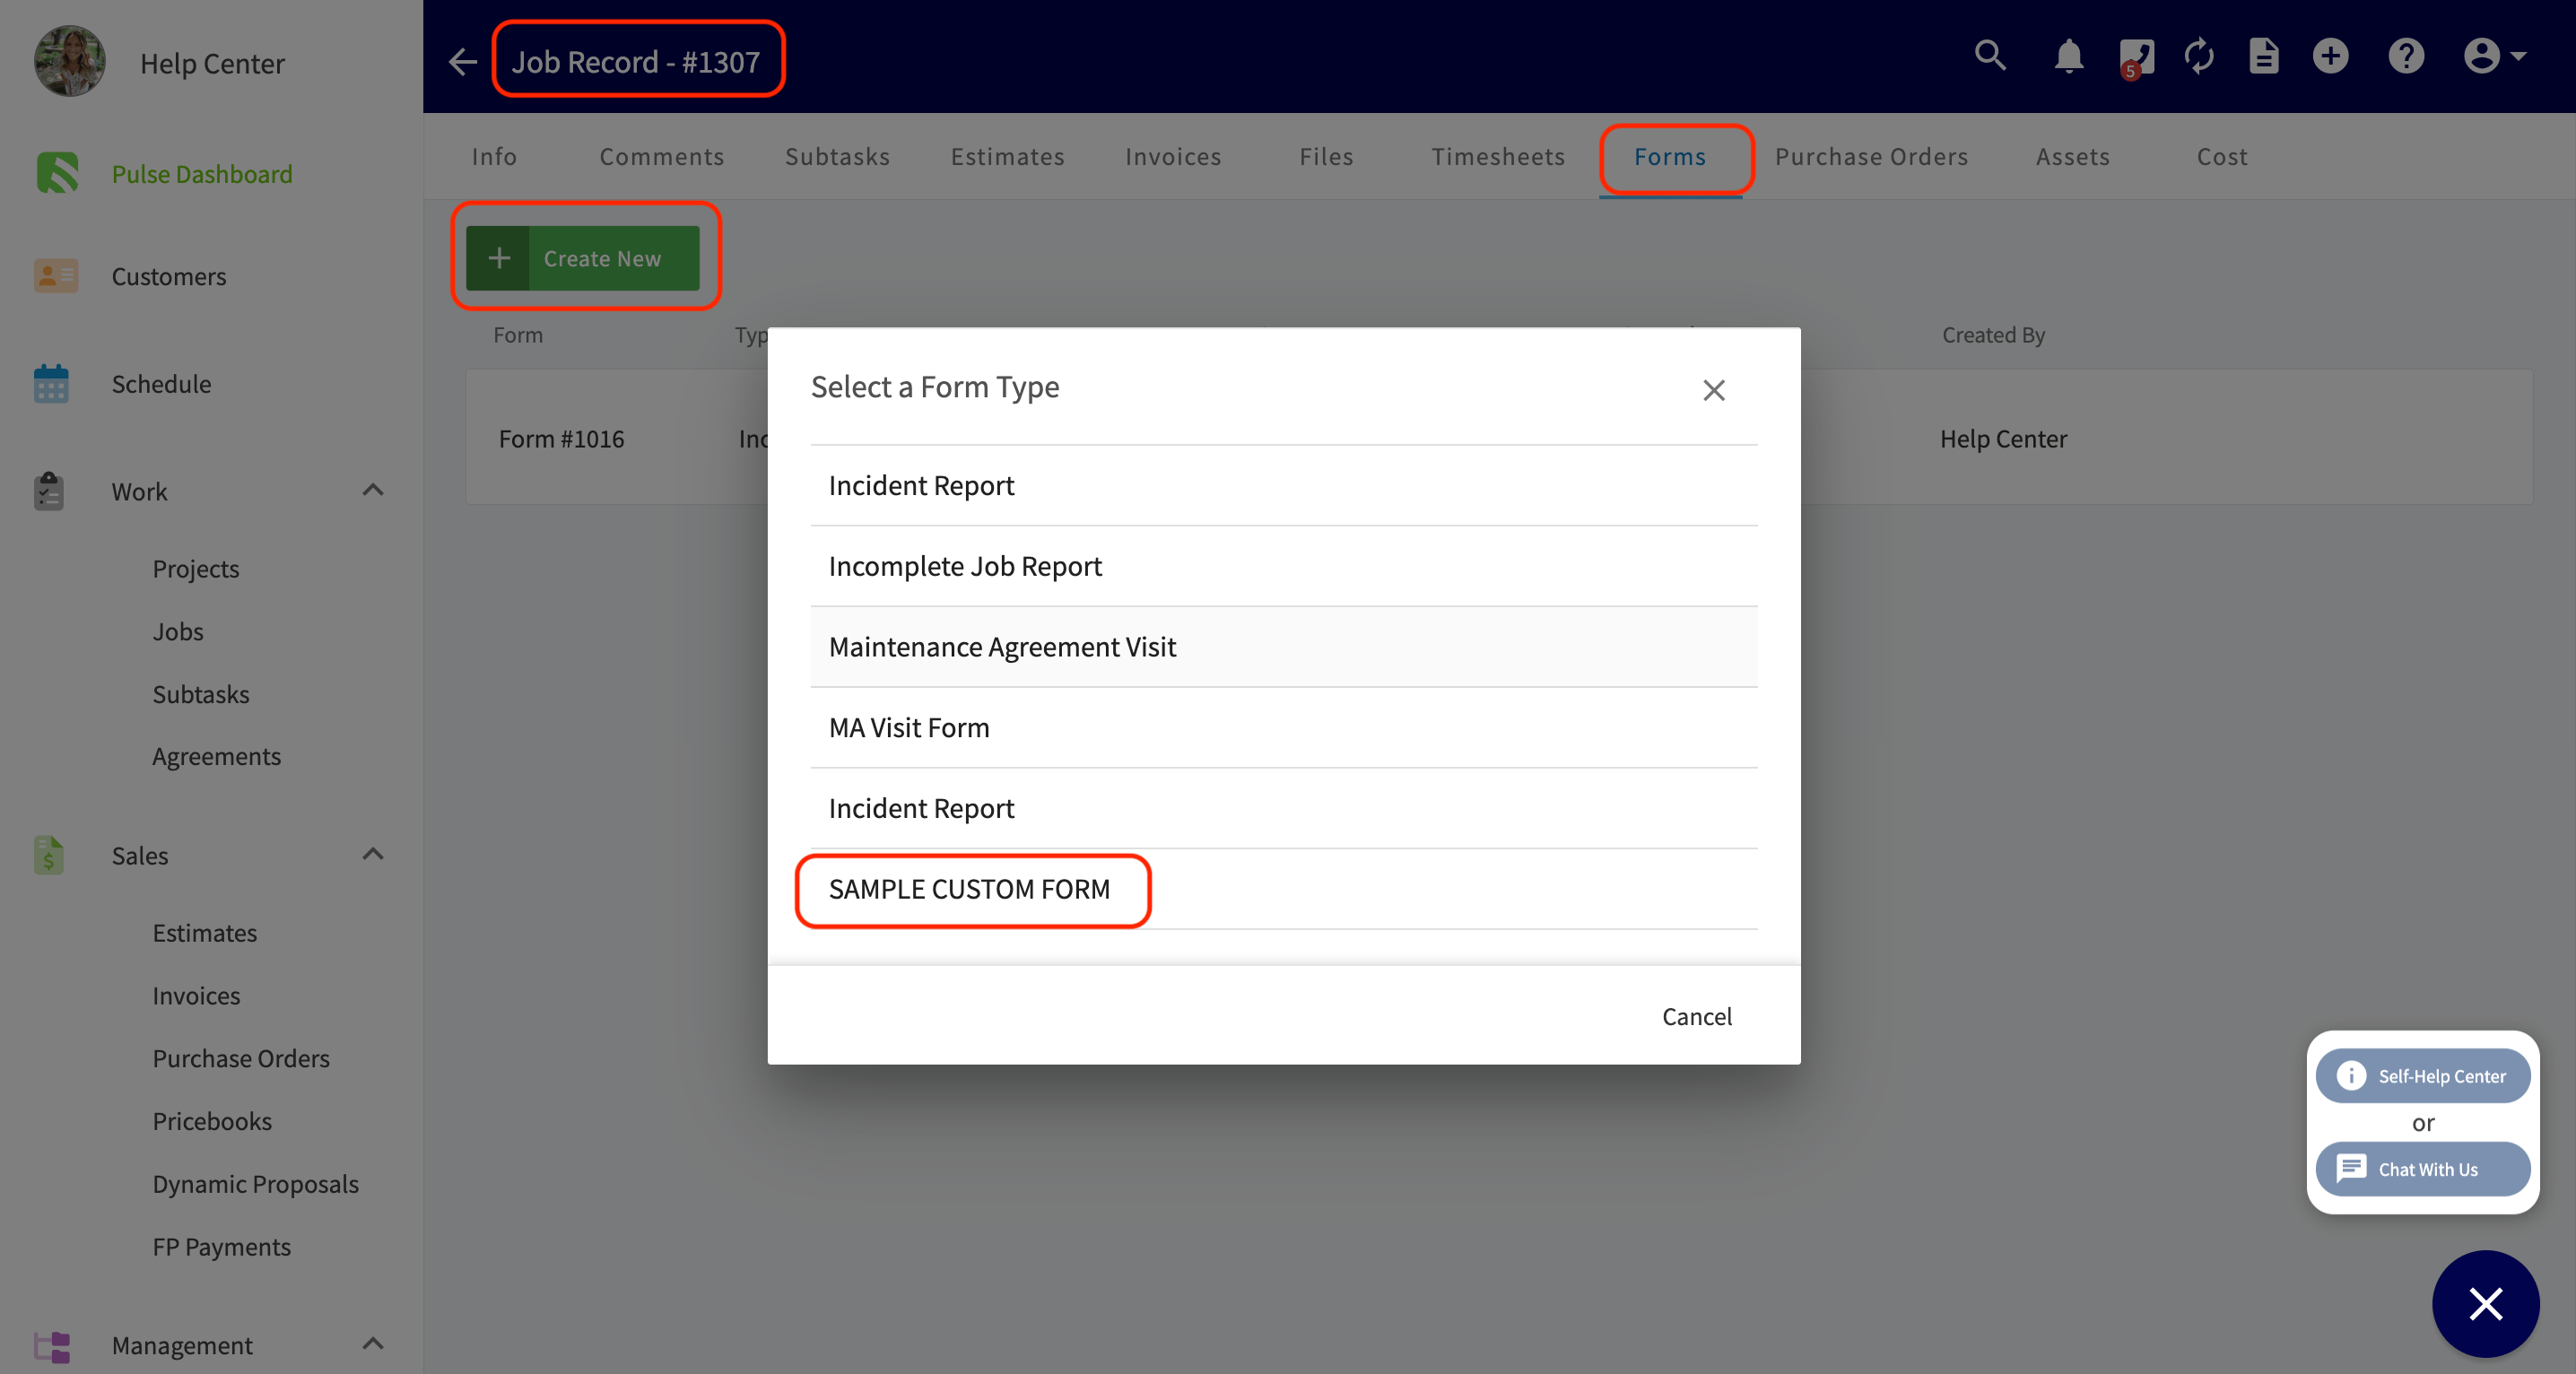
Permission Settings
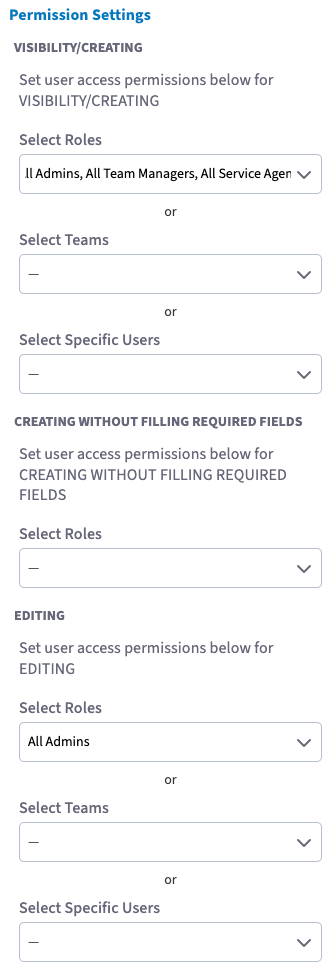
Visibility / Creating
Control which users can see and create this form. You can assign visibility and creation access to specific users, teams, and/or roles. By default, if no restrictions are set, the form is accessible to all users.Creating Without Filling Required Fields
This permission controls who can link a form to a record without completing all required fields at the time of initial save. Users with this permission can attach the form and save it to a record even if required fields have been left blank, allowing those fields to be completed at a later time.Editing
Control which users can edit this form after it has been created. You can assign editing access to specific users, teams, and/or roles.Email Configuration
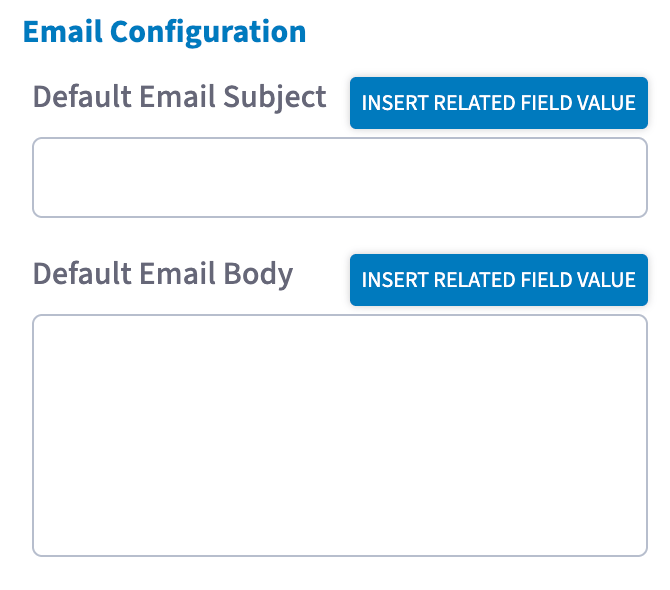
Default Email Subject
Set the default subject line that will pre-populate when this form is sent to a customer via email. You can include dynamic values by clicking the Insert Related Field Value button to the right of the field and selecting from the searchable dropdown. Available insertable values for the email subject:- Customer Display Name
- Related Customer Full Name / First Name / Last Name
- Related Job Title / #
- Related Estimate Title(s) / #‘s
- Related Invoice Title(s) / #‘s
- Related Project Title / #
- Related Maintenance Agreement Title(s) / #‘s
- Related Asset Title(s) / #‘s
Default Email Body
Set the default body content that will pre-populate when this form is sent via email. Click Insert Related Field Value to add dynamic values from the dropdown. The email body supports all values available in the subject line, plus the following additional options:- Customer details: Email, Phone, Customer Portal Link, Customer Portal Link w/ Password
- Job details: Location, Start/End Time, Start/End Date, Arrival Window Start/End Time, Arrival Window Start/End Date, Assigned Team Members
- Project details: Start Date, End Date, Location, Assigned To
- Maintenance Agreement details: Location, Last Job Date, Next Service, End Date
- Asset details: Install Date
SMS Configuration
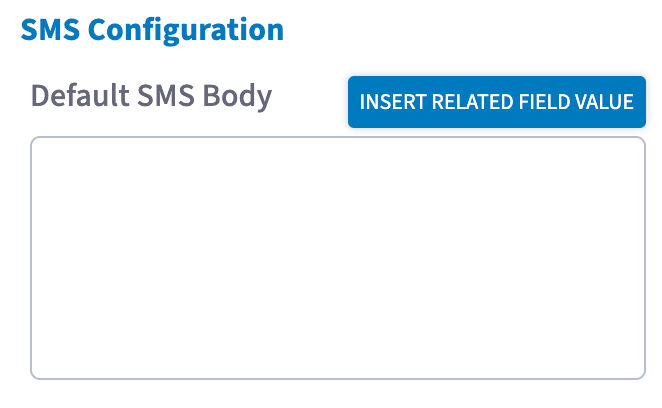
Default SMS Body
Set the default message body that will pre-populate when this form is sent to a customer via SMS. Click Insert Related Field Value to add dynamic values. Available insertable values for the SMS body:- Customer Display Name
- Related Customer Full Name / First Name / Last Name
- Related Job Title / #
- Related Estimate Title(s) / #‘s
- Related Invoice Title(s) / #‘s
- Related Project Title / #
- Related Maintenance Agreement Title(s) / #‘s
- Related Asset Title(s) / #‘s
- Customer details: Email, Phone, Customer Portal Link, Customer Portal Link w/ Password
- Job details: Location, Start/End Time, Start/End Date, Arrival Window Start/End Time, Arrival Window Start/End Date, Assigned Team Members
- Project details: Start Date, End Date, Location, Assigned To
- Maintenance Agreement details: Location, Last Job Date, Next Service, End Date
- Asset details: Install Date
Have additional questions? Contact us at support@fieldpulse.com or use the chat feature in the bottom right corner of your screen.