
Overview
Your team takes photos for a reason — proof of work, compliance records, before-and-afters, equipment shots. When you generate a PDF from a Custom Form, images from Image fields are embedded directly on the page, producing polished, professional PDFs that are complete and ready to share.Prerequisites
Before you generate a Custom Form PDF with images, make sure:- You have permissions to view and create Custom Forms.
- You have a Custom Form with at least one Image/Video Upload field.
- The form is attached to a record (Customer, Job, Estimate, Invoice, etc.)
On Web: Admin Experience
When you generate a PDF from a Custom Form, you decide how your images will appear for your customers to view. Here’s exactly what to do:Step 1
Locate your completed Custom Form from the Forms tab of the record you linked/attached it to (Customer, Job, Estimate, Invoice, etc.).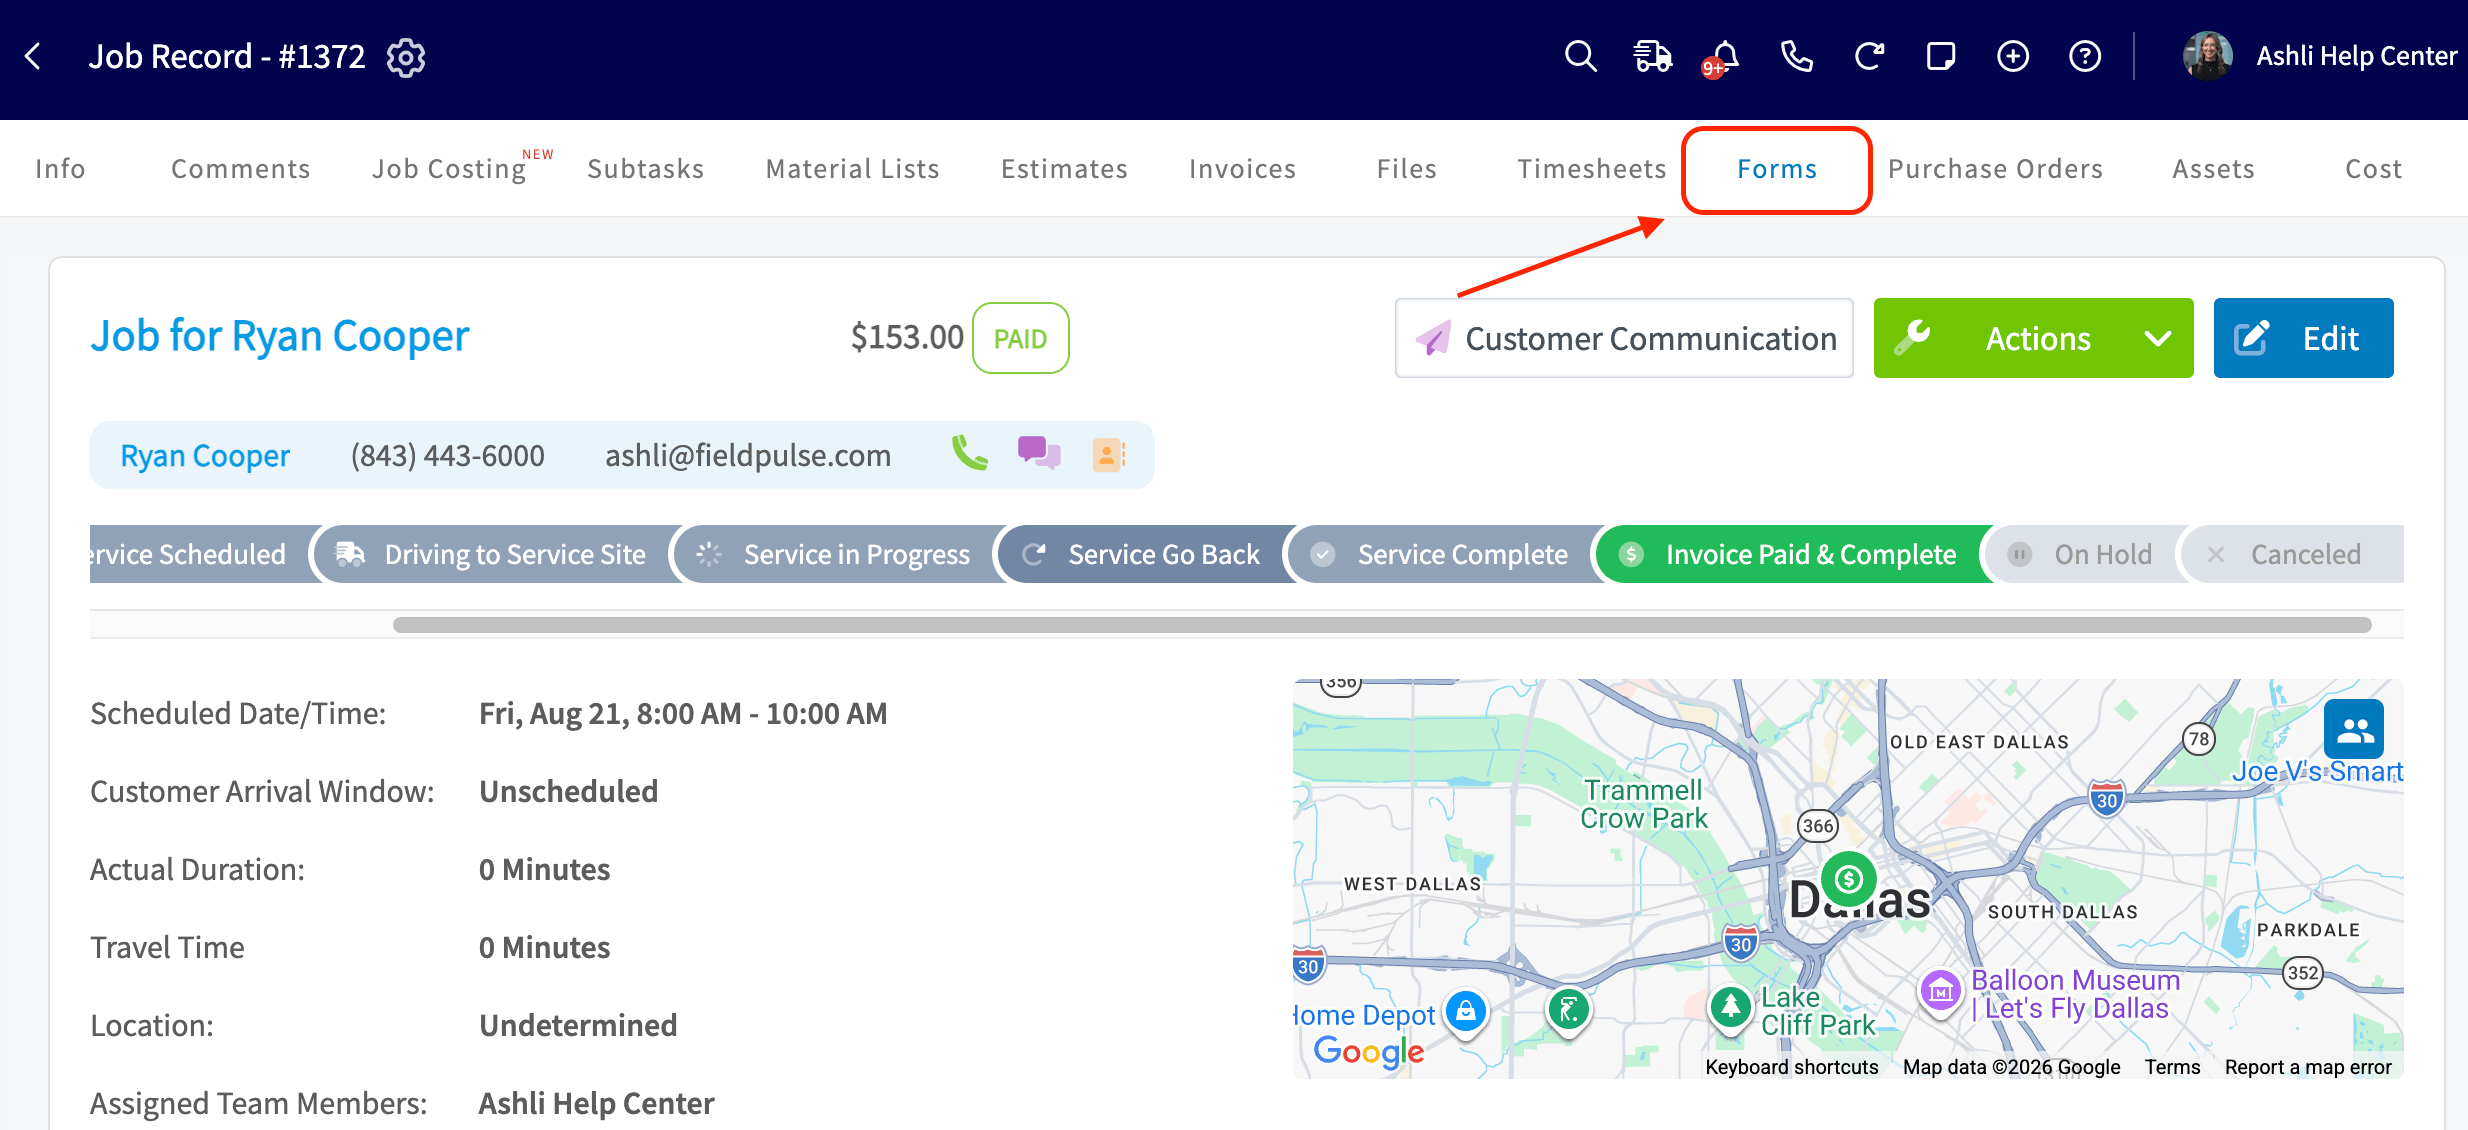
Step 2
Click into your Custom Form.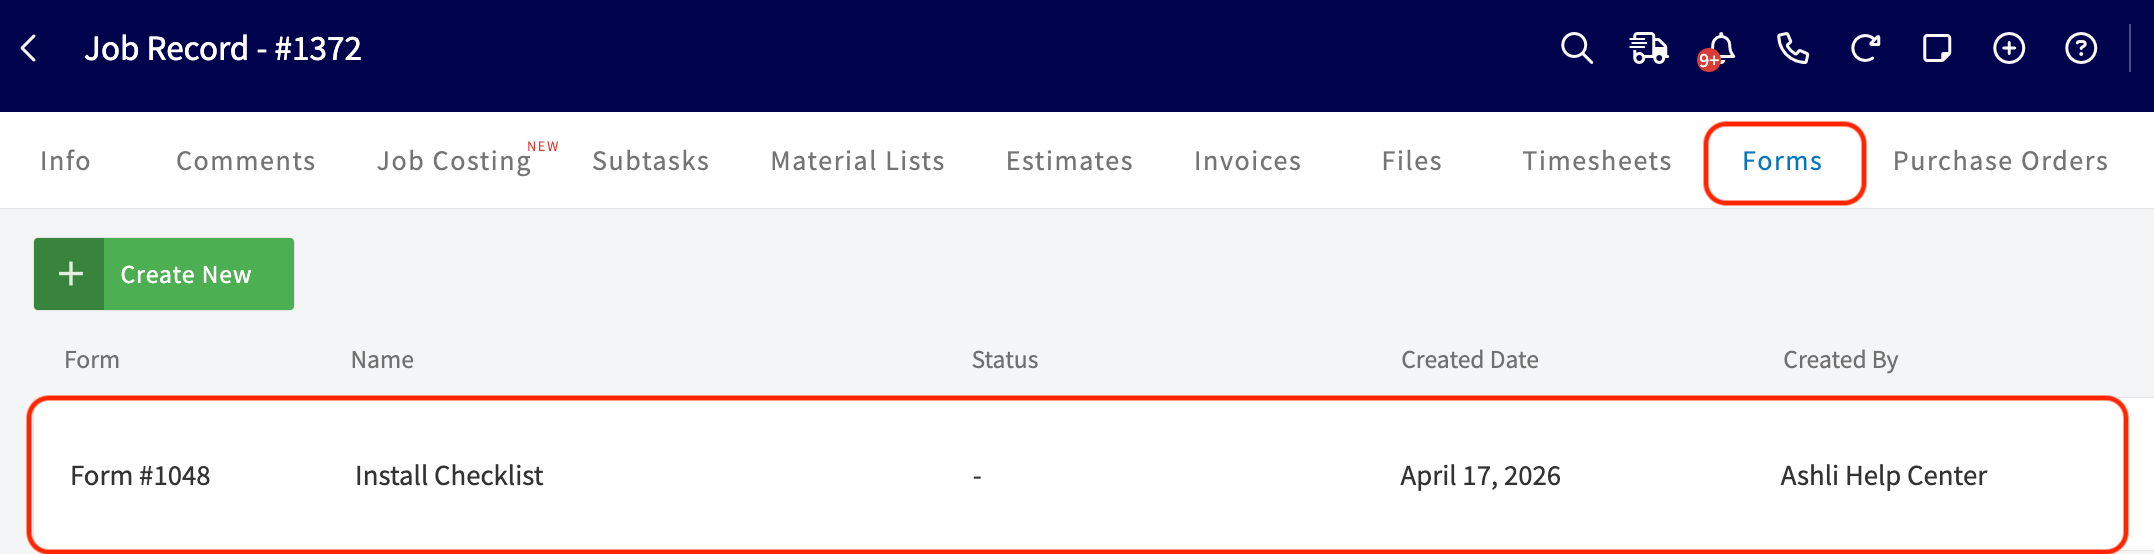
Step 3
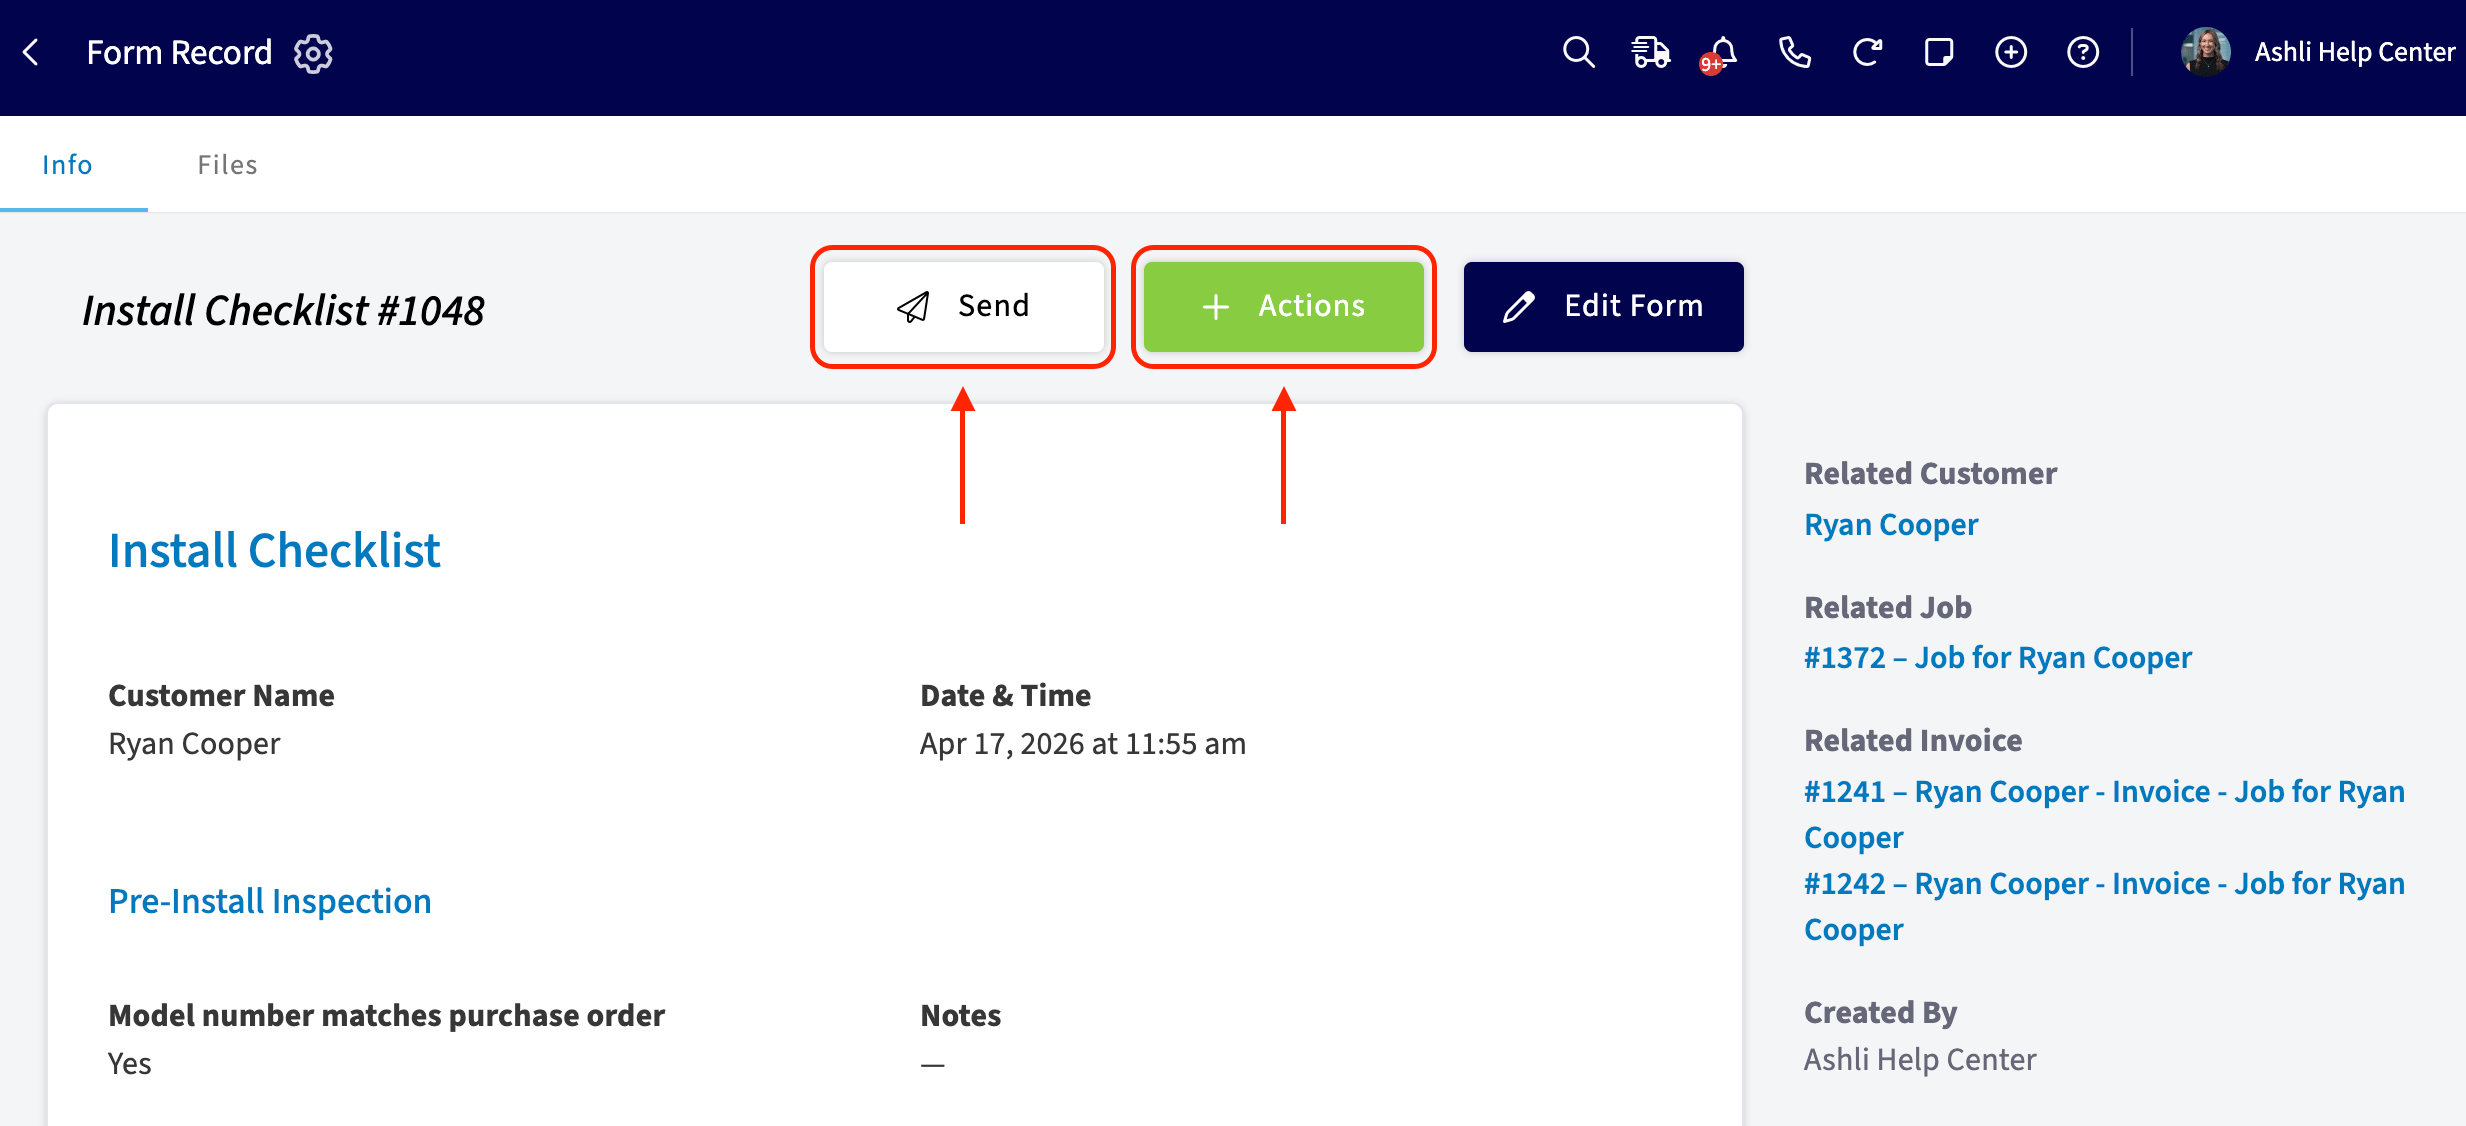
Preview how you want your completed Custom Form PDF to appear for your customer. Access PDF preview through any of these pathways:- Send button → Send to be Viewed
- Send button → Send to be Filled
- Actions button → Generate PDF
- Actions button → Send to be Viewed
- Actions button → Send to be Filled
Step 4
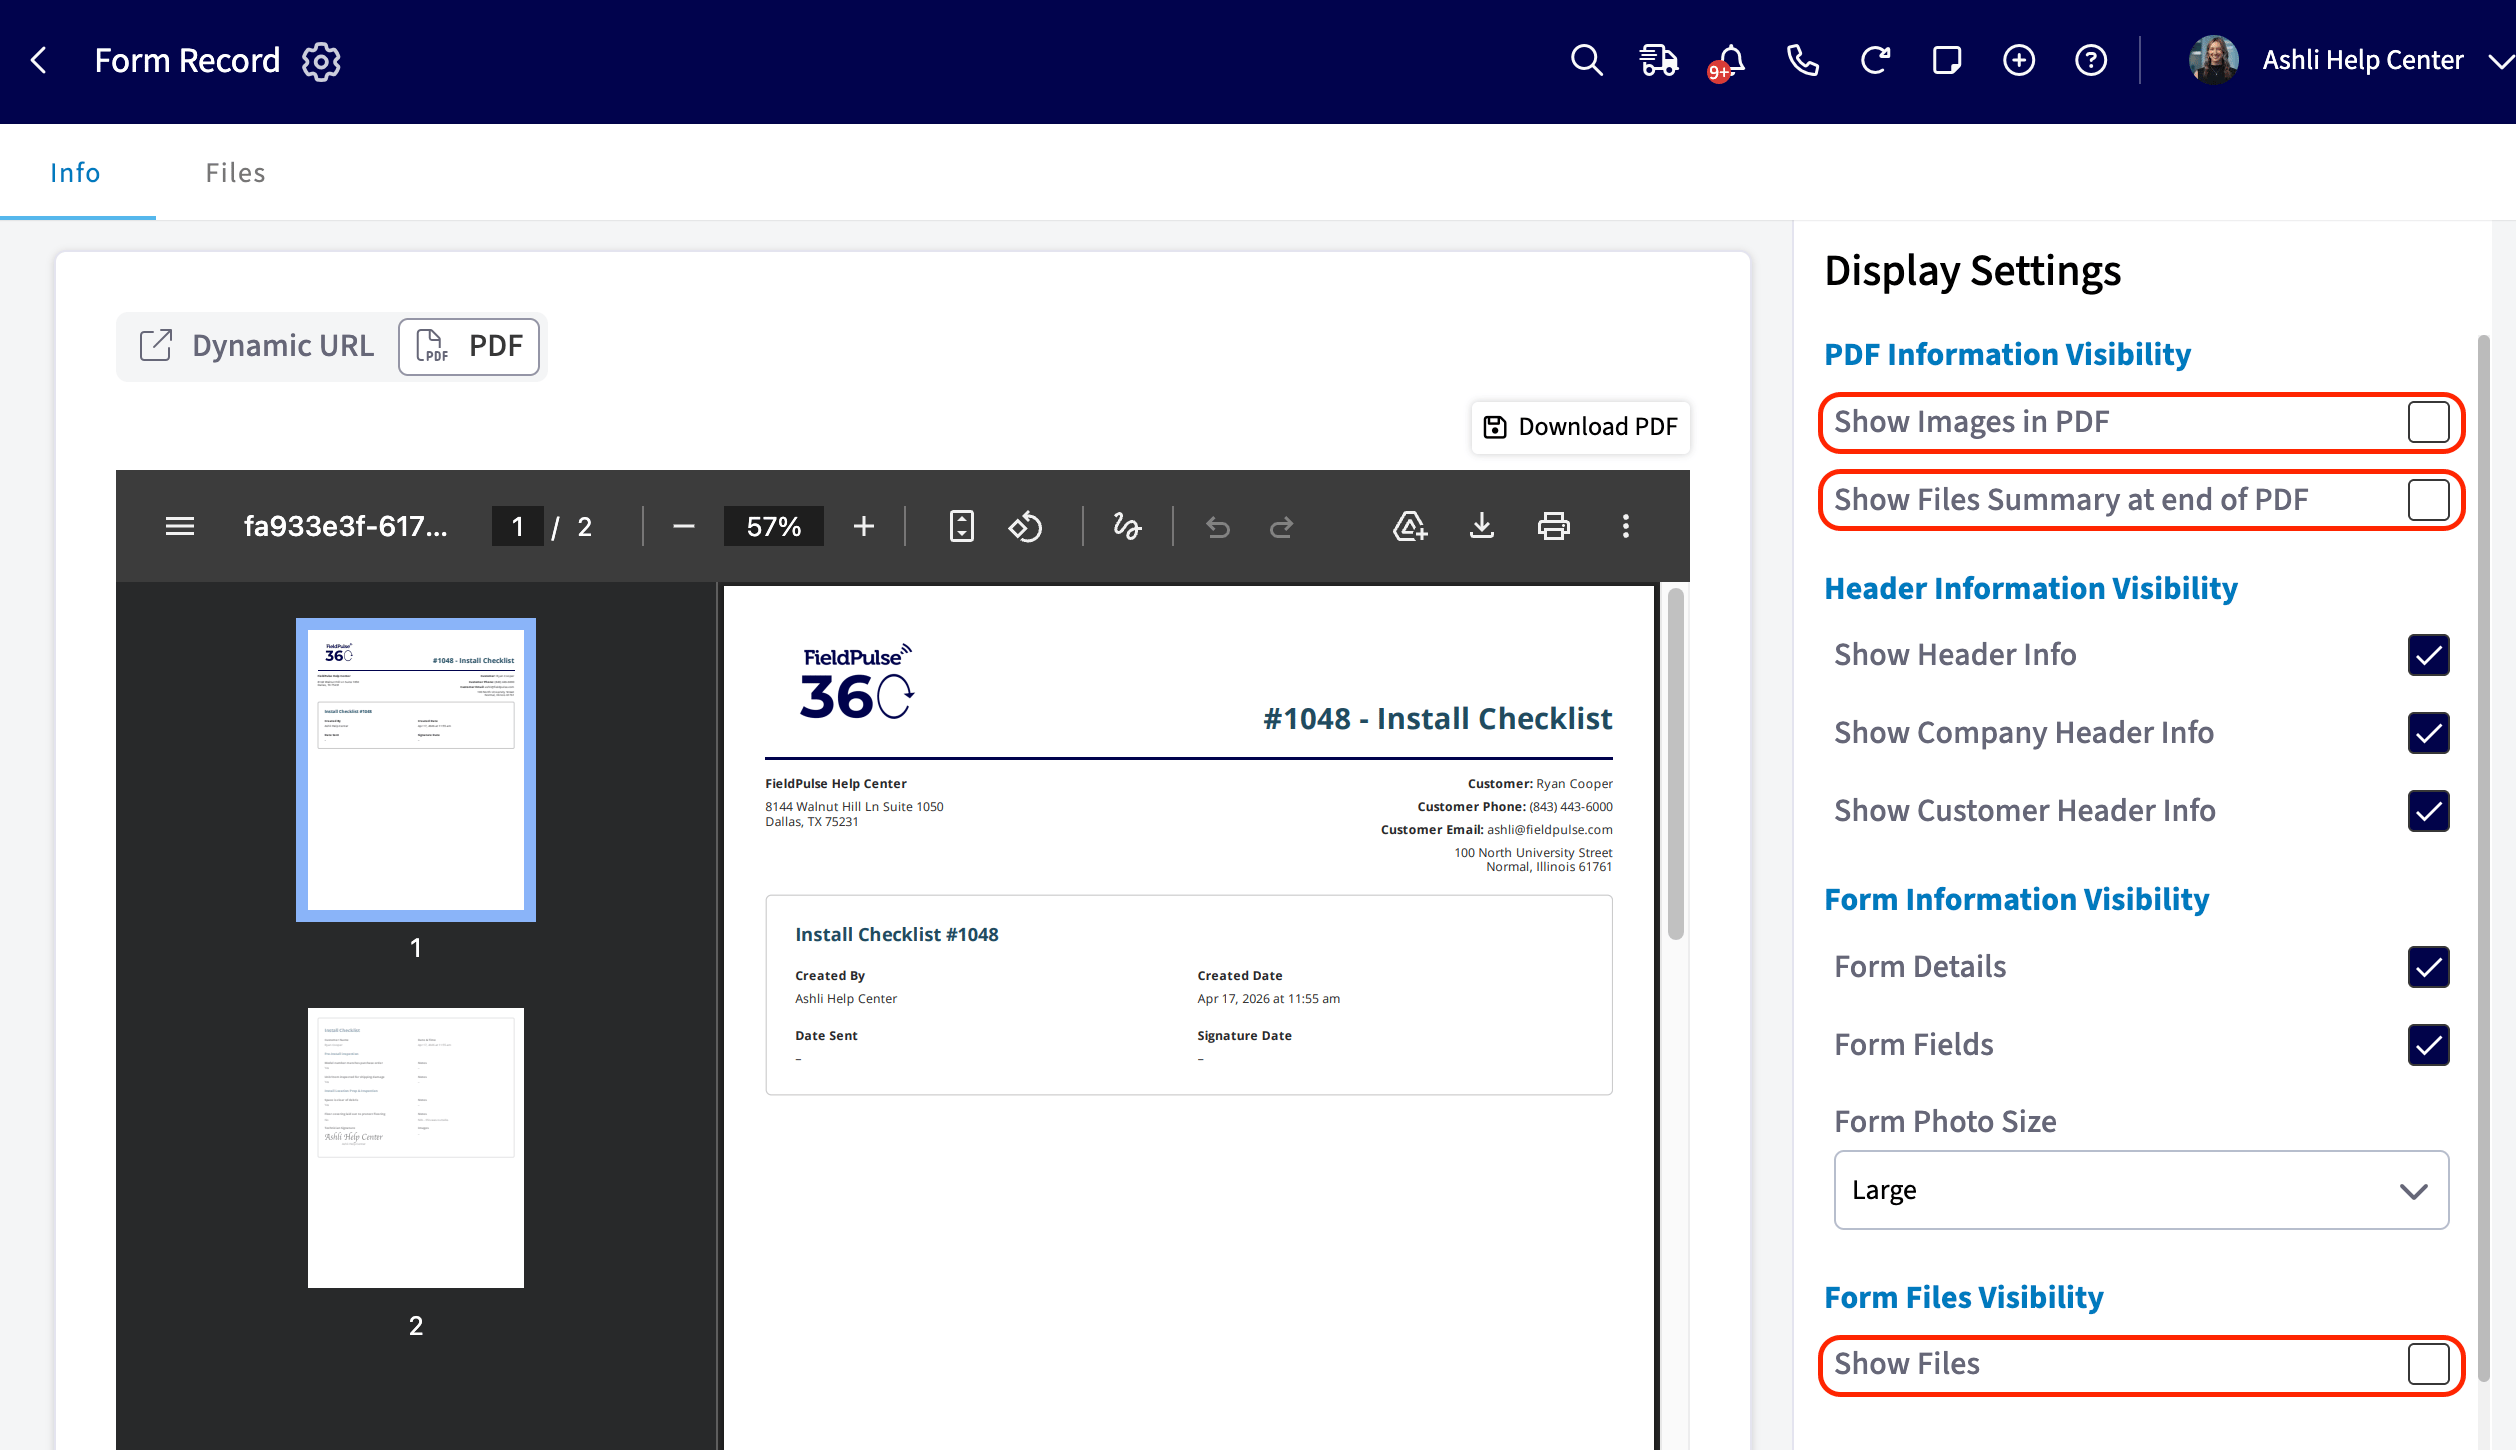
Turn on Images for your PDF. In the PDF preview, you’ll see a few checkboxes: Show Images in PDF, Show Files Summary at the end of PDF, and Show Files. Here’s how they work:- Show Images in PDF: Your PDF will have its images placed where the Image field was actually configured to sit in your Custom Form.
- Show Images in PDF & Show Files: Your PDF will have a designated “Files” section where you can select any visible files to be displayed or upload new files.
- Show Files Summary at end of PDF: Your PDF will have a QR code at the bottom that links out to the images.
Step 5
You can configure how your images appear. Use this setting to fine-tune what shows up on your PDFs:- Form Photo Size: choose Small, Medium, or Large. Pick the size that best fits the form’s purpose (e.g., Small for inspection checklists with lots of photos, Large for before/after shots).
Step 6
Click the Next button or Save PDF button depending on the pathway you chose in Step 3 before sharing your PDF with your customer.On Mobile: Field Experience
When you generate a PDF from a Custom Form, you decide how your images will appear for your customers to view. Step-by-step for images on PDF generation via the mobile app:Step 1
Locate your completed Custom Form from the Forms tab of the record you linked/attached it to (Customer, Job, Estimate, Invoice, etc.).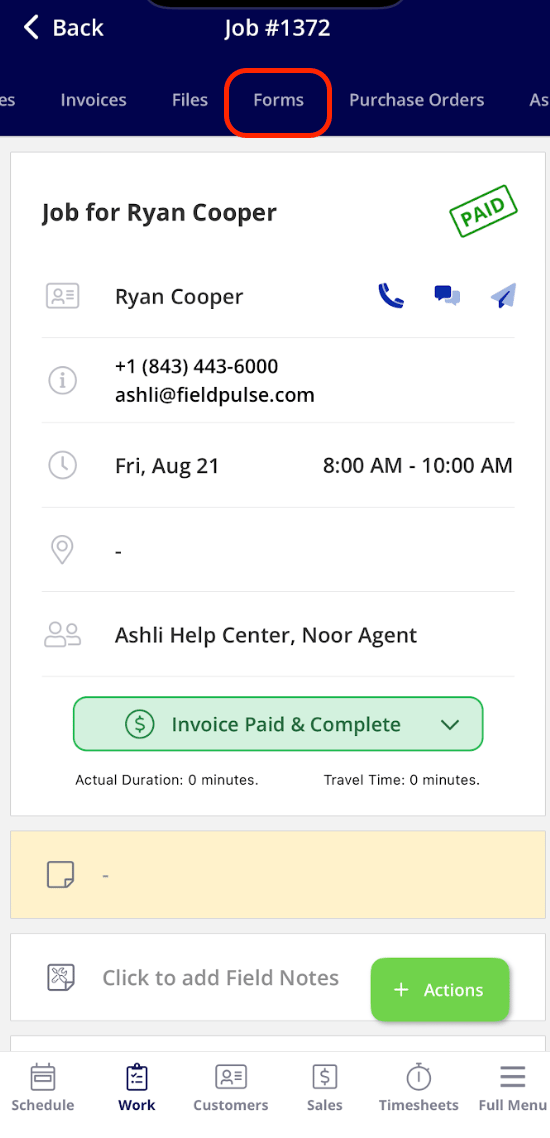
Step 2
Click into your Custom Form.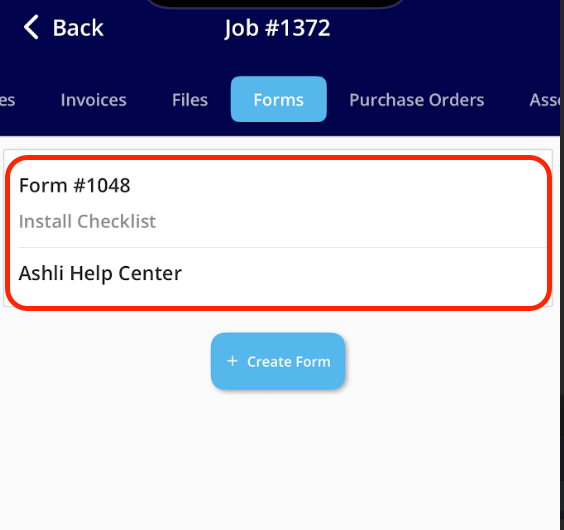
Step 3
Preview how you want your completed Custom Form PDF to appear for your customer. Access PDF preview through any of these pathways:- Send button → Send to be Viewed
- Send button → Send to be Filled
- Actions button → Generate PDF
- Actions button → Send to be Viewed
- Actions button → Send to be Filled
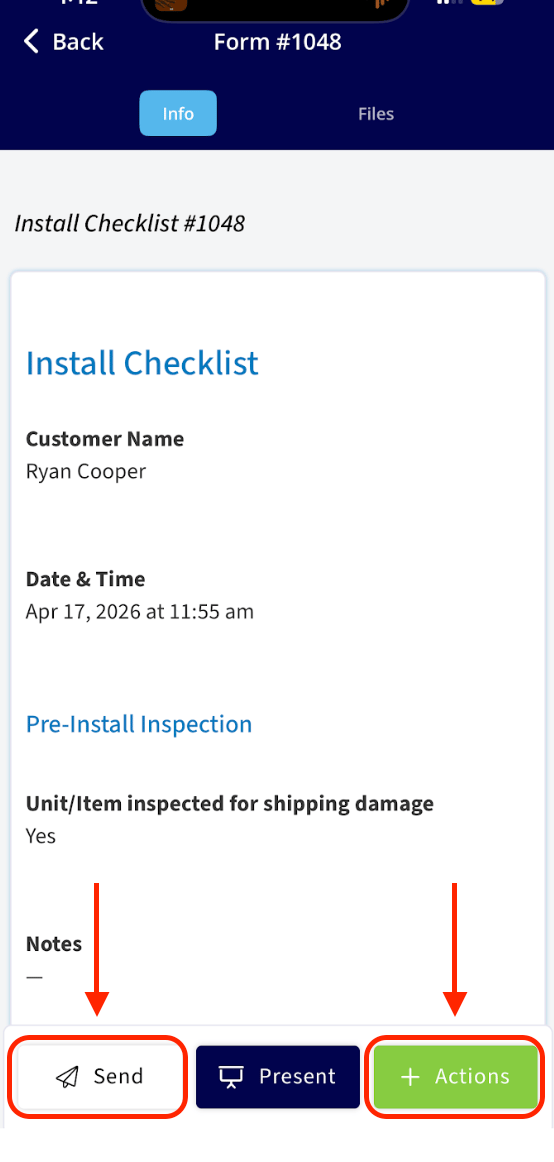
Step 4
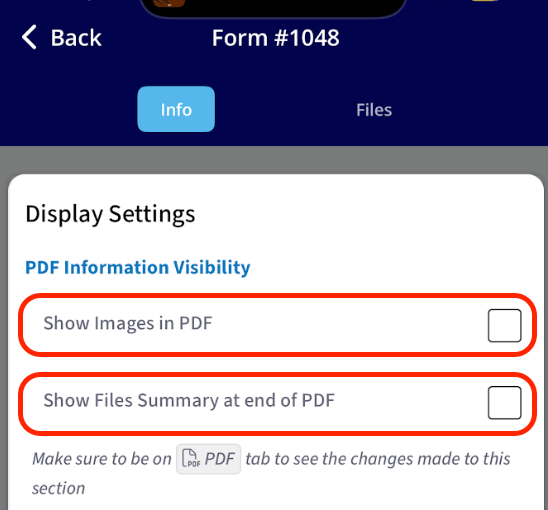
Open your Custom Form Display Settings to turn on Images for your PDF.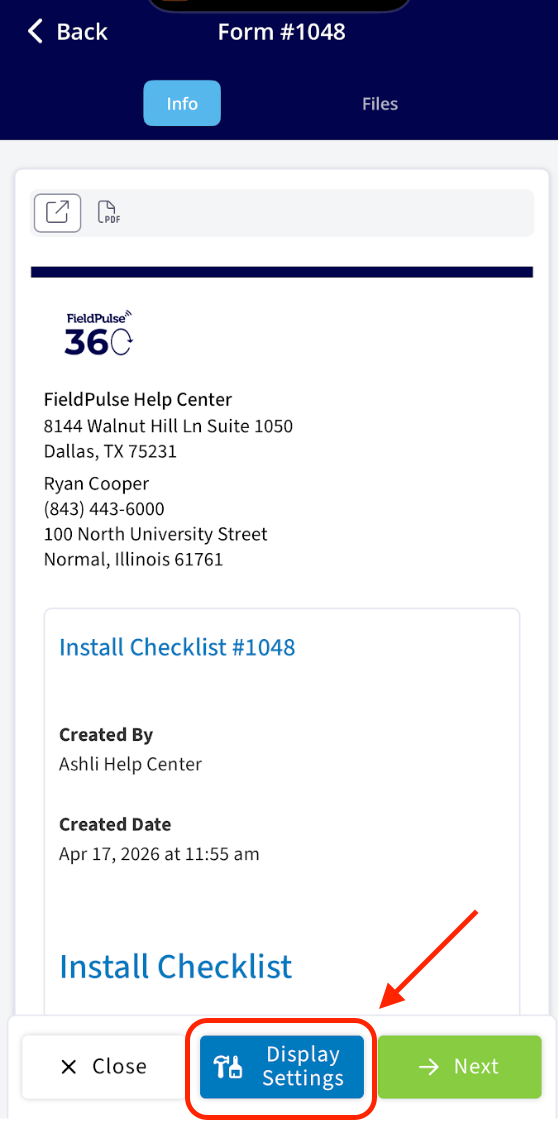
Step 5
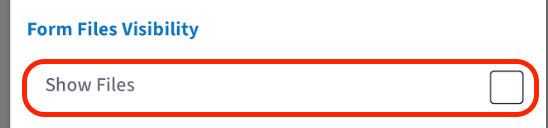
In the PDF preview, you’ll see a few checkboxes: Show Images in PDF, Show Files Summary at the end of PDF, and Show Files. Here’s how they work:- Show Images in PDF: Your PDF will have its images placed where the Image field was actually configured to sit in your Custom Form.
- Show Images in PDF & Show Files: Your PDF will have a designated “Files” section where you can select any visible files to be displayed or upload new files.
- Show Files Summary at end of PDF: Your PDF will have a QR code at the bottom that links out to the images.
Step 6
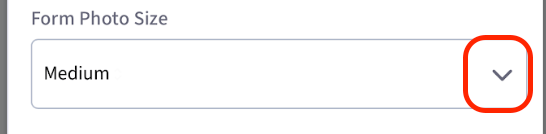
You can configure how your images appear. Use this setting to fine-tune what shows up on your PDFs:- Form Photo Size: choose Small, Medium, or Large. Pick the size that best fits the form’s purpose (e.g., Small for inspection checklists with lots of photos, Large for before/after shots).
Step 7
Click the Next button or Save PDF button depending on the pathway you chose in Step 3 before sharing your PDF with your customer.One thing worth calling out: you’ll see a short queue notice while the PDF is being generated. Large forms with lots of photos may take a few extra seconds to build — that’s totally normal!
What Your Customer Sees
Example 1
A example of a PDF with only the Show Images in PDF box checked: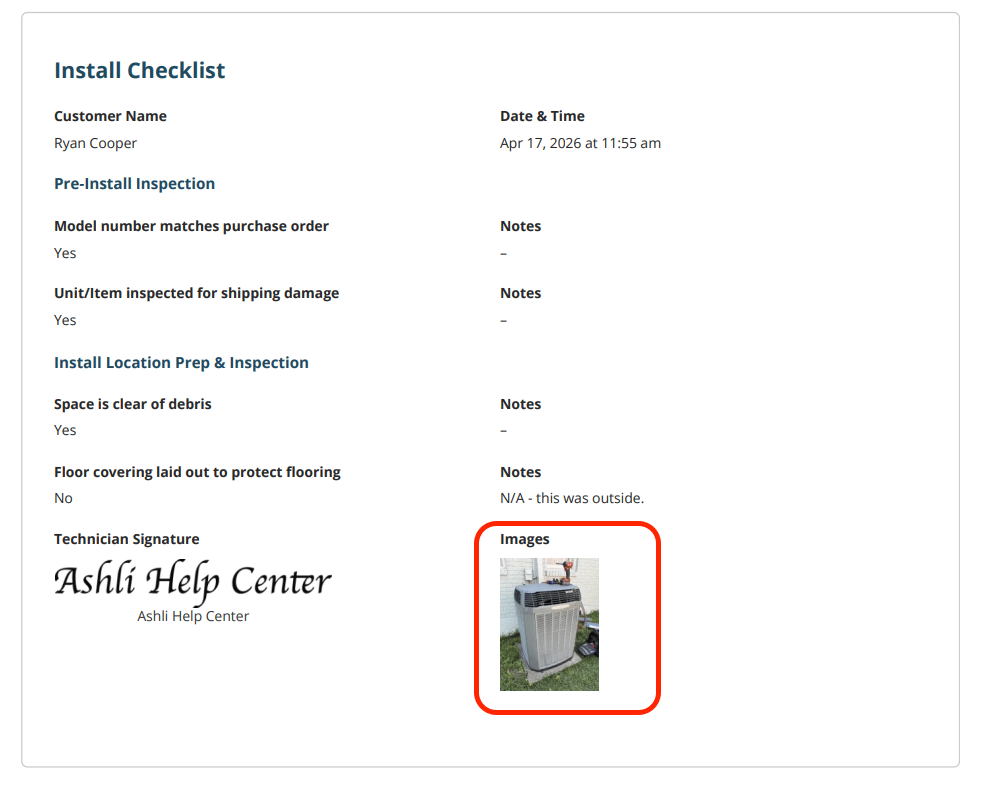
Example 2
A example of a PDF with only the Show Files box checked: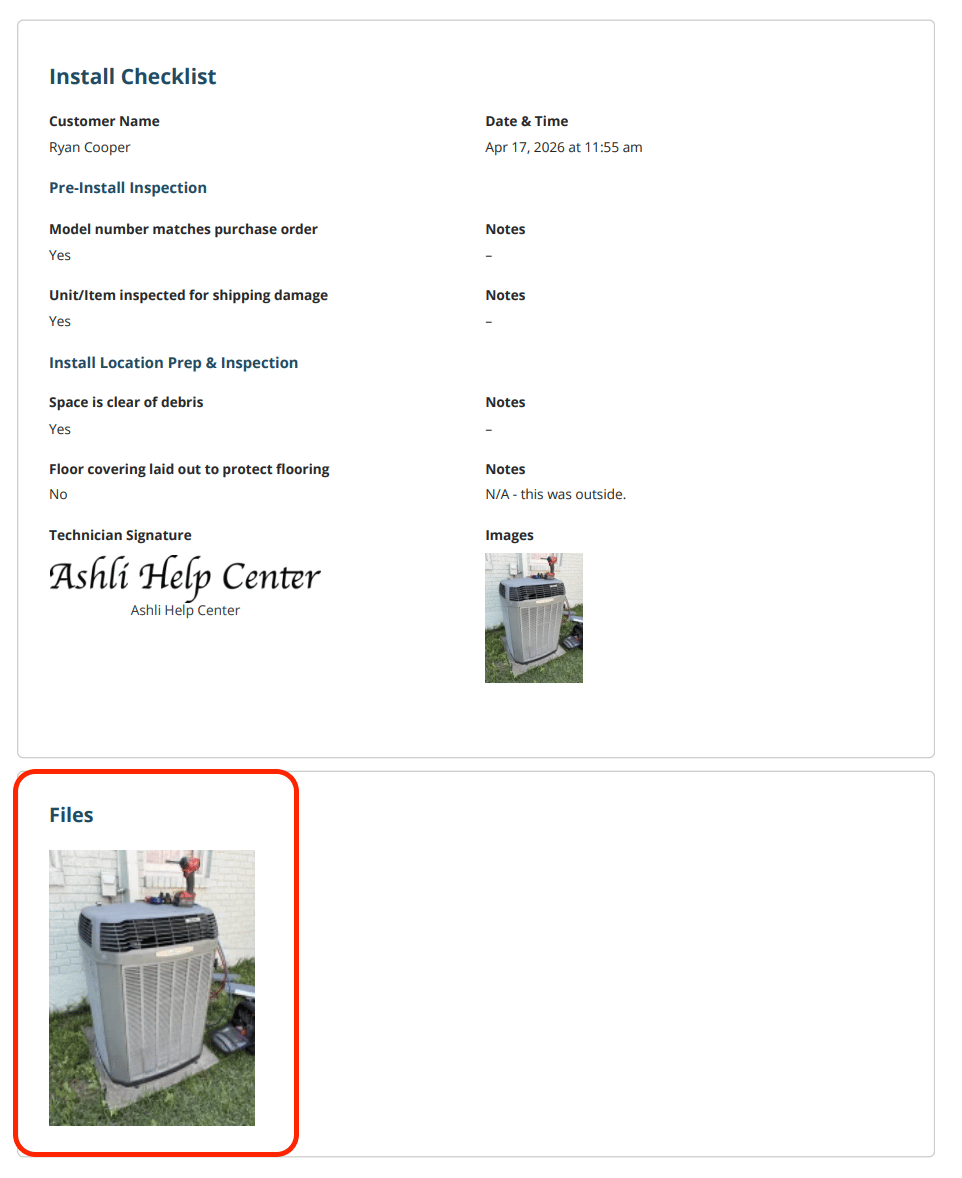
Example 3
A example of a PDF with only the Show Files Summary at end of PDF box checked: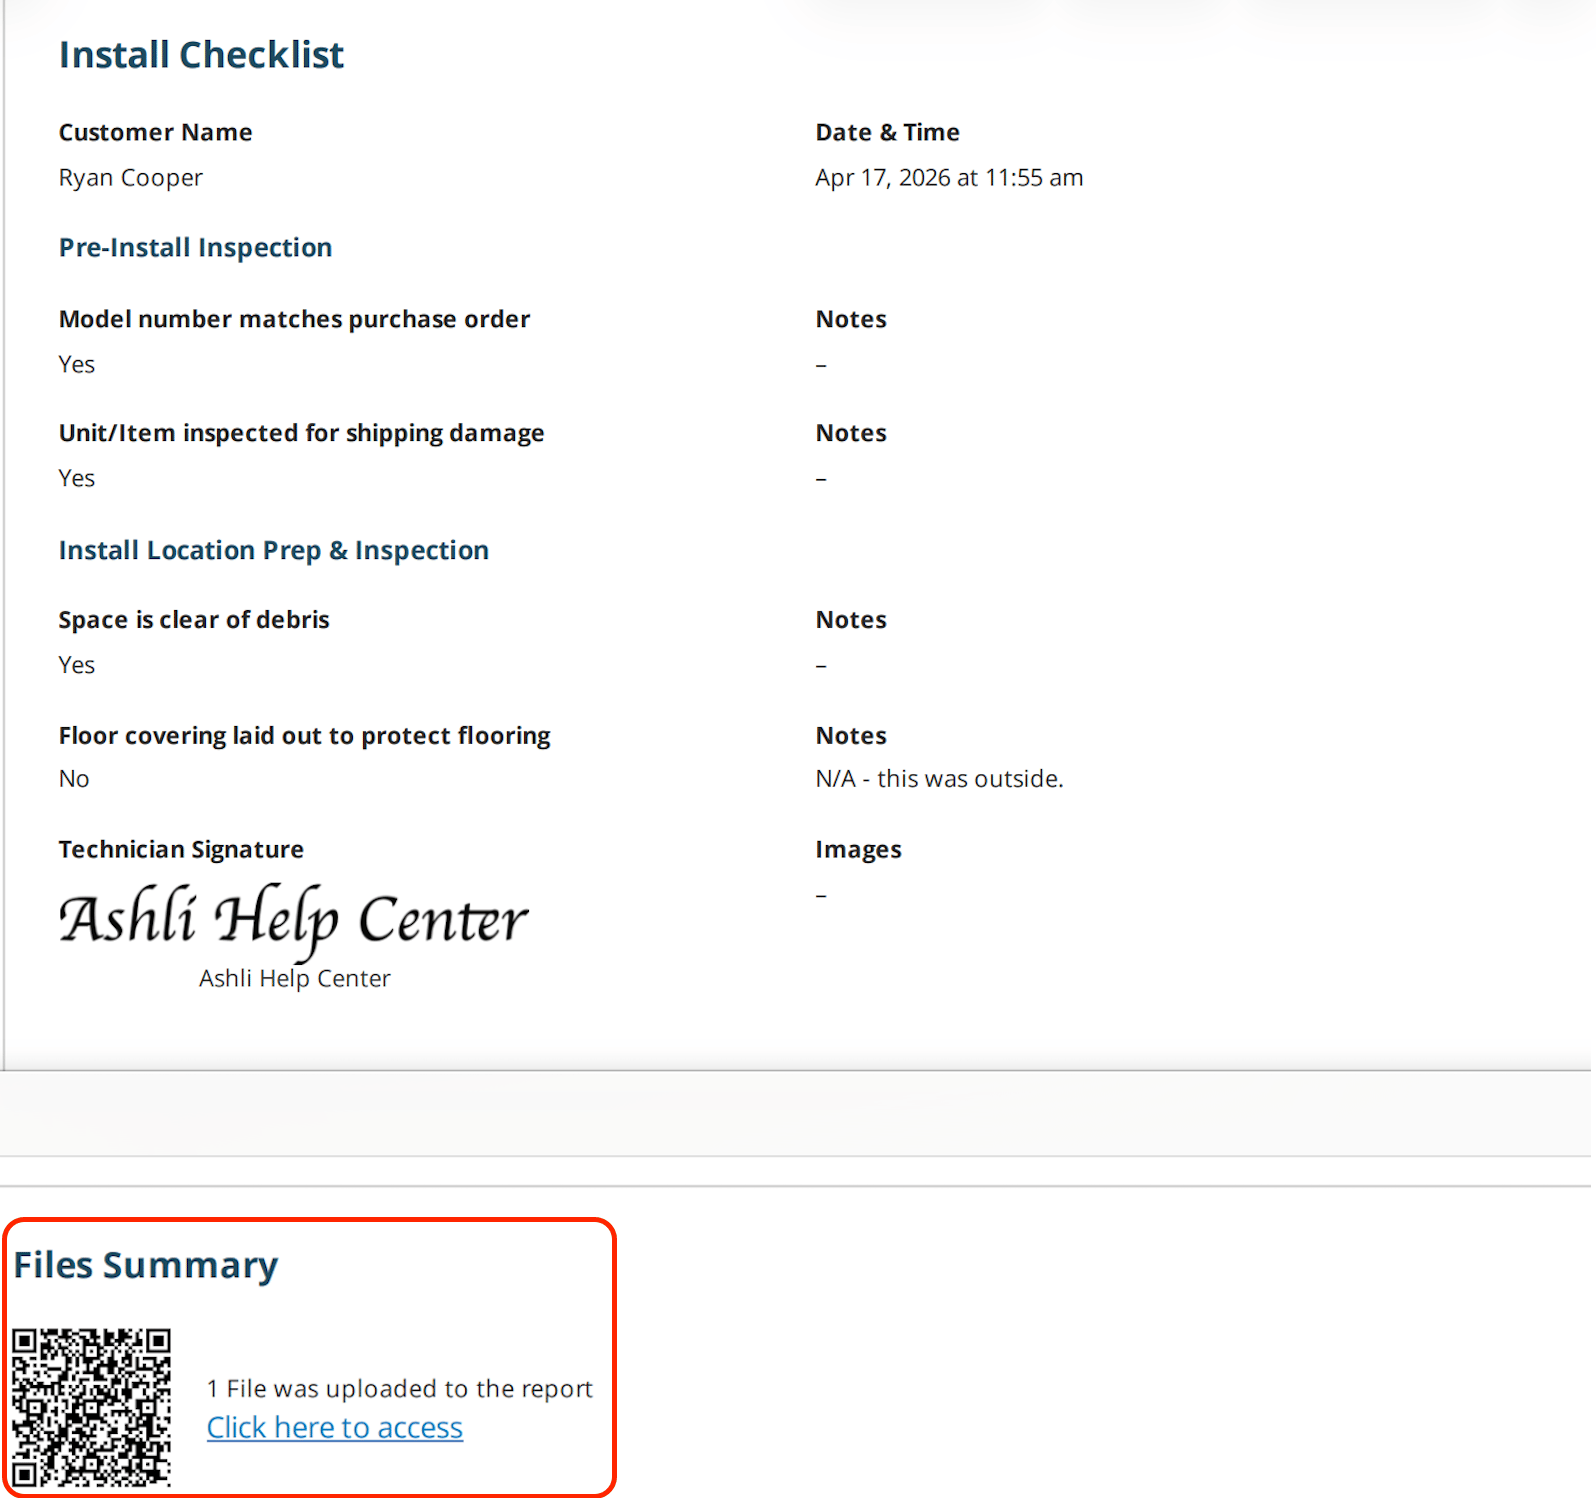
The benefit of using Show Files Summary at end of PDF is that there’s no cap on how many you can add — recipients can view them all via the QR code and URL link displayed at the bottom of the PDF.
Have additional questions? Contact us at support@fieldpulse.com or use the chat feature in the bottom right corner of your screen.