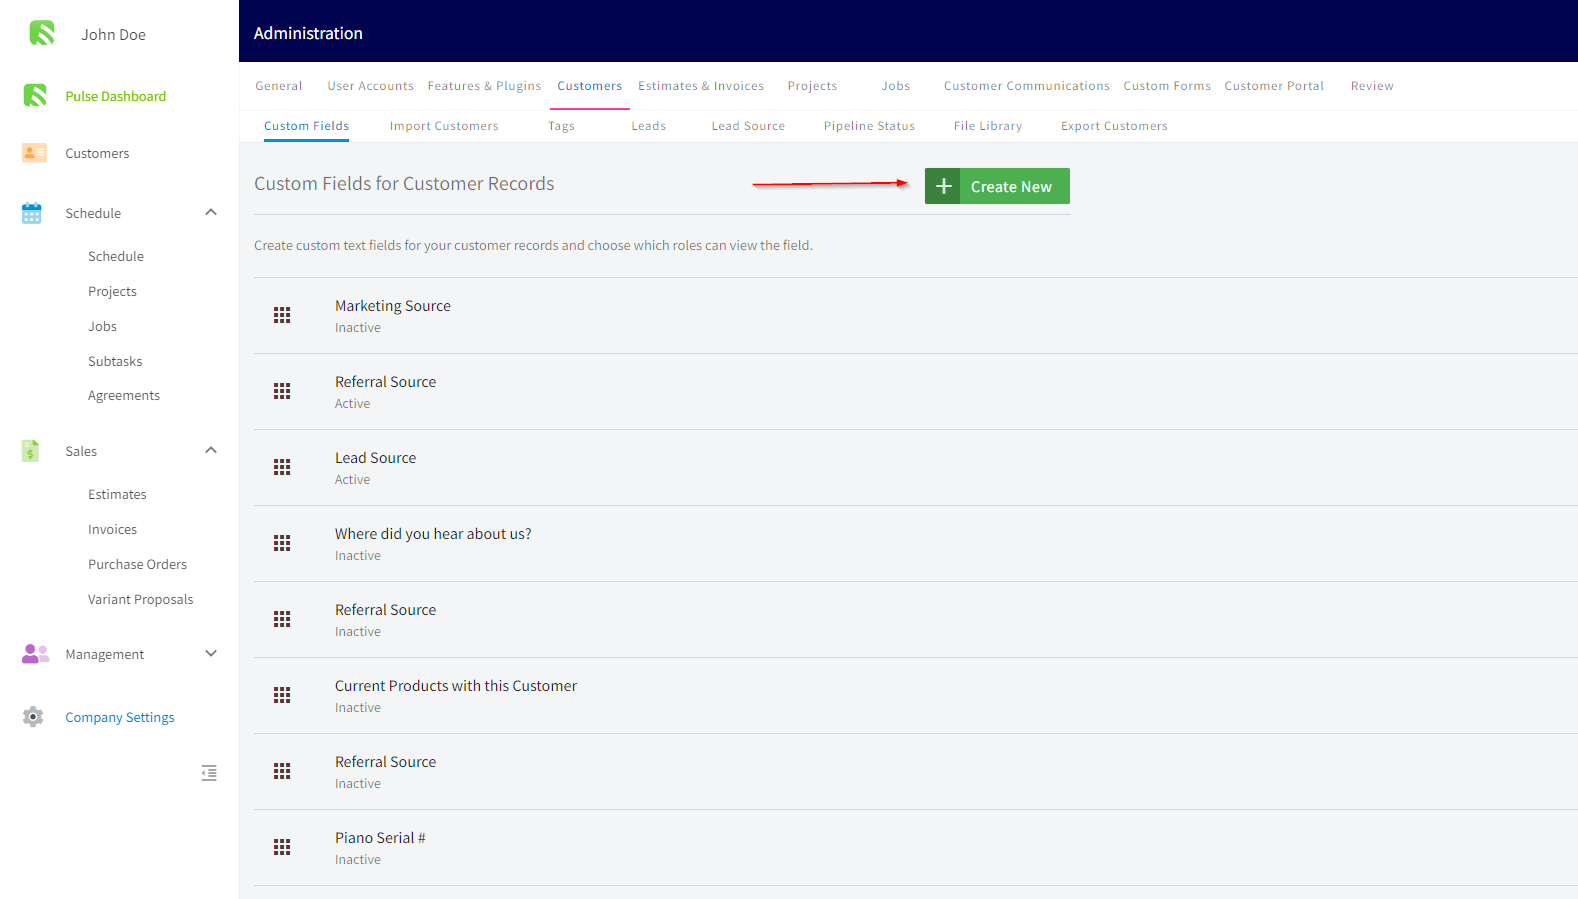
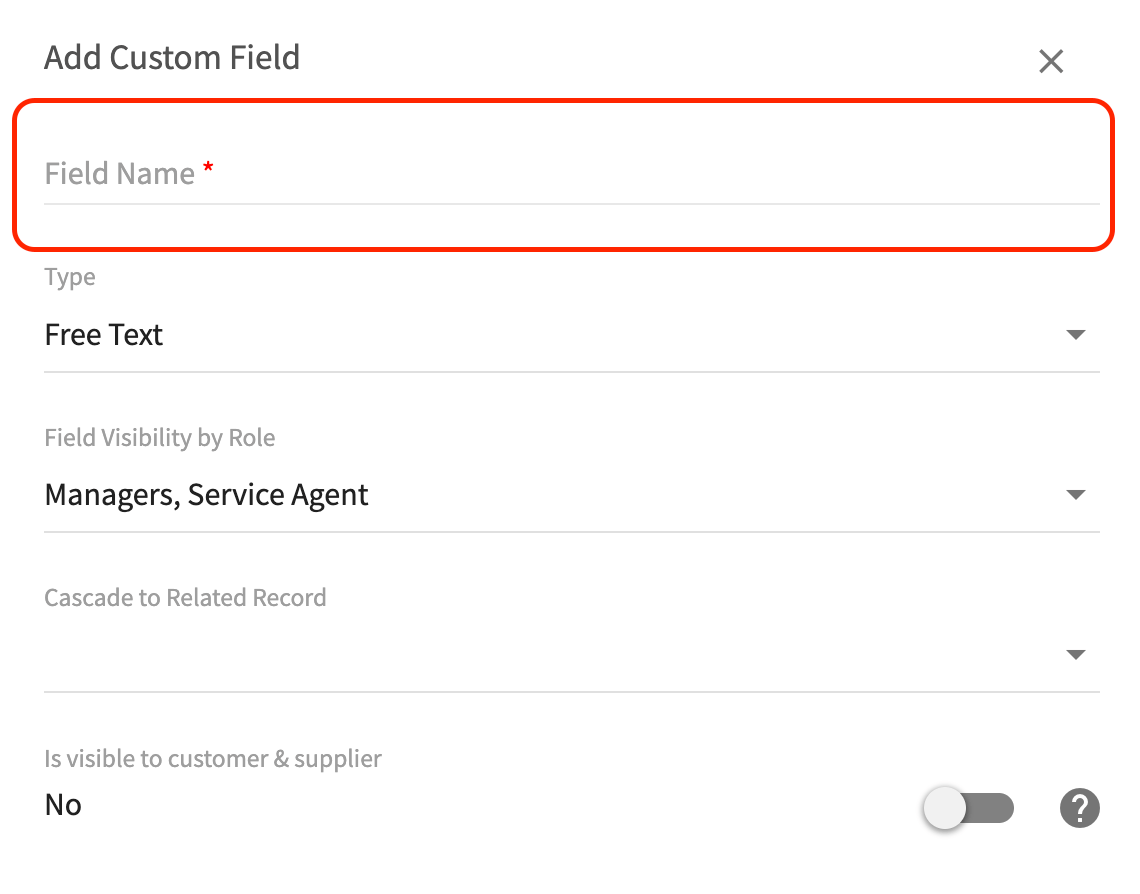
Adding a New Custom Field
To create a custom field, navigate to Company Settings, click on Customers and then the Custom Fields tab.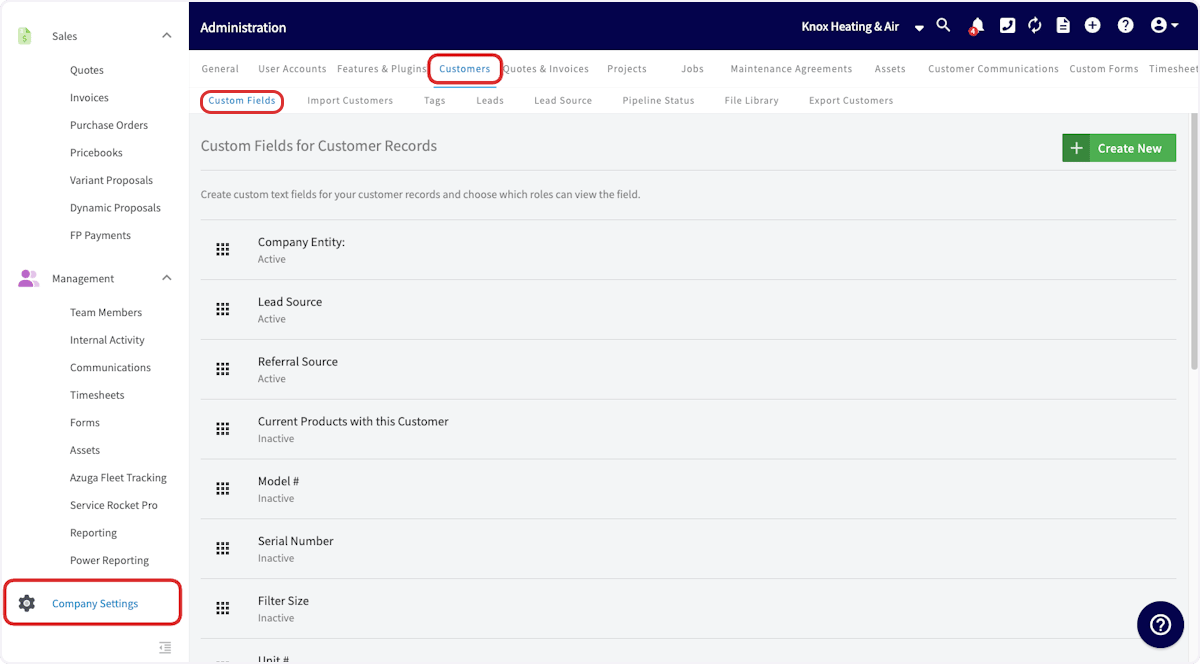
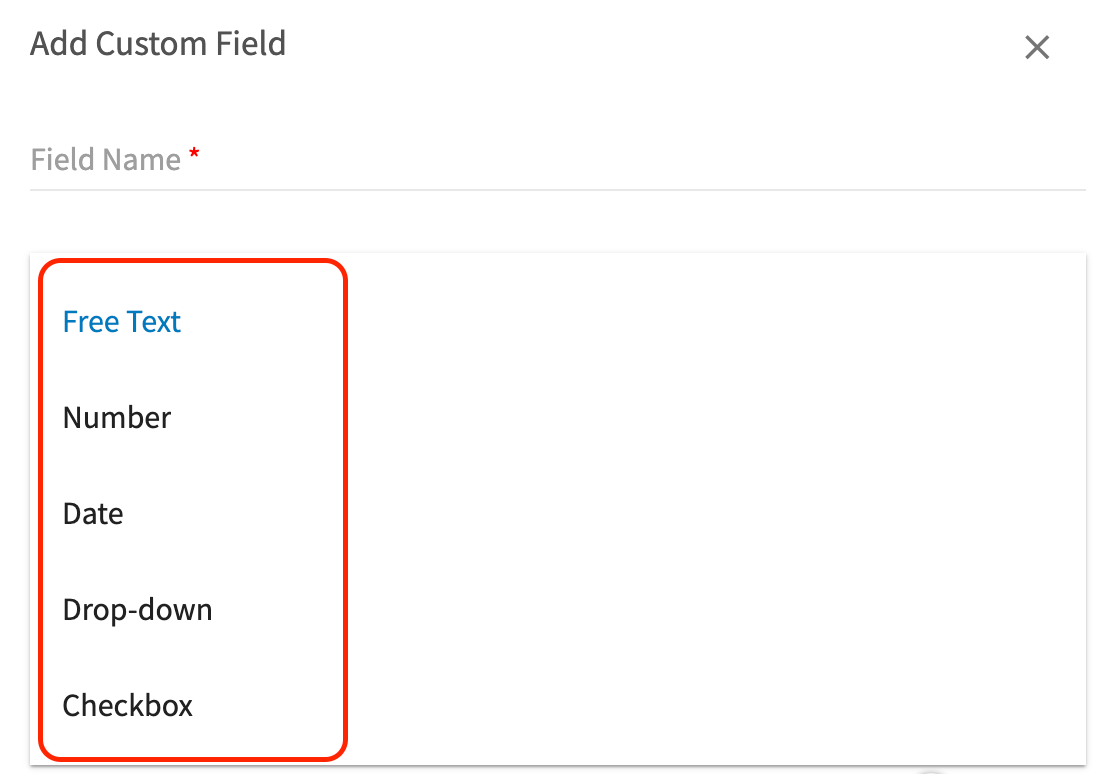
- Free text: Here you have the option to add “free text”, allowing you to type freely in your own words.
- Number: By selecting this, you can easily indicate the number or quantity for this field.
- Date: This option allows you to easily autofill the date in by clicking on the small calendar icon.
- Checkbox: This option will produce a toggle button. This will be toggled on/off depending on what the custom field is that you created.
-
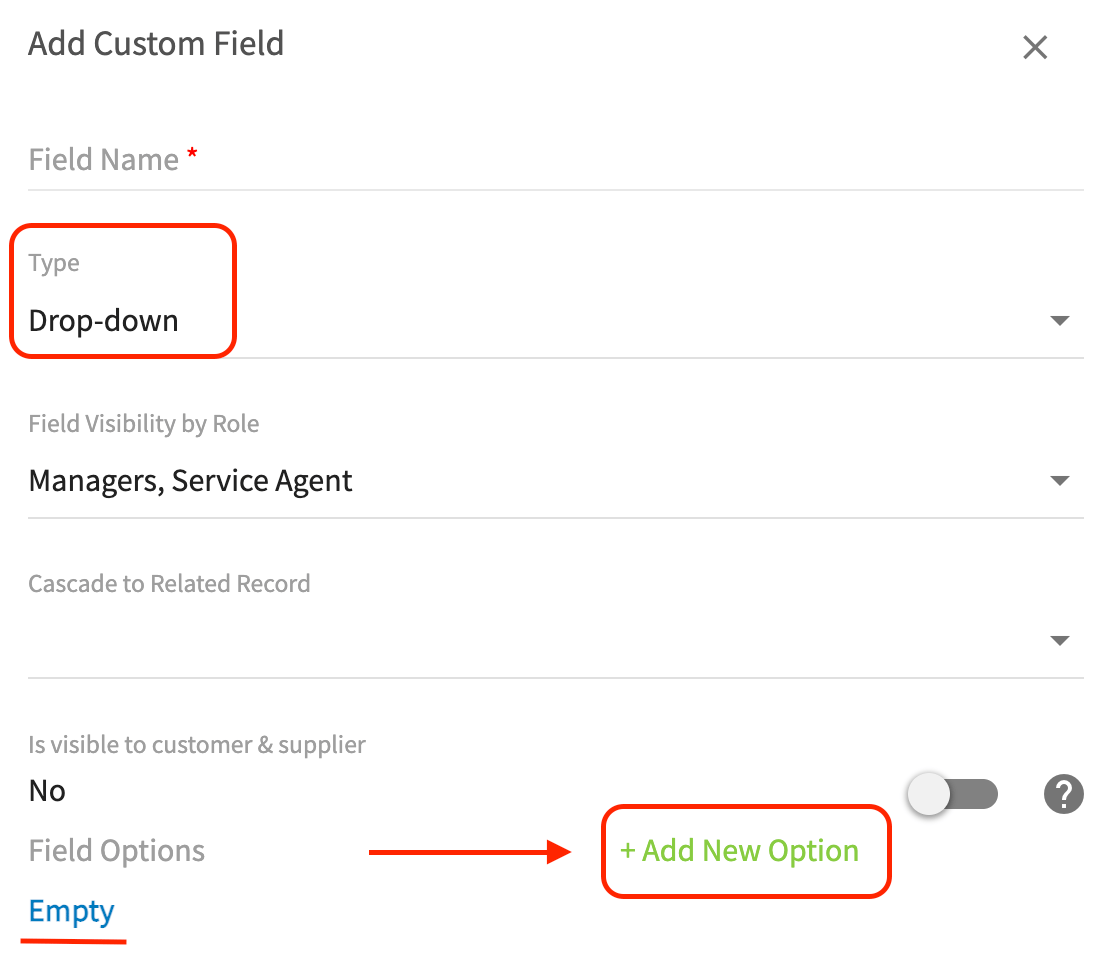
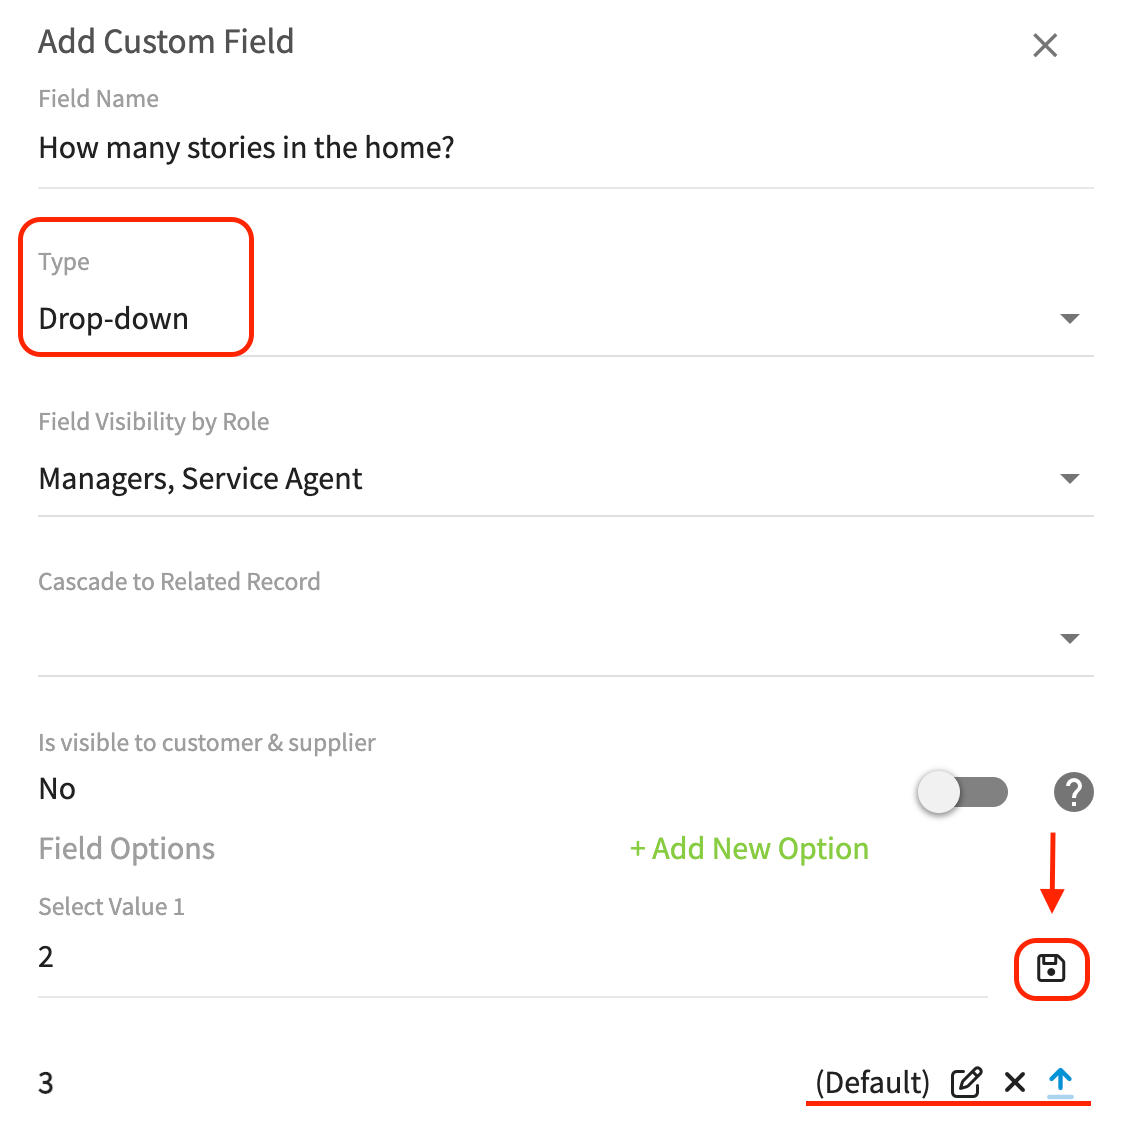
Drop Down: Upon selecting this option, you will be asked to Add New Field Options (see the first picture below) and edit them. After assigning a name to each option, ensure that you click on the save icon (see second picture below). You also have the ability to decide which option is your Default option. The Default option will appear in blue colored text. The Default option will be visible on your customer record until it is edited by a user with permissions. By adding all of the options here, when on your customer record, you will then select a single option from a dropdown list.
Locating Custom Fields on the Customer Record
Next time you create a new customer, you’ll see your newly created custom field under the Additional Fields section_. (Note: A full re-sync (sometimes requires log out and log in) is required on your mobile apps to see newly created custom fields.)_
Have additional questions? Contact us at support@fieldpulse.com or use the chat feature in the bottom right corner of your screen.