
Who uses this: Any Engage user — each user connects their own email account. Availability: United States and Canada · Engage add-on; requires an email provider that supports 2-Step Verification and app passwords (Gmail, for example).Connecting email to Engage links your email account so customer email threads sync in and show up next to that customer’s calls, texts, and voicemails. Instead of one conversation living in Engage and the email version living in your inbox, the whole history sits in one place.
Overview
Engage connects to your email using an app password — a provider-generated password made for third-party apps — not your regular login password. You start the connection from inside a customer conversation, generate the app password in your email provider’s settings, and paste it into the Engage connection form. Once connected, Engage fetches your mailboxes and syncs customer email history into the Email History view. Each user connects their own email account, and synced emails stay private to that user — other users can’t see your emails, and you can’t see theirs.Before you begin
- Have a customer conversation open where the customer has an email address listed — this is where the connection starts.
- Be ready to turn on 2-Step Verification in your email provider’s settings; app passwords require it.
- Know that you’ll generate the app password in your email provider’s settings, not in FieldPulse.
Step-by-step setup
-
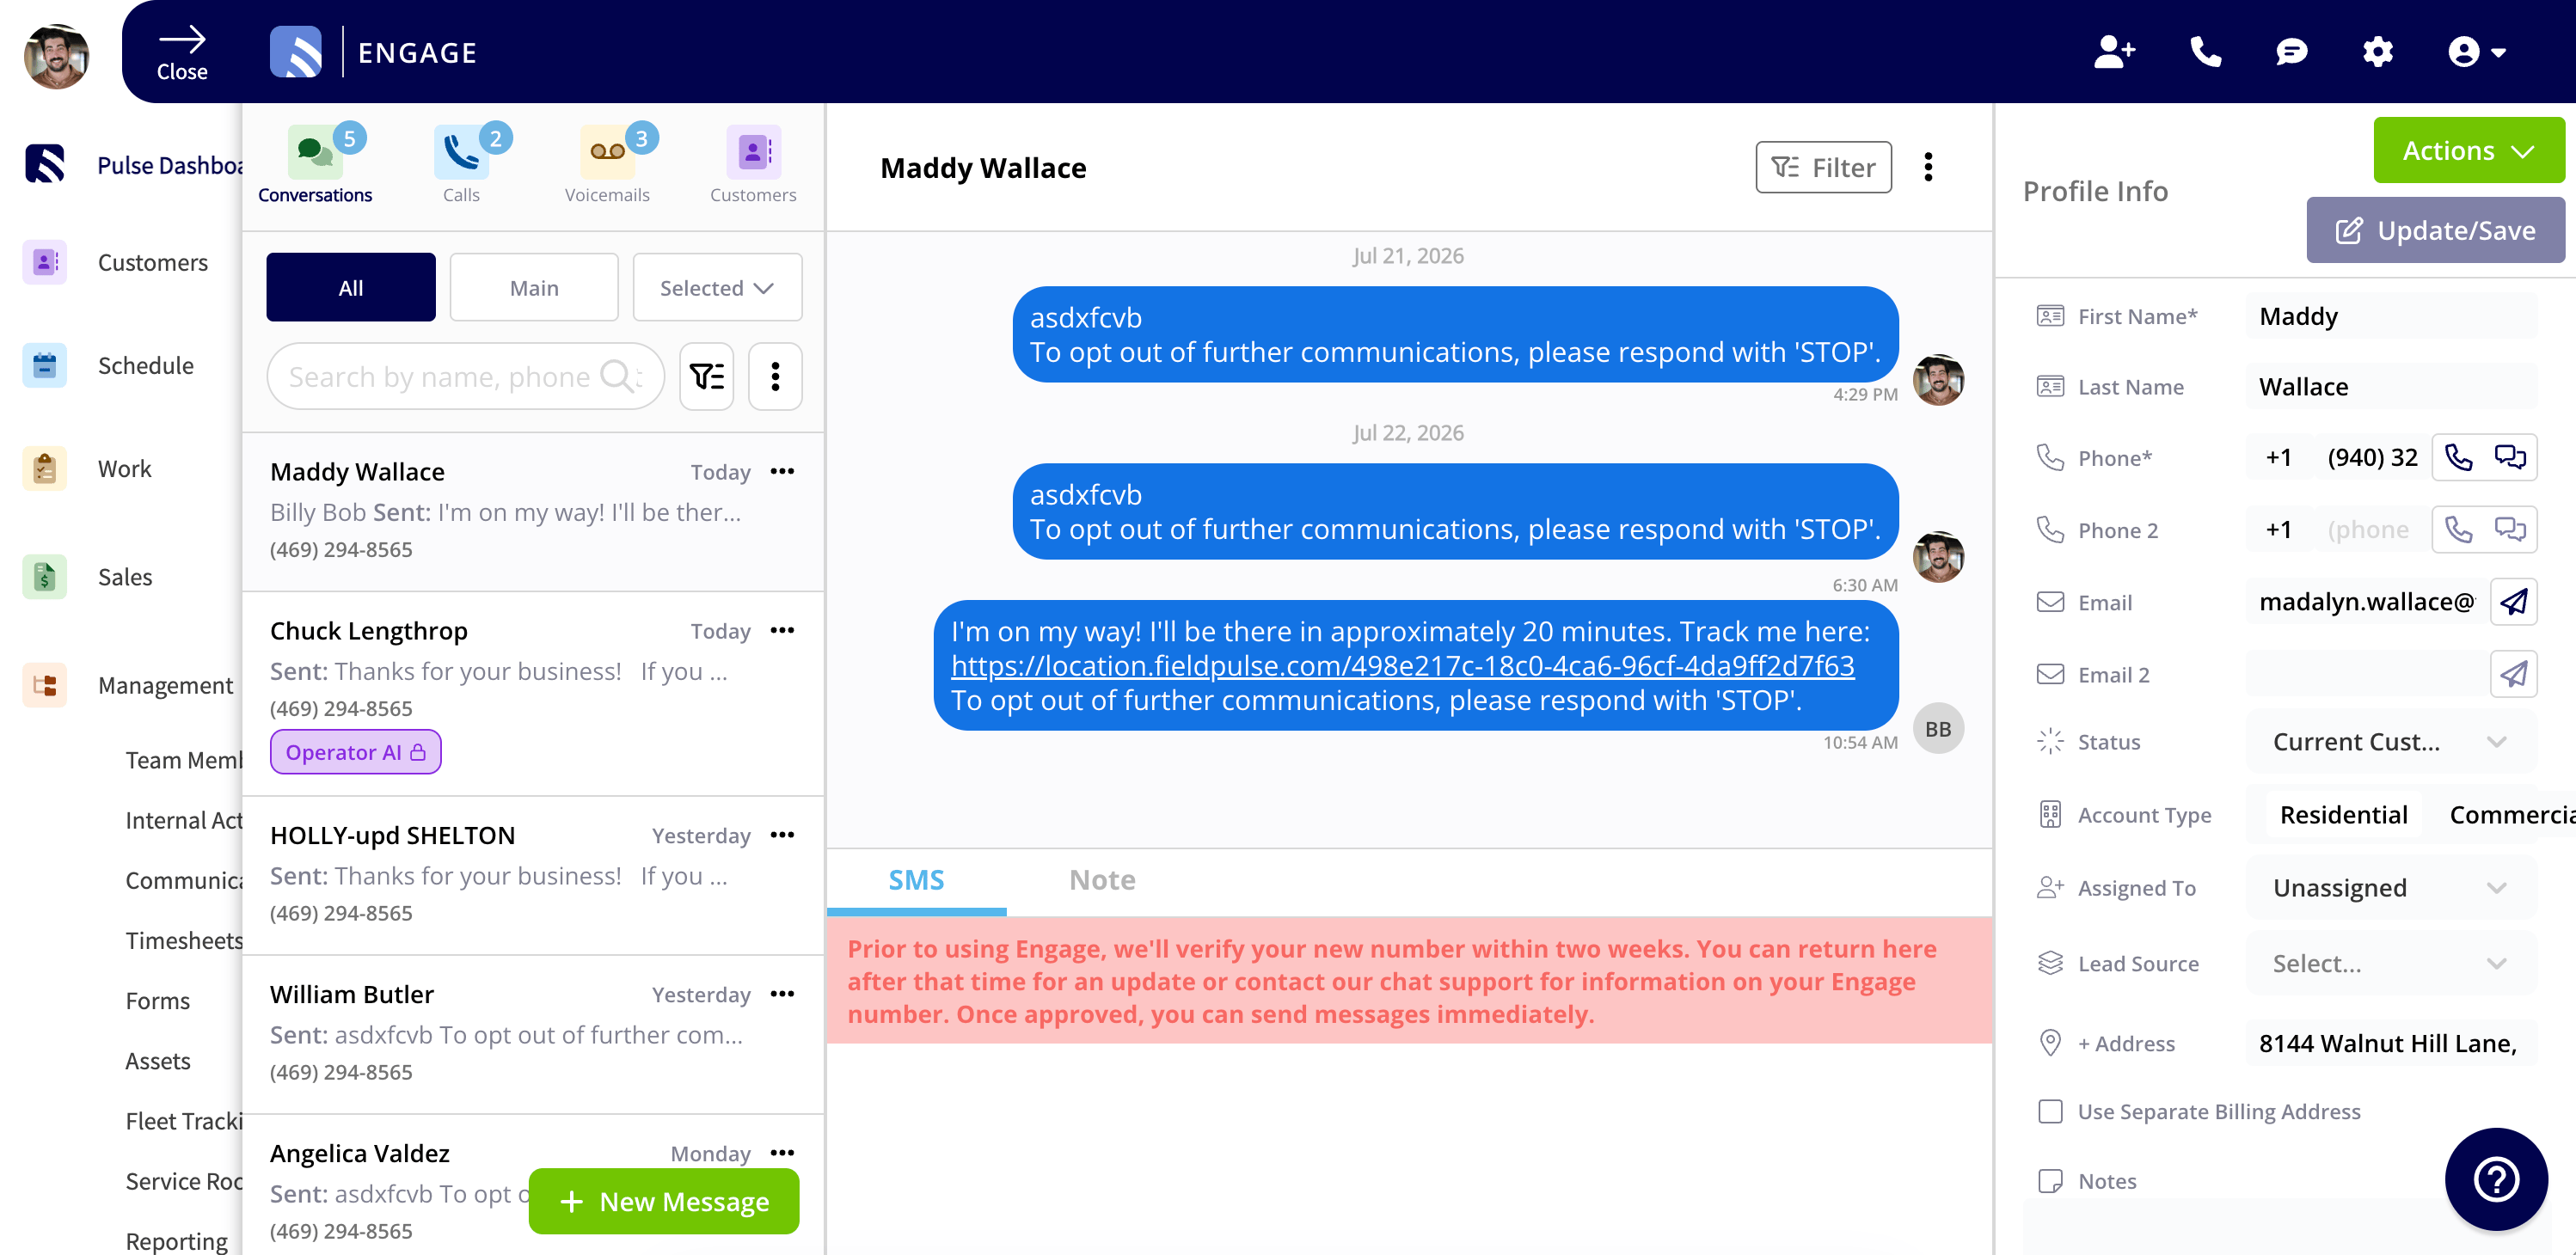
Open a conversation in Engage where the customer has an email address listed.
-
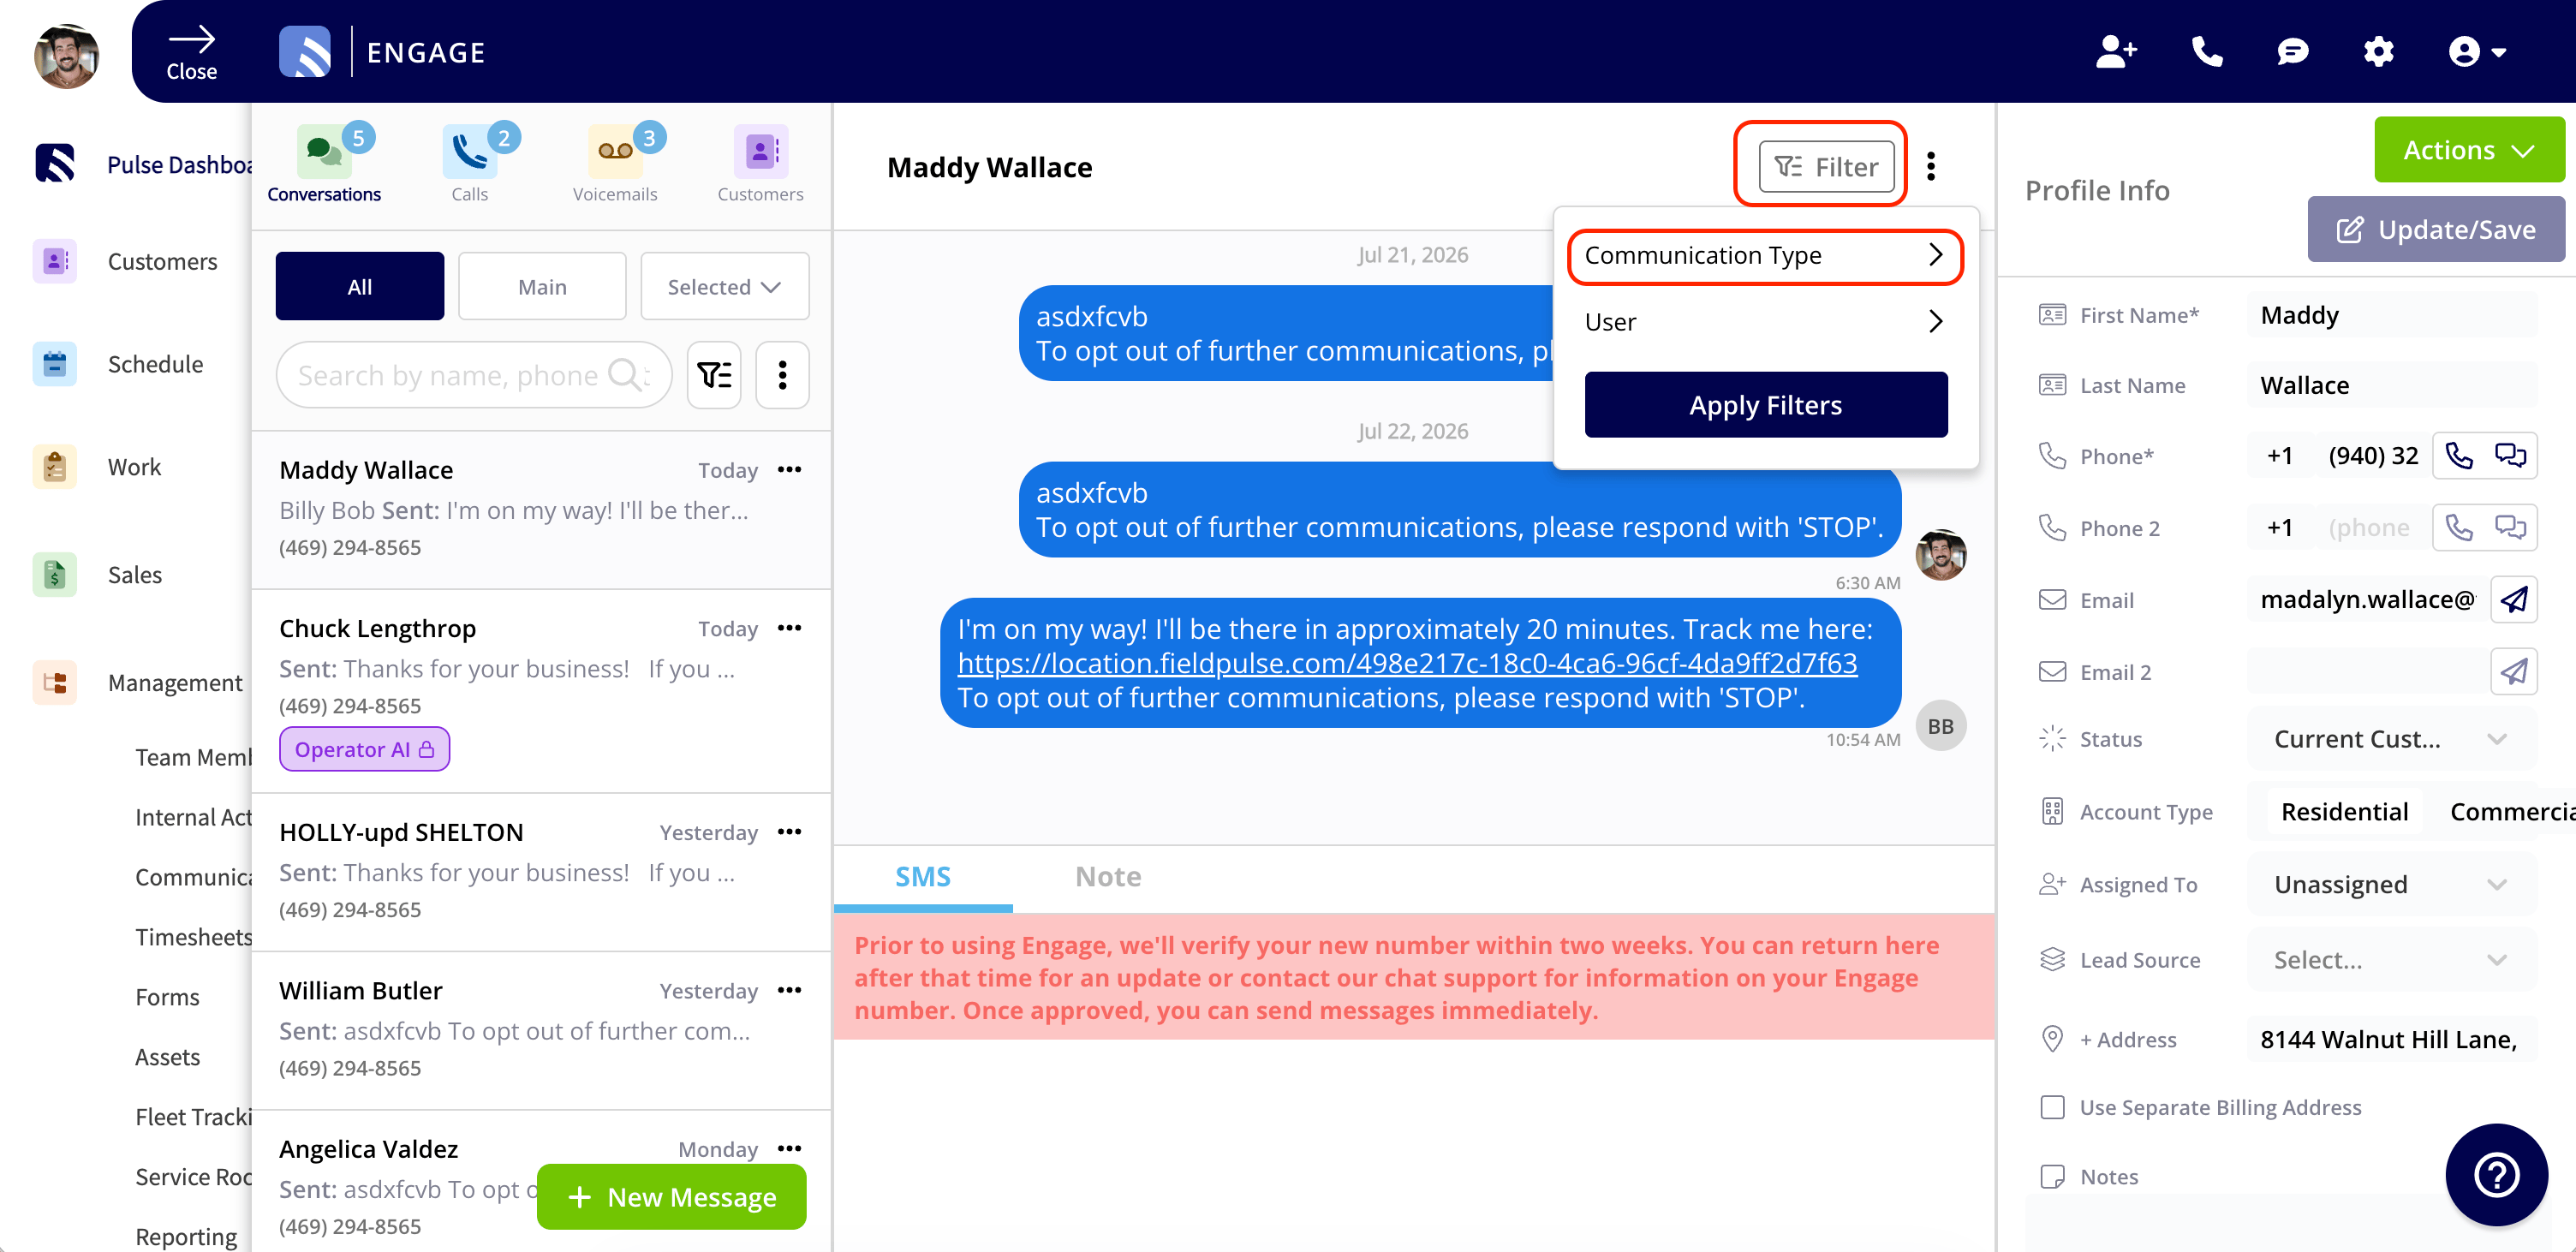
Select Filter, then Communication Type, and choose Email History.
-
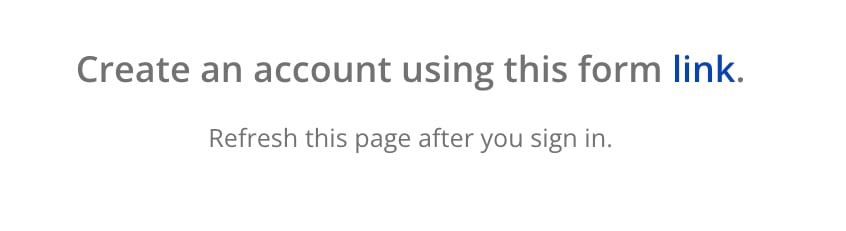
Engage generates a link to connect your email address. Select the link — a connection form opens.
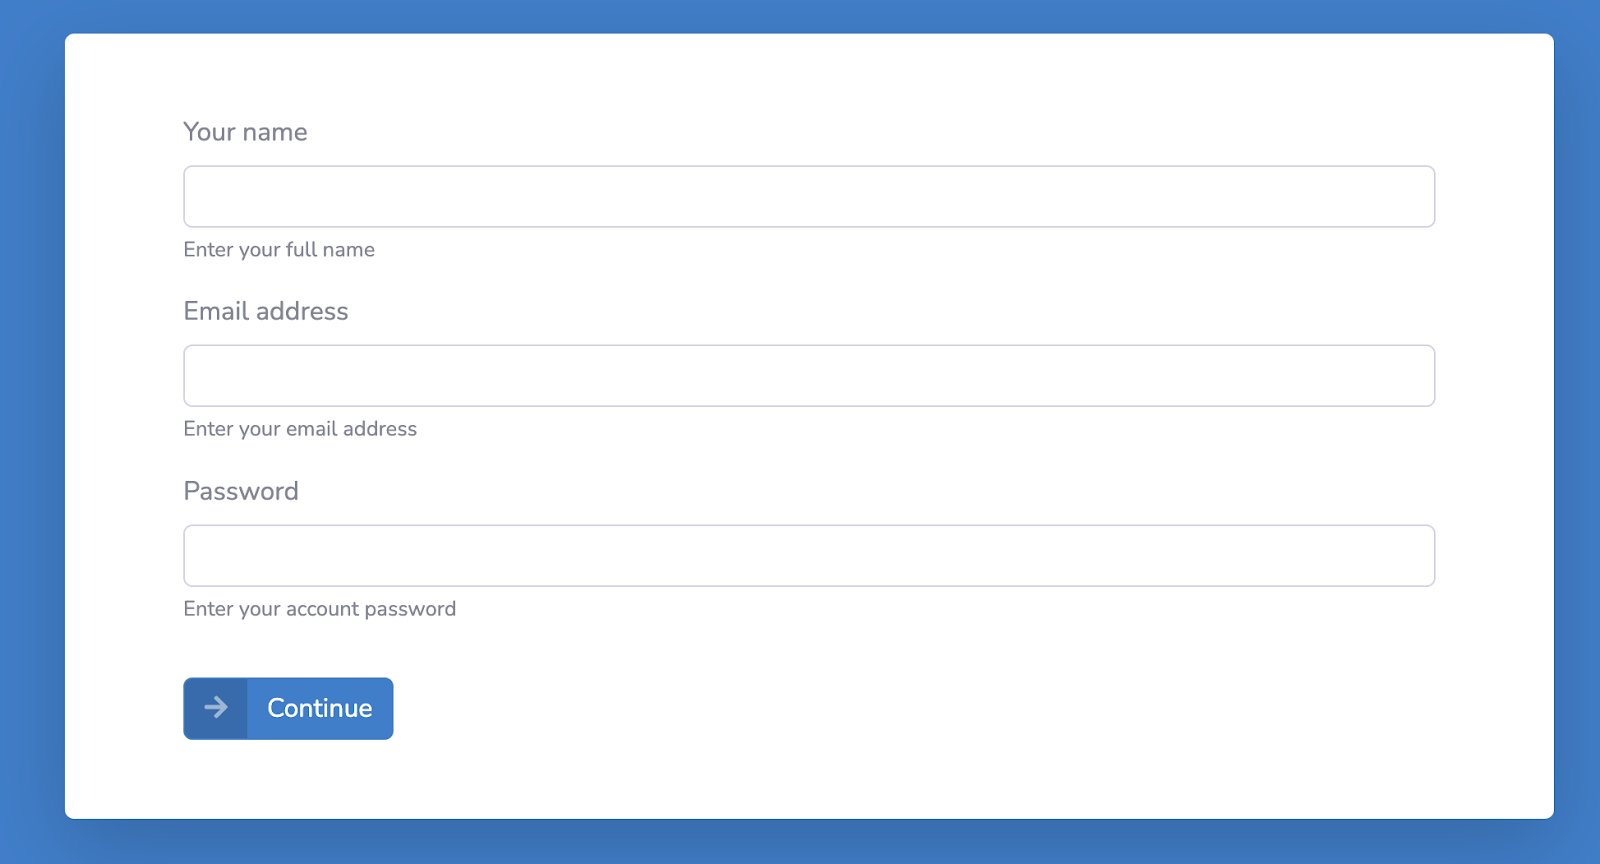
- Fill in the Your name and Email address fields. Do not enter a password or select Continue yet.
- In your email provider’s settings, turn on 2-Step Verification and generate an app password.
-
Back on the connection form, enter the app password in the Password field and select Continue.
- You’re redirected to Engage. Your emails now populate under Email History.
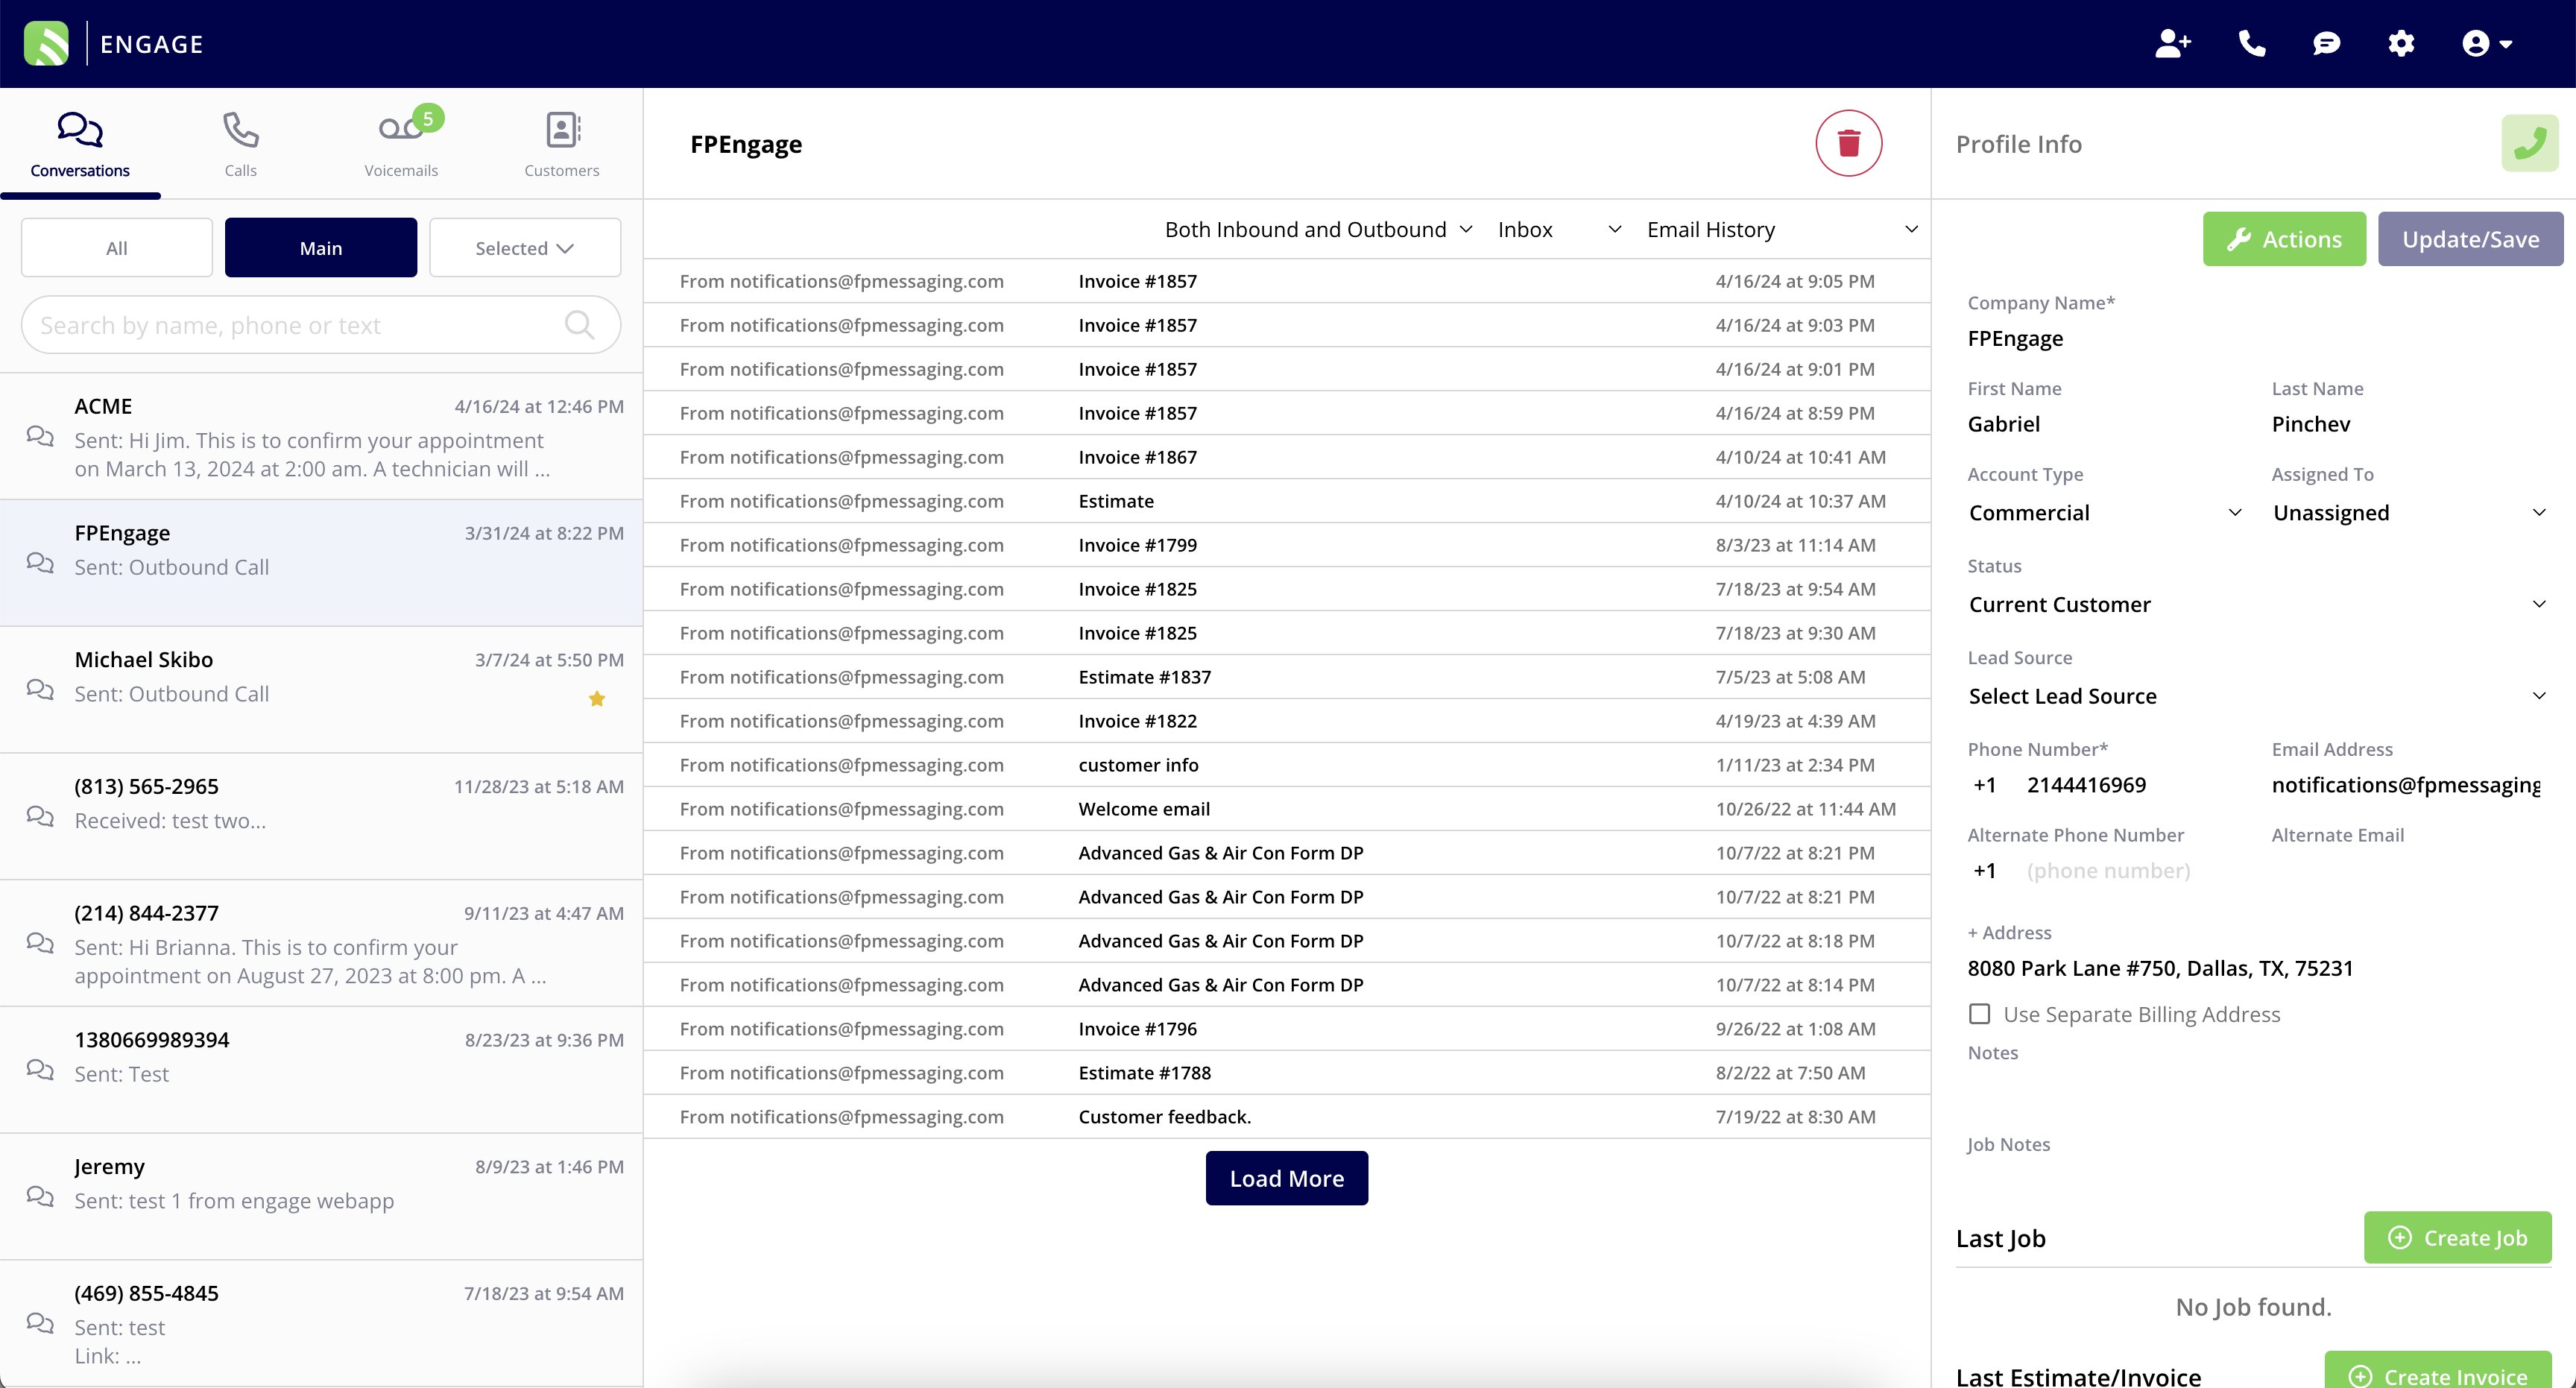
Video walkthrough: connecting your email to Engage
Common issues
App password error
If you enter a password that isn’t the app password you generated, Engage shows a Test failed error — “Failed to validate provided email server settings,” with Invalid username or password listed for IMAP and SMTP. To fix it: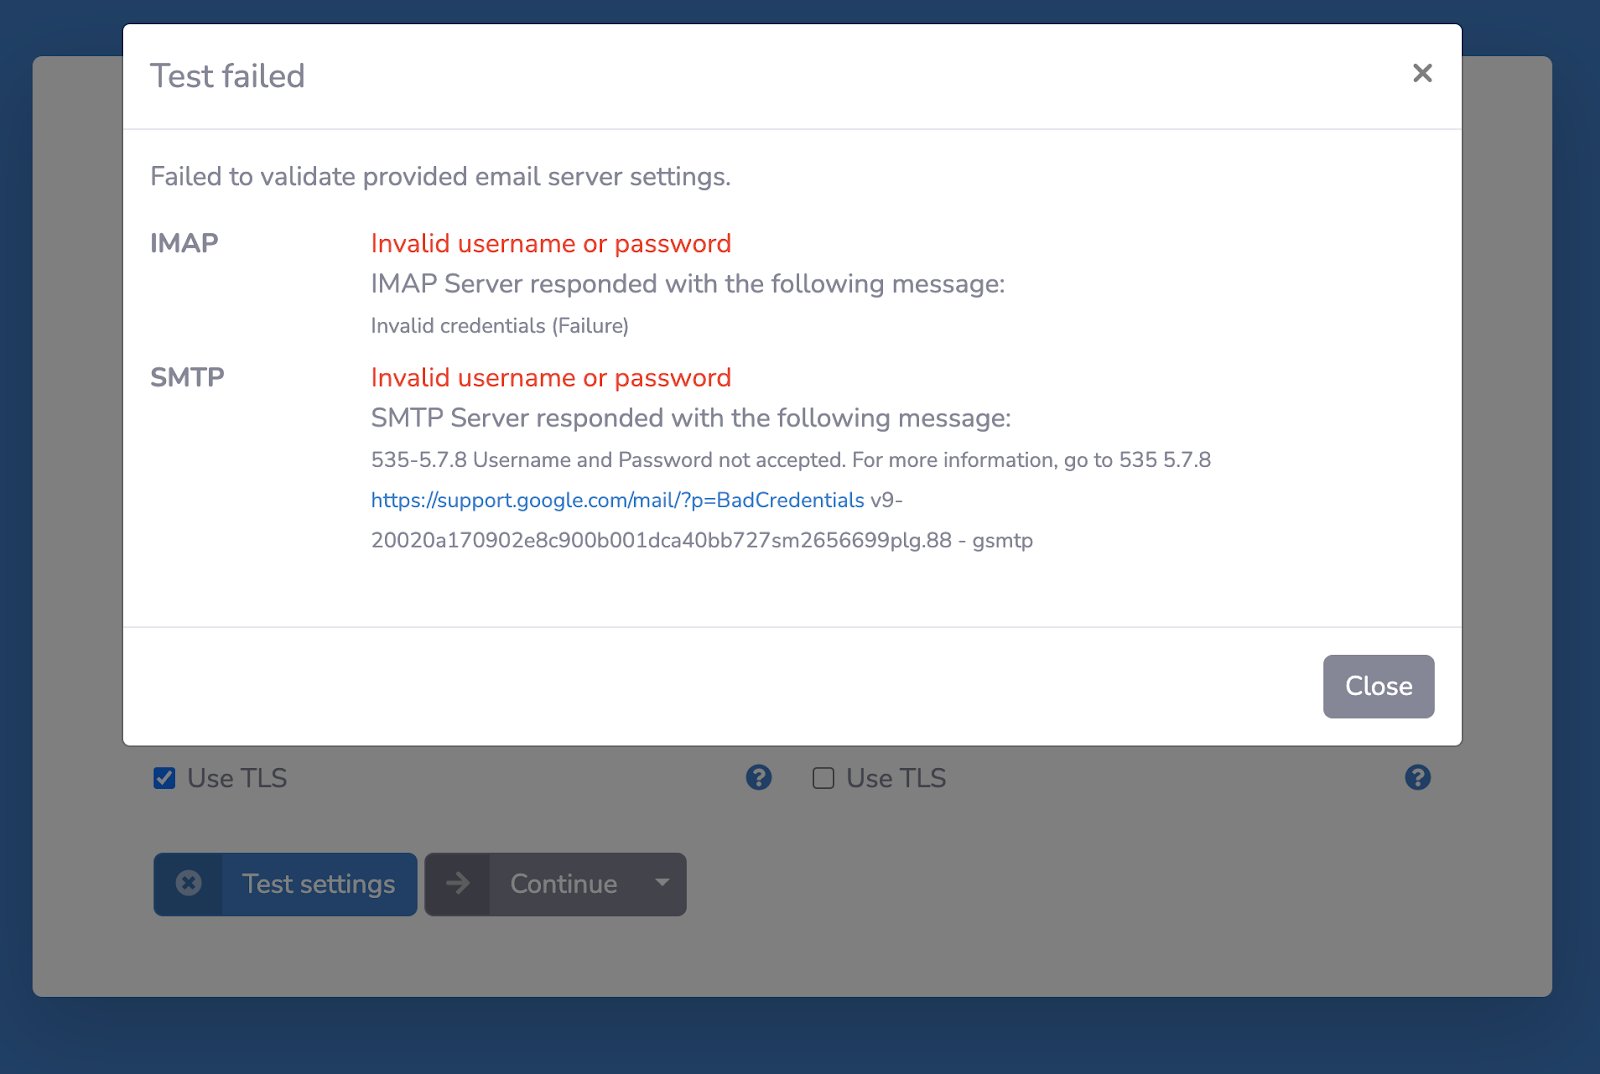
- Select Close to close the popup.
-
Select Instructions next to the Application Password field. Engage detects your email provider (for example, Gmail) and pre-fills many of the server fields, then redirects you to set up an app password and 2-Step Verification with your provider.
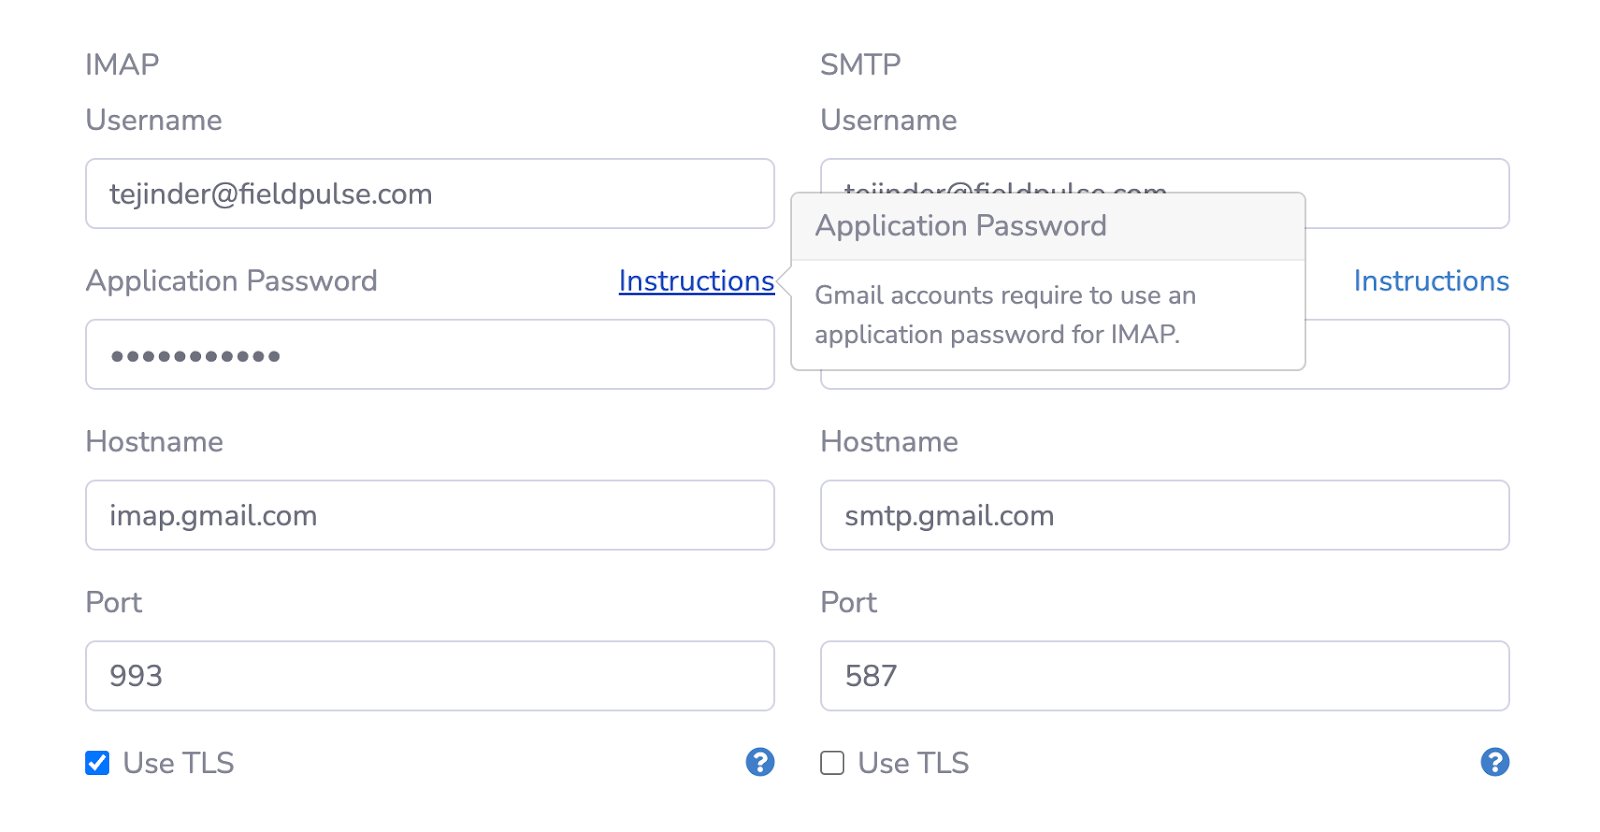
- Once generated, enter the app password and select Continue.